
X-Wing Build Journal No. 24: Issues 85-88
What’s Inside
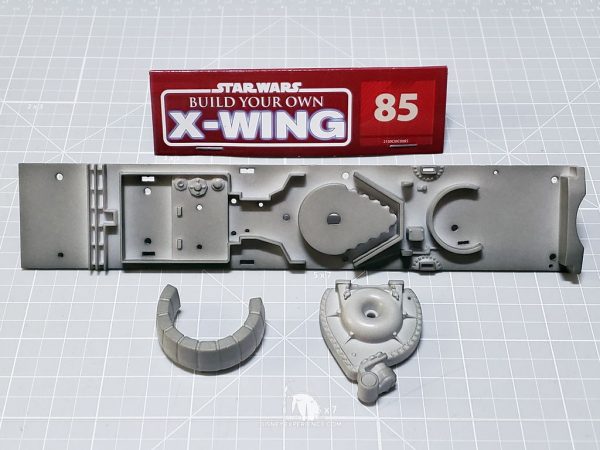
Oh boy, I get a lot done! The removable hyperdrive unit is completed, and I start painting and attaching hull plates.
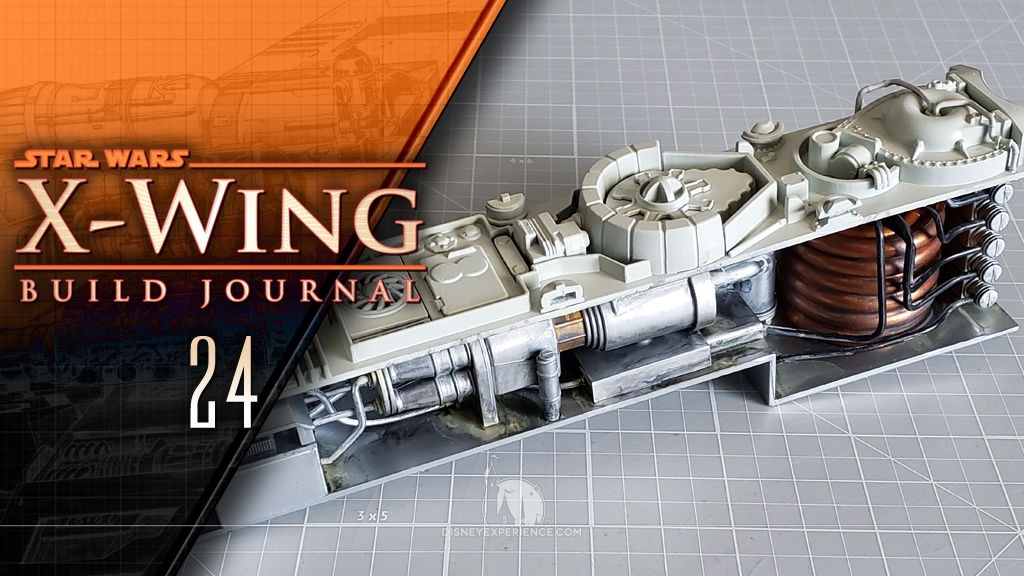
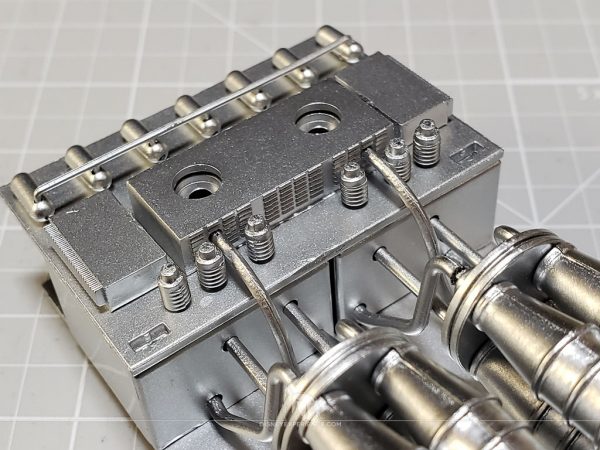
Completing the Hyperdrive
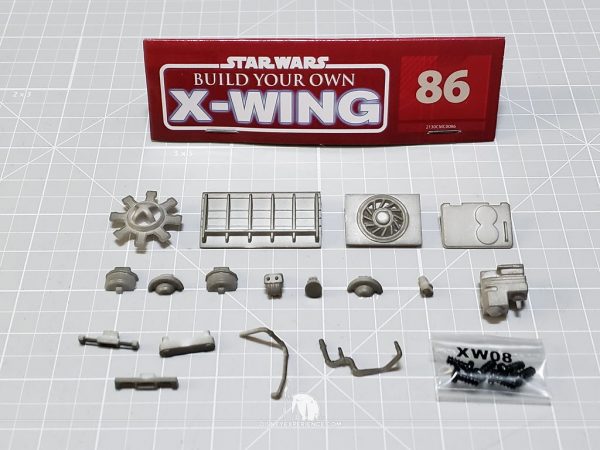
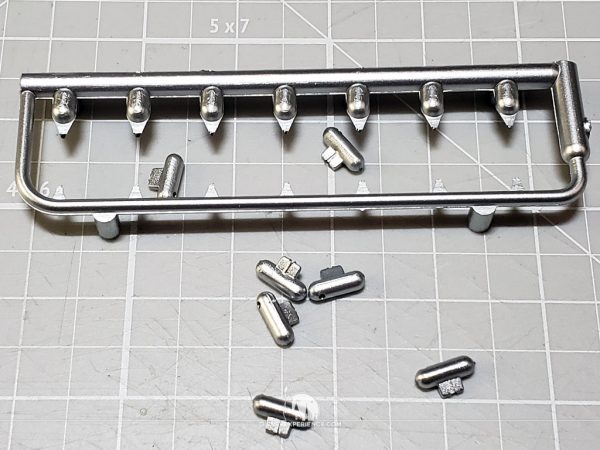
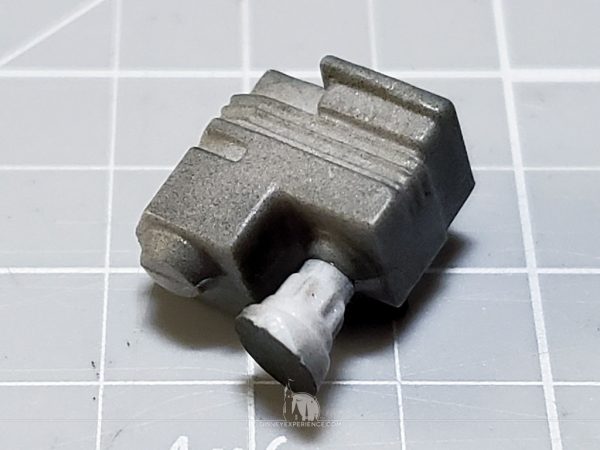
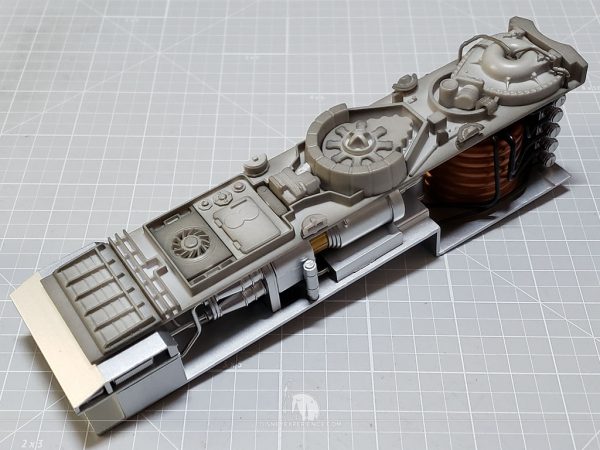
It’s time to finish the removable hyperdrive! I begin by cutting away several tiny parts from sprues.
While I love my Gundam Planet nippers, I’ve also been considering trying out a pair of God Hand Ultimate nippers. They are reportedly the best on the market, but they are expensive. I’ve heard that they can be found at a somewhat reasonable price on rare occasions, but I’d have to be at the right place at the right time. Maybe I’ll just bite the bullet one day and give them a try.
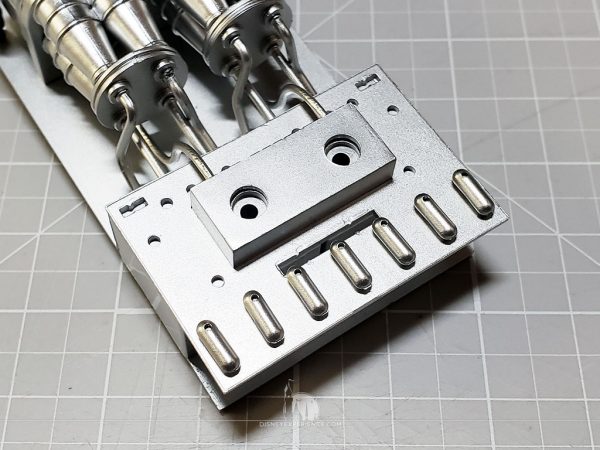
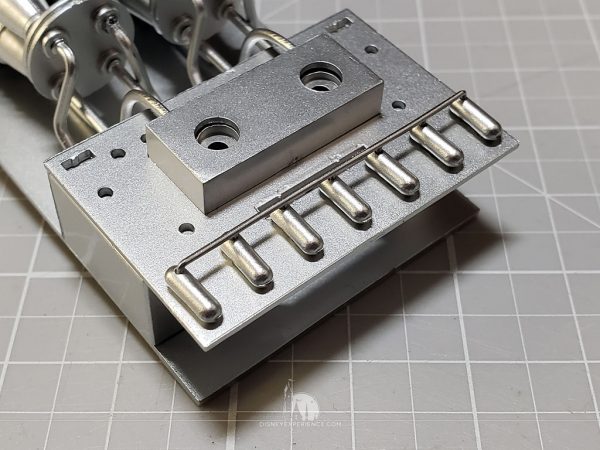
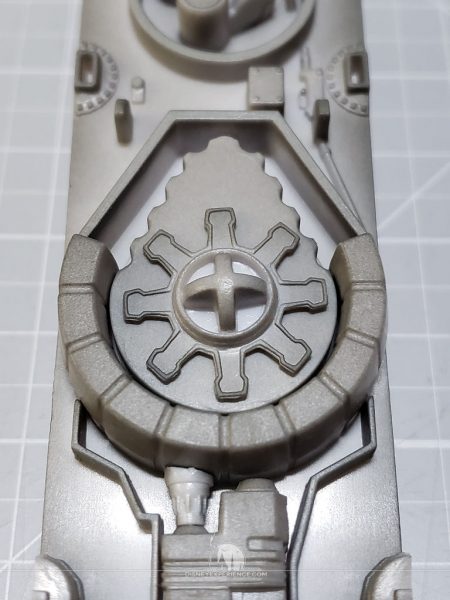
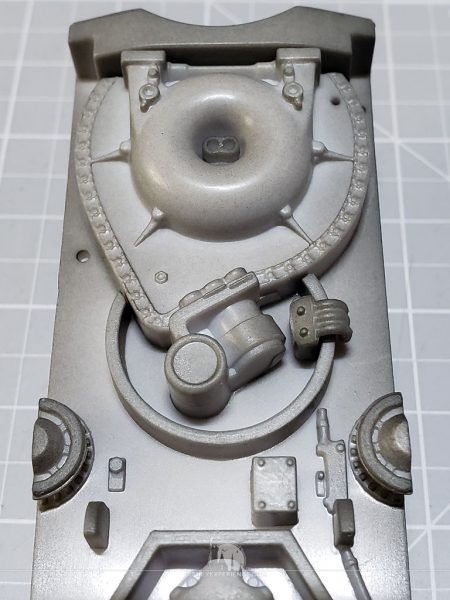
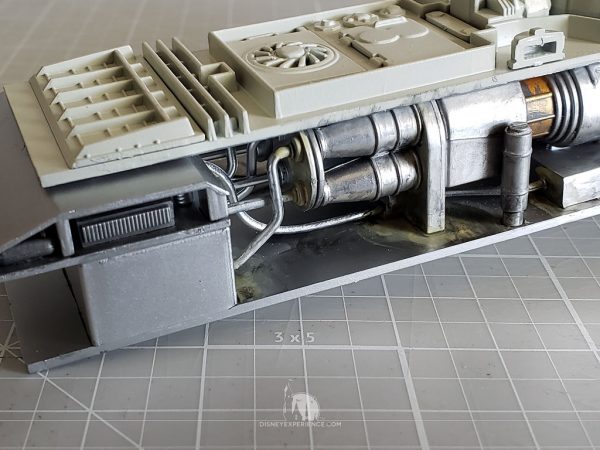
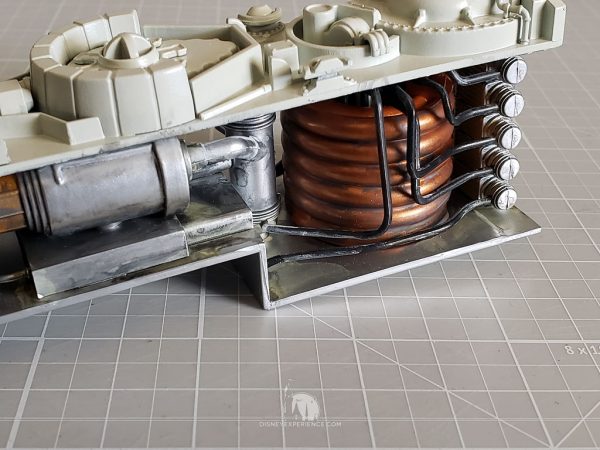
All of these little details really add to the look of the hyperdrive, but staying true to DeAgostini fashion . . .
. . . they all get covered up in the end. What a shame.
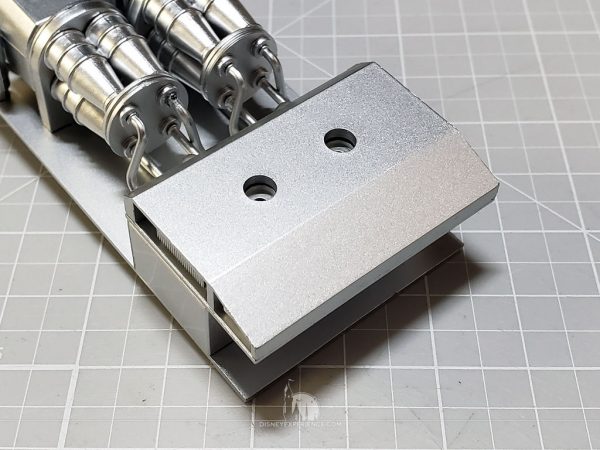
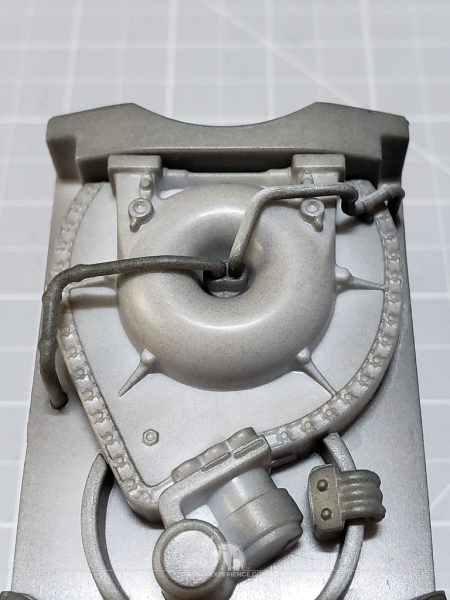
With the interior of the hyperdrive finished, it’s time to move on to the top, or outside, cover.
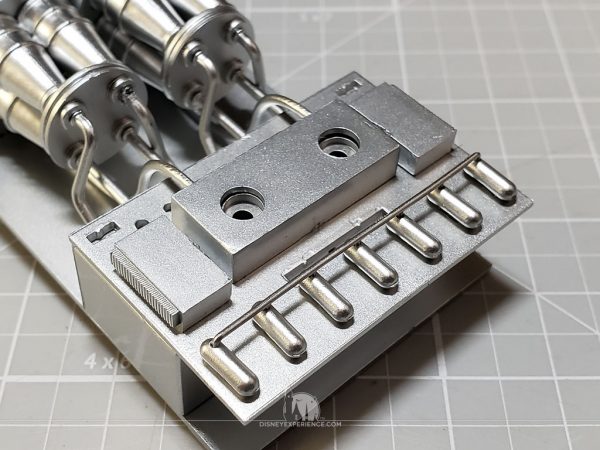
Bit-by-bit, greeblies are added until the top is completed and the two parts are married.
Odds and Ends
Before moving on to painting, there are a few odds and ends that need attending to.
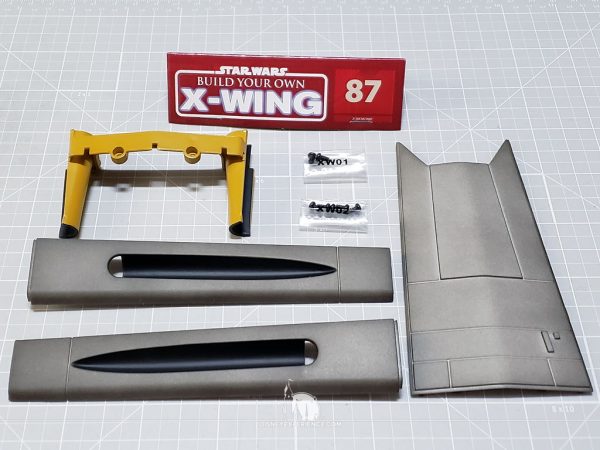
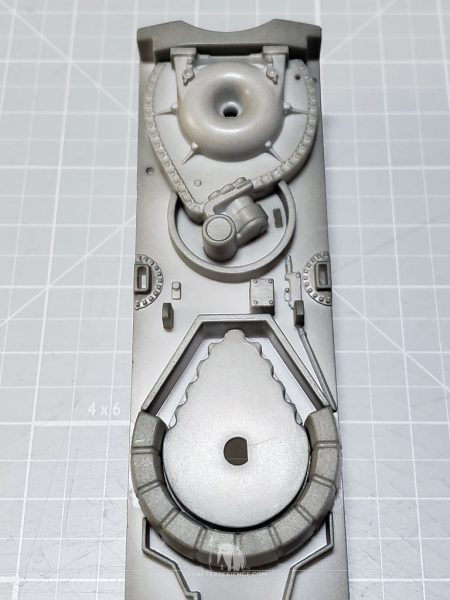
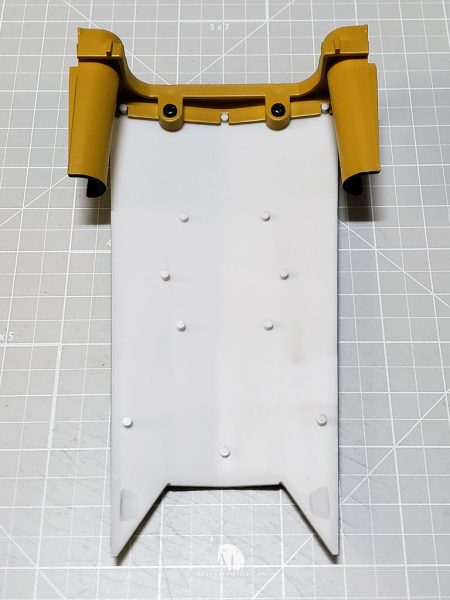
The beginnings of the torpedo tubes are attached to a large section of hull plating.
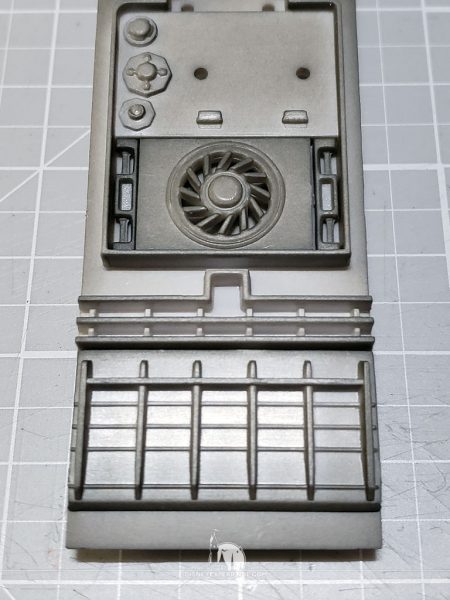
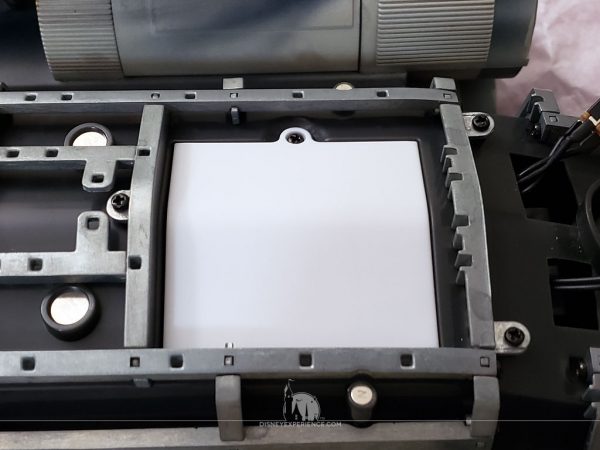
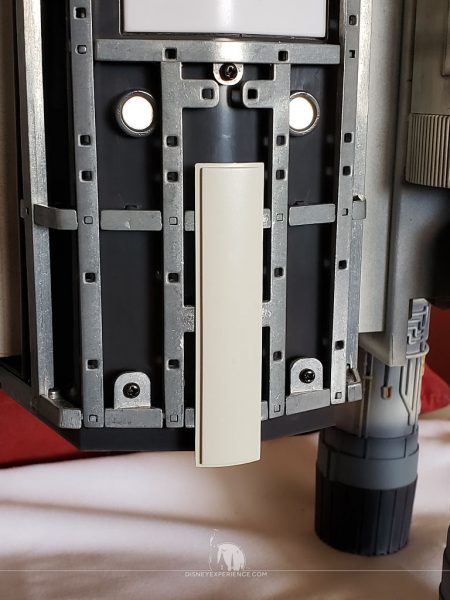
The battery box cover is attached.
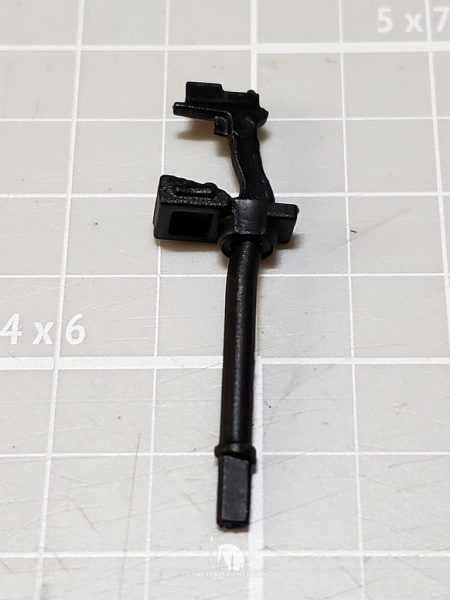
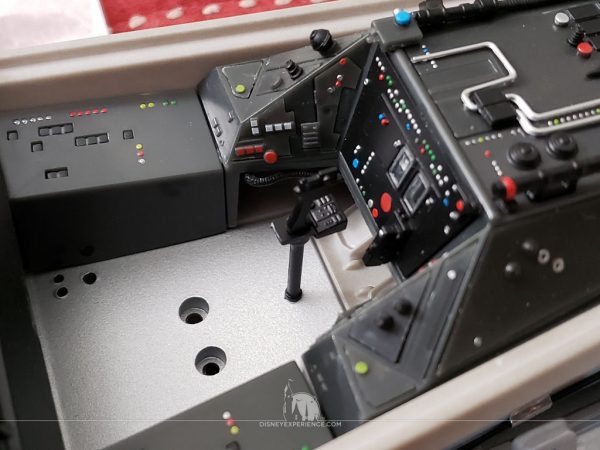
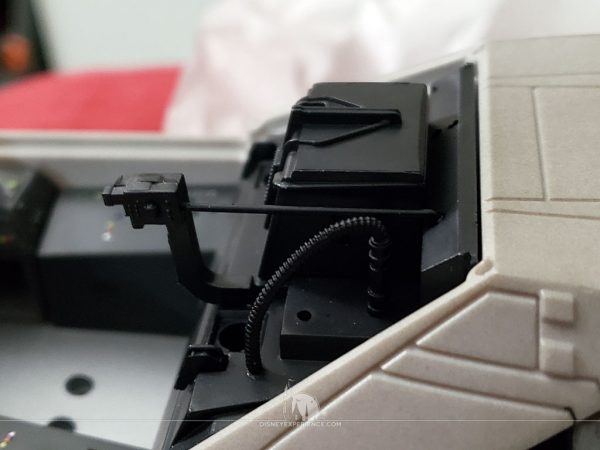
The cockpit joystick is assembled and glued into place.
A small greebly is added to the targeting computer.
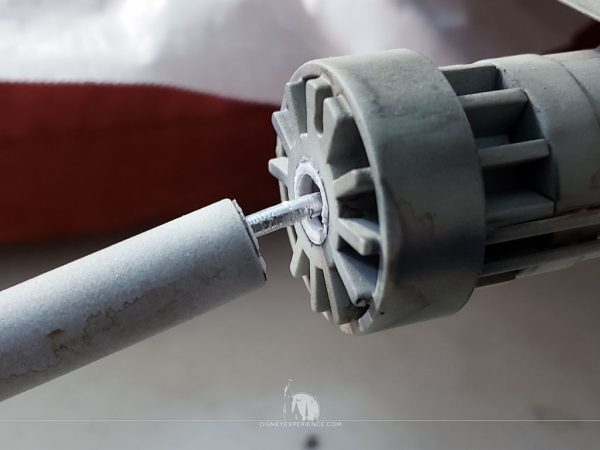
A little while ago, I accidentally broke a laser canon and glued it back on. Well, I lightly bumped it this time, and it fell back off. The connection was obviously not very secure.
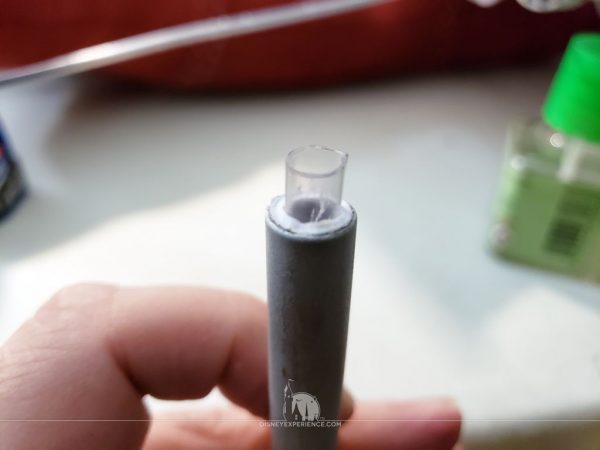
This time, I glued a piece of plastic to the inside of the laser canon tube for added support. After gluing it back on, it does indeed feel a lot sturdier.
Painting
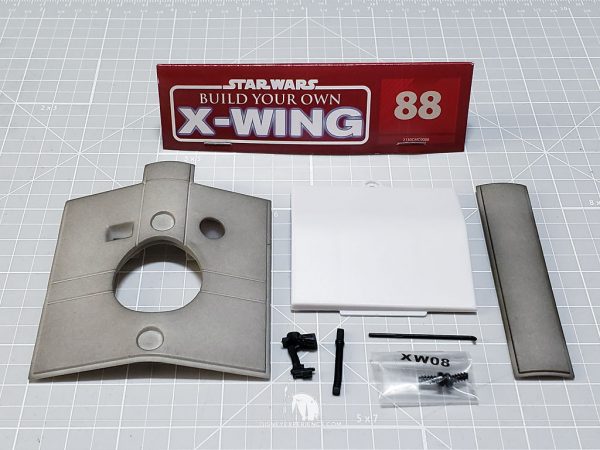
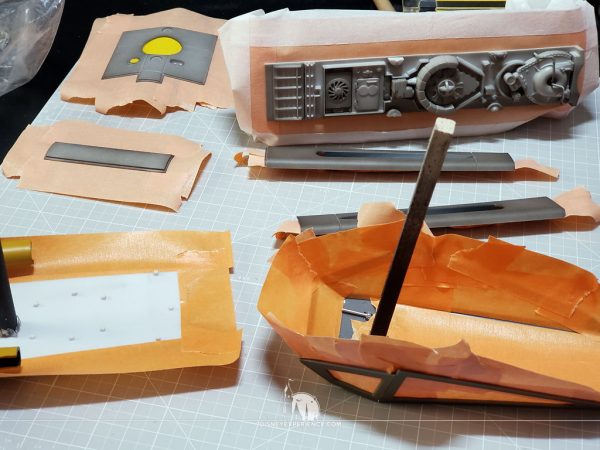
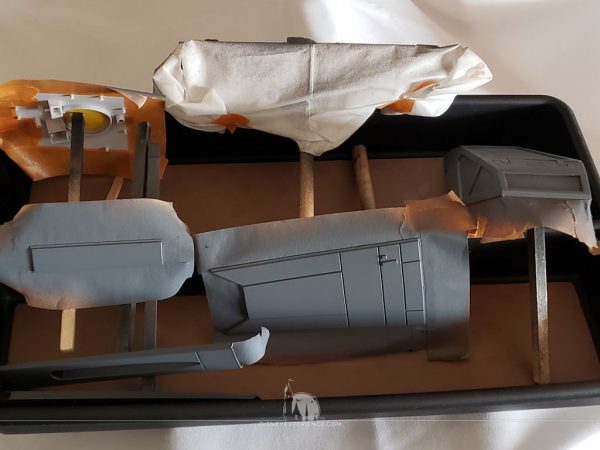
I’ve been thinking about how to paint the hull plating now that the finished wings are attached to the X-Wing’s body. I decided to paint the parts before attaching them to the framework, but not weathering them until they have been completely assembled.
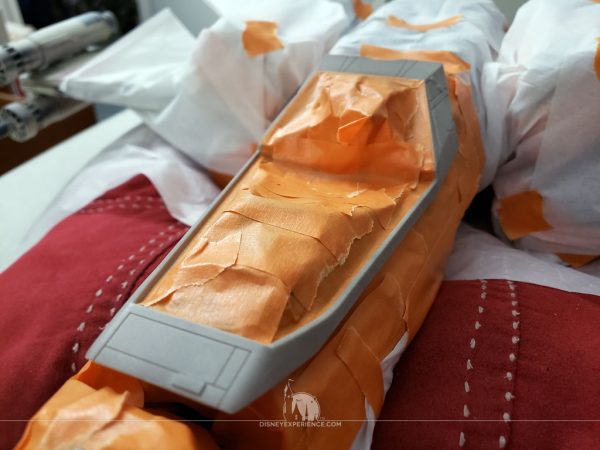
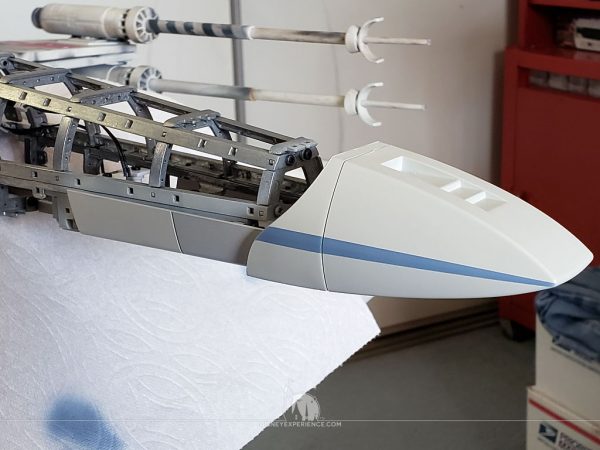
Two things that I forgot about were the cockpit and nose sections which were already attached to the body.
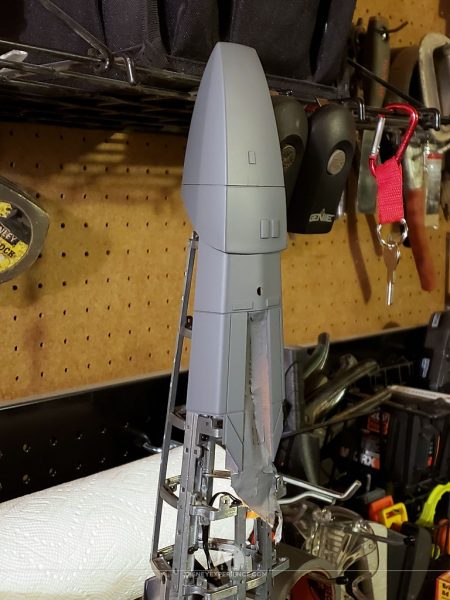
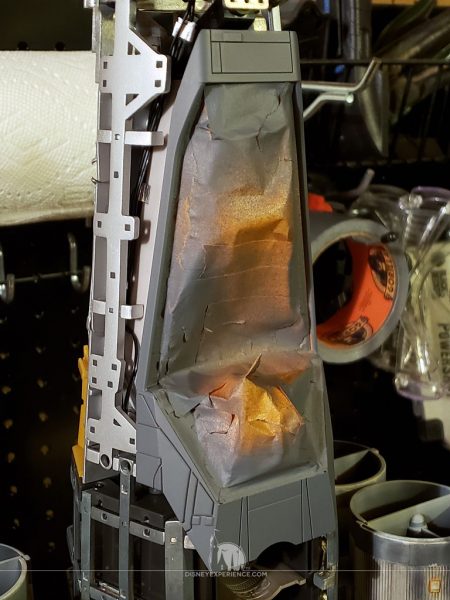
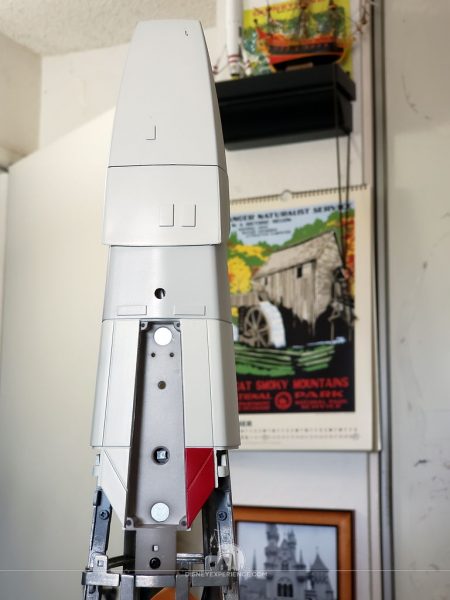
Removing them was not an option, so I had to carefully mask them off and lug the whole X-Wing out to the garage for priming. Thankfully, the ship sits on upright on its engines just fine; I only needed a padded surface (paper towels) for it to sit on so that the paint didn’t get damaged.
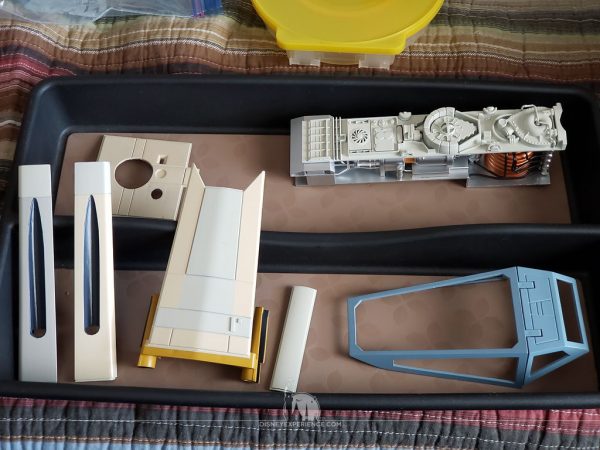
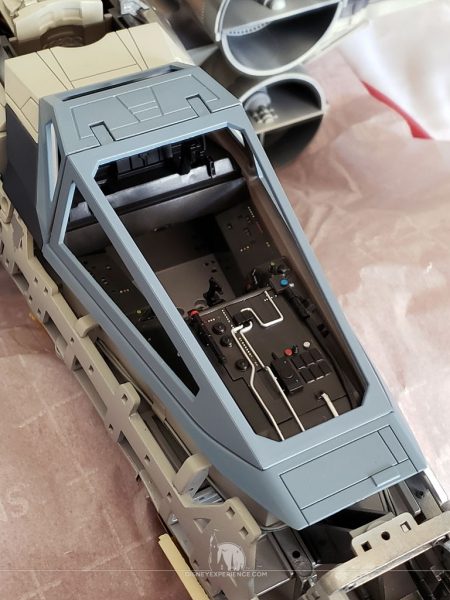
I took this time to also paint the cockpit canopy frame.
Early in the build, I was skeptical about the canopy glazing (windows) since there were gaps between the glazing and the canopy frame. One of the two were bent out of shape, but I was unsure of which, and I was unsure of how to fix the problem.
Testing the pieces again, and test fitting them onto the cockpit, it is clear that the glazing is bent out of shape.
I could try to fix the glazing by softening it in boiling water, but I opted for an alternative solution. Instead, I will cut out my own window glazing by using clear plastic sheeting and some window templates (to be used later).
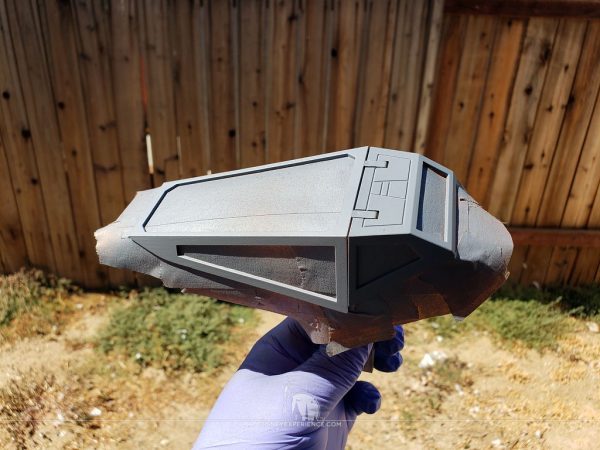
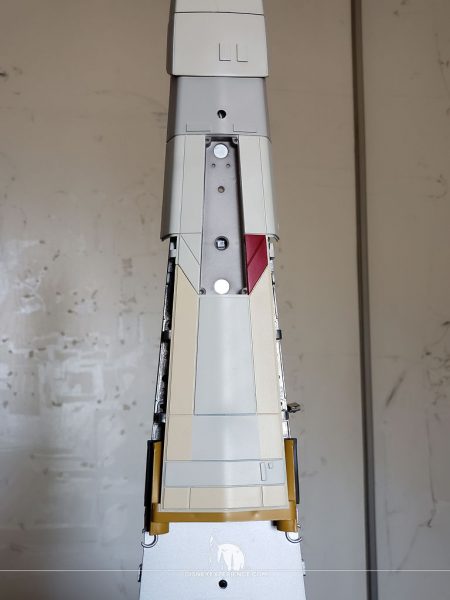
After a day of priming and letting the primer set, I began adding the base colors. This was tricky since I don’t have very good reference photos of the bottom of the X-Wing. But, I was able to manage a suitable color scheme.
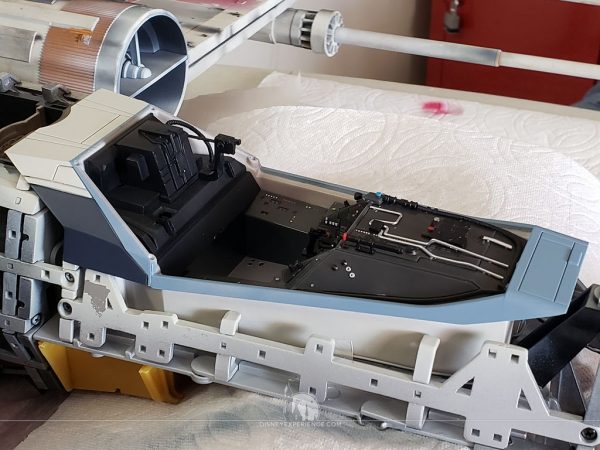
I went with a blue-ish grey for the cockpit canopy. It looks nice when test-fitted onto the cockpit.
The same blue-ish grey is used for the stripes on the nose. I didn’t know there were stripes there until I looked really close at the reference photos!
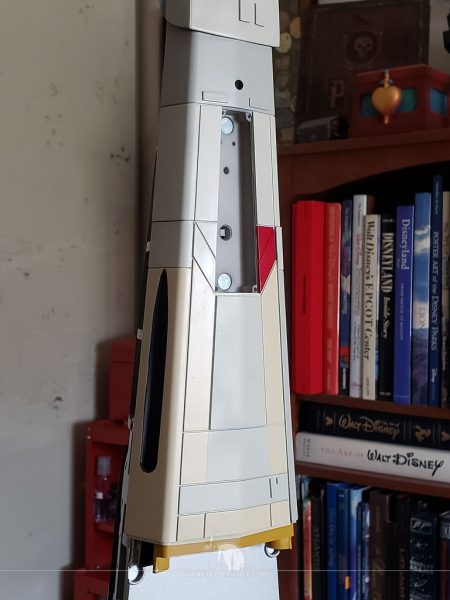
The hull plates are friction-fit onto the hull frames. To prevent them from popping out, I decided to use Gorilla Glue Epoxy.
For good adhesion, I cleaned the metal frame with cotton swabs and isopropyl alcohol where the plates attached. Then, I used my homemade mini power sander to give the metal some tooth for the epoxy to grip. Again, I used cotton swabs and isopropyl alcohol to remove the fine metal dust from the frame.
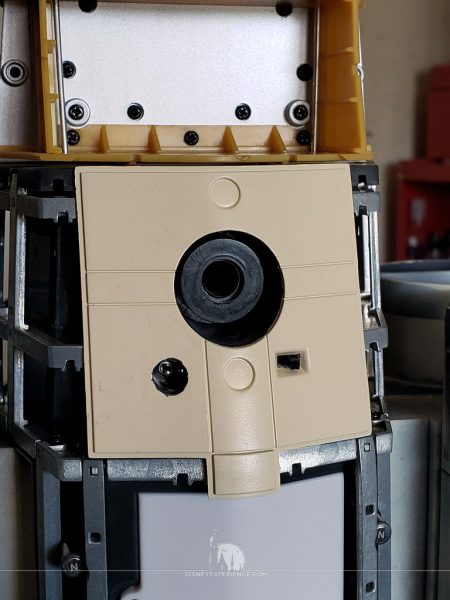
Attaching the switch/plug cover plate was tricky. The plug is slightly too large; it bumps into the droid motor inside, making it hard to sit the panel flush to the frame. Force needed to be applied, but I fear I may have to revisit this piece at a later date. Time will tell.
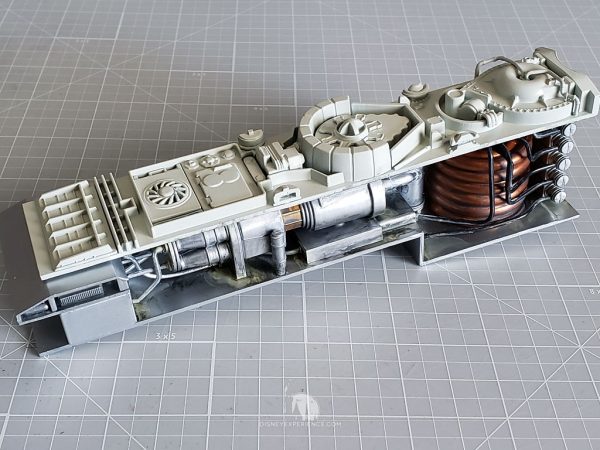
With the hyperdrive assembled, and the top cover painted, I quickly added some grime to the inner components.
Lastly, I test-fitted the hyperdrive. It dropped into place perfectly. Now, I need to remember that it is there so that it doesn’t accidentally fall out the next time I lift the X-Wing on its end. Come to think of it, I’ll just remove both it and the canopy, storing them seperately.
Prev Journal Entry | Next Journal Entry
Both the post author and this website have not received any compensation for writing this post. Both the post author and this website have no material connection to the third-party brands, products, or services that have been mentioned. Some of the links in the post above are “affiliate links.” This means that if you purchase the item, we will receive a commission. As an Amazon associate, we earn from qualifying products. This is being disclosed in accordance with the Federal Trade Commission’s 16 CFR, Part 255: “Guides Concerning the Use of Endorsements and Testimonials in Advertising.”






Do you have a thought about this post? Why not leave a comment . . .