
X-Wing Build Journal No. 12: Issues 37-40
What’s Inside
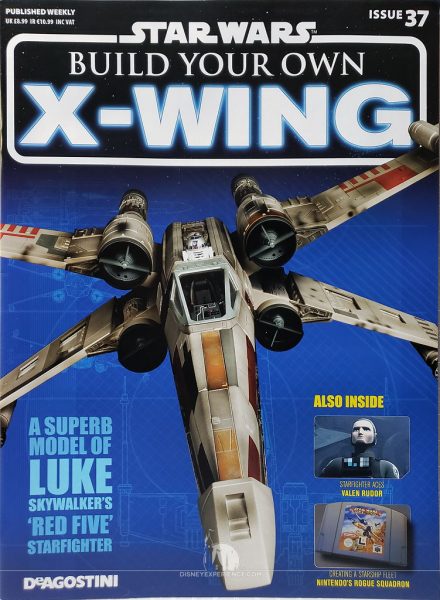
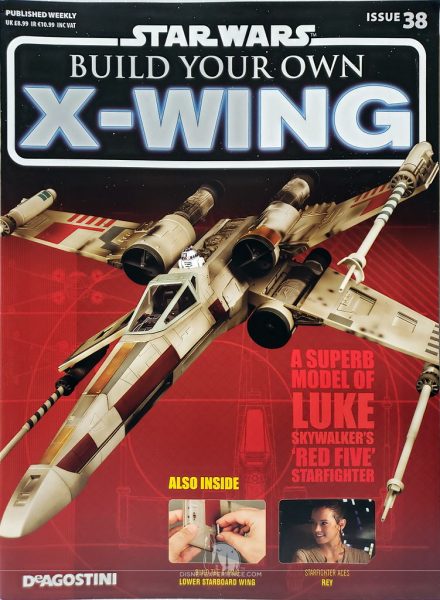
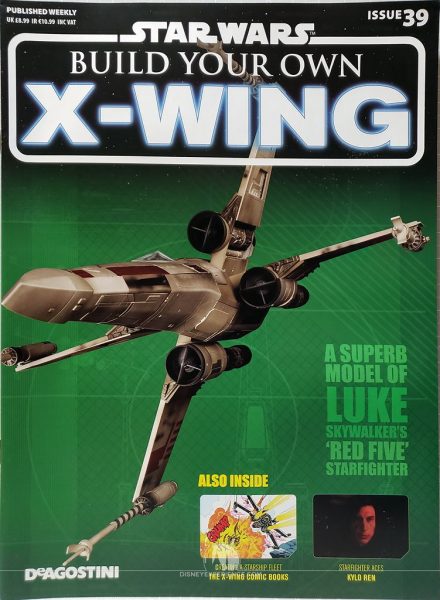
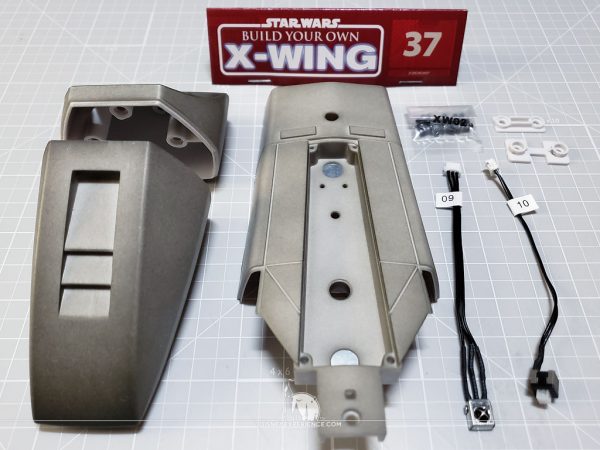
The nose cone and its electronics are the last new assemblies before going back to work on the wings. I also improve the R2-D2 figure, and I make a radical decision about the model as a whole.
Improving R2-D2
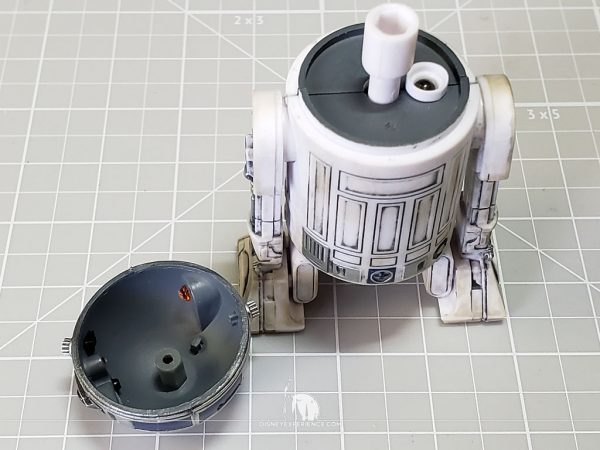
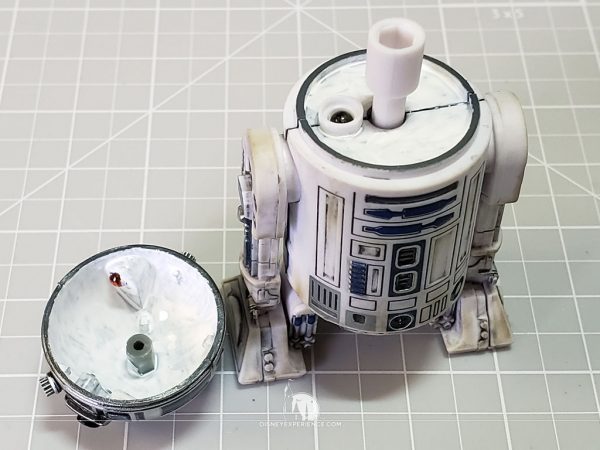
I revisited the R2-D2 figure to see if I could find a way to block the light leak underneath the dome. It’s pretty tight inside the dome, and the LED’s location complicates things even more, so I abandoned that idea for now. But, I did make a an improvement.
When I tested the figure, the light seemed a little dim. I thought the batteries were dying, but it turns out that the lighting is just uneven. Some places are brighter than others. To rectify that, I painted the interior of the dome pure white, which does an excellent job of reflecting light (I should have done that for the Millennium Falcon sublight engine skirt template). The dome lights are now brighter and more evenly lit.
Re-Painting the X-Wing
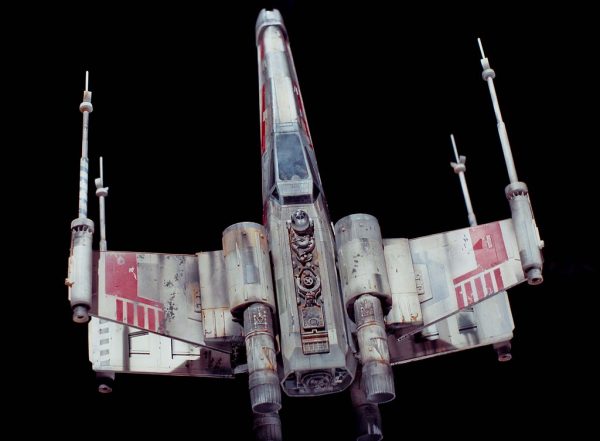
I wasn’t going to do this, but after looking at some reference pictures (download them) of Luke Skywalker’s Red Five, I’ve decided to repaint the model. There are just too many discrepancies between DeAgostini‘s paint job and the pictures. So, I’m taking things into my own hands.
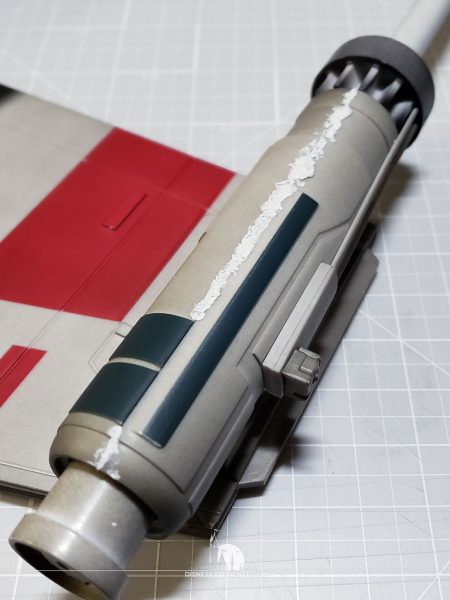
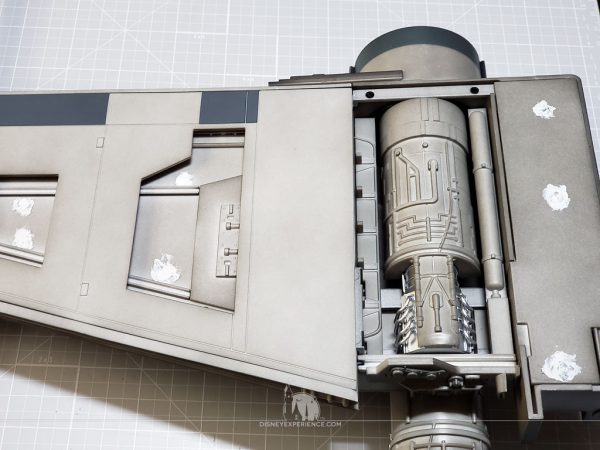
I started by filling in major gaps with J-B Weld PlasticWeld, followed by some sanding. Filling and sanding the interior of the wings would have been a lot easier to do before they were assembled. Well, that’s what I get.
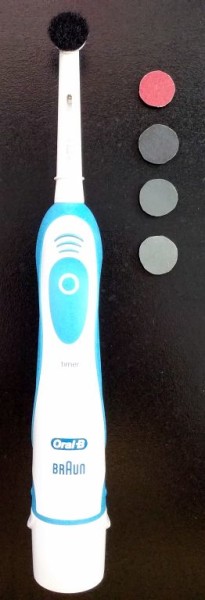
A homemade mini power sander made quick work of sanding, and it saved my hands from hours of work. The sander is a modified Oral-B battery-operated toothbrush.
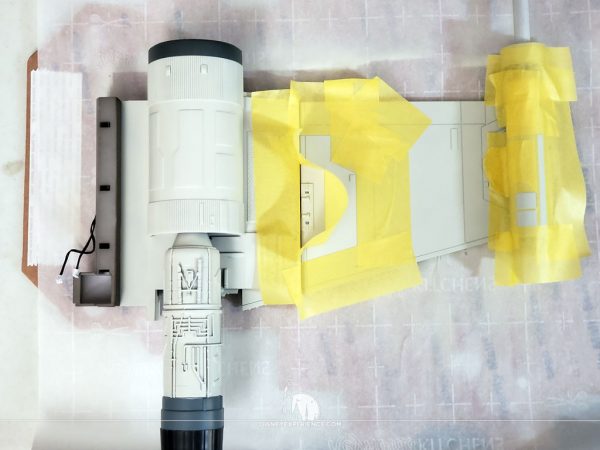
Masking off the portions that I wanted to leave untouched, I sprayed everything with gray primer.
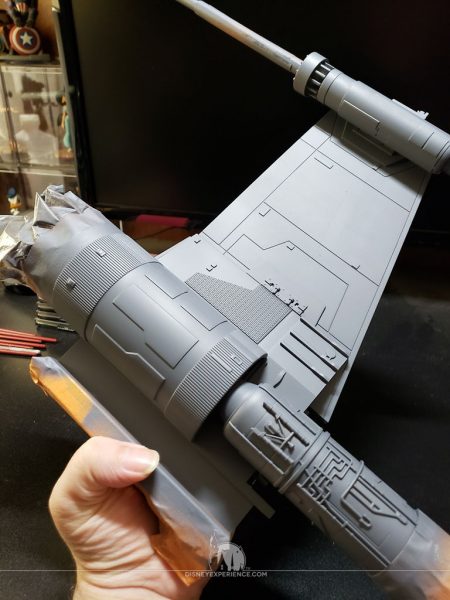
I didn’t feel like trying to recreate the spirals on the laser cannons, so I masked those sections off. I did the same to the ends of the engines to not only keep the paint that was there, but also to prevent any paint from getting inside and mucking up the details.
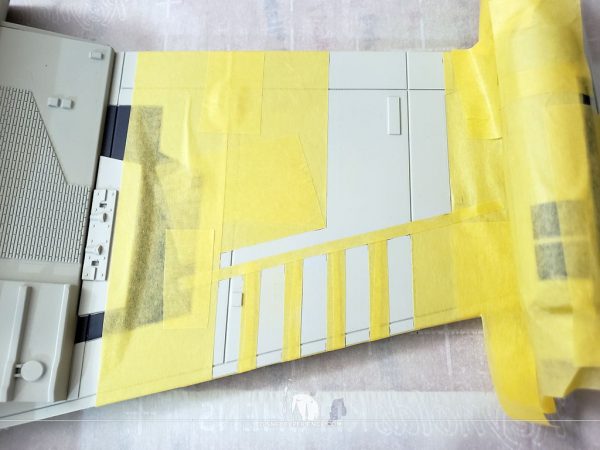
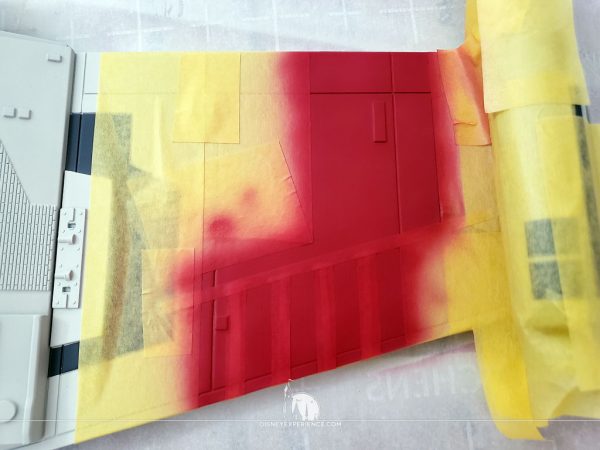
After base-coating the wings in a warm light gray, I masked off sections to begin adding color. This is where I began to panic because there are so few reference pictures of the Red Five model, and the colors are hard to see underneath all of the weathering. On top of that, builders have different interpretations of the colors, and the existence of some markings are questionable.
For example, DeAgostini has some dark markings along the forward edges of the inner wings. But, the markings are nowhere to be found in the reference pictures of the screen-used model. Since I’m basing my painting and weathering on the screen-used model, I did not paint these back in.
Ultimately, I’ve resigned to the fact that no matter what I do, I am never going to get a perfect X-Wing. So, I’m just going to combine the best of everything to suit my taste.
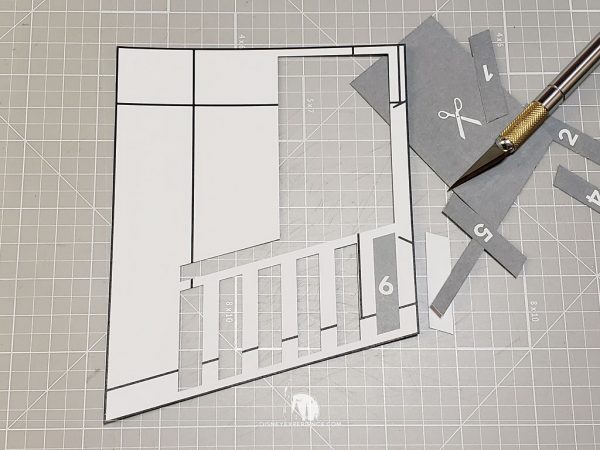
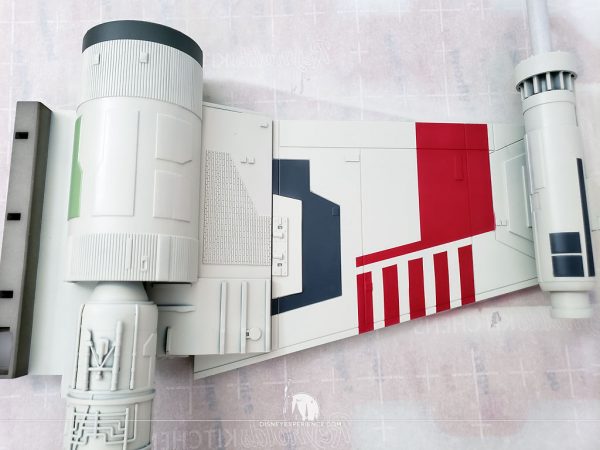
Some of the things that needed to be fixed on the model were the red markings on the wings. I don’t know who measured these, but they were off. Not by much, but it’s noticeable when compared to the reference pictures. To properly measure and align the markings, I made a set of cardstock templates (download) in Adobe Illustrator. The templates can also be used for creating markings for Red One through Red Six, just in case.
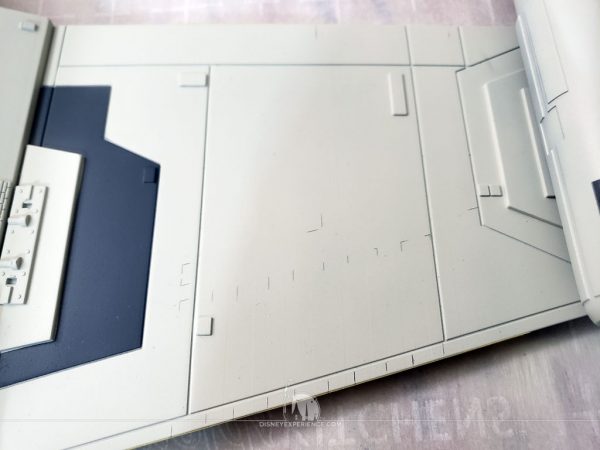
I cut out the template and placed it on the wing, lining up the black template lines with the panel lines on the wing. To minimize pencil lines, I made small marks only along edges and corners.
I used the pencil guides to mask and paint the red markings back in.
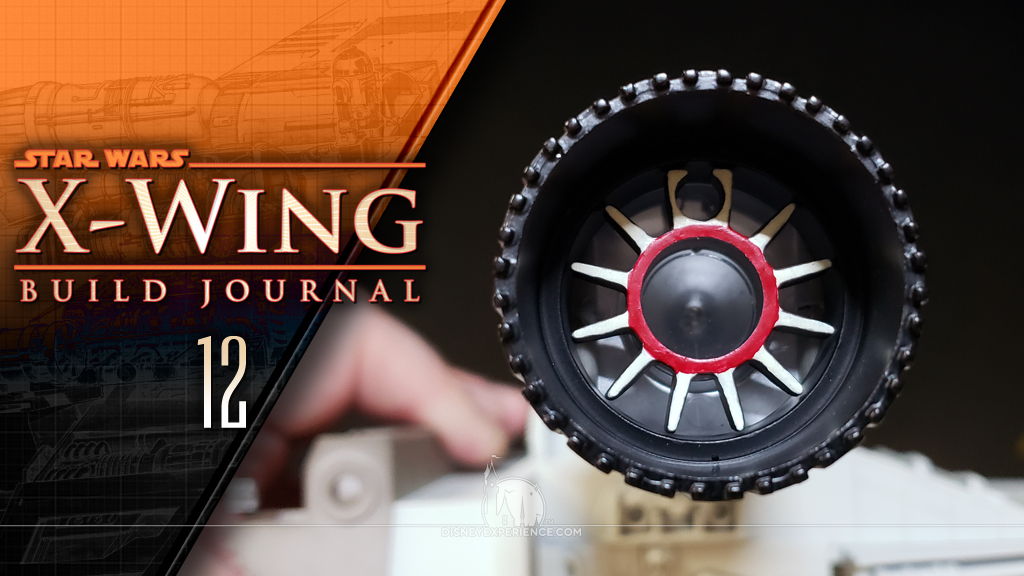
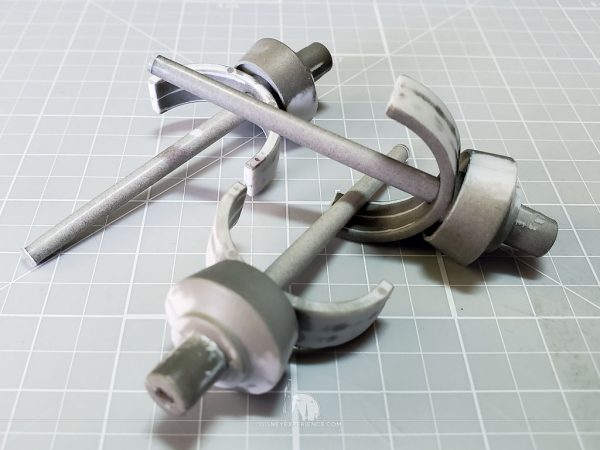
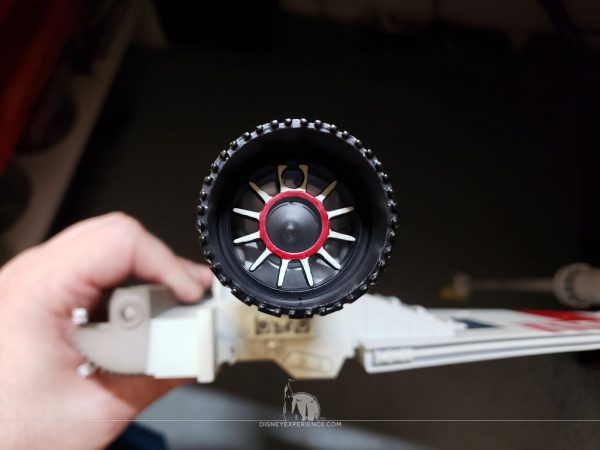
Lastly, I painted the spokes inside the the engines. I saw this detail in one of the reference pictures, and I liked how it broke up the monotony of the dark interior. It adds some extra detail when the engines are not lit.
I’ll save the weathering effects for next month.
The Nose Cone
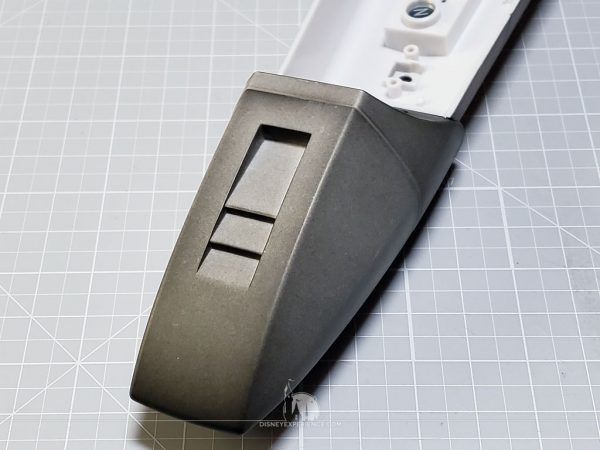
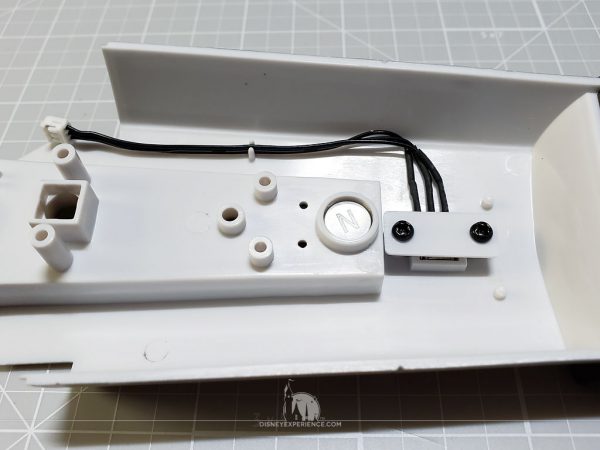
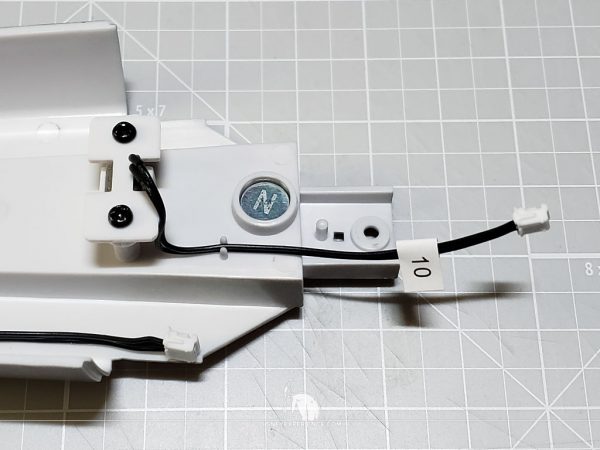
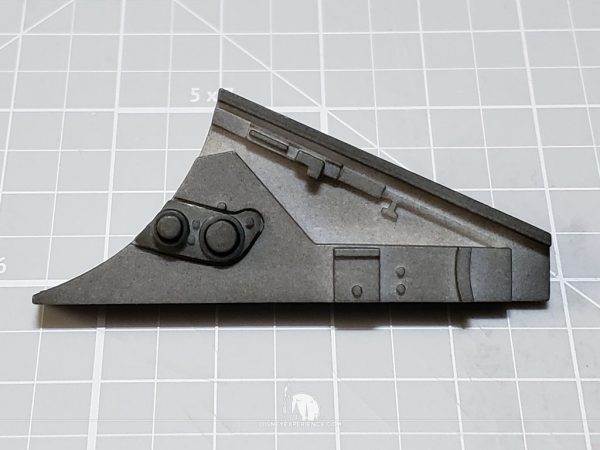
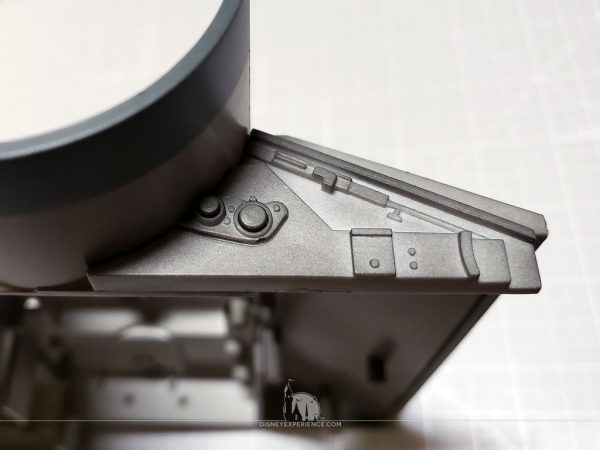
The nose cone is far bigger than I expected; it’s an impressive size. I also see that some magnets have been pre-installed for the front landing gear.
The electronics consist of both the antenna (for the remote) and a switch. I’m assuming that the switch is for disabling the wings so that they do not open when the model is resting on its landing gears.
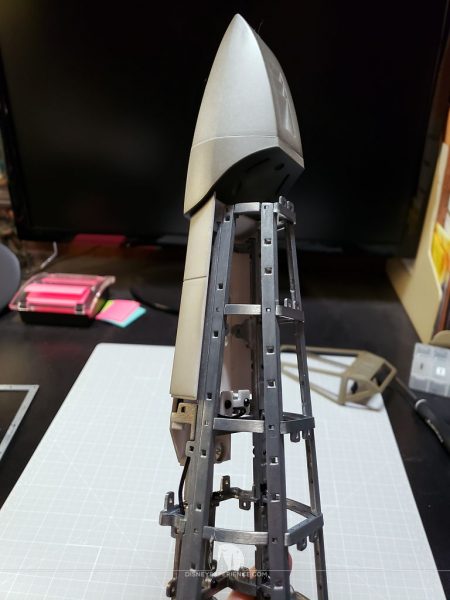
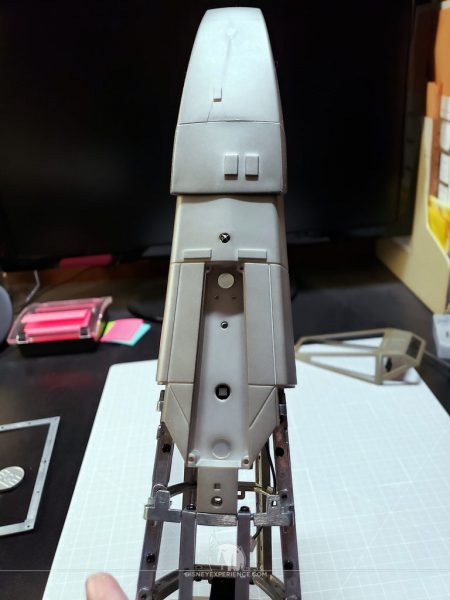
With the X-Wing’s nose cone dry-fitted to the frame, the model’s scale is coming into focus. It’s a BIG model.
Continuing the 3rd Wing
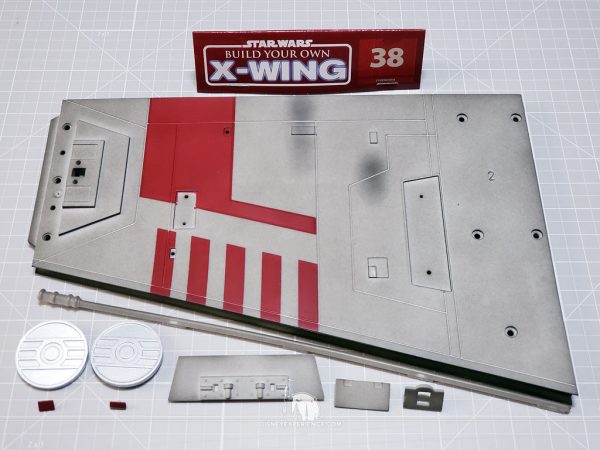
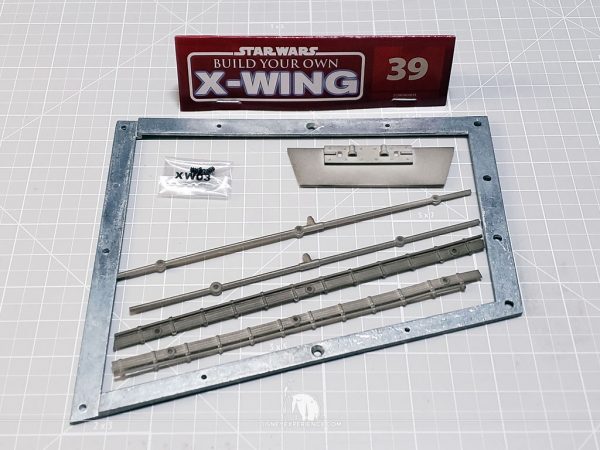
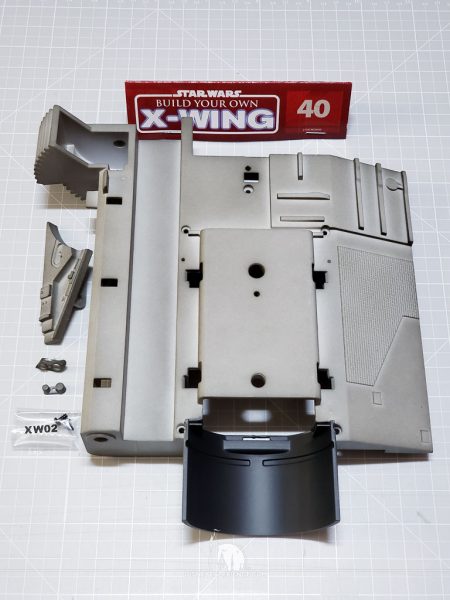
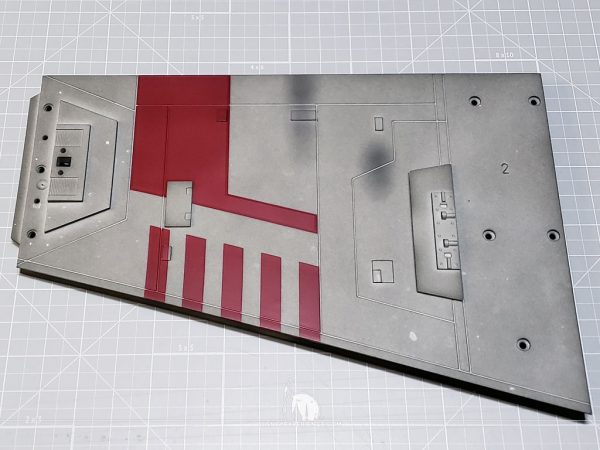
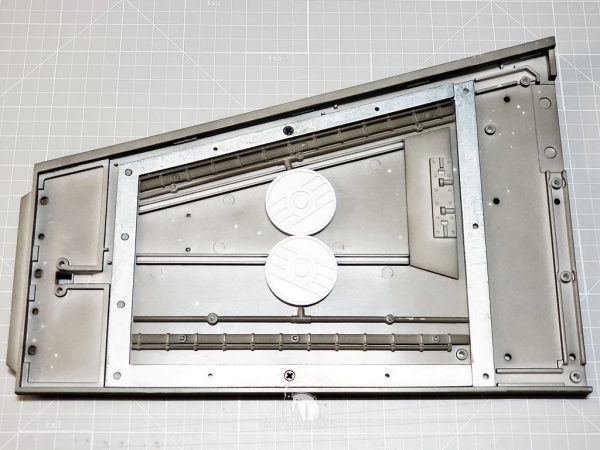
Well, it’s back to working on the wings for a while, adding greeblies to both the exterior and the interior.
I can’t wait until next month; I should be getting the third/final free gift. I’m really excited about getting the bookends, but I’m also a little worried. There was no more than an image provided, so I have no idea how big or heavy these things are. They should be a decent size and weight if they are supposed to keep a set of books upright.
Prev Journal Entry | Next Journal Entry
Both the post author and this website have not received any compensation for writing this post. Both the post author and this website have no material connection to the third-party brands, products, or services that have been mentioned. Some of the links in the post above are “affiliate links.” This means that if you purchase the item, we will receive a commission. As an Amazon associate, we earn from qualifying products. This is being disclosed in accordance with the Federal Trade Commission’s 16 CFR, Part 255: “Guides Concerning the Use of Endorsements and Testimonials in Advertising.”




Do you have a thought about this post? Why not leave a comment . . .