
X-Wing Build Journal No. 11: Issues 33-36
What’s Inside
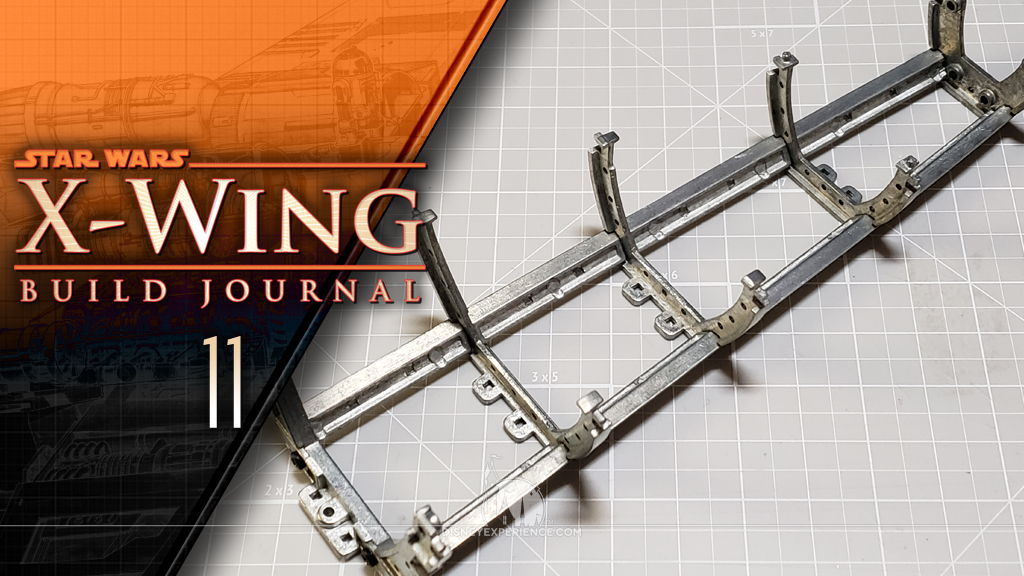
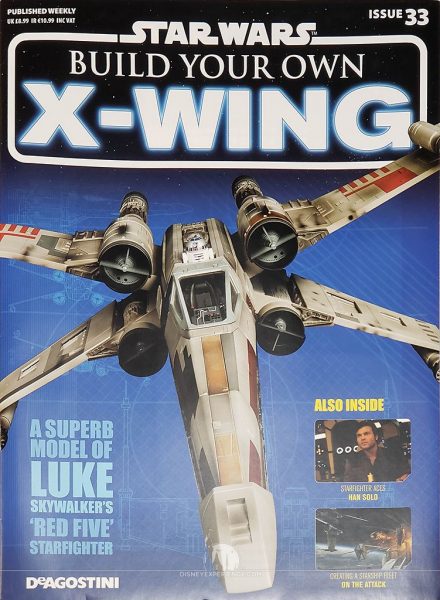
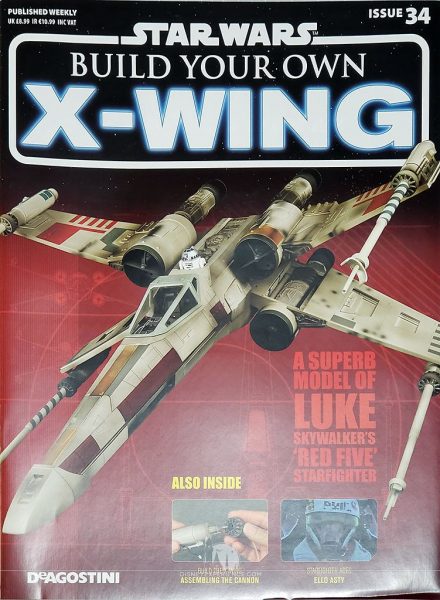
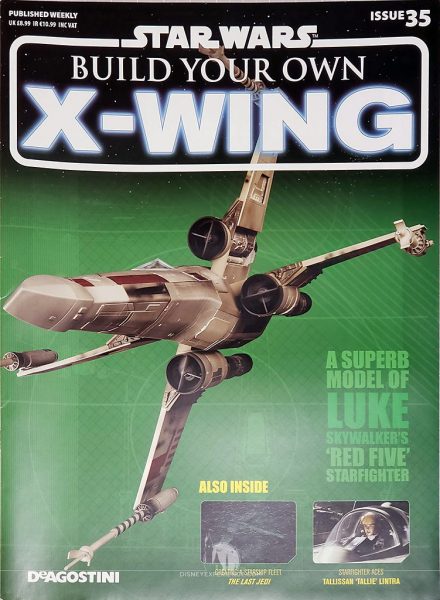
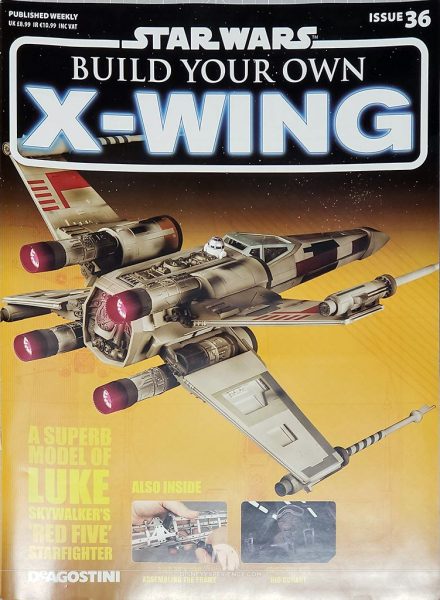
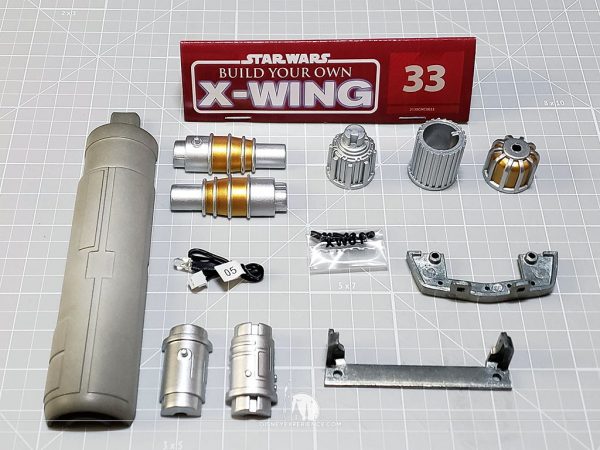
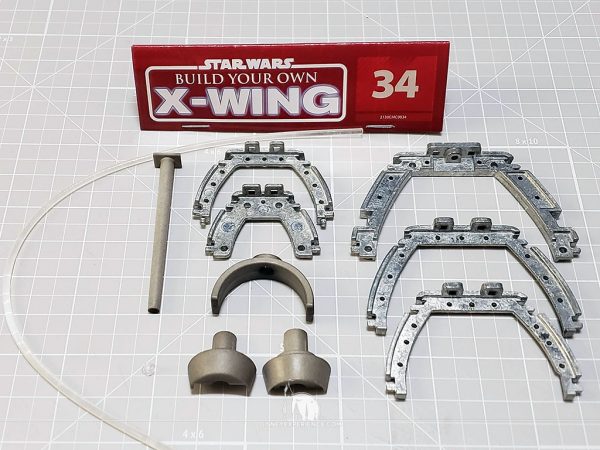
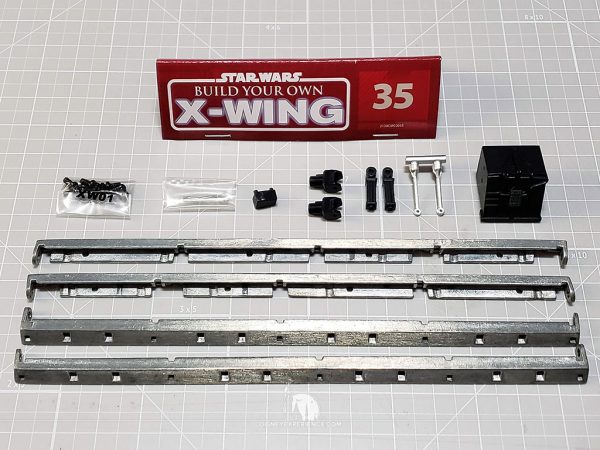
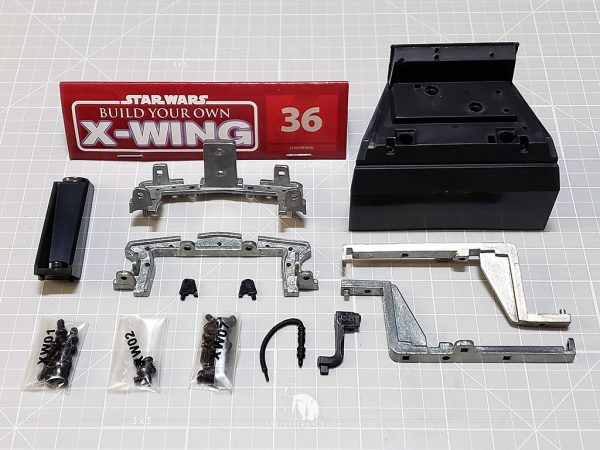
This month, I work on a few different parts of the X-Wing: the laser cannon, the cockpit canopy, the targeting computer, and the nose frame. I also get the second free gift, a stormtrooper power bank.
Shipping Woes
There was another shipping snafu with box #8, and it arrived a month late. In fact, it arrived the same day that I was supposed to be billed for box #9. That meant that I would receive box #8 one week, and box #9 would arrive the following week. Well, several days had passed, and I still hadn’t been billed for box #9.
I sent a message to ModelSpace, and it turns out that because box #8 shipped late, my billing date had been pushed back by 3 weeks. Thankfully, I was able to request that they charge me right away for box #9 so that it could be sent out. I was also able to have my billing date restored to its previous schedule.
If you do have to contact ModelSpace, be patient—it may take a few days for them to contact you—and be courteous to whomever is helping you.
Stormtrooper Power Bank
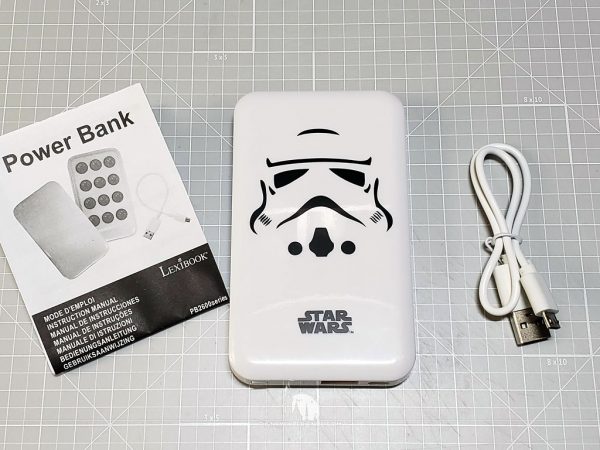
The second free gift arrived in this month’s box. It’s a Lexibook 4000 mAh stormtrooper power bank, which isn’t anything special by itself or unique to the subscription. The only thing “special” about it is that it’s hard to find in the U.S. If you live in Europe, they are readily available online.
The package contents consist of the power bank, a multi-language instruction book, and a USB cable for charging the power bank.
The underside of the power bank has a series of twelve suction cups so that it can be attached to the back of a smartphone, tablet, etcetera.
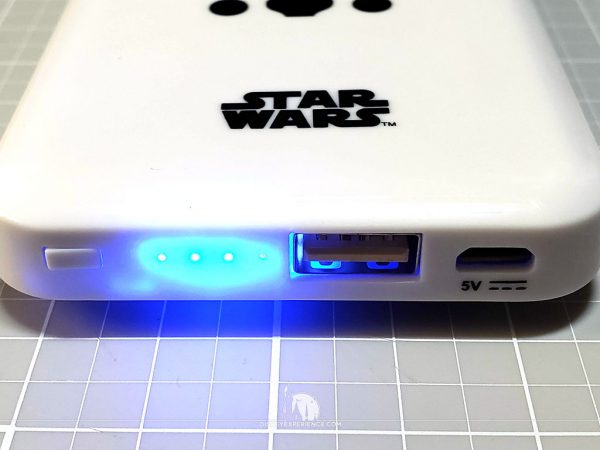
Pressing the small white button activates the power indicator. Four lights equals a full charge.
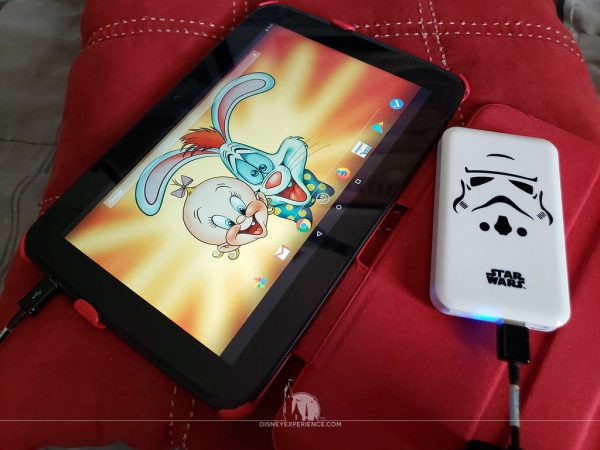
As power banks go, this is pretty dinky. I did a proper test on my smartphone, and I charged it from 10% to 80% in 1 hour and 20 minutes. The power bank started out with four lights and ended with only one, so I don’t know how I’m supposed to get two smartphone charges as the box suggests. I’m not even going to try to charge my old tablet; that thing takes 6 hours to charge when plugged directly into an outlet!
Still, I know from experience that power banks are handy to have in the event of a power failure, so I’m happy to add it to my collection.
Completing the Laser Cannon
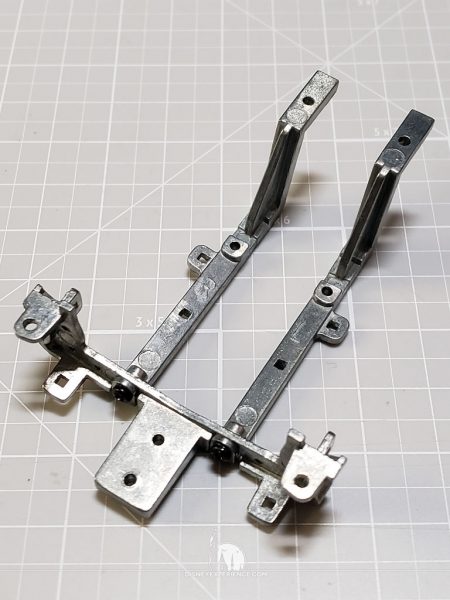
I decided to assemble the fuselage frame last; the metal parts were extra grungy, and I didn’t want to transfer dirt and grease onto the clean plastic parts.
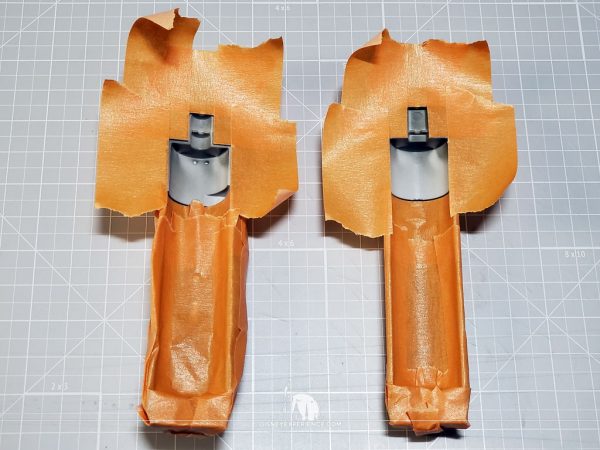
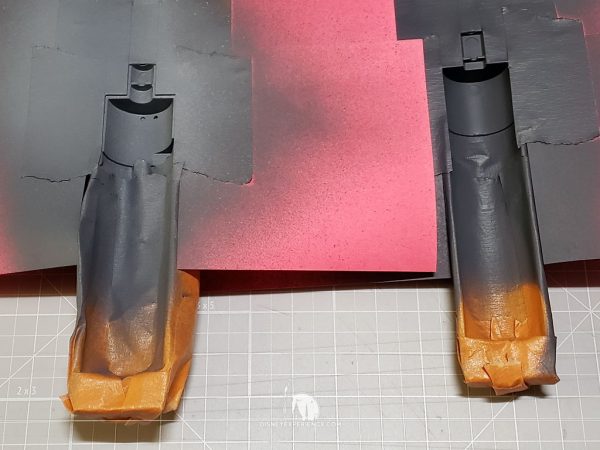
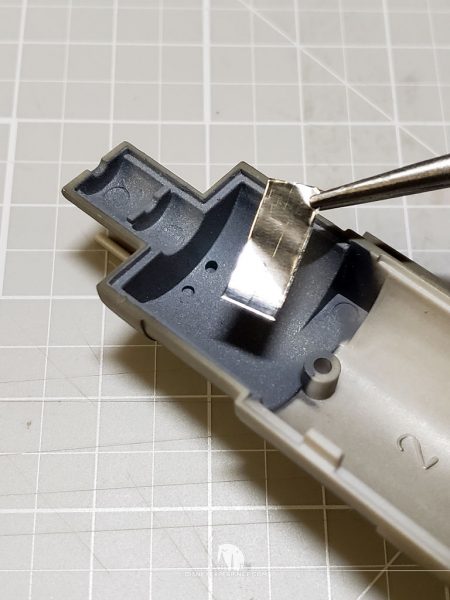
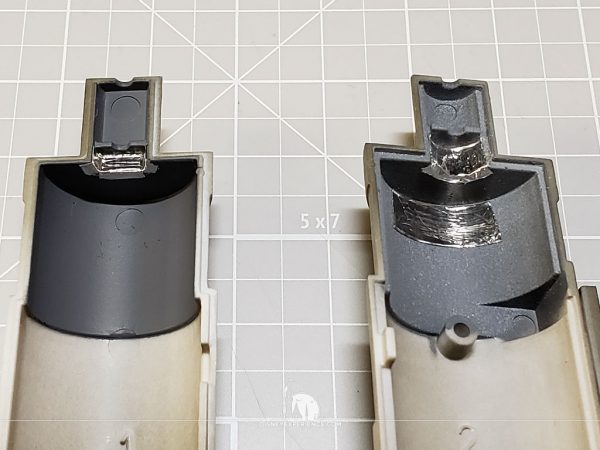
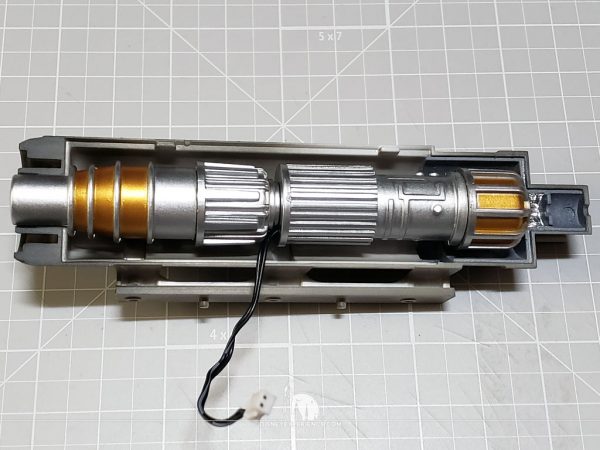
After light-blocking the end of the laser cannon body with gray primer, I used foil tape to add additional blocking protection. This cannon body, unlike the others, had two small holes that also needed to be covered with tape.
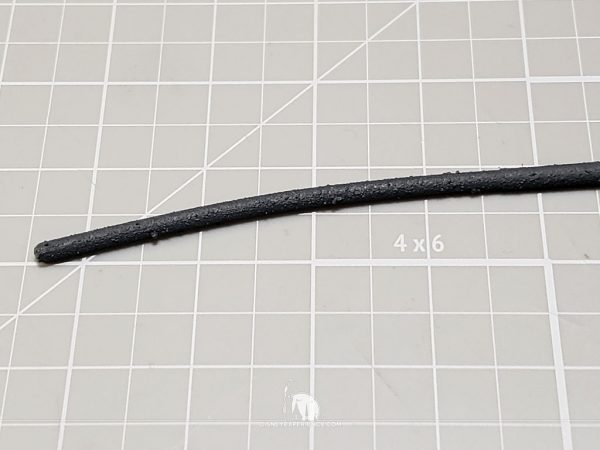
I wrapped the fiber optic in foil tape, and I sprayed the end with primer, making sure that I masked the tip with Elmer’s Glue-All.
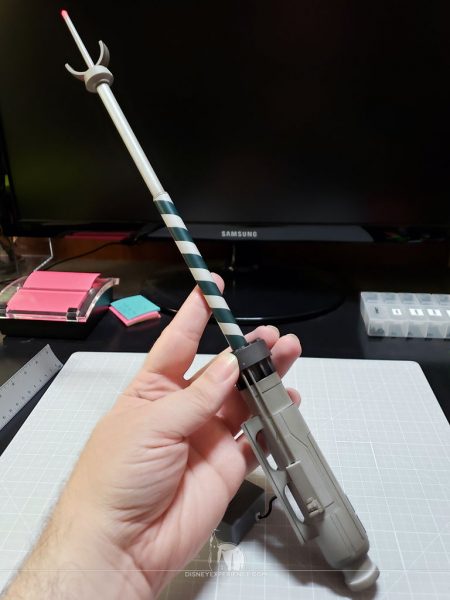
The end of the laser cannon was assembled and drilled out with a 7/64 drill bit to accommodate the extra girth that the foil tape added to the fiber optic.
Cockpit Canopy
Yay; something more to work on besides wings!
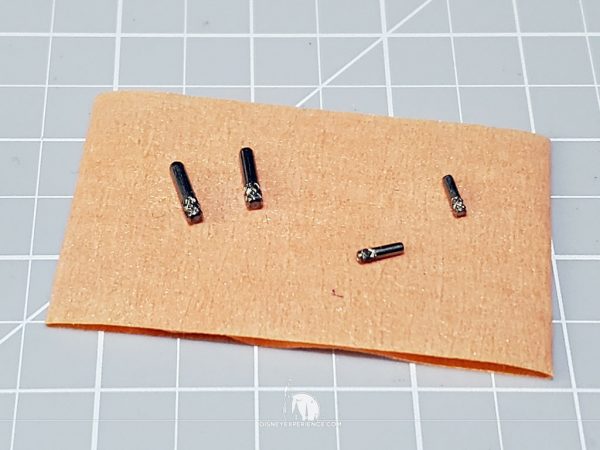
The four pivot pins are really tiny. I recommend rolling a piece of tape (sticky side out), sticking it flat on a surface, and placing the pins on the tape so that they do not roll away.
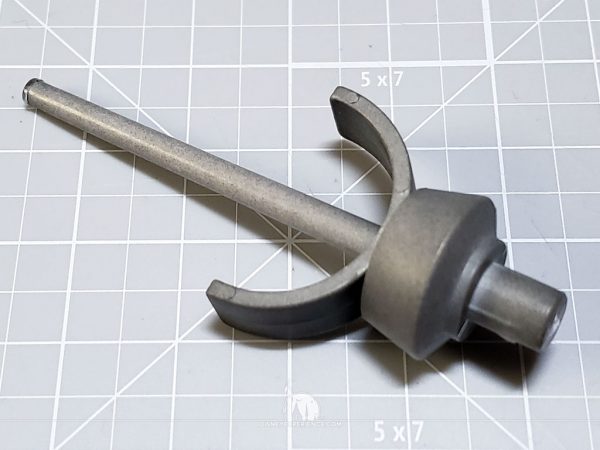
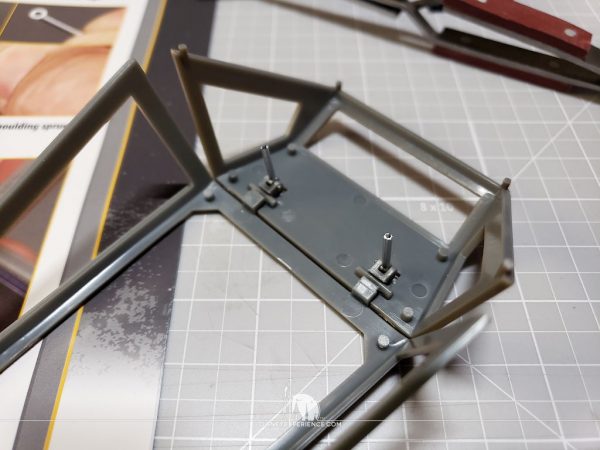
The two small pins attach the silver struts to the canopy, and here is where a set of needle nose pliers comes in handy. It’s a small space, and the pliers can get in there easily. It takes some pressure to push the knurled end into the plastic, and the pliers provide easy leverage. Assembled, the struts are very stiff, but they will help hold the canopy open when the model is finished.
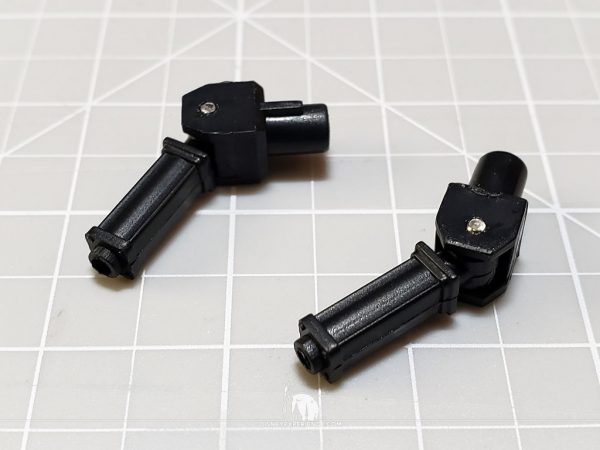
The black strut bodies slip over the silver struts with no glue. They sit snugly in place, so losing them shouldn’t be an issue.
Targeting Computer
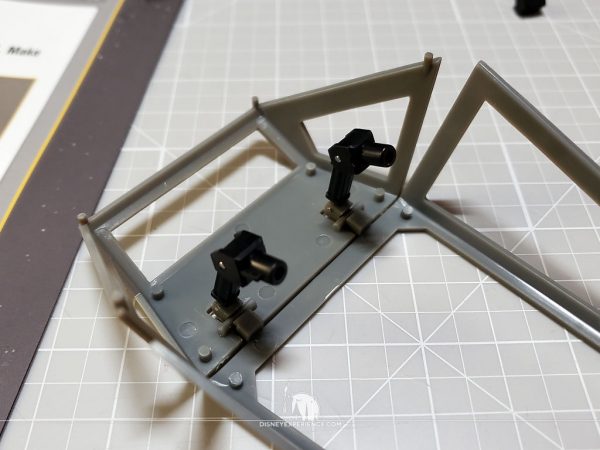
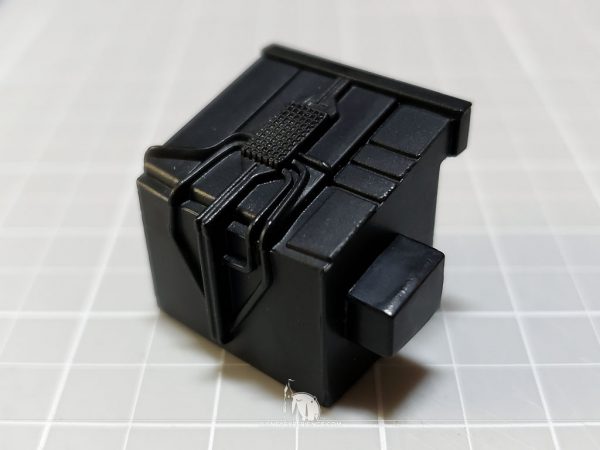
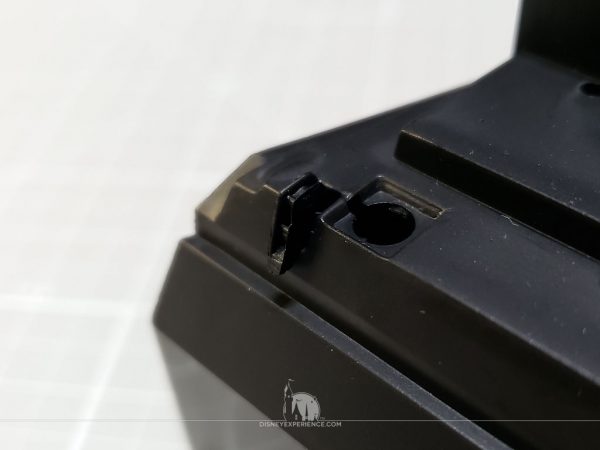
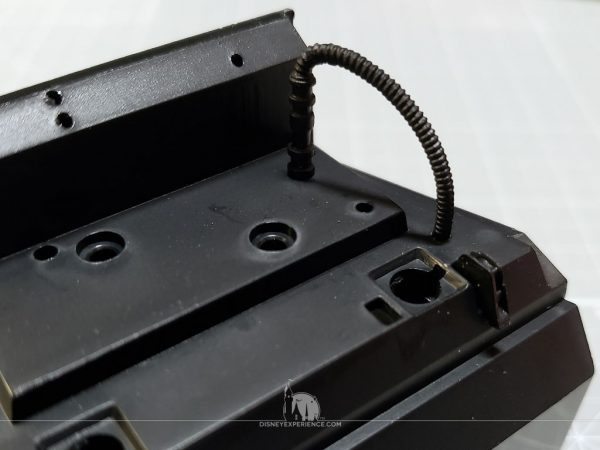
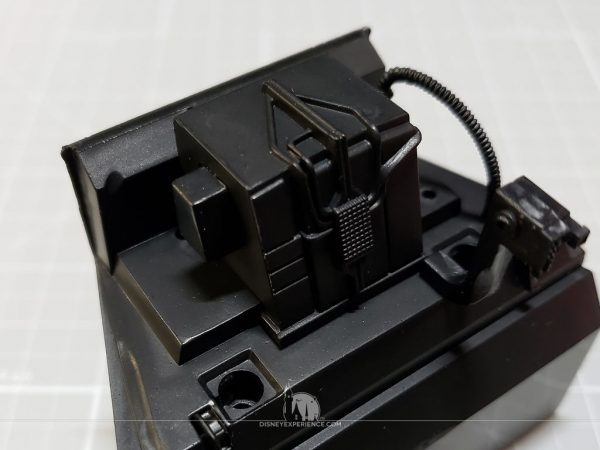
The targeting computer is a straight-forward assembly. There is one piece that is made of rubber, so I had to use superglue.
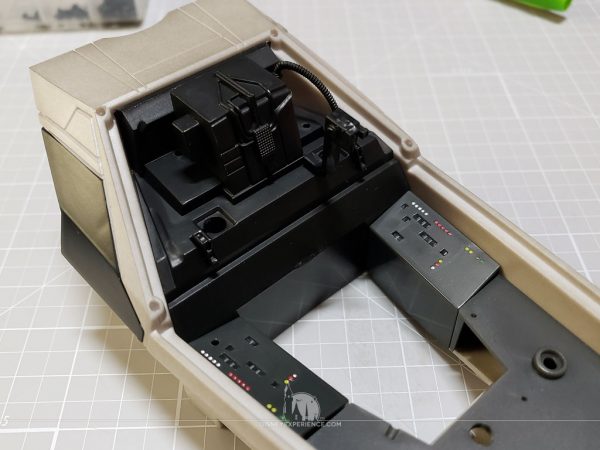
I did a dry fit of the targeting computer into the cockpit to see how it looked. I will also keep it there for storage, adding the canopy and placing R2-D2 inside.
Extending the Fuselage
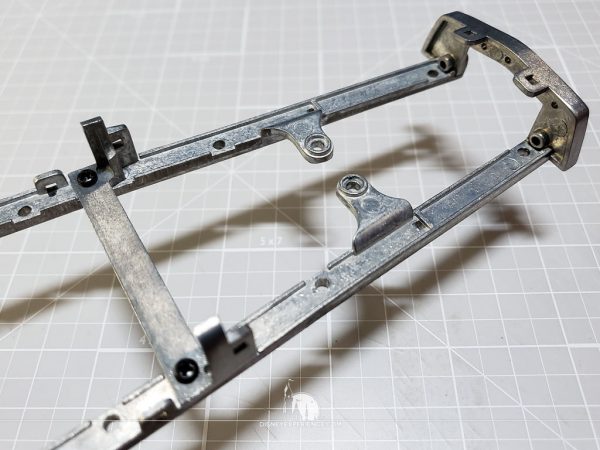
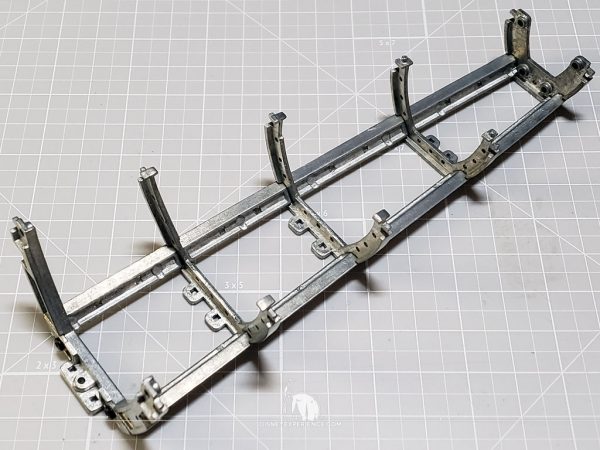
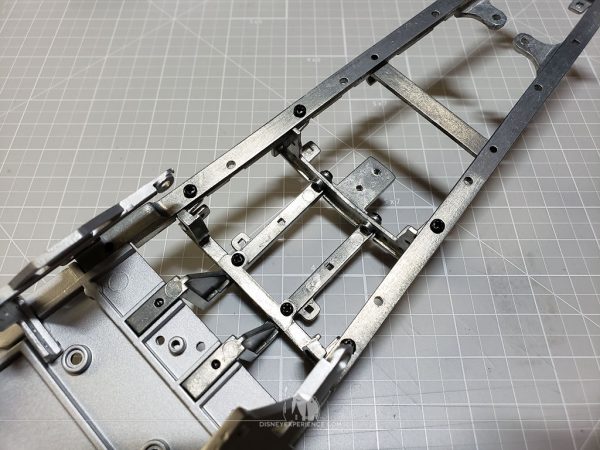
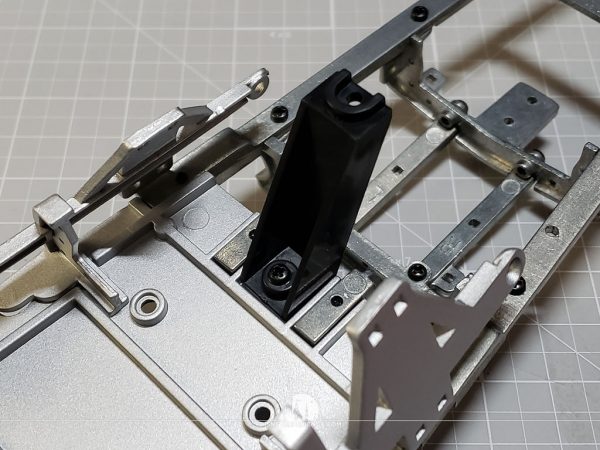
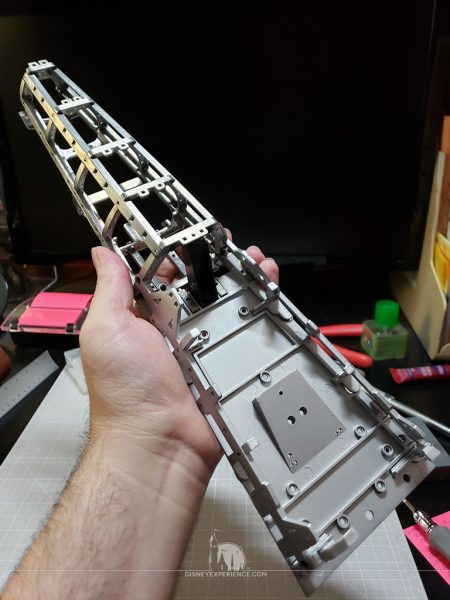
Assembling the nose section of the fuselage was tricky. The illustrations in the magazine were not detailed enough the make out each piece, and the pieces are not labeled. But, I was able to figure it out.
Connecting the nose frame doubles the fuselage length, which is now impressively heavy. For storage, I slip the cockpit into the framework as I always do.
Prev Journal Entry | Next Journal Entry
Both the post author and this website have not received any compensation for writing this post. Both the post author and this website have no material connection to the third-party brands, products, or services that have been mentioned. Some of the links in the post above are “affiliate links.” This means that if you purchase the item, we will receive a commission. As an Amazon associate, we earn from qualifying products. This is being disclosed in accordance with the Federal Trade Commission’s 16 CFR, Part 255: “Guides Concerning the Use of Endorsements and Testimonials in Advertising.”






Do you have a thought about this post? Why not leave a comment . . .