
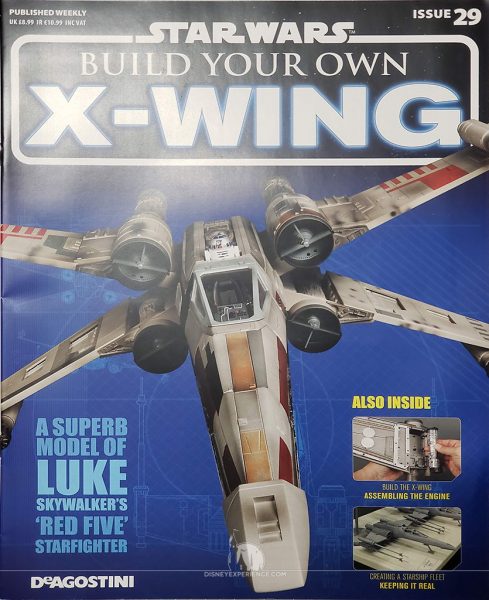
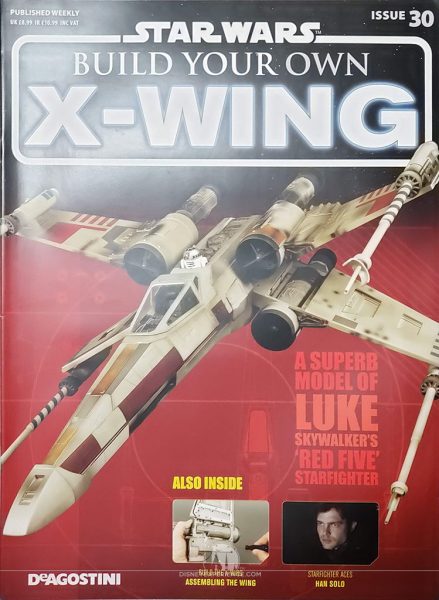
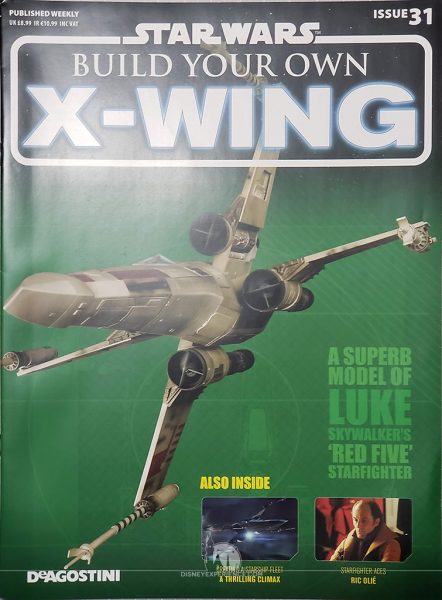
X-Wing Build Journal No. 10: Issues 29-32
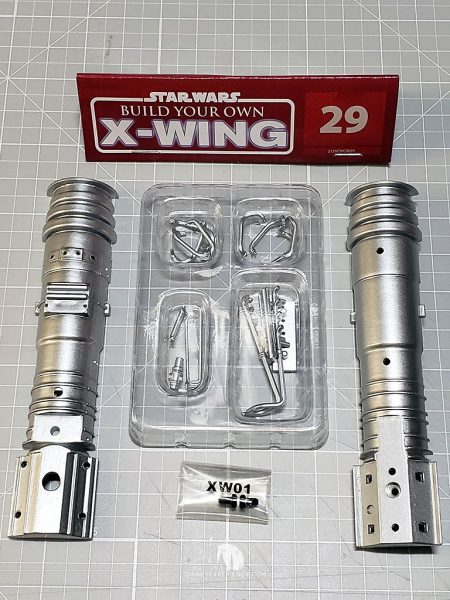
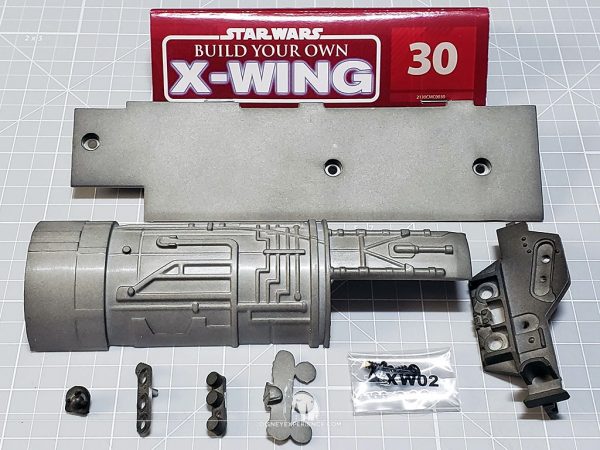
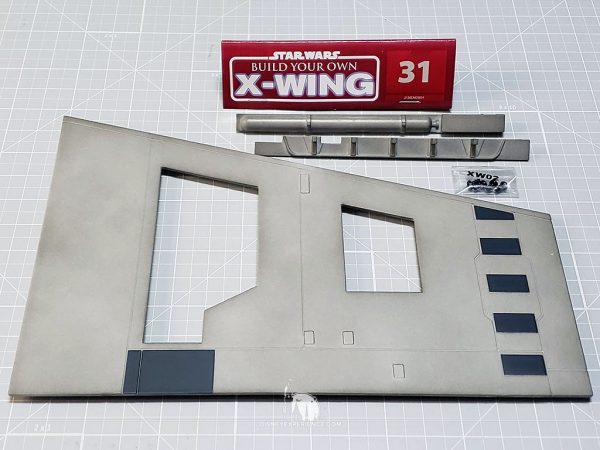
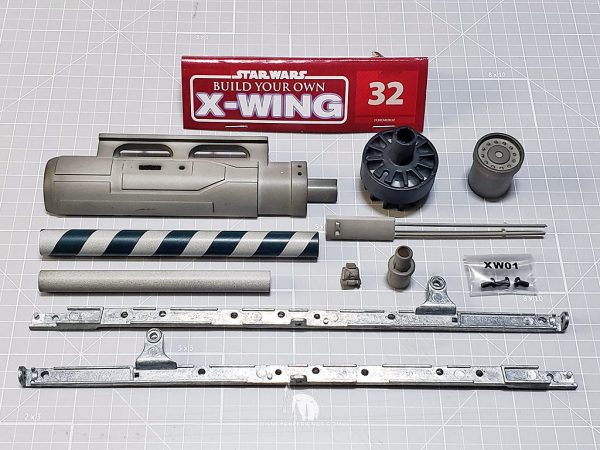
What’s Inside
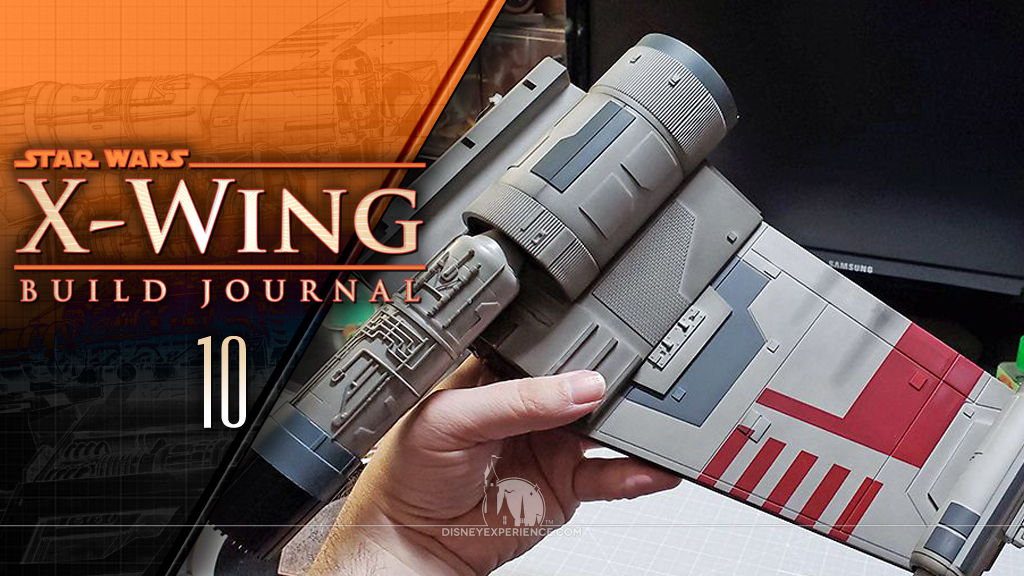
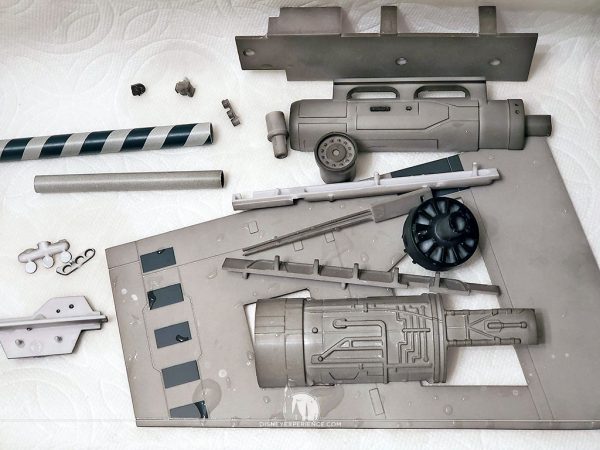
It’s time to finish the second wing, start the third wing, and do a little bit of work on the X-Wing’s fuselage.
Tamiya Cements
I recently discovered that Tamiya makes a quick-setting version of their extra thin cement. It is supposed to set in 1/4 of the time as the regular extra thin cement so that you don’t have to hold or clamp parts together as long.
The extra thin cement is used after fitting parts together since the cement wicks into the cracks. The regular Tamiya cement, on the other hand, is thicker, and it is applied to the parts before fitting the parts together. Personally, I’ve been applying the extra thin cement to parts before fitting them together (where applicable), and it’s been working just fine for me.
And, if you need it for your other models, Tamiya has a cement for ABS plastics as well (previously mentioned cements are for polystyrene plastics). I’m not sure of the thickness of the cement, but I would assume that it is not thin.
Assembling the Engine
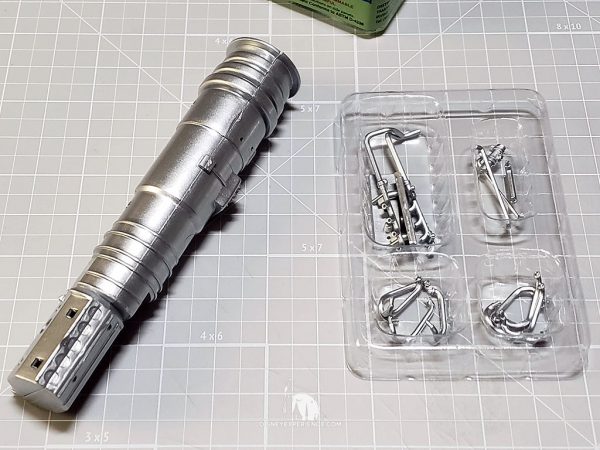
Okay, it finally dawned on me that I could save a lot of time by not washing any parts that will be unseen. Building the Millennium Falcon conditioned me to wash all of the plastic parts since practically all of them are seen. With the X-Wing, I can cut a lot of that out, which is a godsend since the engine has a lot of tiny parts.
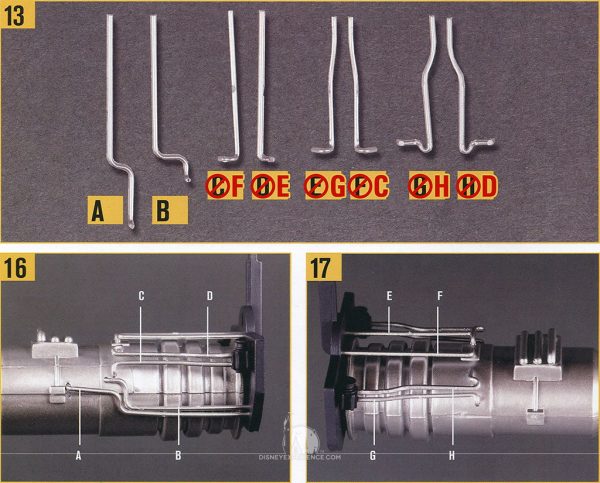
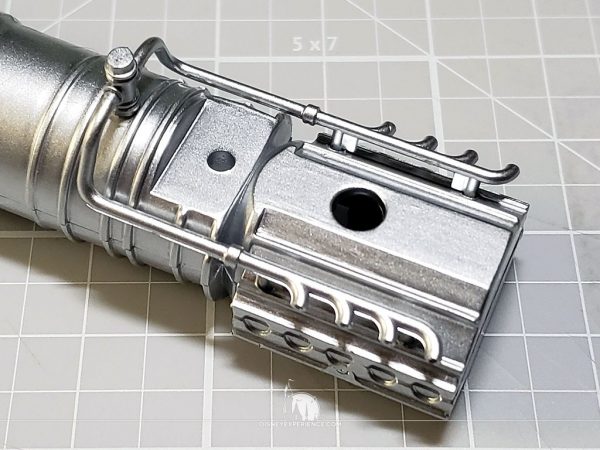
To keep things organized, I kept the tiny engine parts in the plastic container that they arrived in. I had a look at the parts and the labels in the magazine, and they are still labeled incorrectly! I’ve included, here, a corrected image from Build Journal No. 06 as well as step-by-step photos.
Note that this engine lacks the long, gold nozzle that the first engine had (Build Journal No. 06). I almost panicked, thinking that DeAgostini had forgotten to supply them. But, the instructions never mention/picture them, so I guess the lower engines don’t get that part.
Completing the Second Wing & Starting the Third
As much as I’ve been grumbling about the repetitiveness of building the 4 wings, I have come to the realization that it’s probably best to get these out of the way. Rip off the Band-Aid, if you will.
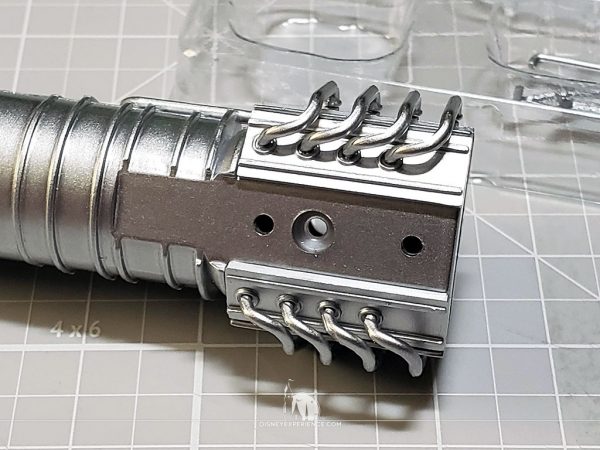
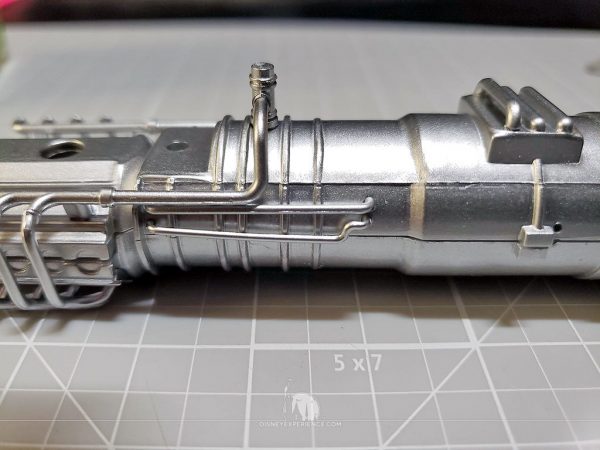
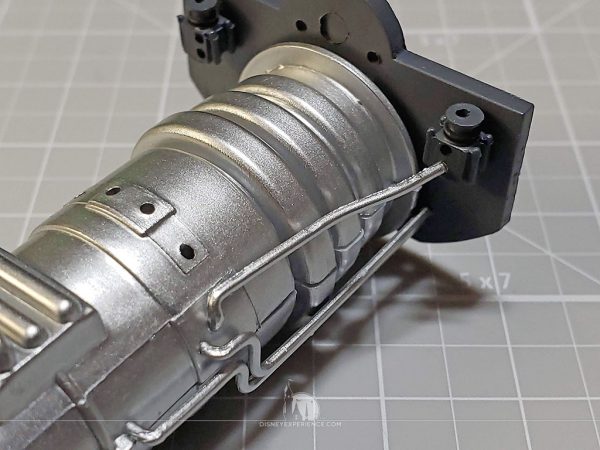
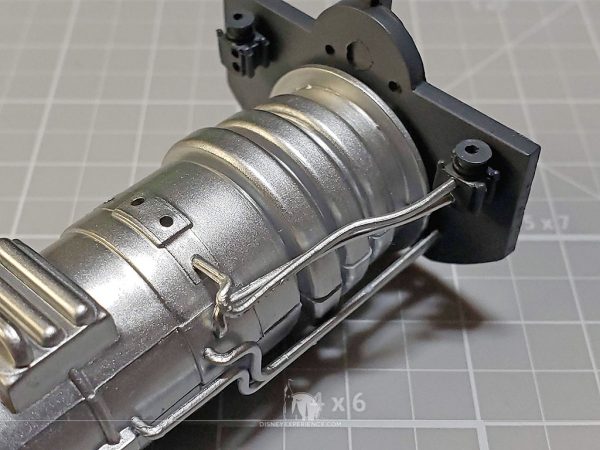
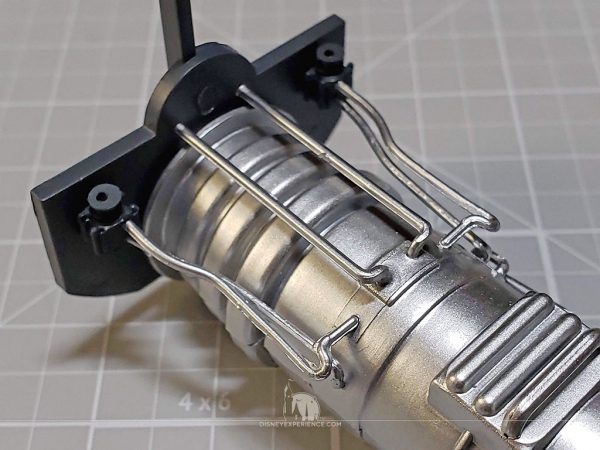
I know that the engine pipes are visible and should have been washed (residual oils & release agents can affect paint adhesion). But, it’s not enough for me to worry about.
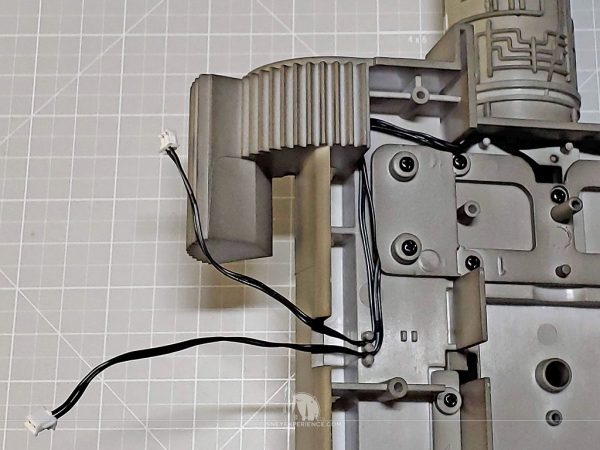
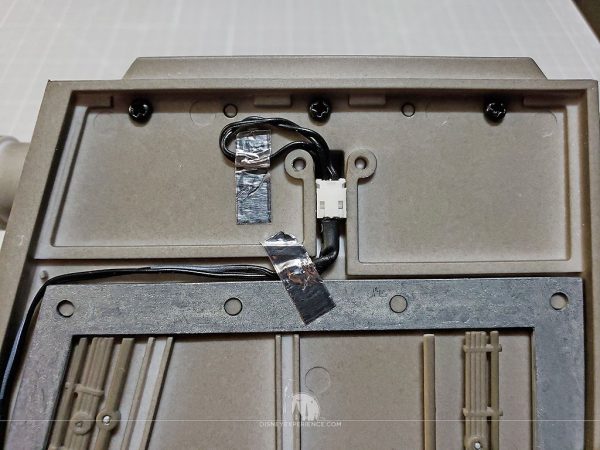
Learning from the previous wing, I held down the excess wiring with small bits of foil tape to keep them it place and out of the way.
The final wing piece was such a tight fit that I decided not to cement it into place.
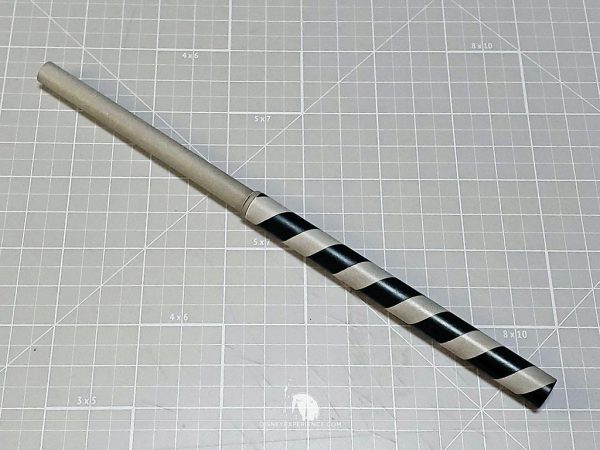
With the second wing complete, it was time to start on the third wing’s laser cannon. Fortunately, very little assembly was required.
Extending the Fuselage
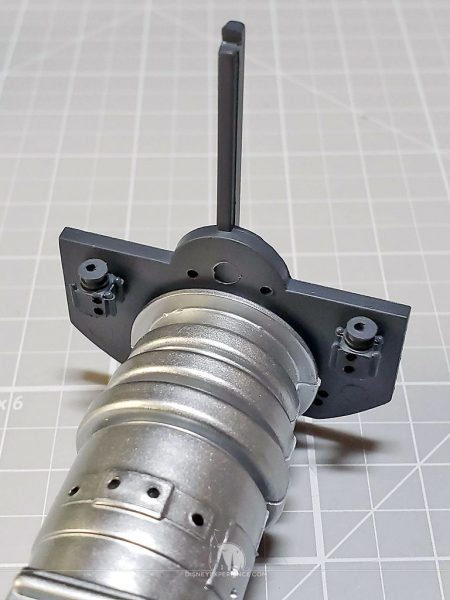
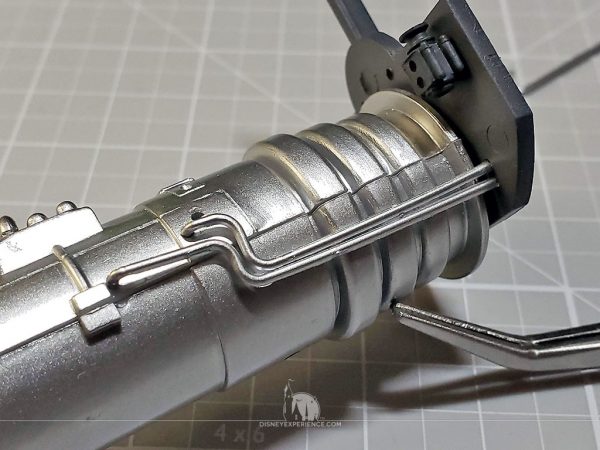
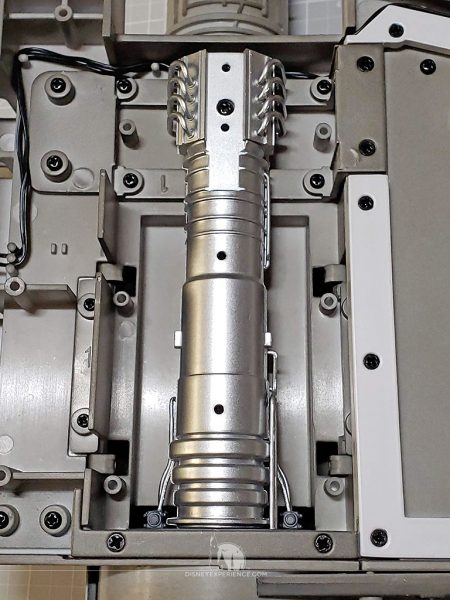
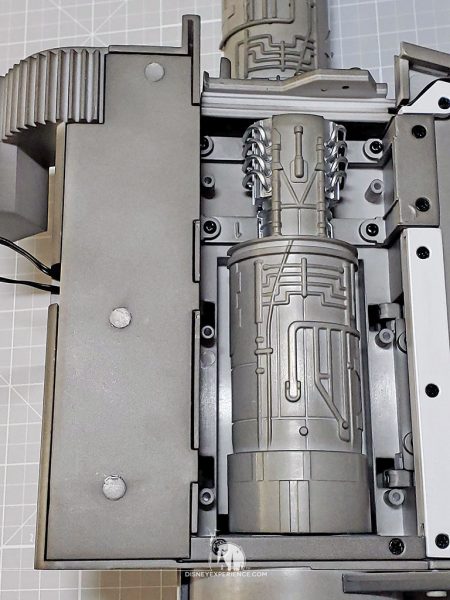
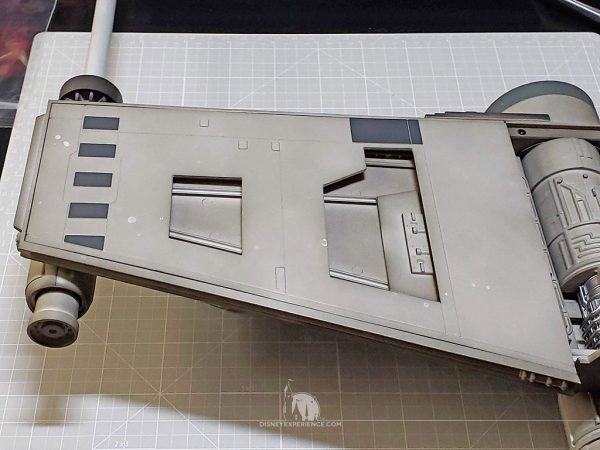
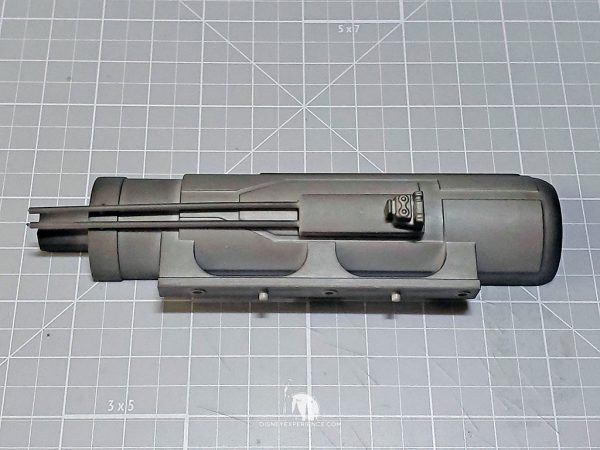
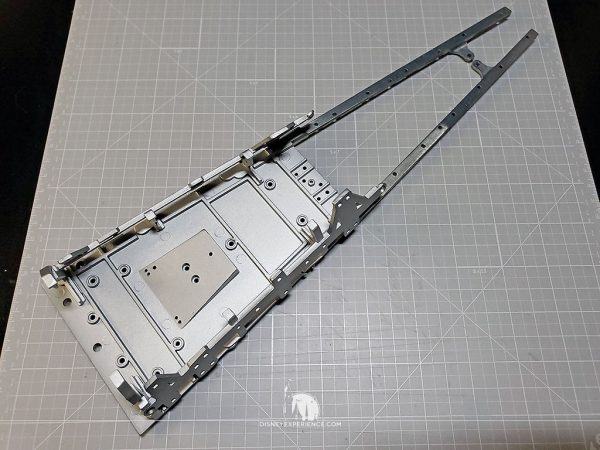
DeAgostini finally threw me a bone; I get to work on the fuselage! Granted, it’s only 2 pieces, but many more fuselage pieces will be arriving next month. Woo-hoo!
Prev Journal Entry | Next Journal Entry
Both the post author and this website have not received any compensation for writing this post. Both the post author and this website have no material connection to the third-party brands, products, or services that have been mentioned. Some of the links in the post above are “affiliate links.” This means that if you purchase the item, we will receive a commission. As an Amazon associate, we earn from qualifying products. This is being disclosed in accordance with the Federal Trade Commission’s 16 CFR, Part 255: “Guides Concerning the Use of Endorsements and Testimonials in Advertising.”





Do you have a thought about this post? Why not leave a comment . . .