X-Wing Build Journal No. 07: Issues 17-20
Trader Sam | September 16, 2019
What’s Inside
The first wing is finished, and work begins on the laser canon of the second wing. I also explore some storage solutions.
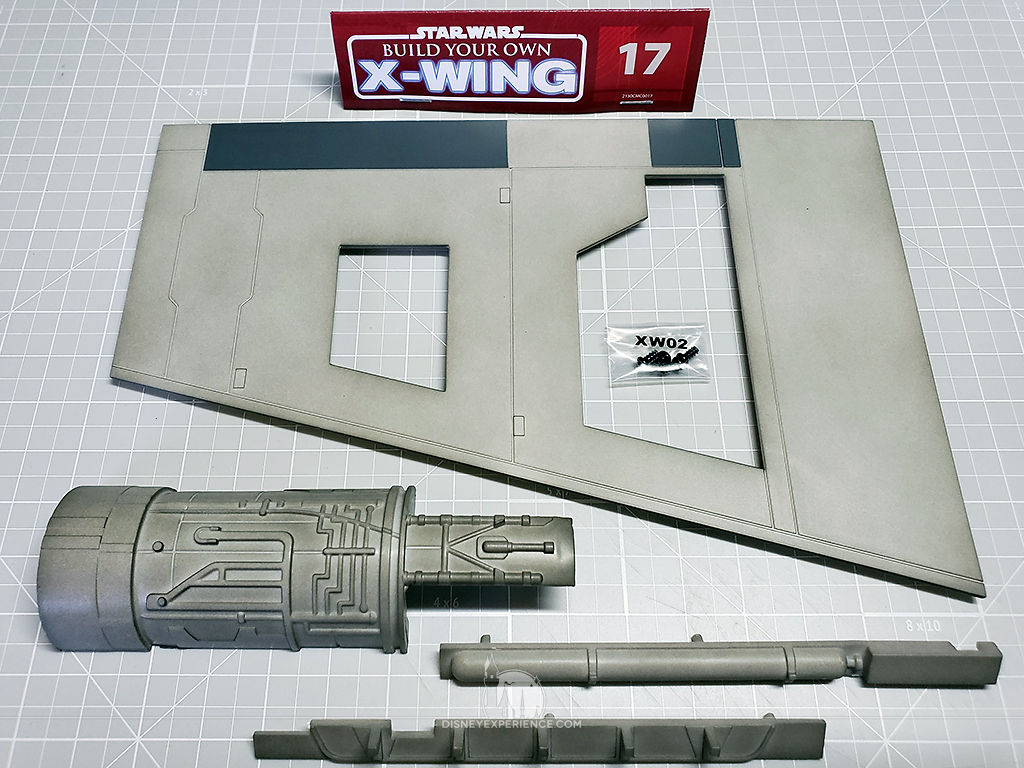

Finishing the Wing
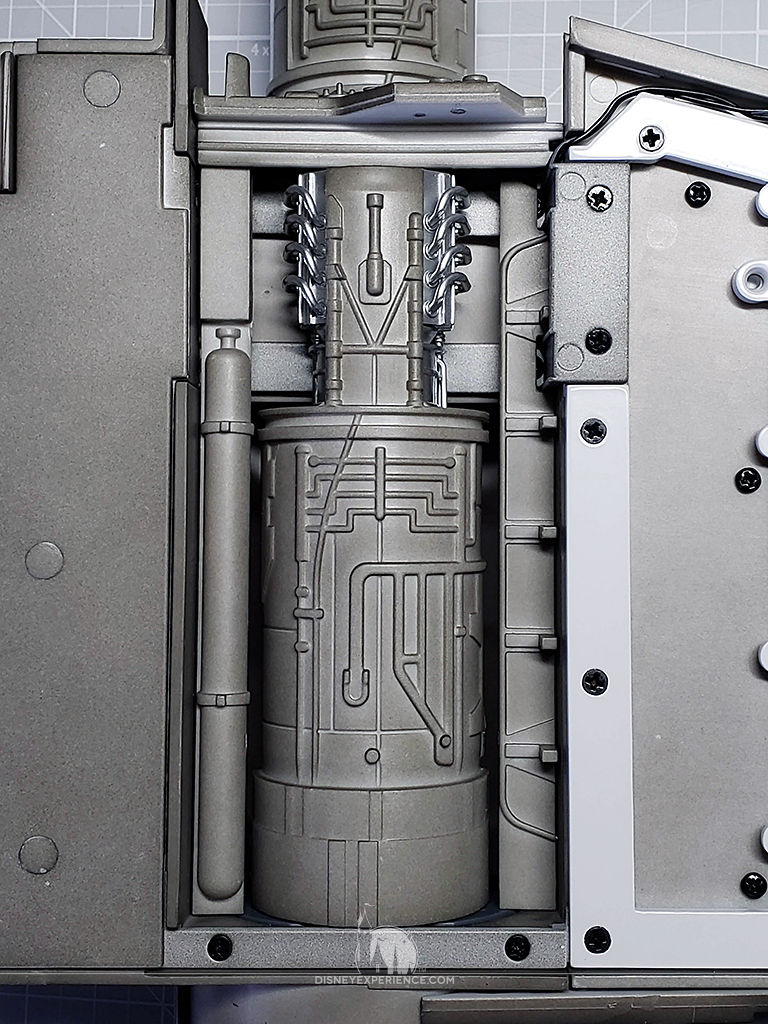
The wing only has a few parts left. Three of them finish off the engine and the engine bay. At this point, I also discovered that I forgot to install 2 screws into the white support bracket.
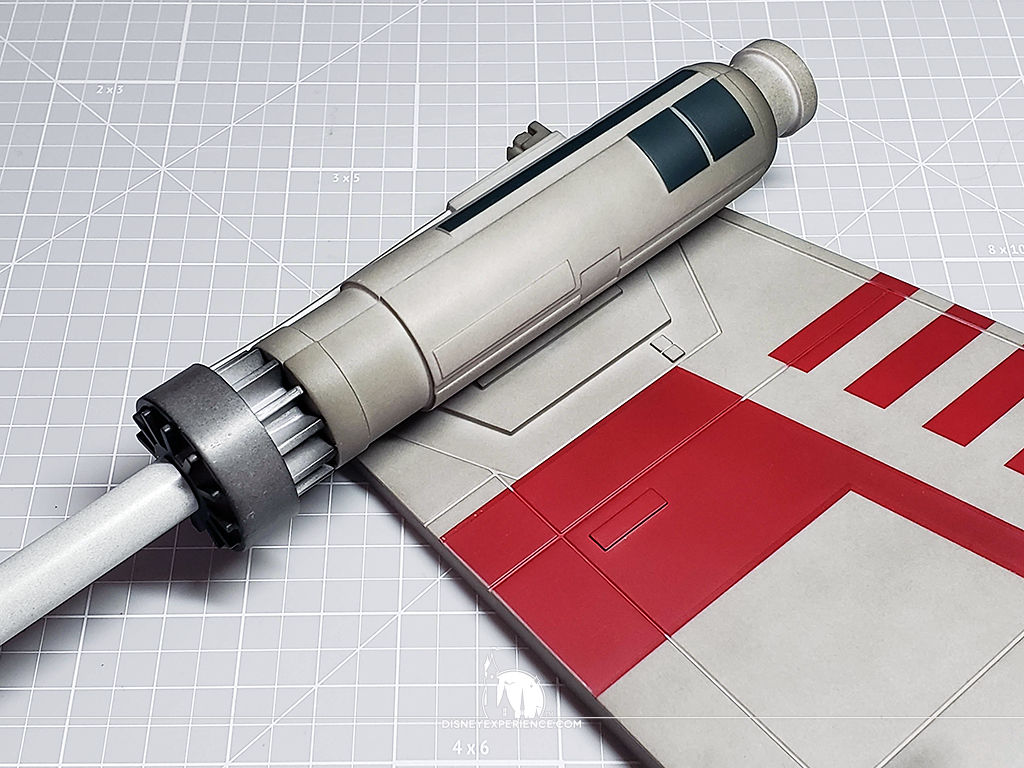
The laser canon is finally attached to the wing. It looks cool, but it also makes the wing large and awkward to work with. It’s also a storage problem—I don’t want to risk bending the laser canon. I’ll have to think on this.
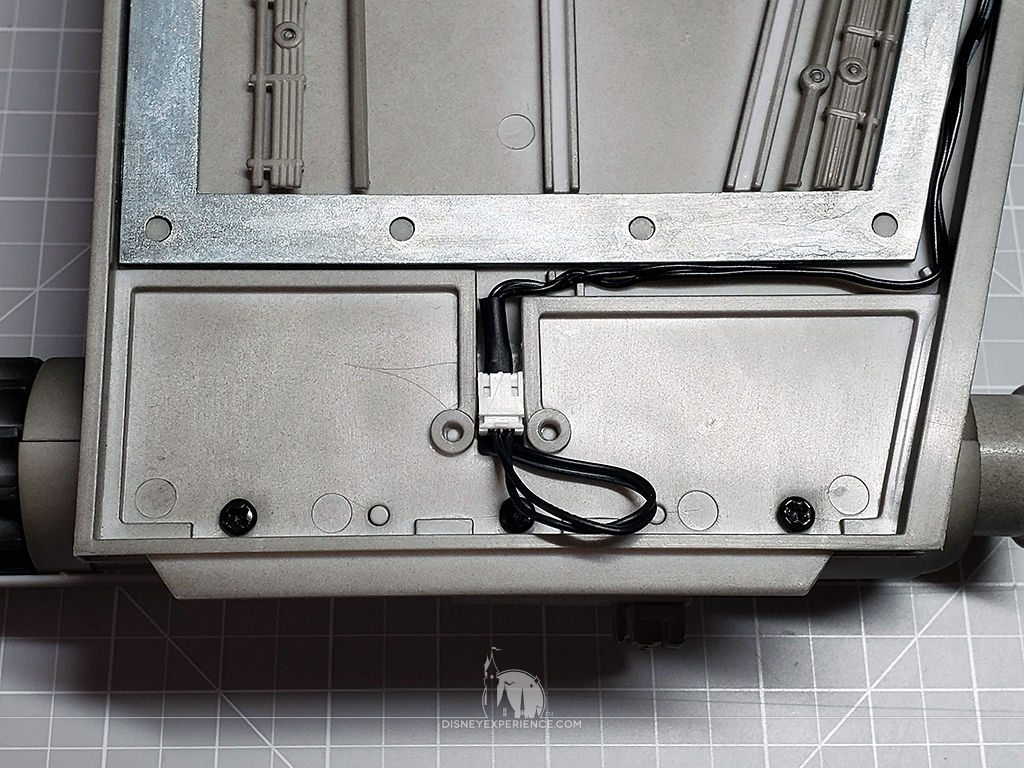
The laser canon is hooked up to the wing’s internal wiring, and the loose bit of wire is looped out of the way. I suggest using a good piece of tape to pin the loop down so that it doesn’t block the final wing piece.
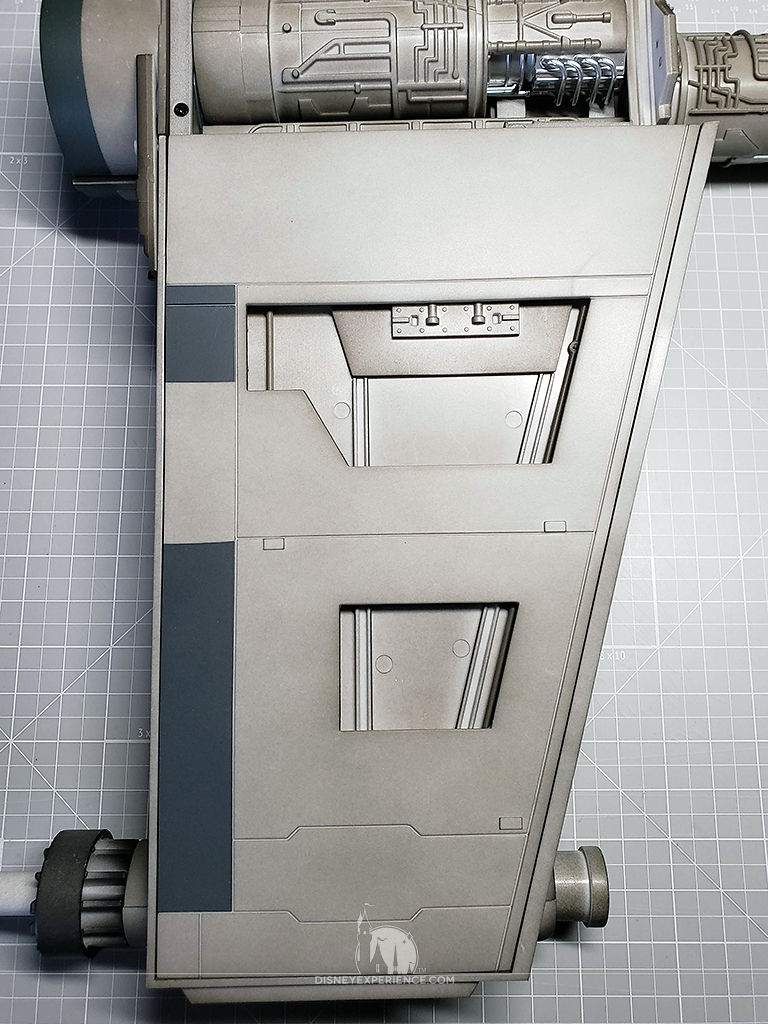
The final wing piece snaps into place via several pegs. They plug into tiny holes in the metal support frames, so you’ll want to use super glue (cyanoacrylate glue) if you want to secure it into place. I found that the pins hold very well, so I let them be. I did, however apply some super glue at the end of the wing, under the laser canon. There are a lack of pins here, and I found that the corners liked to pop out.
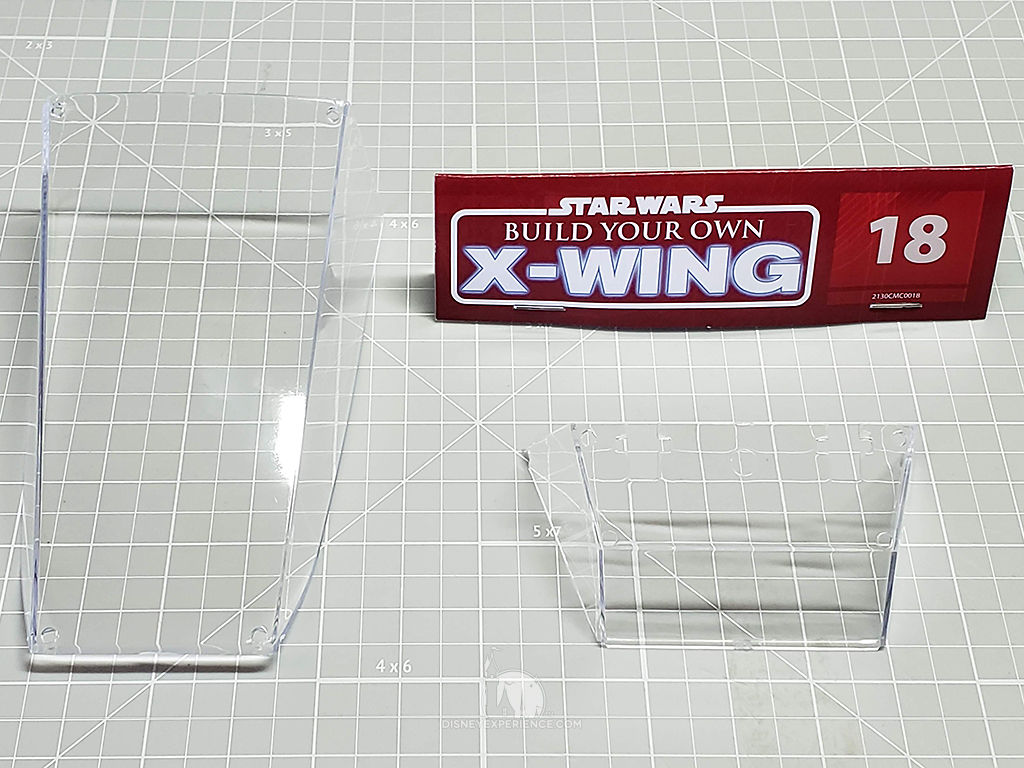
A Look at the Canopy Glazing/Windows
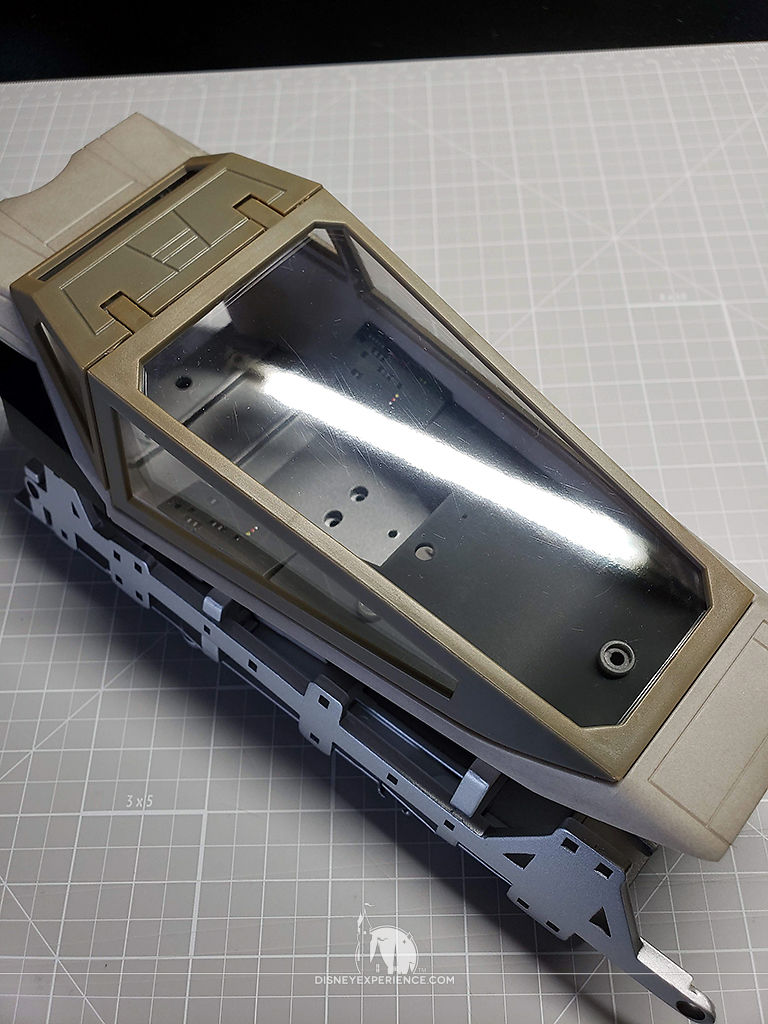
I am so pleased with the canopy windows (also referred to as “glazing”). After the horrible windows of the Millennium Falcon, I’m glad to see that the X-Wing windows are far better . . . or are they?
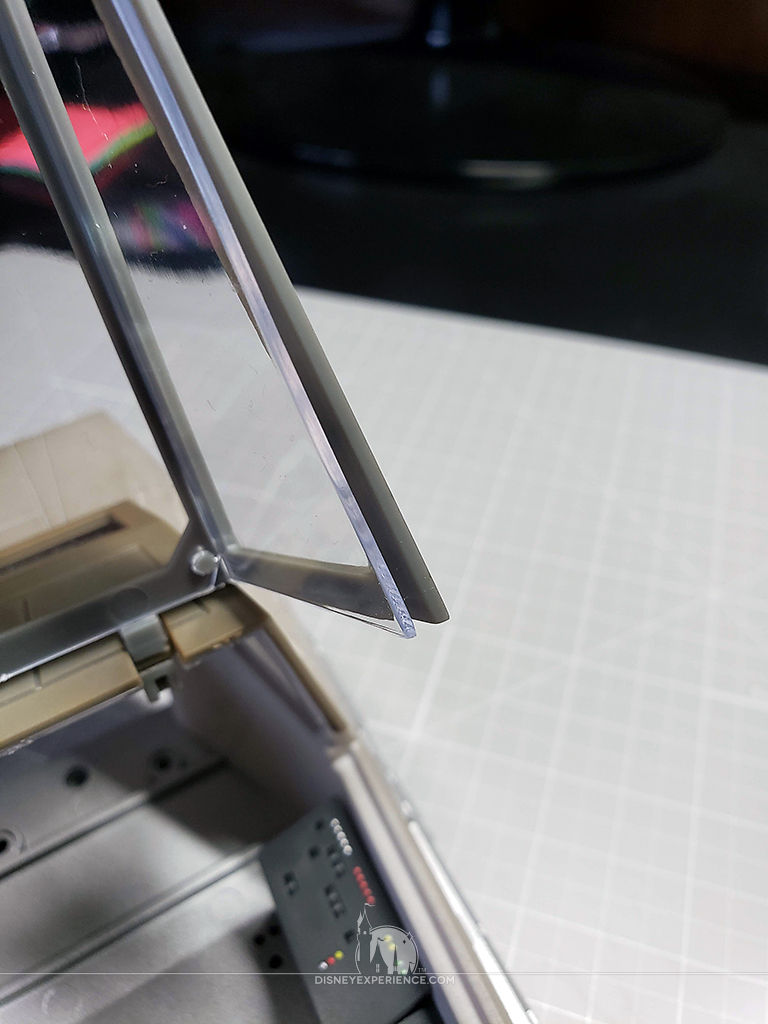
The windows snap into the canopy with ease, but there does appear to be a gap at some corners. If I attempt to glue them together, the canopy flexes inward, and it doesn’t sit flush with the cockpit’s exterior when it is closed. I could try softening the windows with boiling water, then try to widen it. But, I will likely replace the windows with 0.15” clear plastic sheeting. I will wait until the cockpit is further developed just in case there are parts that will correct this problem. For protection, I will store the windows in the plastic container that they came in.
I should also note that although the cockpit is pictured with both the canopy and the metal support frame in place, they are not secured. I do this to maximize my storage. In fact, I store my R2-D2 inside the cockpit.
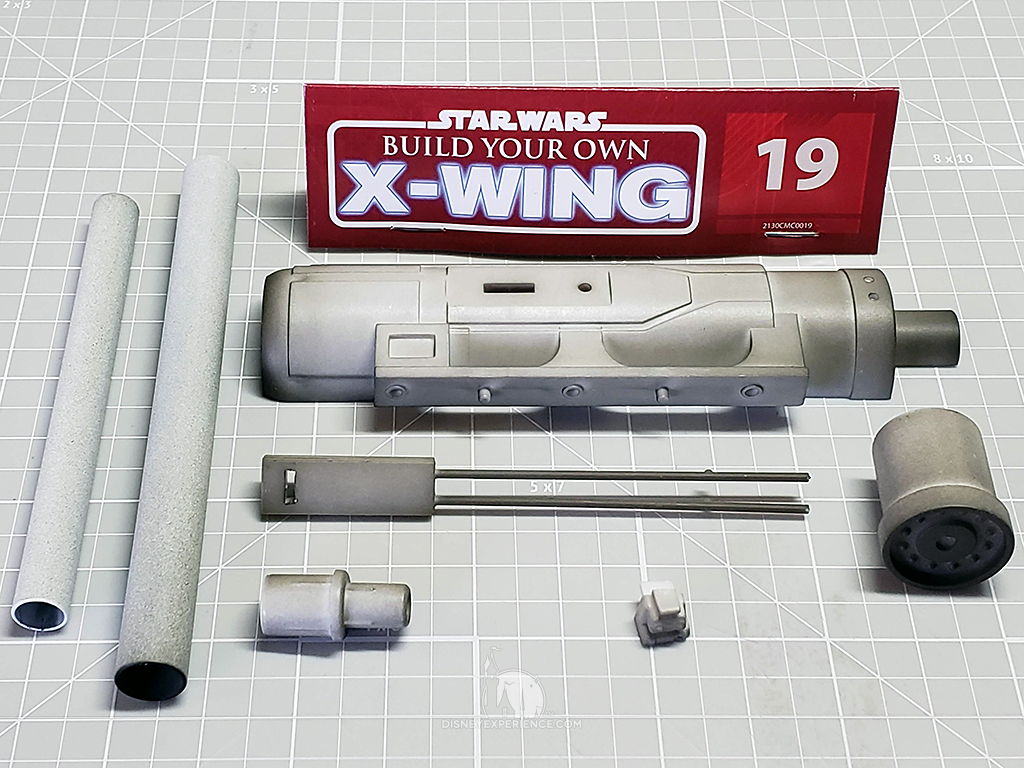
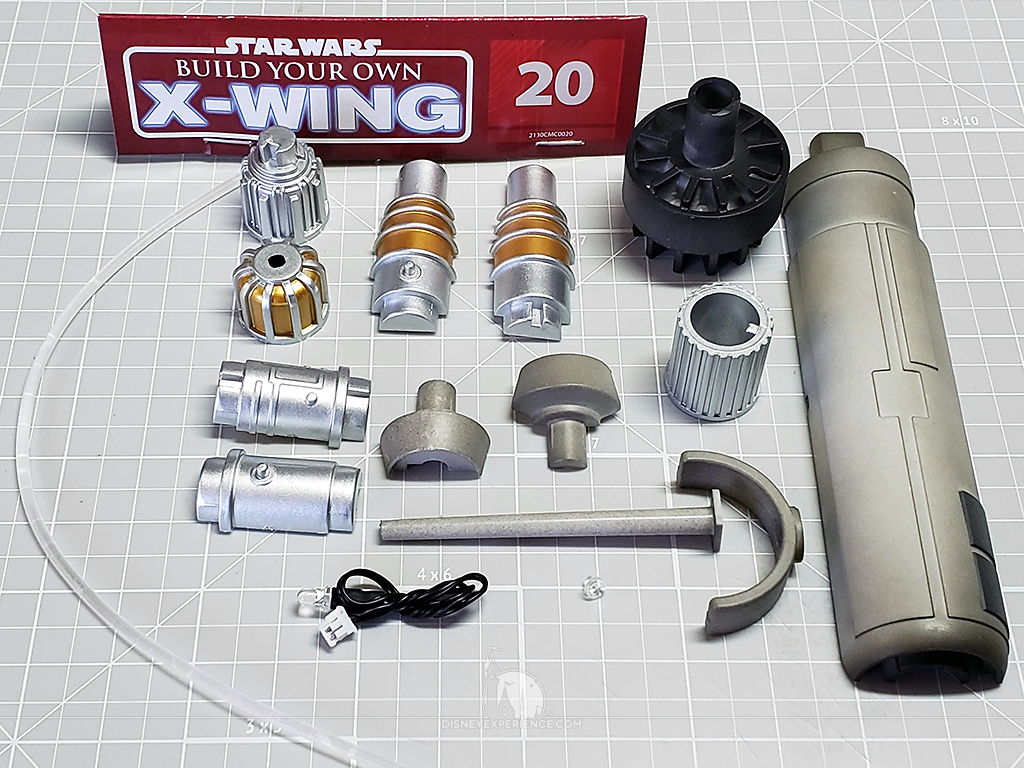
Assembling the Second Laser Canon
Okay, who hit the reset button!?
With the first wing completed, it’s time to begin the second wing by building another laser canon. I thought this would feel like a BIG step backward, but it doesn’t. Because of my experience with the previous laser canon, I was able to get through the assembly much quicker. Since I know that the internal components are a tight fit and they will be unseen, I forwent with the adhesives and simply dry-fit them together.
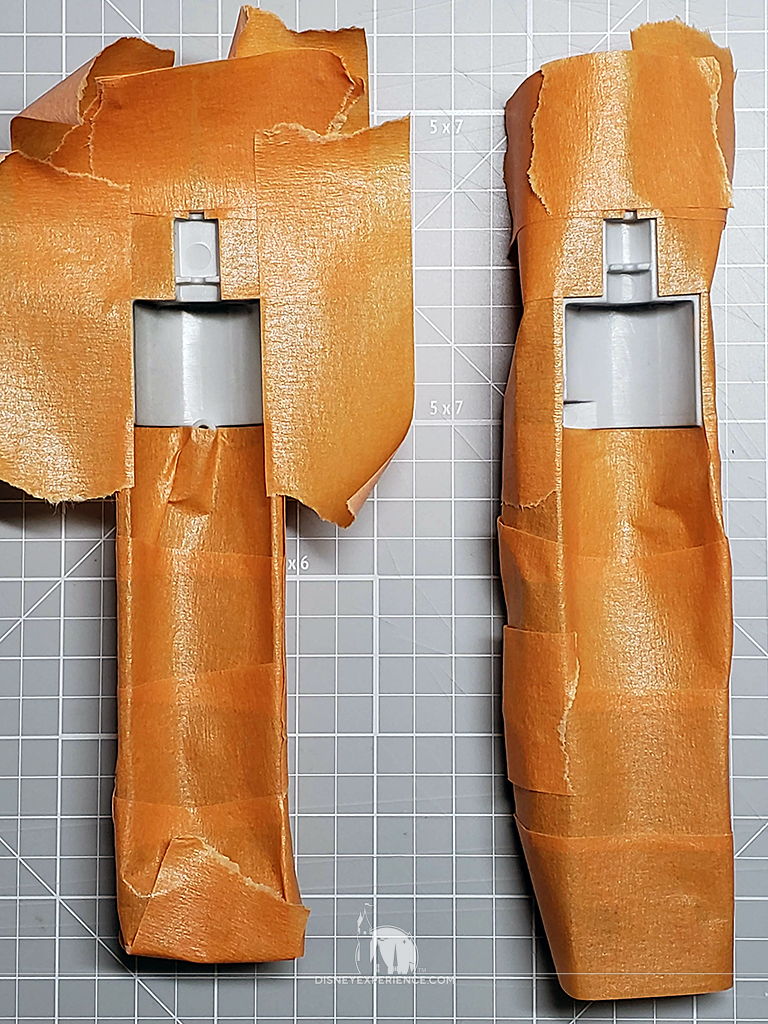
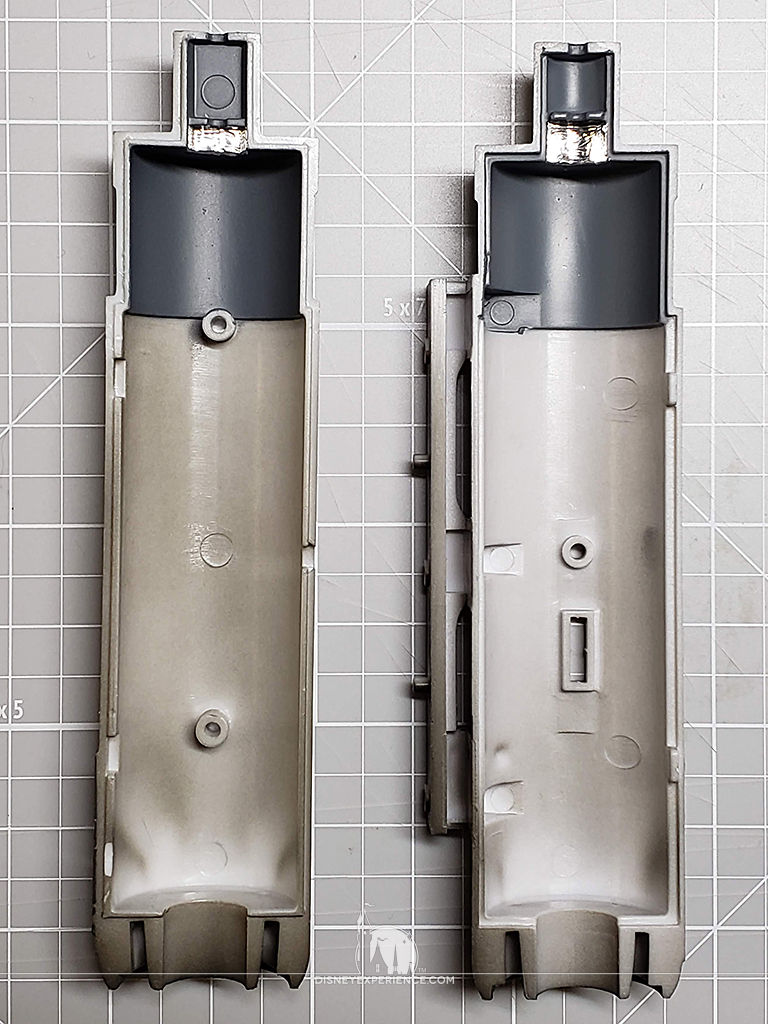
I masked off the laser canon shell with Rust-Oleum automotive masking tape to light block the interior with both gray primer spray paint and foil tape. I also applied foil tape and paint to the piece of fiber optic the same as I did in the X-Wing Build Journal No. 2.
The laser canon shell was fitted with its 2 greeblies, and then everything was assembled.
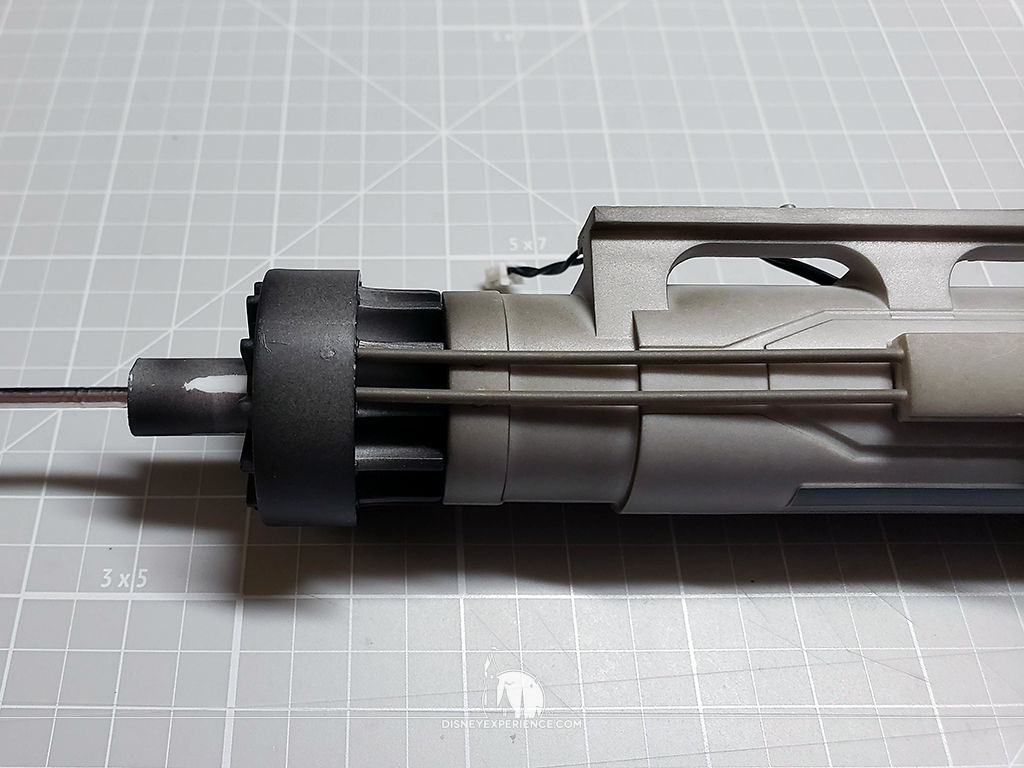
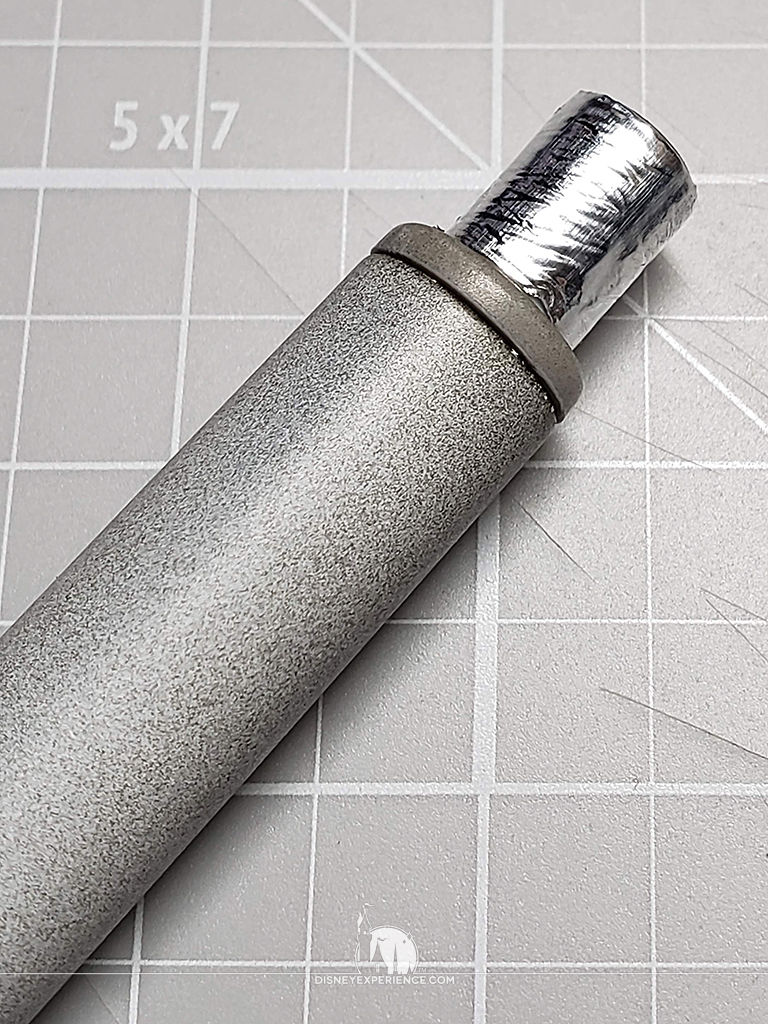
On the connector piece for the laser canon tubes, I shaved down the sides of the smaller end. It was way too tight-fitting last time. Unfortunately, I shaved off too much, and the small tube had a lot of wiggle room. It wouldn’t even glue into place. To fix this, I wrapped a piece of foil tape around the connector to create a snug fit, and I super glued the tube over the end of the connector.
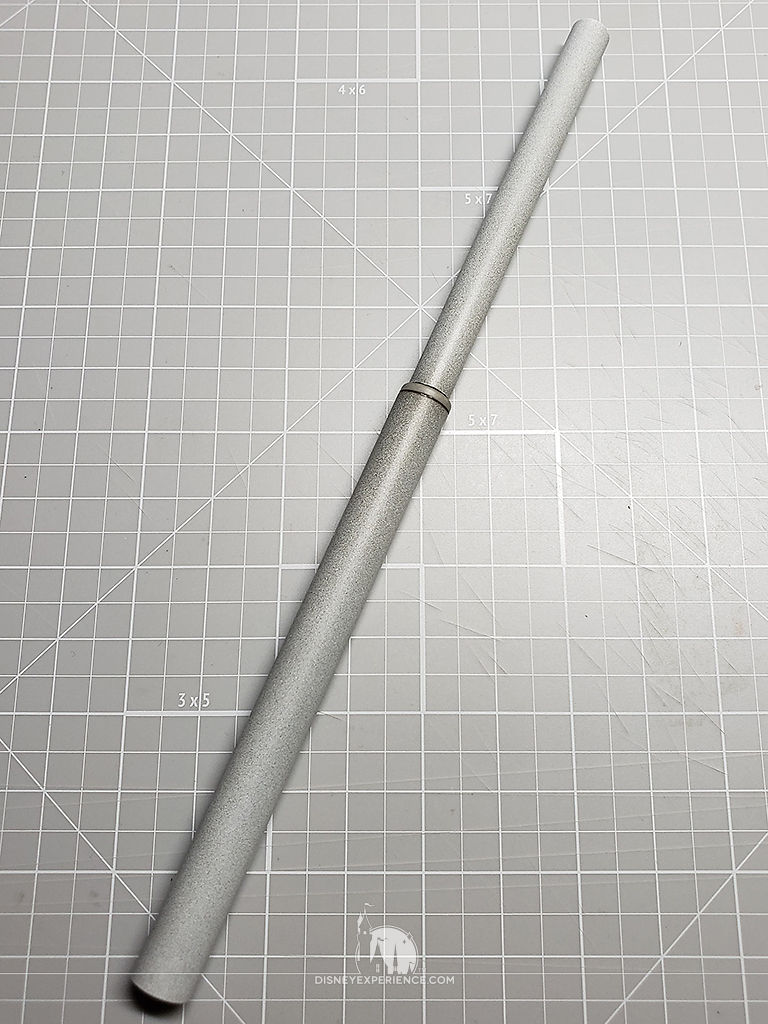
Now, I’m finicky about pieces being straight. While the super glue was setting, I rolled the larger tube on a flat surface and looked for any wobble in the smaller tube, correcting any misalignment.
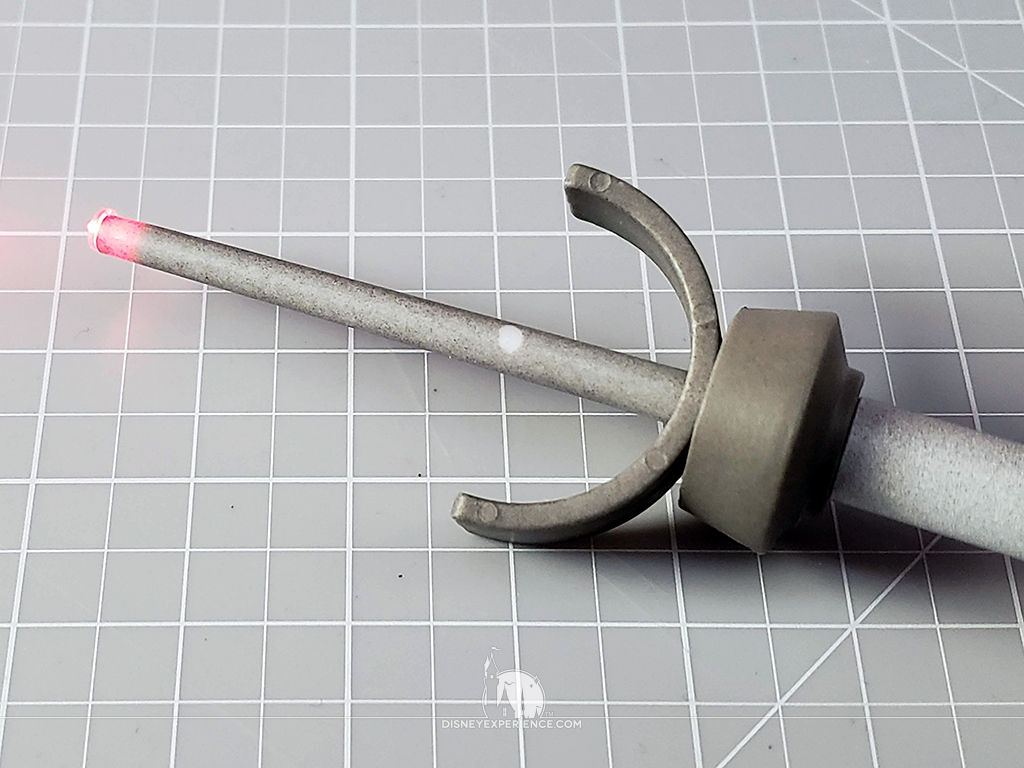
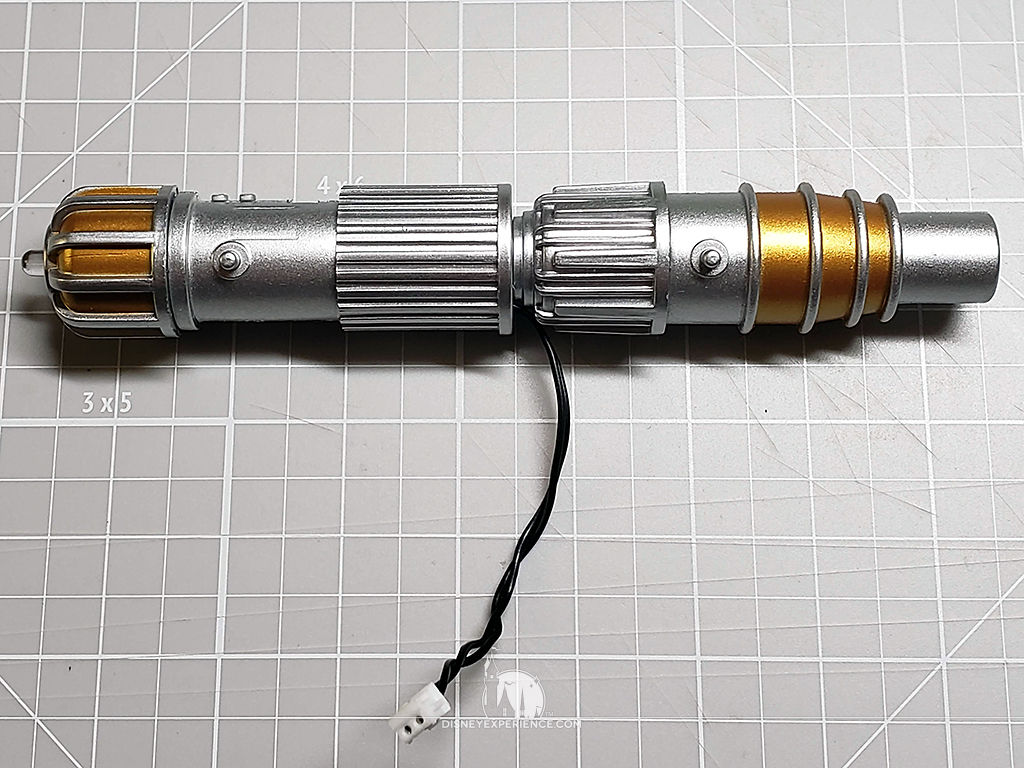
All that was left to do was to assemble the end of the laser canon (dry fit only) and slip the fiber optic inside. I leave the end of the laser canon unsecured so that I can later adjust the tip into it’s proper position. That “U” shape sits in a particular direction.
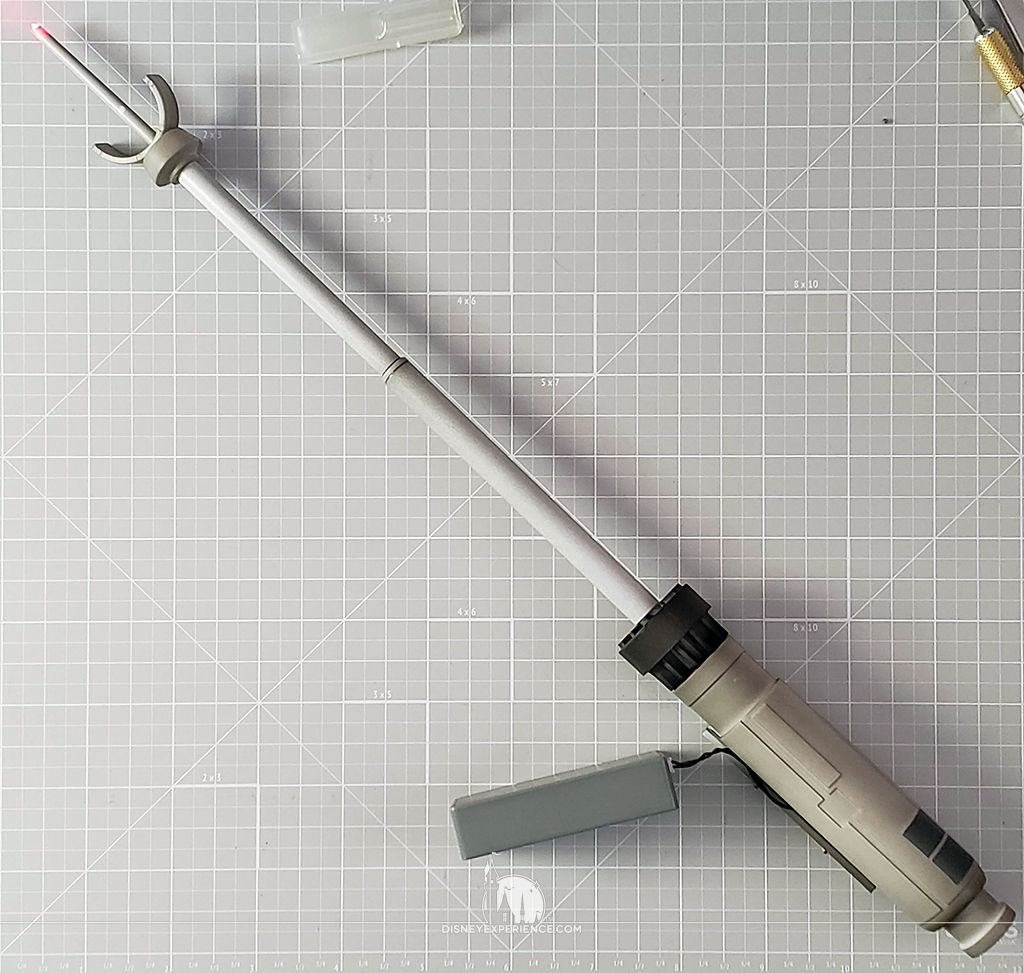
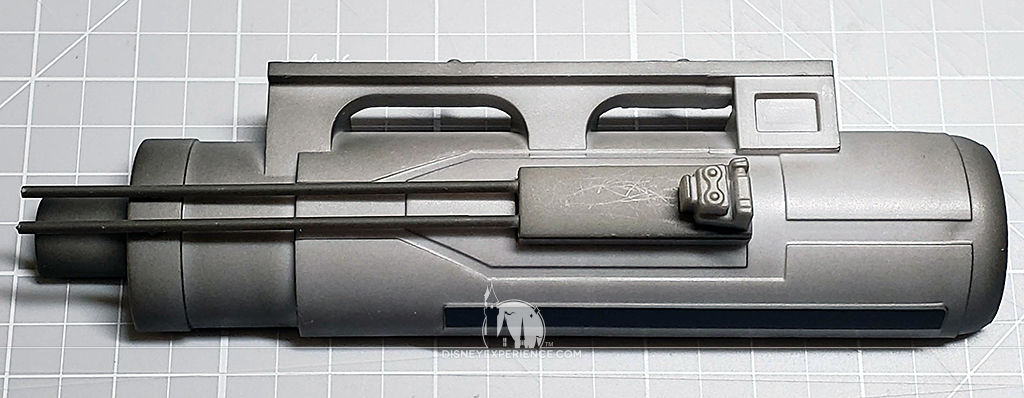
Here is the completed laser canon. Again, I’m a stickler for straightness.
Storage Solutions
Storing Magazines
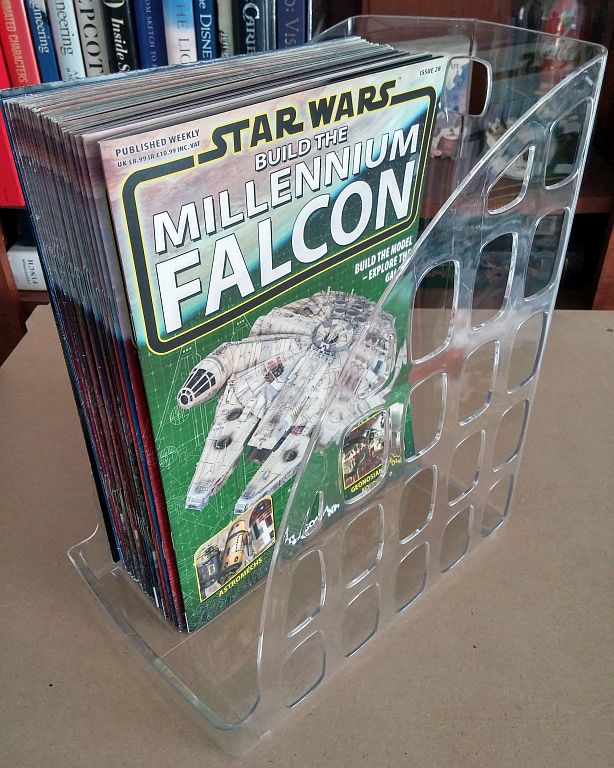
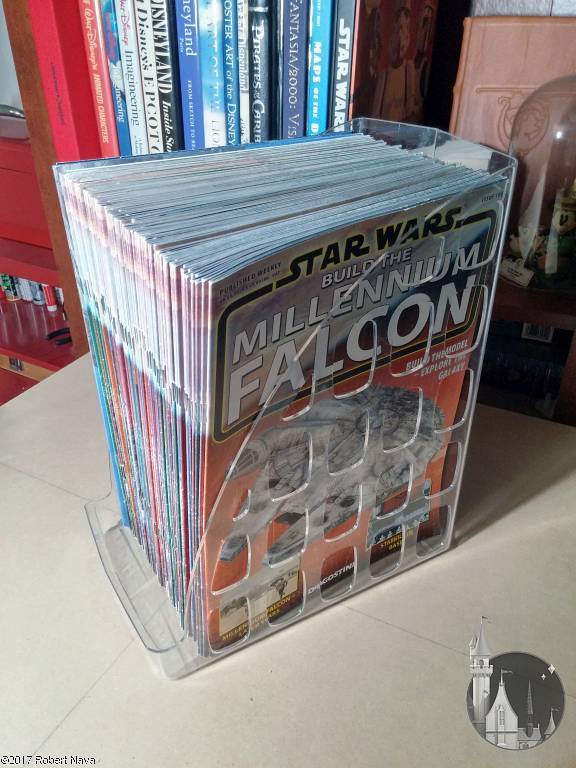
My X-Wing magazines are building up, and storage is beginning to become an issue (no pun intended). Since I prefer not to use the binders, I will be re-using the same jumbo magazine holder (pictured differently—designs vary). It’s extra wide, so it can hold every issue. They are also handy for holding other household odds and ends, so I may have to buy a second one.
Storing Parts
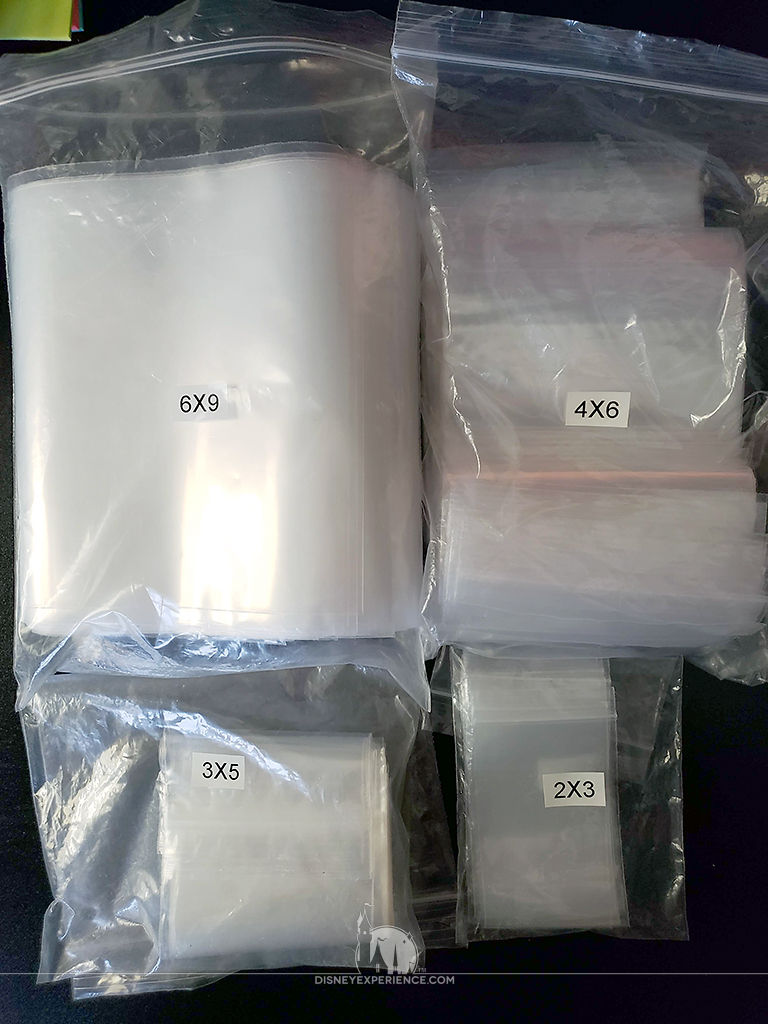
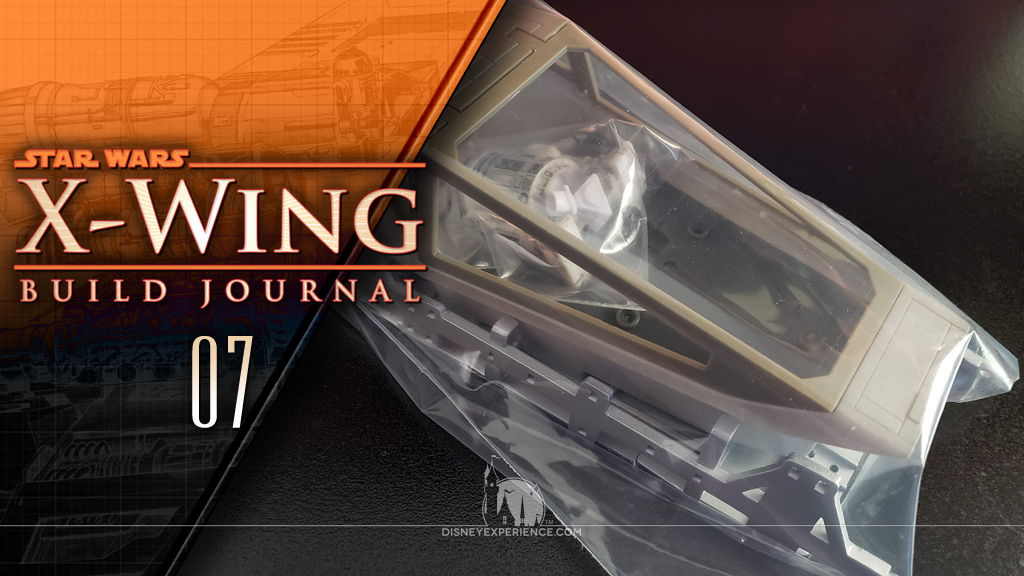
One thing that I probably never mentioned is that I try to store everything in reclosable plastic zipper bags. This keeps out dust and dirt, and helps protect against accidental scrapes and scratches. The sizes that I typically use are (in inches): 2×3, 3×5, 4×6, and 6×9. I also use a single hole punch on a corner of each bag to allow for air release and to prevent moisture build-up.
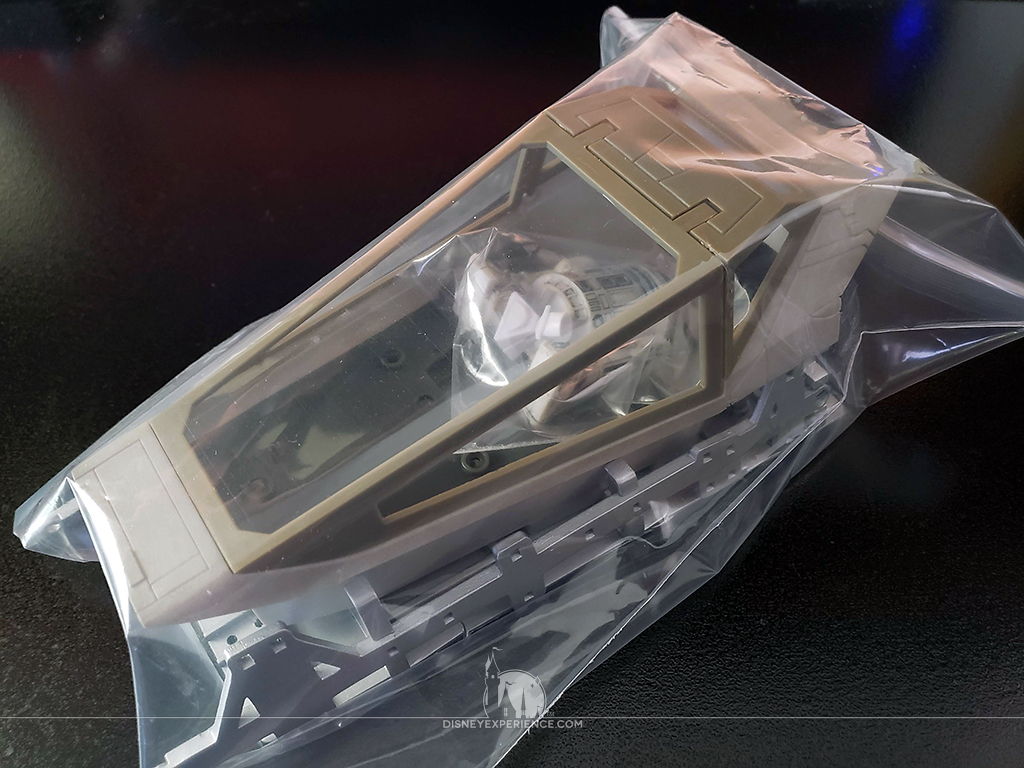
For larger items (like the recently completed laser canon), I use extra-large twist tie bags. The twist ties are set aside for other projects, and I use tape to wrap and seal the bags shut.
There are a lot of bags in each pack, certainly more than will be needed for the whole X-Wing build, but they are so handy for every-day household use. I cannot imagine ever living without these again.
Prev Journal Entry | Next Journal Entry
Both the post author and this website have not received any compensation for writing this post. Both the post author and this website have no material connection to the third-party brands, products, or services that have been mentioned. Some of the links in the post above are “affiliate links.” This means that if you purchase the item, we will receive a commission. As an Amazon associate, we earn from qualifying products. This is being disclosed in accordance with the Federal Trade Commission’s 16 CFR, Part 255: “Guides Concerning the Use of Endorsements and Testimonials in Advertising.”
Do you have a thought about this post? Why not leave a comment . . .