X-Wing Build Journal No. 06: Issues 13-16
Trader Sam | August 12, 2019
What’s Inside
This month, the engine is developed further, and it is mounted withing the wing. It sounds simple, but there’s a lot to do.
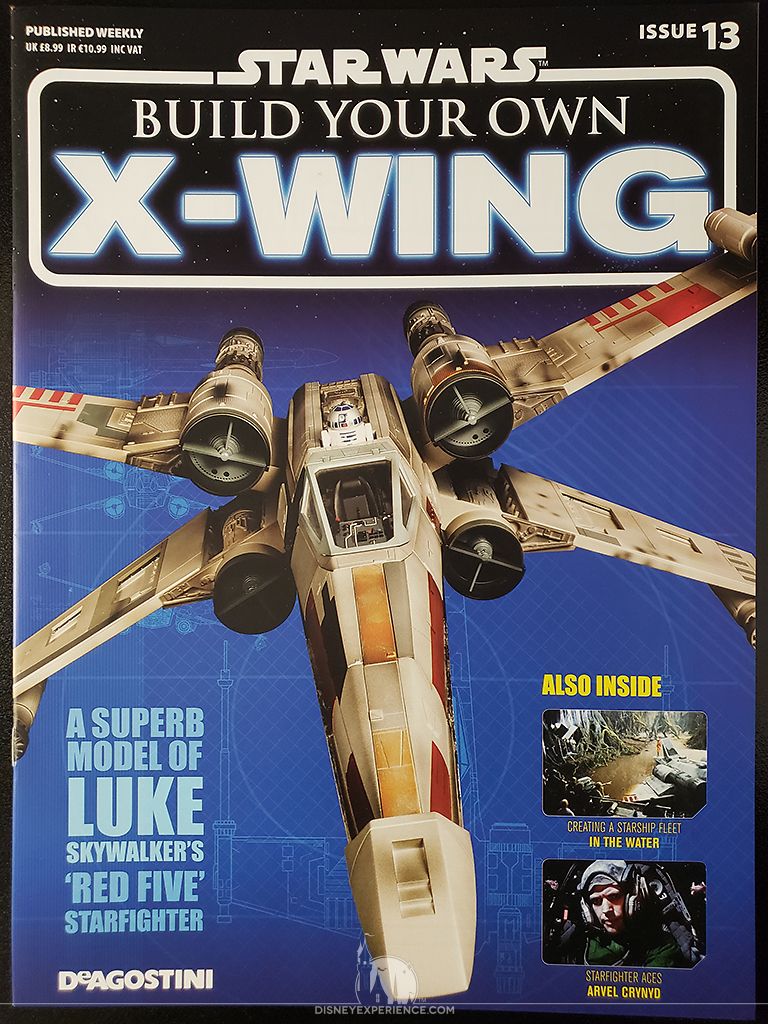


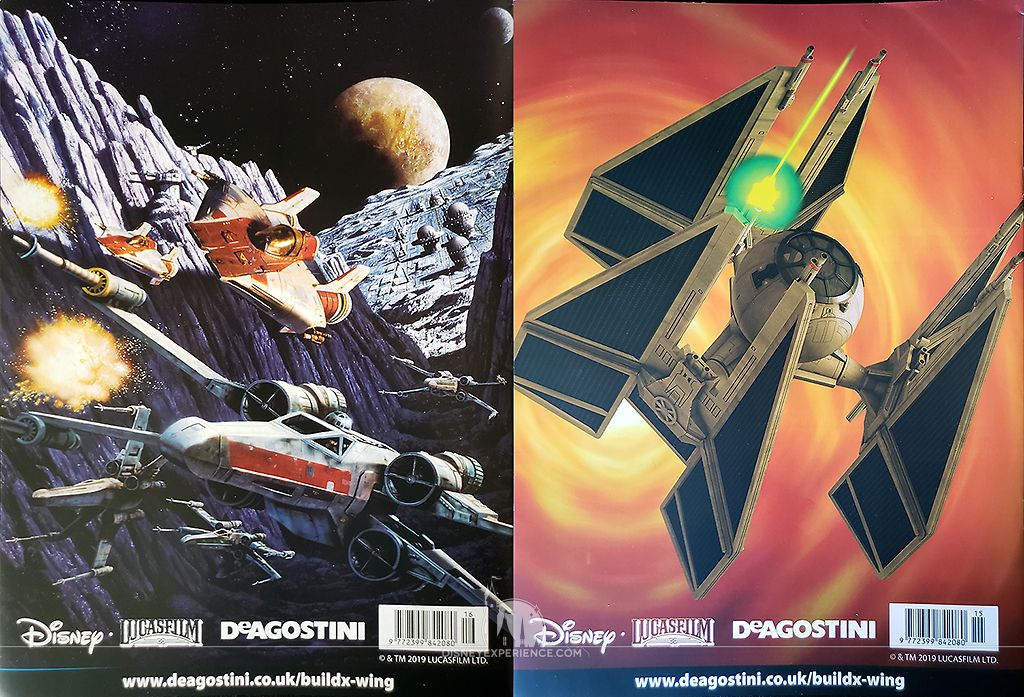

DeAgostini has been increasing the number of magazines that have artwork on the back covers. I think I like them better than the previews of the upcoming model parts.
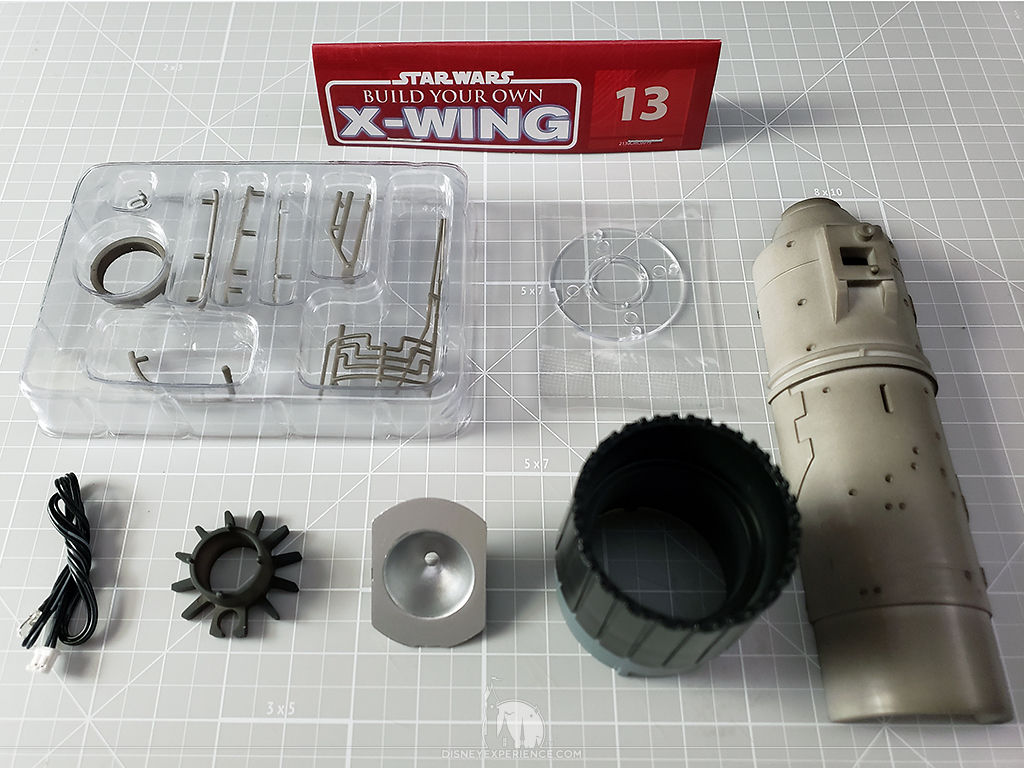
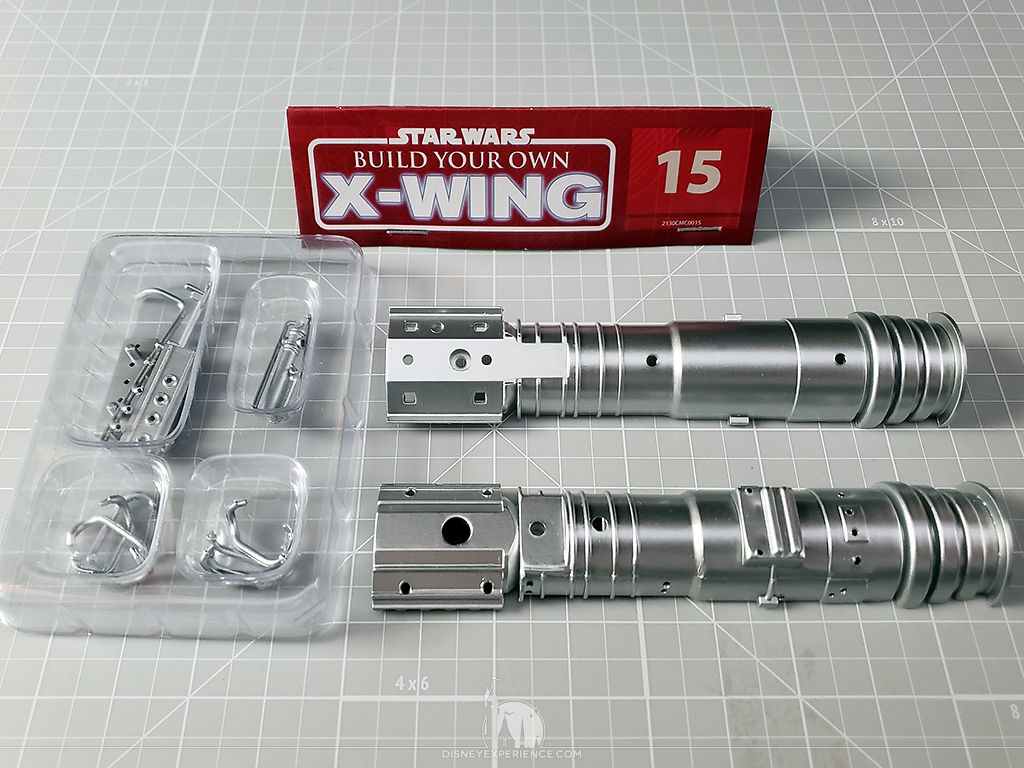
Since pack 4 arrived before pack 3, I did some prep work by washing the parts ahead of time. The plethora of tiny parts that came in this pack is what inspired me to buy a wire mesh colander.
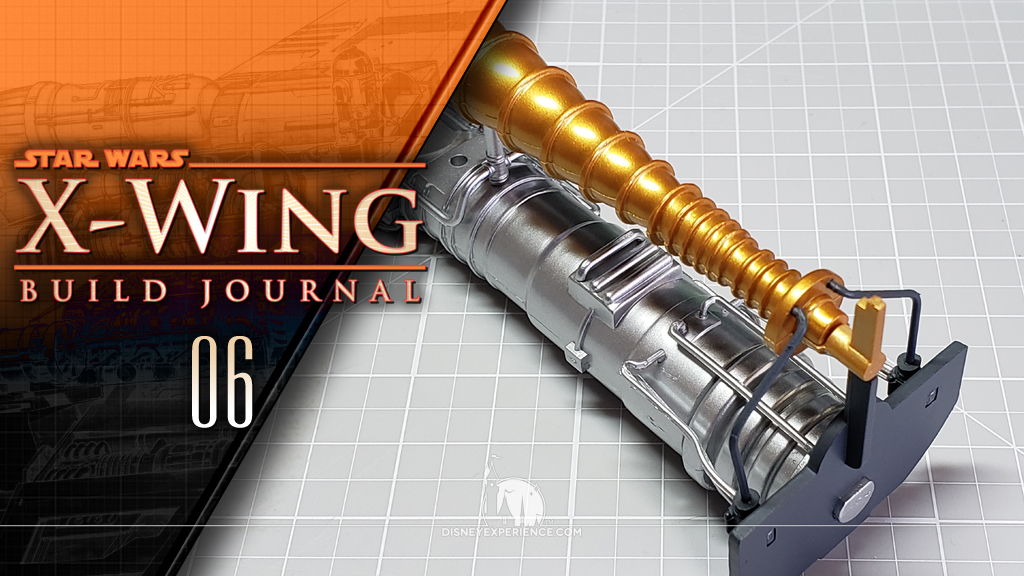
Internal Wing Engine

The other half of the engine housing had the same loose pipe that needed to be glued down.
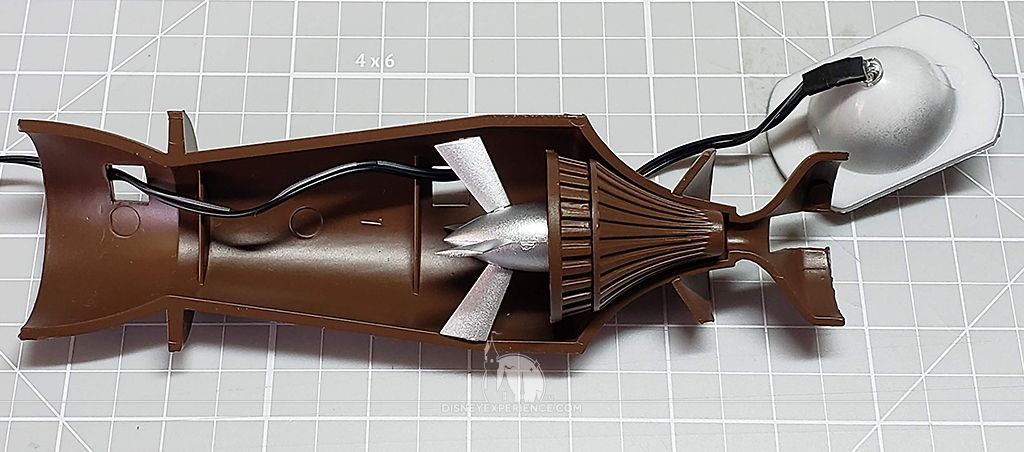
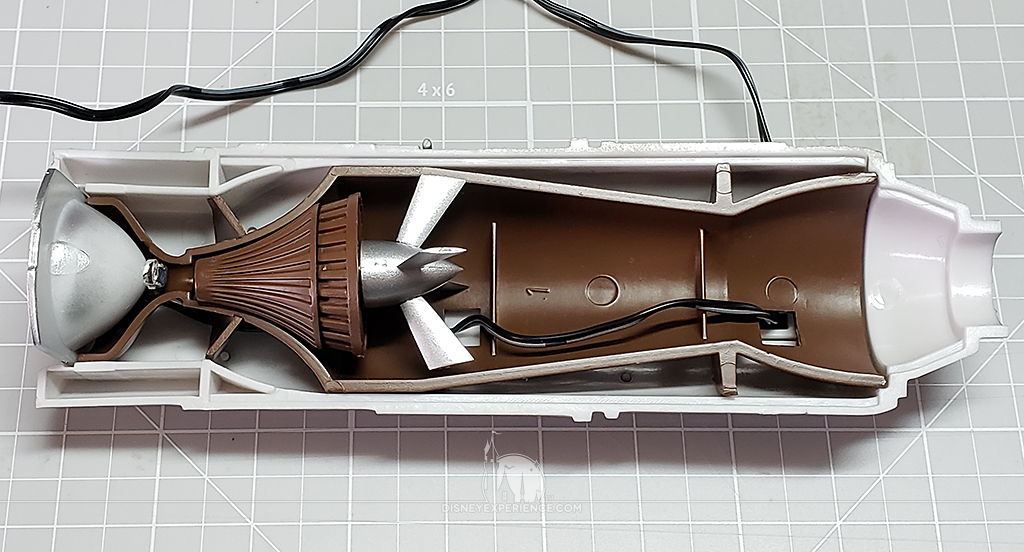
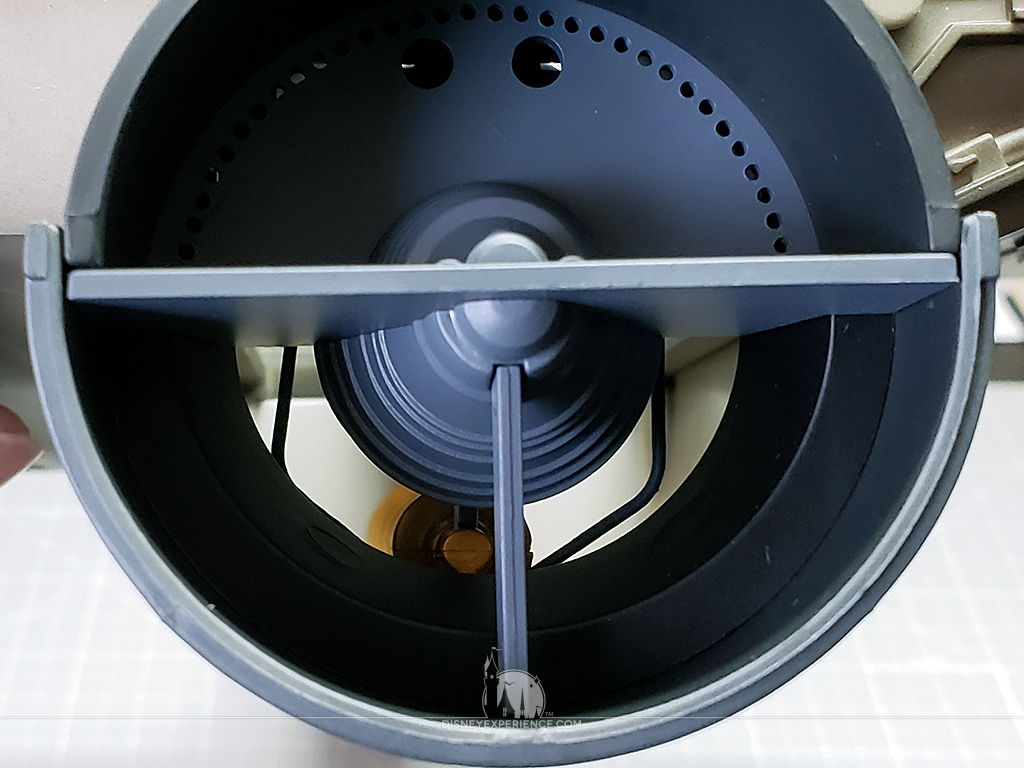
Incorporating the LED (this time, I remembered to test it first) into the engine was daunting. The instructions say to bend the LED connection, which is necessary for it to fit into place. Breakage is an issue for me, but I was slow and gentle. In retrospect, I could have avoided the stress by leaving out the fan blade and the base that it is connected to. That would have given me a straight shot through the center of the engine.

The assembled engine is beautiful when turned on. There is a small amount of light leak, but nothing too drastic. I think I can fix it with some paint when I weather the whole wing.
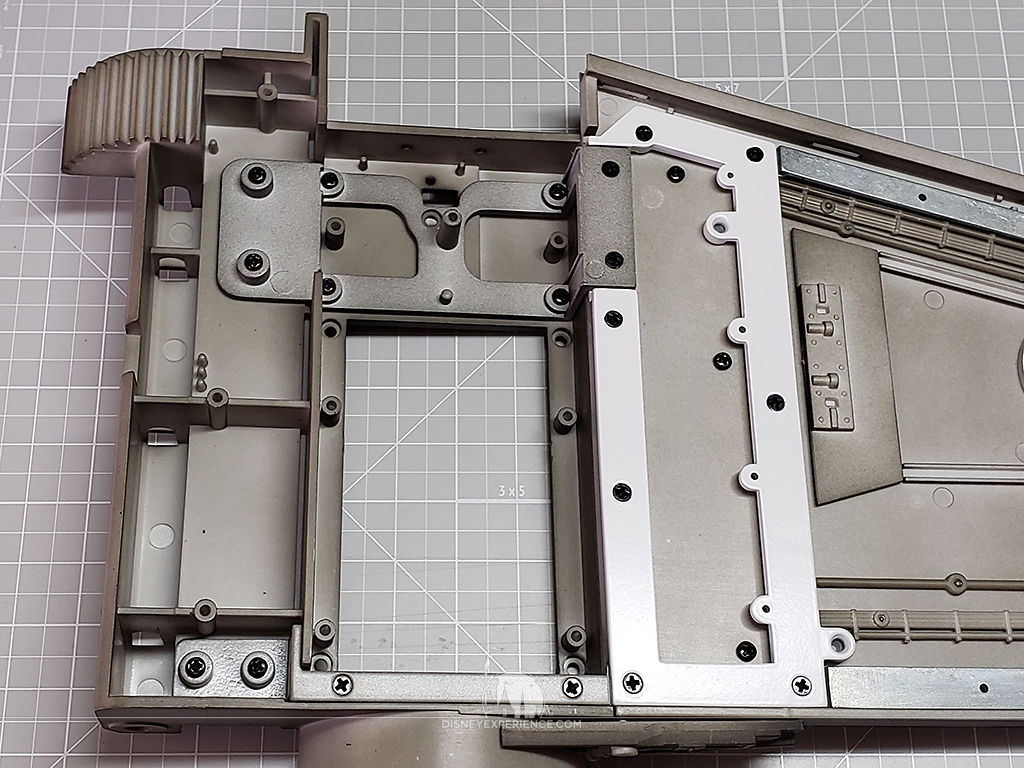
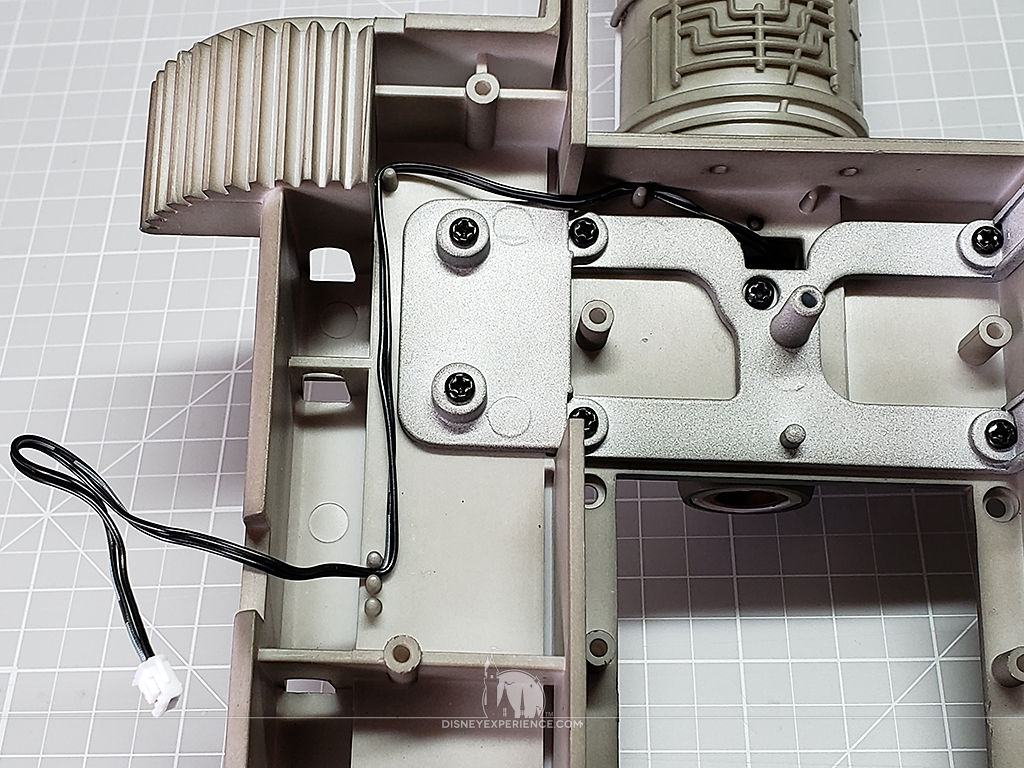
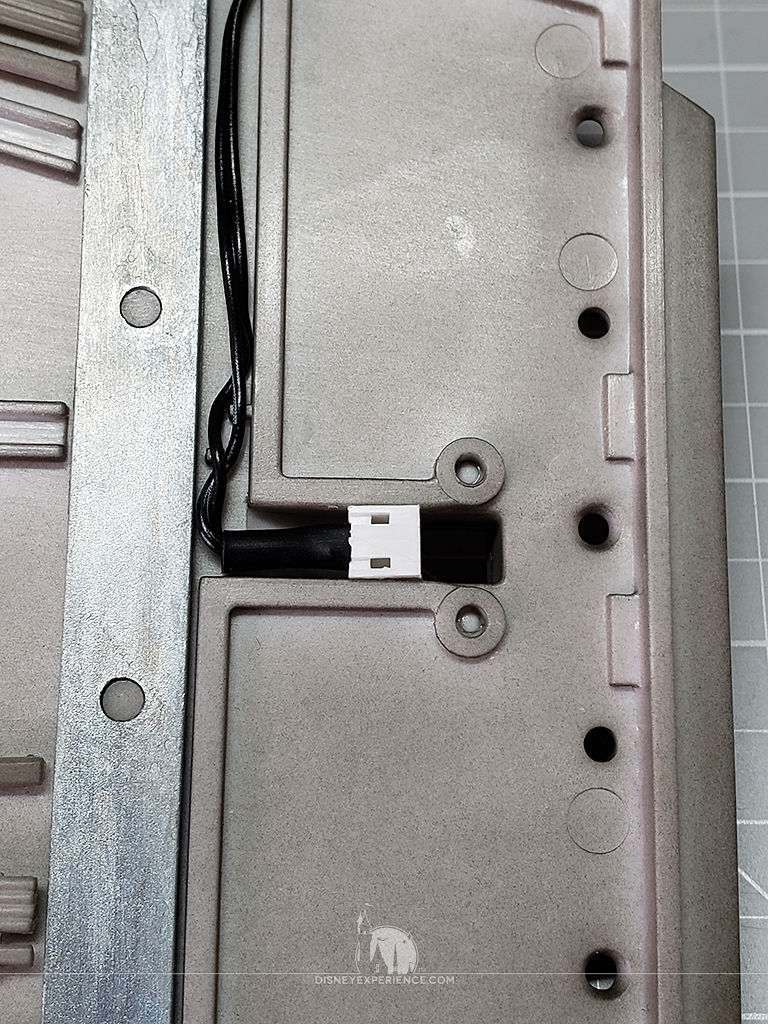
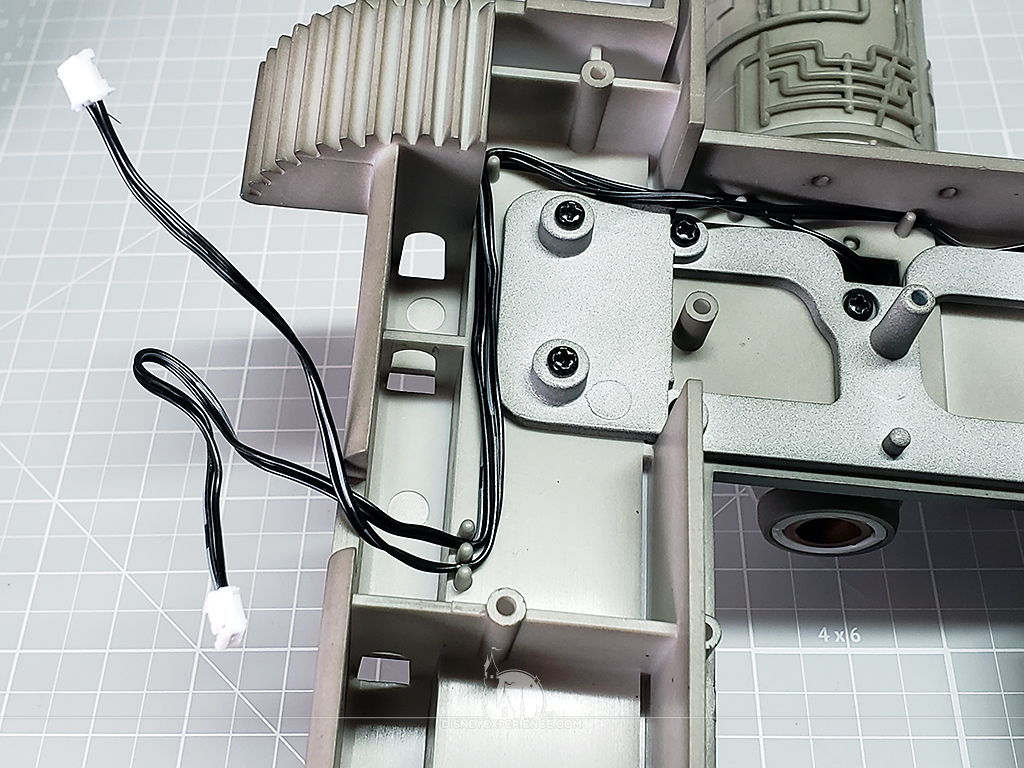
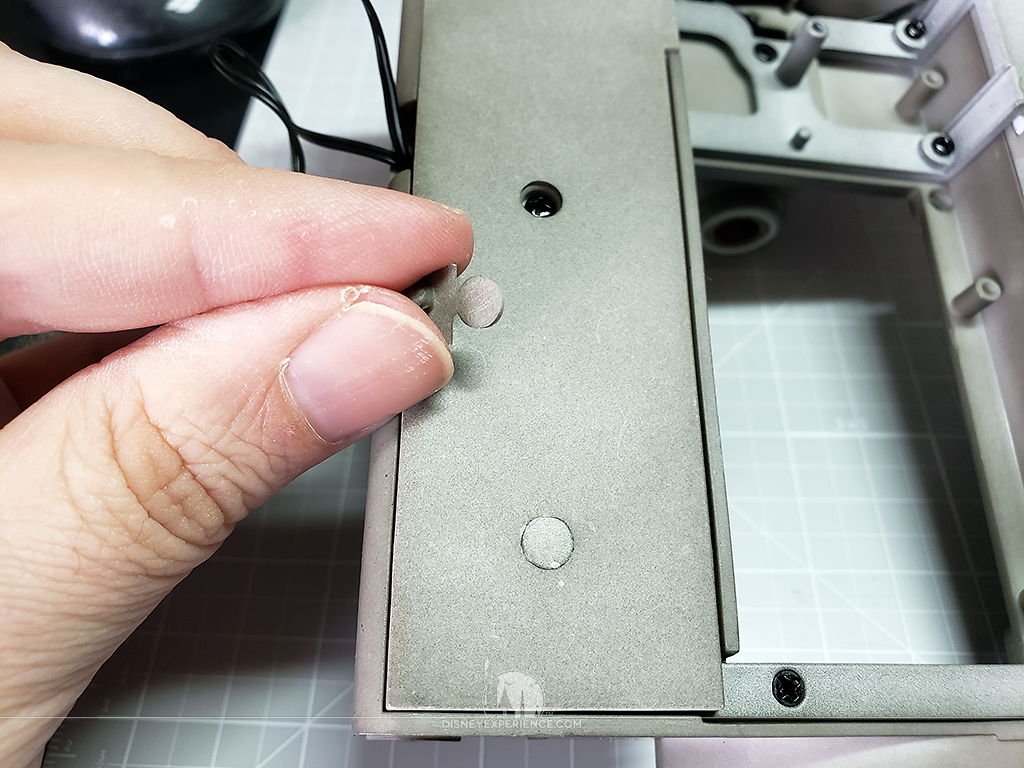
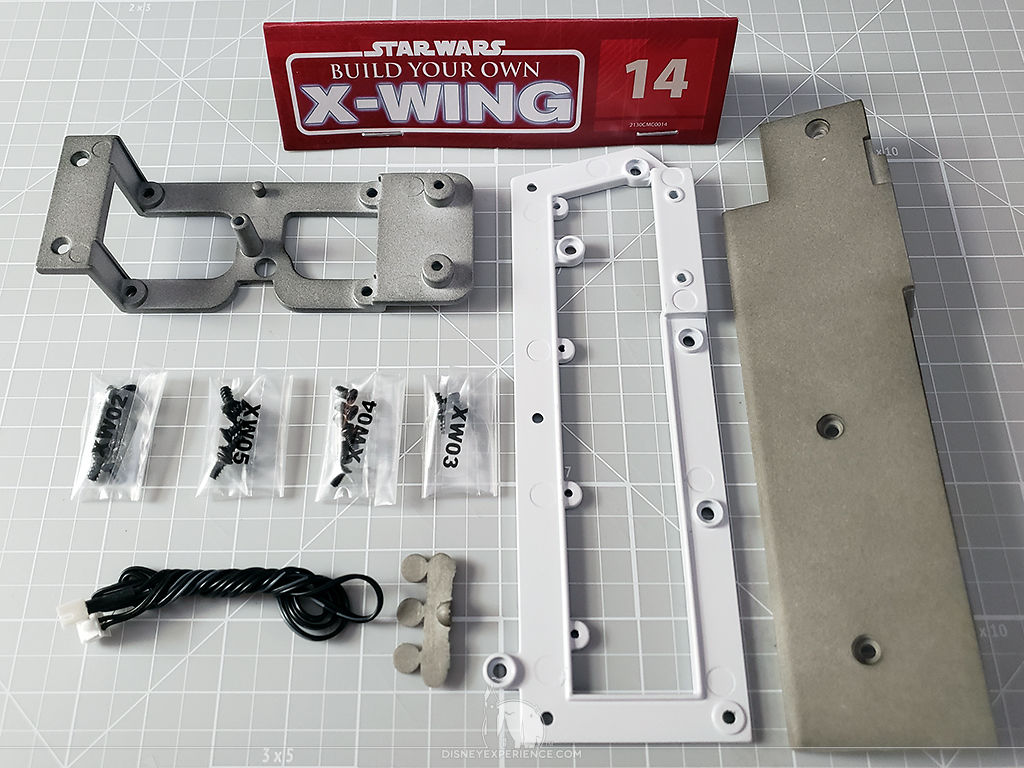
The wing gets even more metal supports before attaching the engine and routing wires. Three plugs are provided to cover up screw holes, making everything look tidy and saving me the hassle of having to fill them in myself.
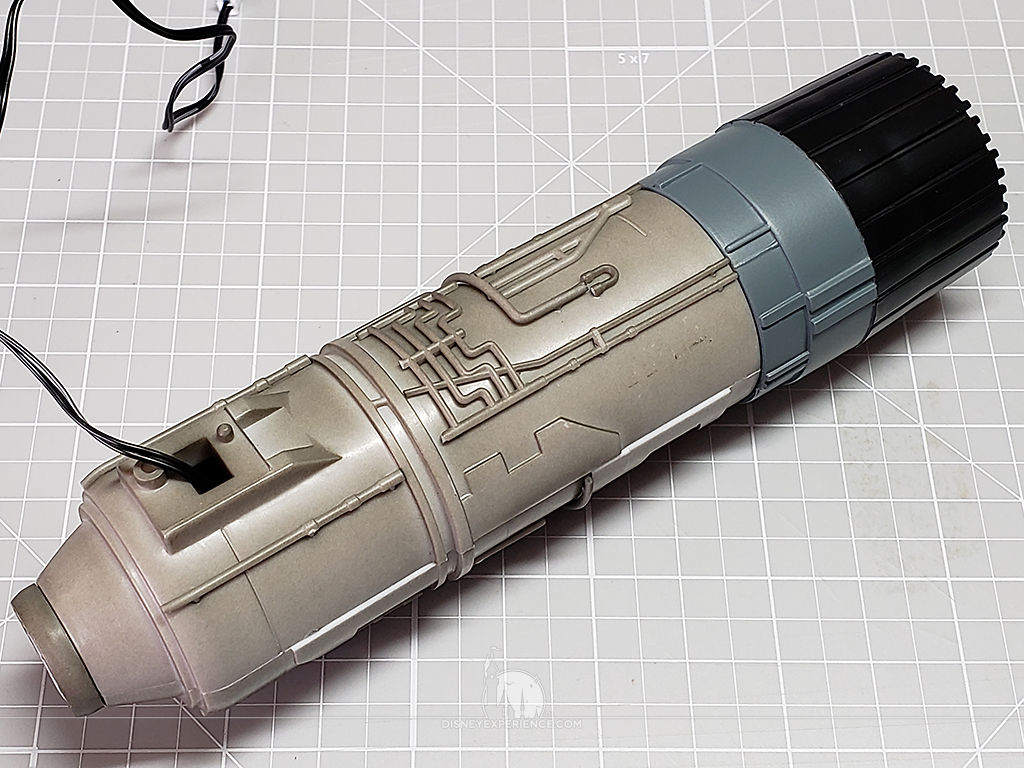
External Wing Engine

Okay, so the “external” wing engine isn’t really external since it’s going to be mounted within the wing. But, it’s external, by comparison of the previous engine, in that it doesn’t get encased.
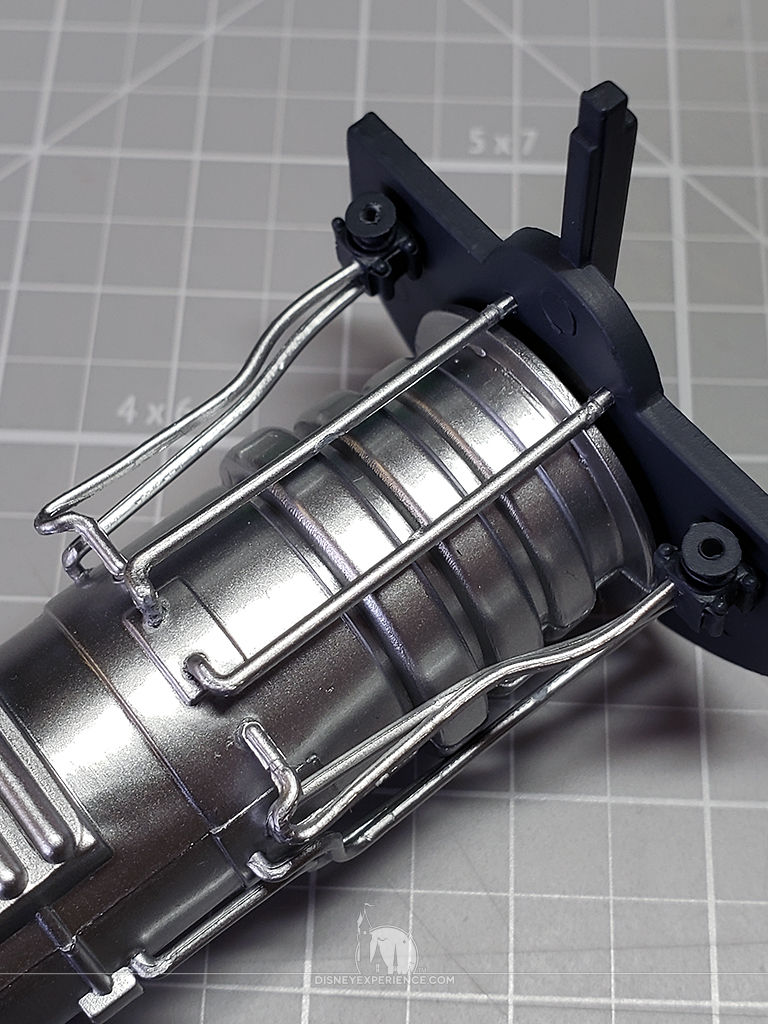
Mounting the long pipes at the end of the engine were really tricky, and I cut the ends off of 3 of them thinking that they were too long. After some fiddling, I discovered that the problem was DeAgostini‘s fault; the parts are incorrectly labeled in the instructions! I glued the cut pipes back together, and I glued them to the engine in their proper places.
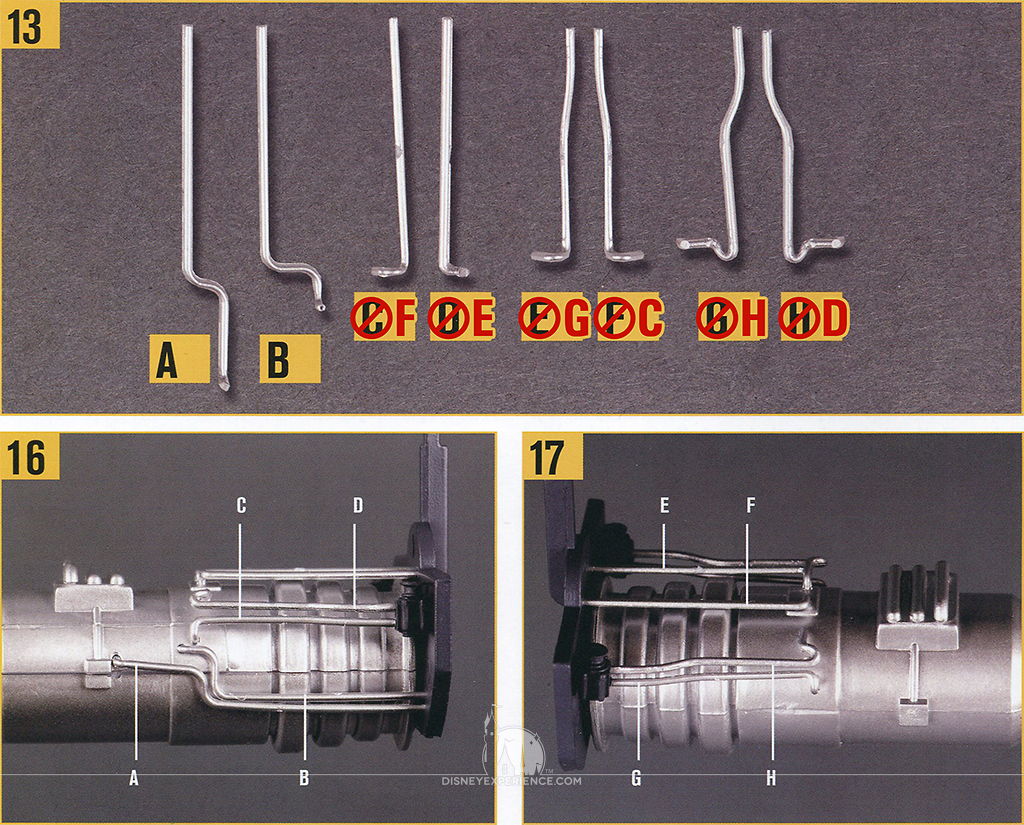

With the last of the pipes and engine parts assembled, the whole thing is mounted inside the wing, and the shroud is placed on top.
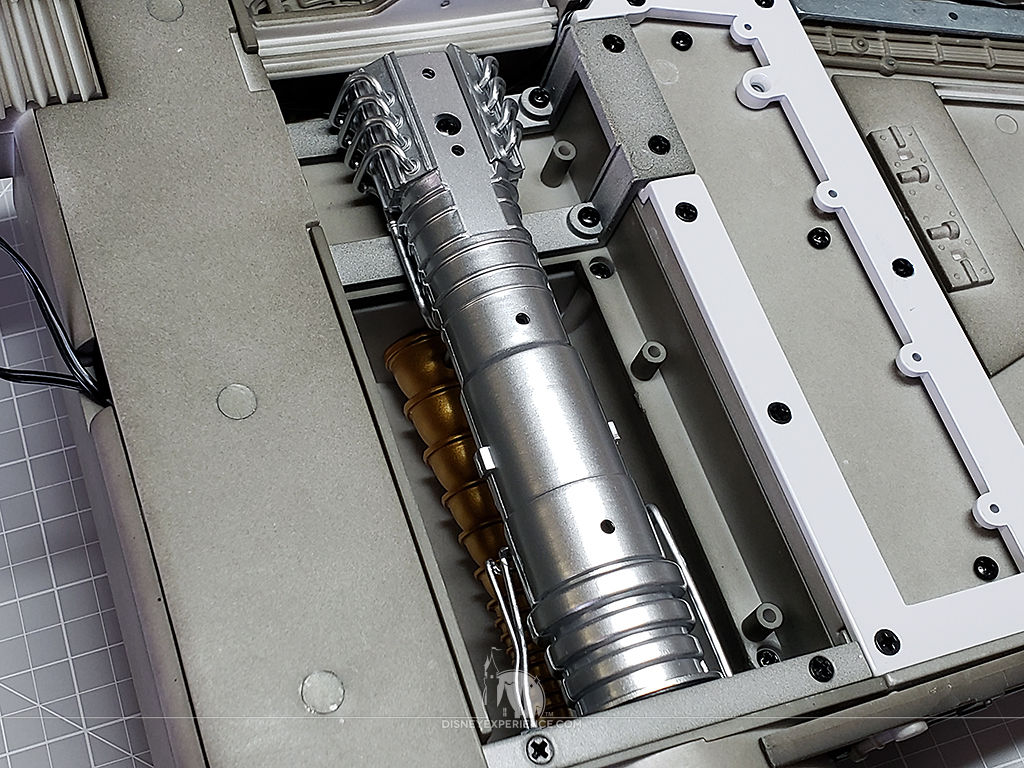

The wing is now a great deal larger and heavier. I can really get a sense of how large and heavy the completed X-Wing is going to be.
Prev Journal Entry | Next Journal Entry
Both the post author and this website have not received any compensation for writing this post. Both the post author and this website have no material connection to the third-party brands, products, or services that have been mentioned. Some of the links in the post above are “affiliate links.” This means that if you purchase the item, we will receive a commission. As an Amazon associate, we earn from qualifying products. This is being disclosed in accordance with the Federal Trade Commission’s 16 CFR, Part 255: “Guides Concerning the Use of Endorsements and Testimonials in Advertising.”
Do you have a thought about this post? Why not leave a comment . . .