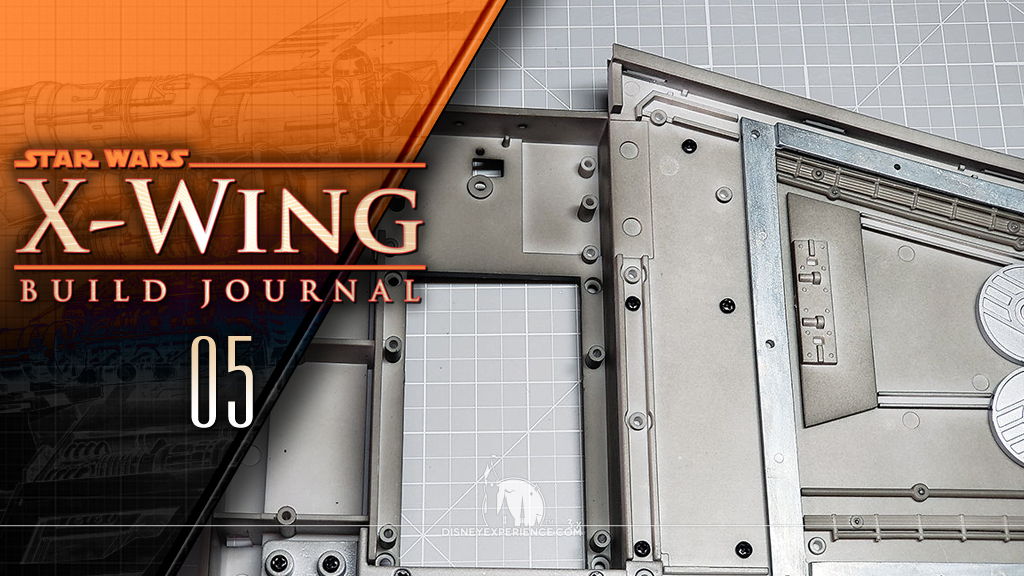
X-Wing Build Journal No. 05: Issues 9-12
Trader Sam | July 25, 2019
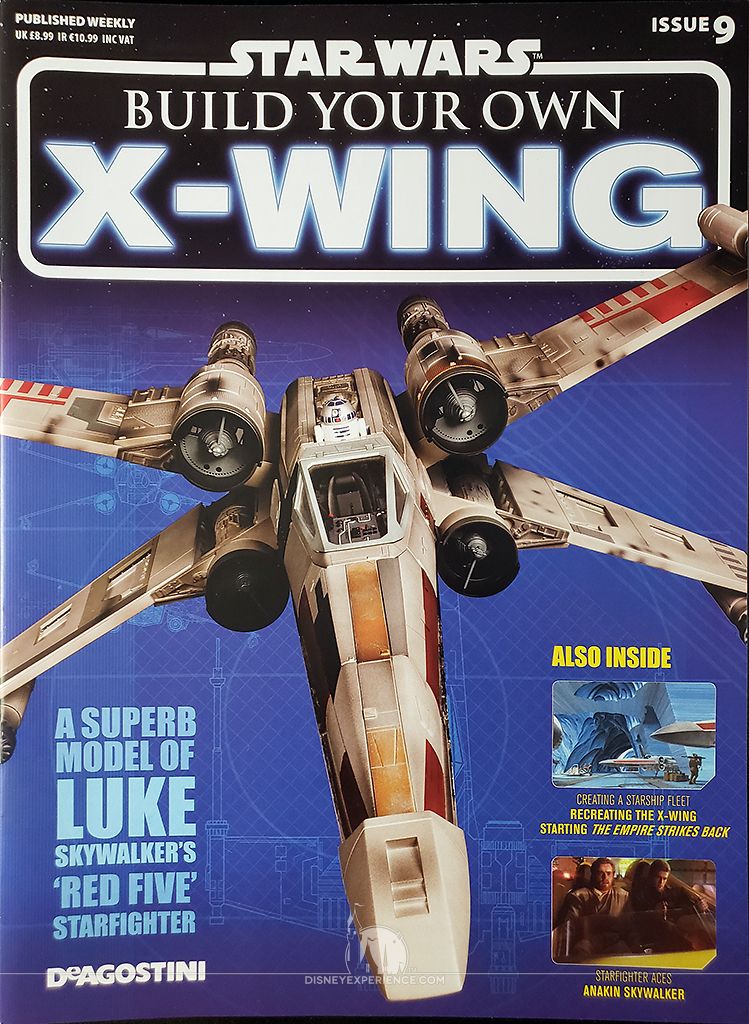
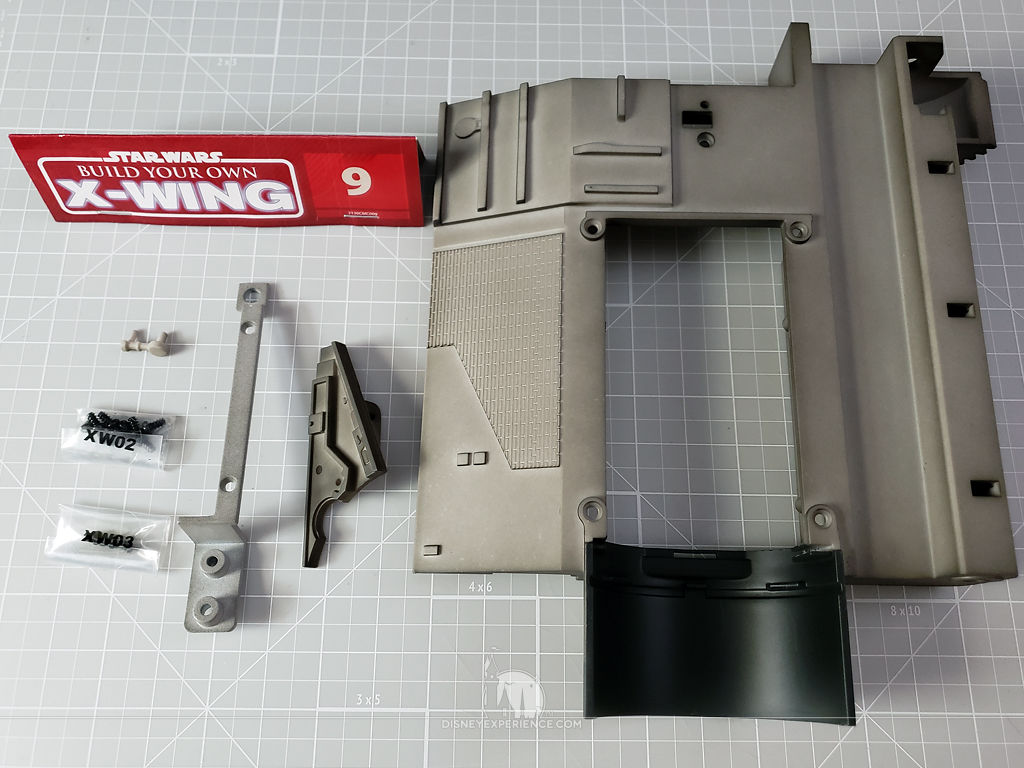
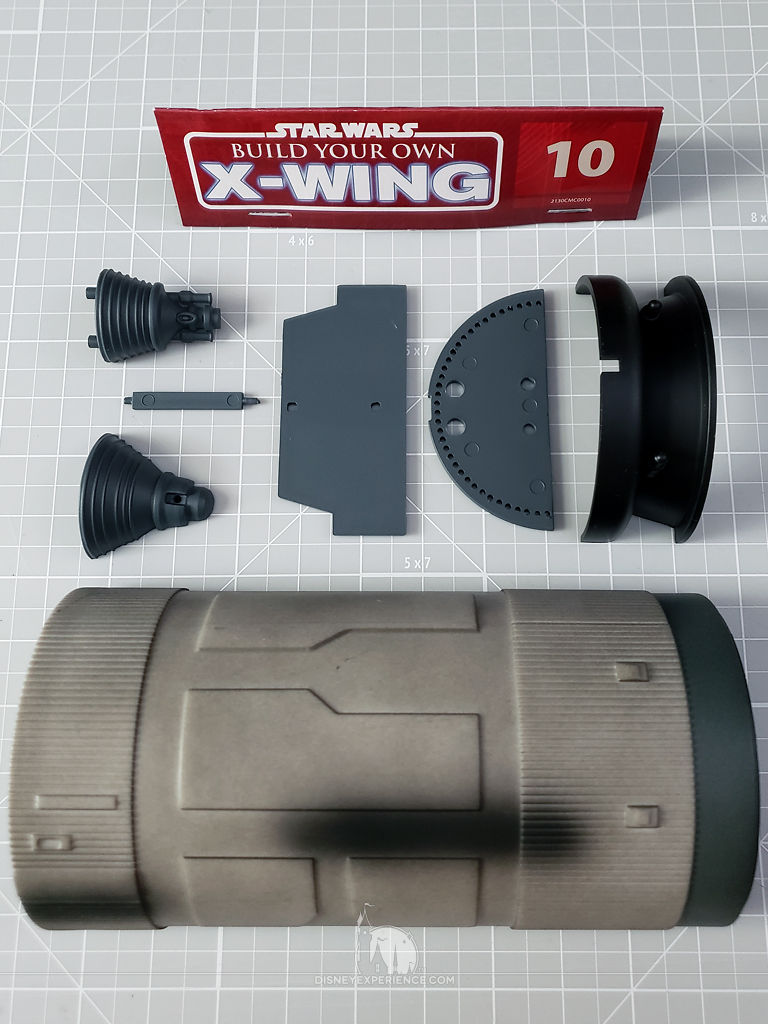
What’s Inside
This month, the wing gets extended and work begins on the internal wing engine.
I am relieved that pack number 3 is finally here; there was a small incident with the postal service.
I tracked the package via USPS (see previous Journal Entry), and when it was posted as “delivered in/at mailbox,” I was shocked to see nothing. Keeping a cool head, I simply left the mail carrier a kind note to see if it had been left in another mailbox by mistake. Sure enough, the package was there the next day.


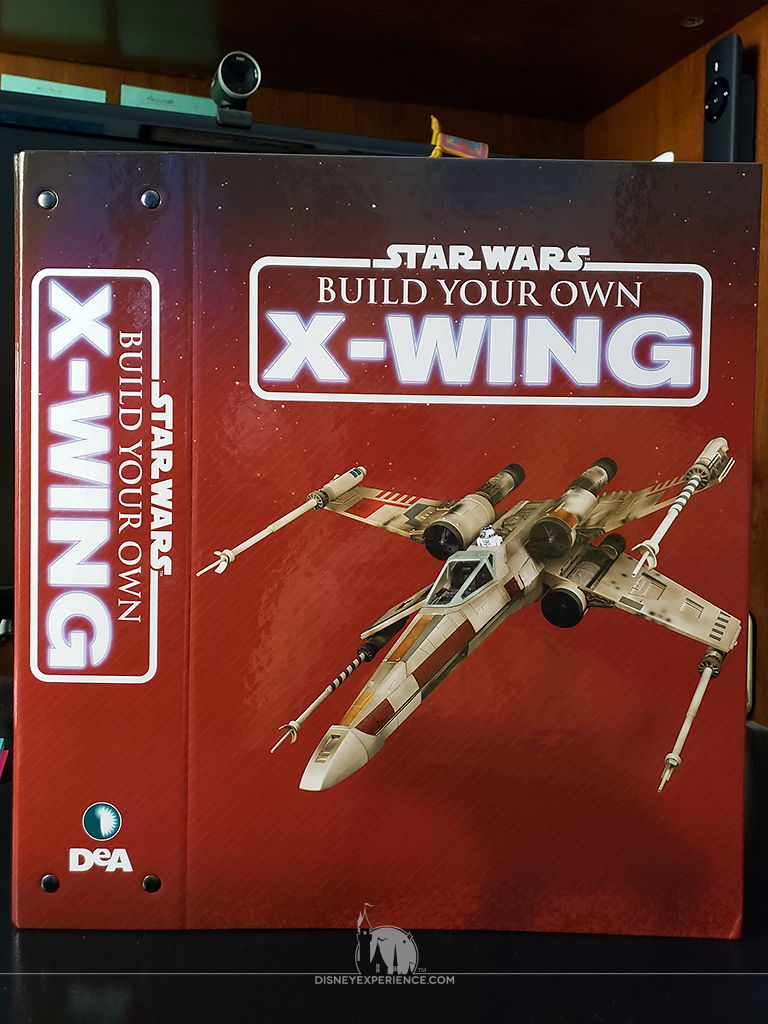
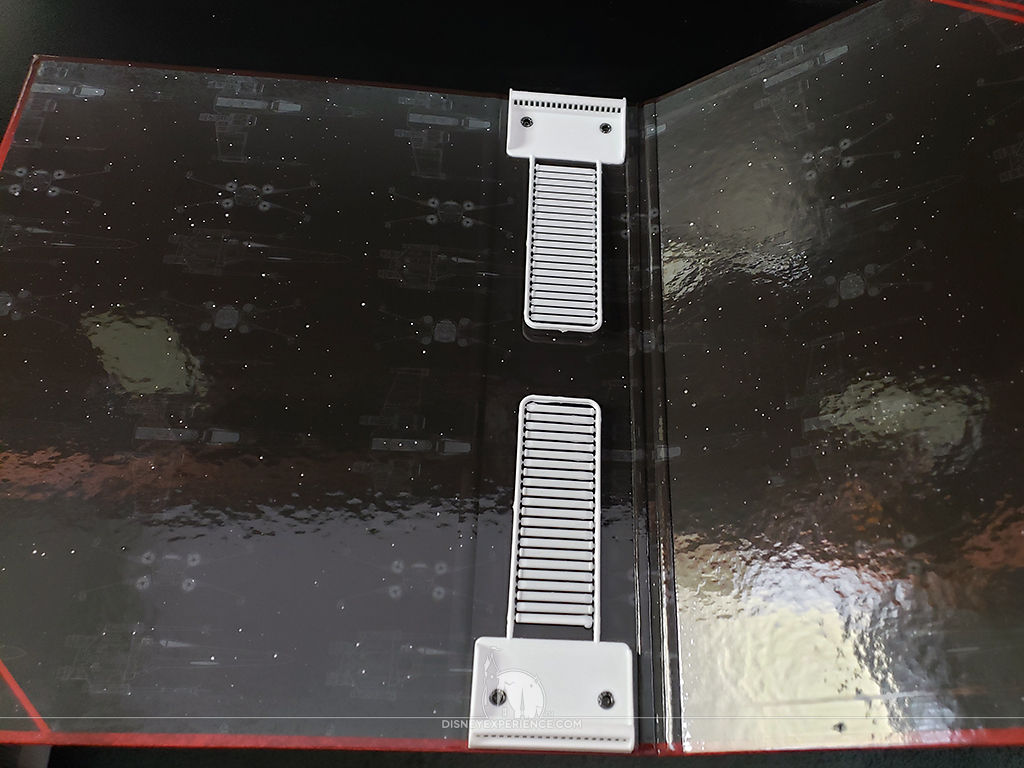
With the pack came my free binder. It only holds 25 issues, so collectors will need to purchsae at least 3 more at $19.99 a piece. I don’t keep the magazines—I give them to my nephew—so I don’t need the binders. That means more free space on my shelves, and more money in my wallet.
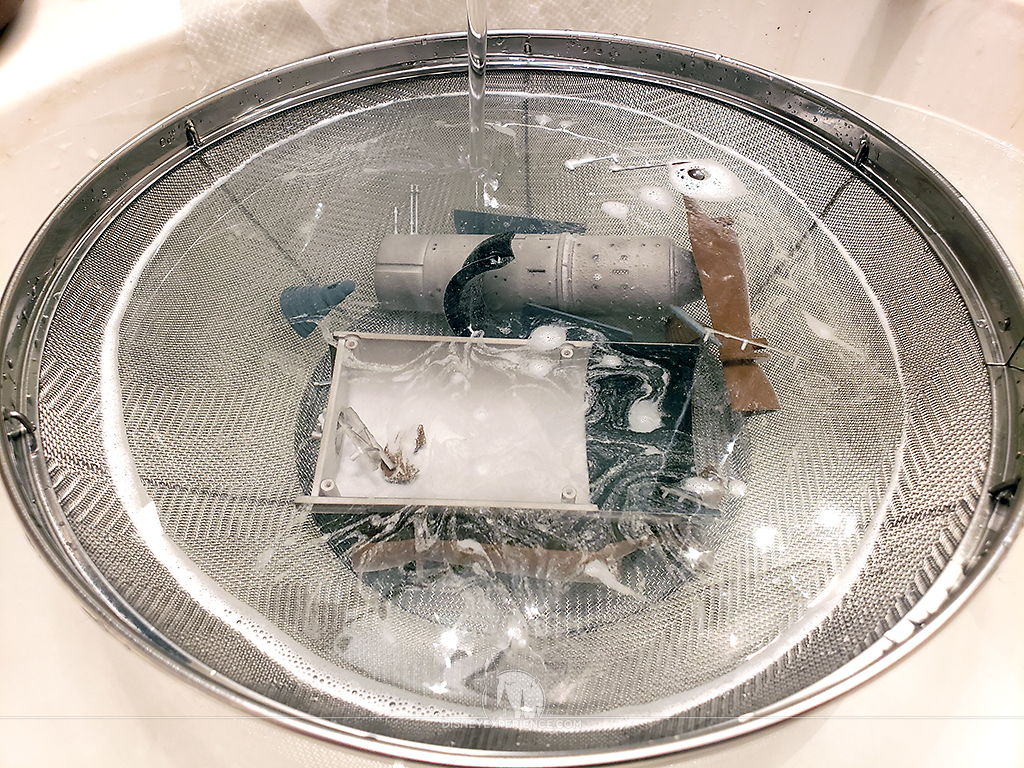
As usual, I wash my parts before assembling them. I previously used a paper towel to cover the sink drain so that tiny parts do not get lost to what my cat would call “the sink monster.” Now I use a wire mesh colander basket to prevent any tiny parts from disappearing down the drain. I use the drain plug to control the outgoing water flow so that the parts sit in a bath of warm water and soap.
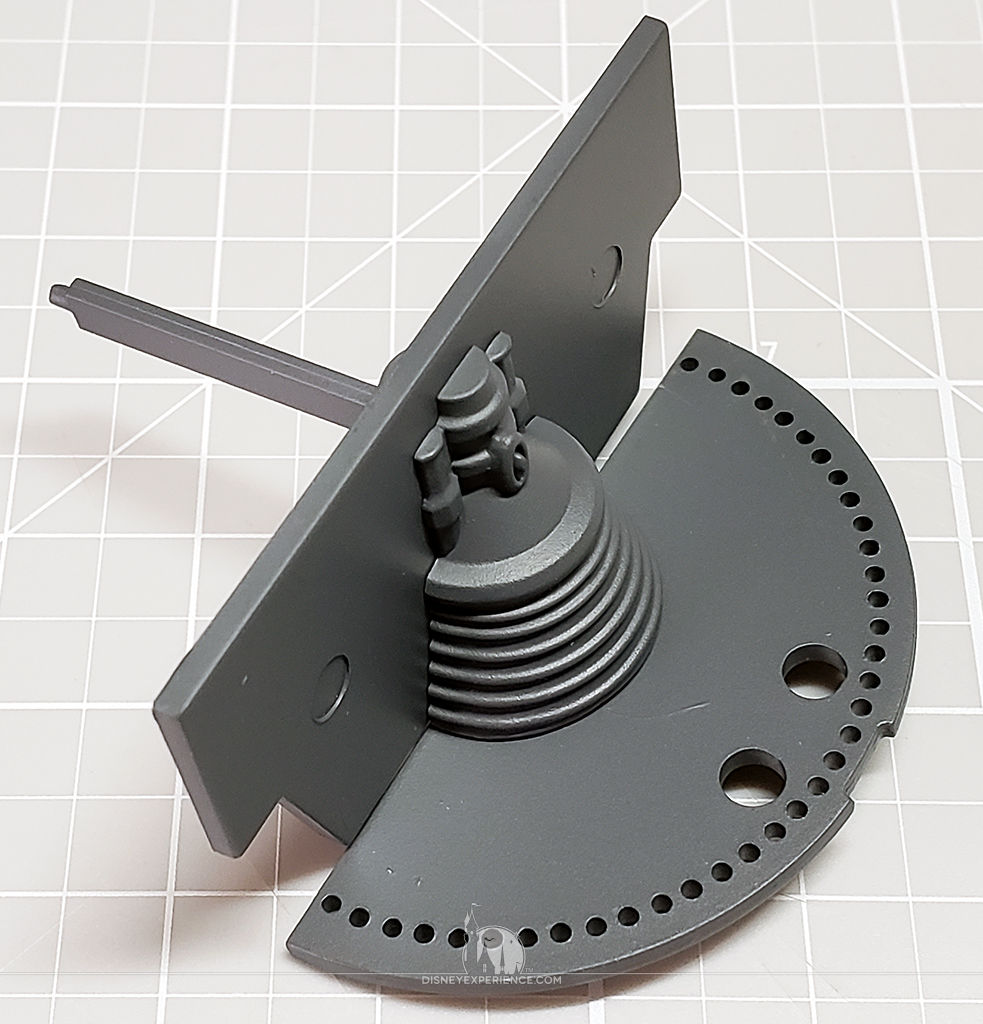
Extending the Wing

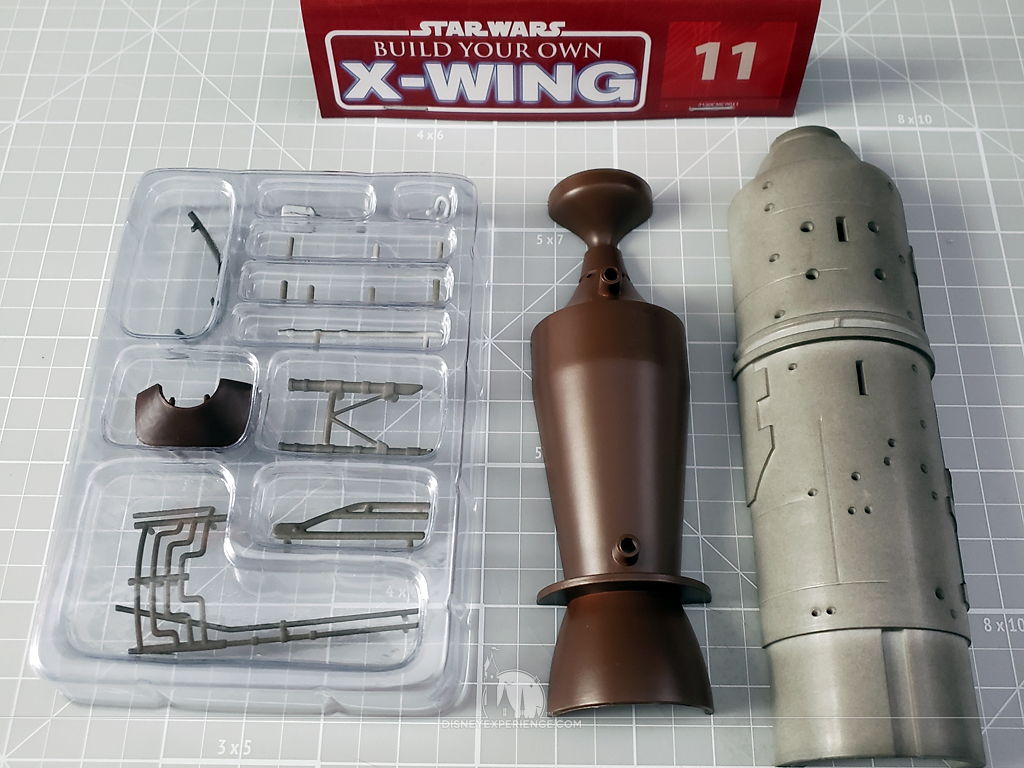
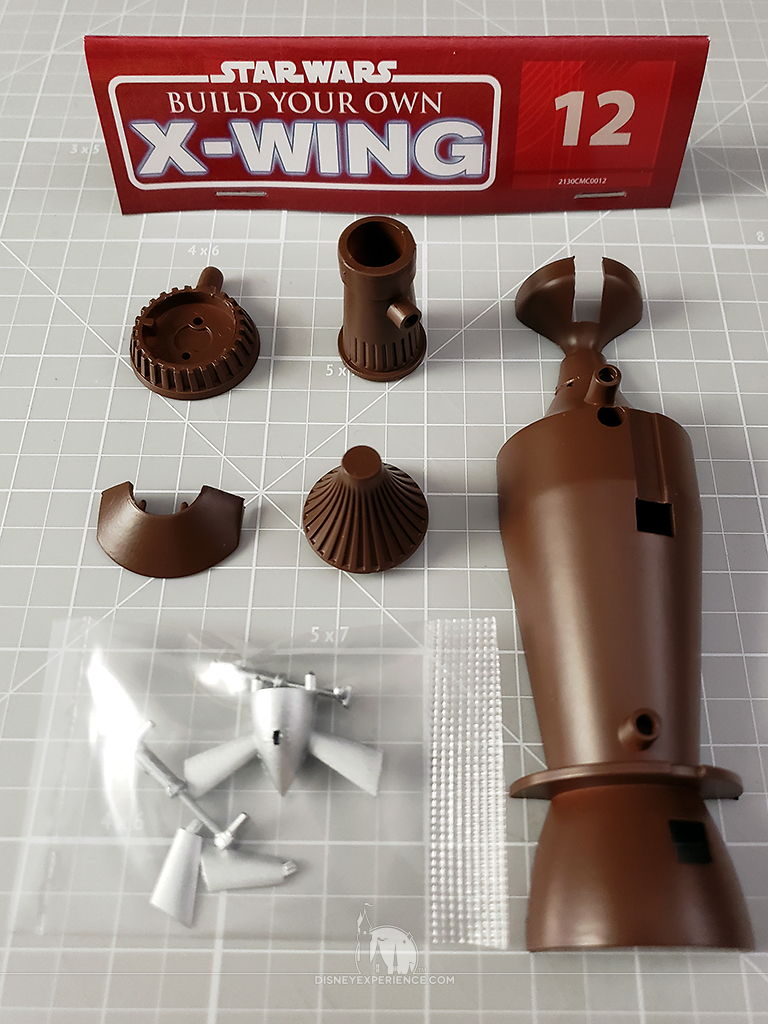
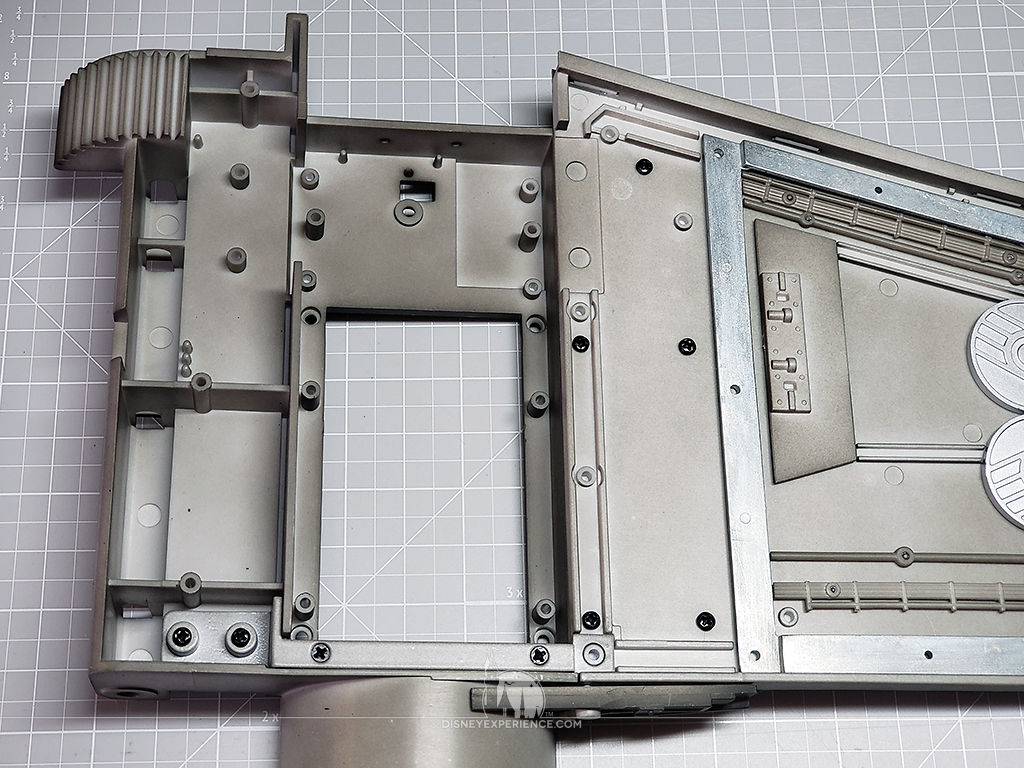
The wing extension is pretty simple. There are a few greeblies to attach, and then the two large wing sections are joined with strong metal supports. This gives the wing considerable weight and length.
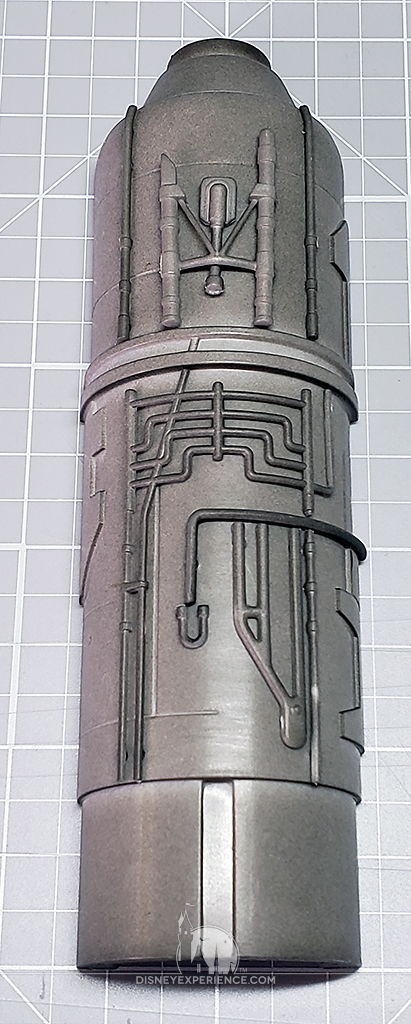
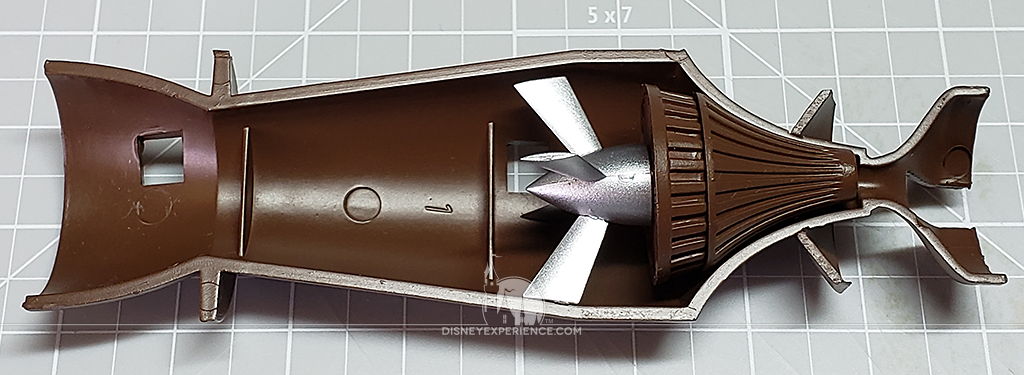
Internal Wing Engine
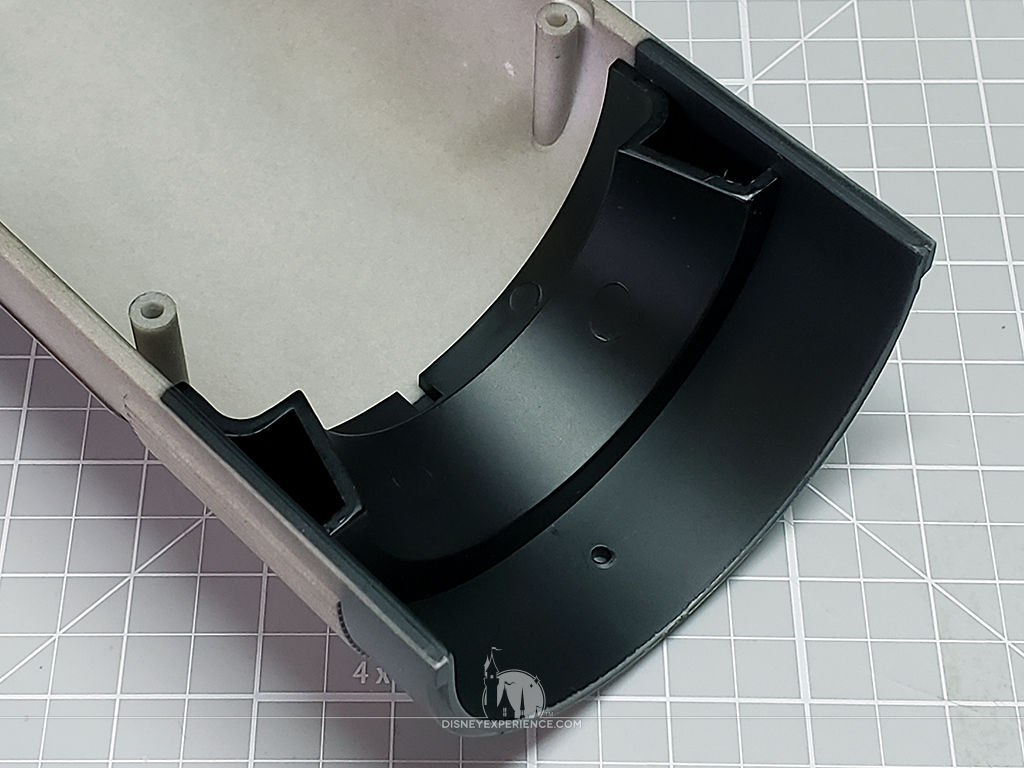
The engine is another one of those things where you’re really not going to see it. I’m going to try and refrain from mentioning these hidden details in every Build Journal because it makes it sound like there are multiple flaws in the model. Really, it’s just one big flaw—busy work to justify DeAgostini‘s price. Actually, it’s become more of a feature than a flaw; pushing my gripes aside, doing the detail work is becoming enjoyable.
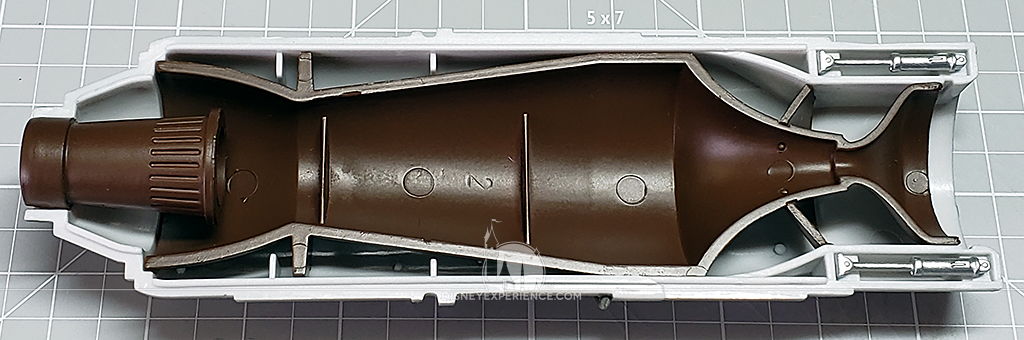
After adding the greeblies to the engine housing, I noted that there was one piece of pipe that needed to be glued down. It doesn’t have any support, so it sits loose and is prone to catching on things.
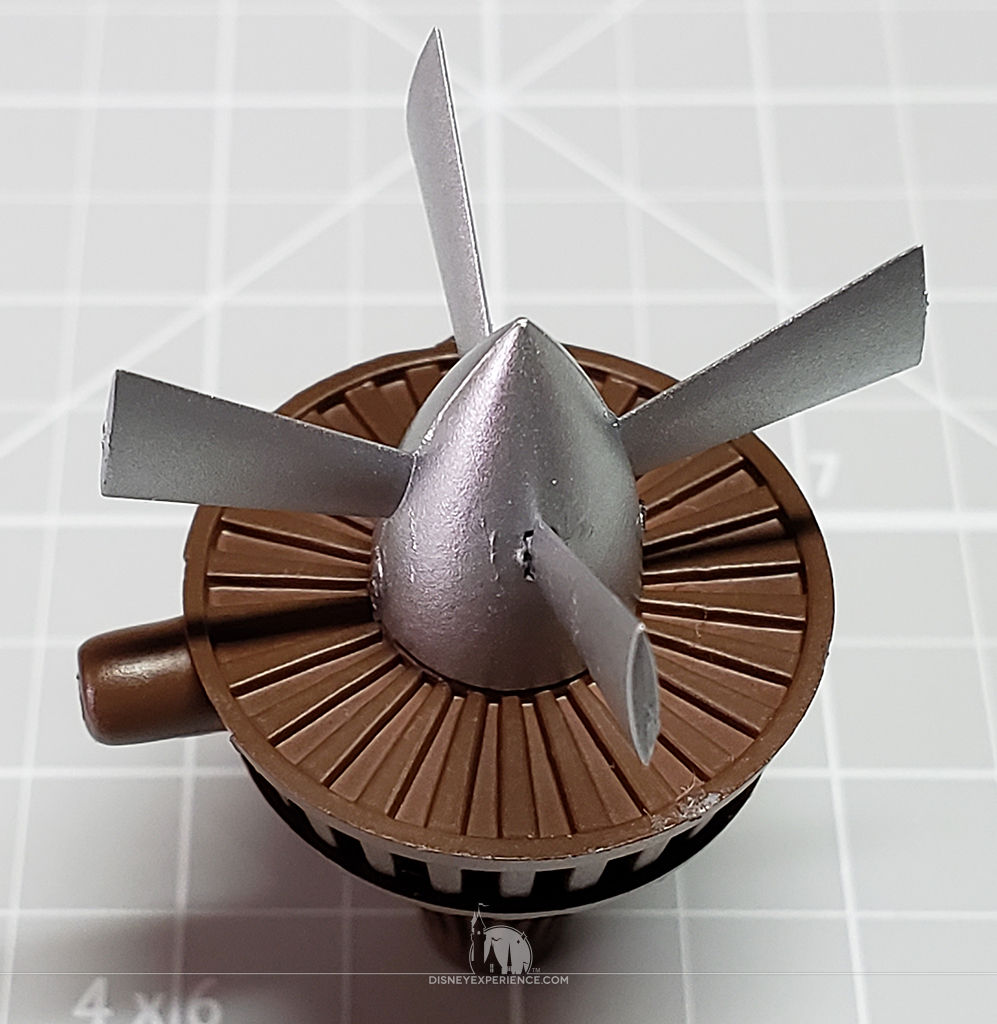
A lot of the parts fit so tightly together that they don’t need any glue. Occasionally, I will come across pieces that are too tight, like the fan blades. So, I soften the male and female connections with some Tamiya Extra Thin Cement for easier assembly.
Prev Journal Entry | Next Journal Entry
Both the post author and this website have not received any compensation for writing this post. Both the post author and this website have no material connection to the third-party brands, products, or services that have been mentioned. Some of the links in the post above are “affiliate links.” This means that if you purchase the item, we will receive a commission. As an Amazon associate, we earn from qualifying products. This is being disclosed in accordance with the Federal Trade Commission’s 16 CFR, Part 255: “Guides Concerning the Use of Endorsements and Testimonials in Advertising.”
Do you have a thought about this post? Why not leave a comment . . .