X-Wing Build Journal No. 03: Issues 5-8

Trader Sam | May 7, 2019
What’s Inside
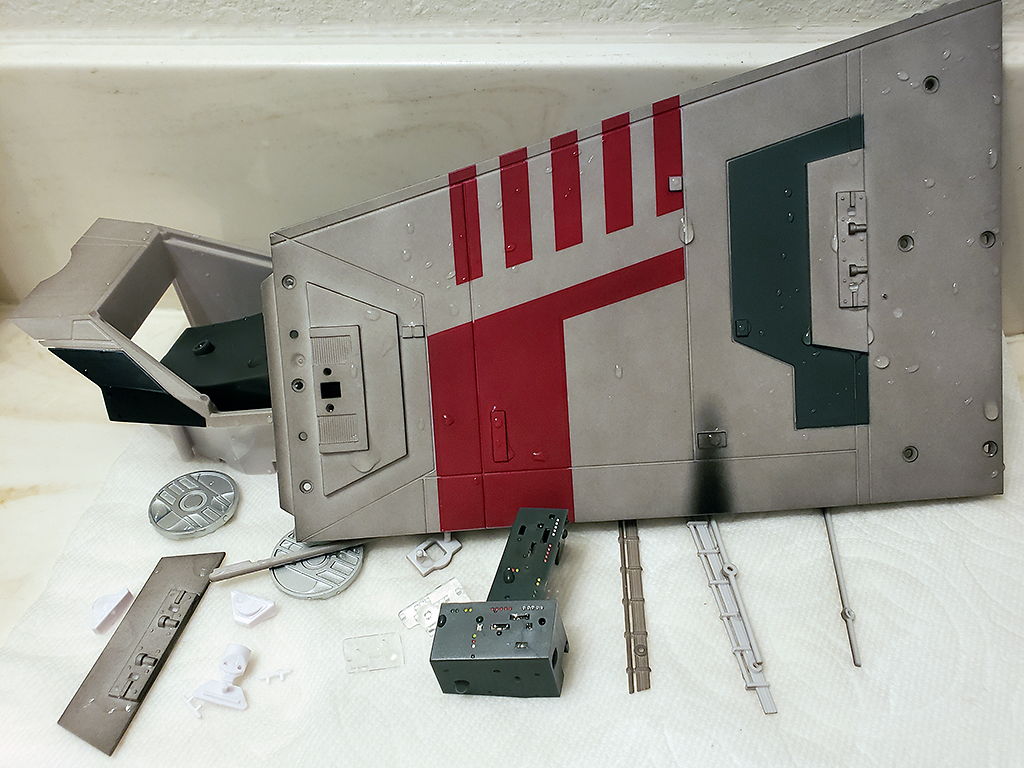
The second pack of the DeAgostini X-Wing model kit has arrived! In this pack, I begin working on one of the four wings, I continue work on the cockpit, and I “finish” R2-D2. Let’s open up the box and see what’s inside. The box is still thin and flimsy. Again, there were signs of the box being slightly crushed during transport. I really hope they switch back to the thicker, sturdy cardboard.
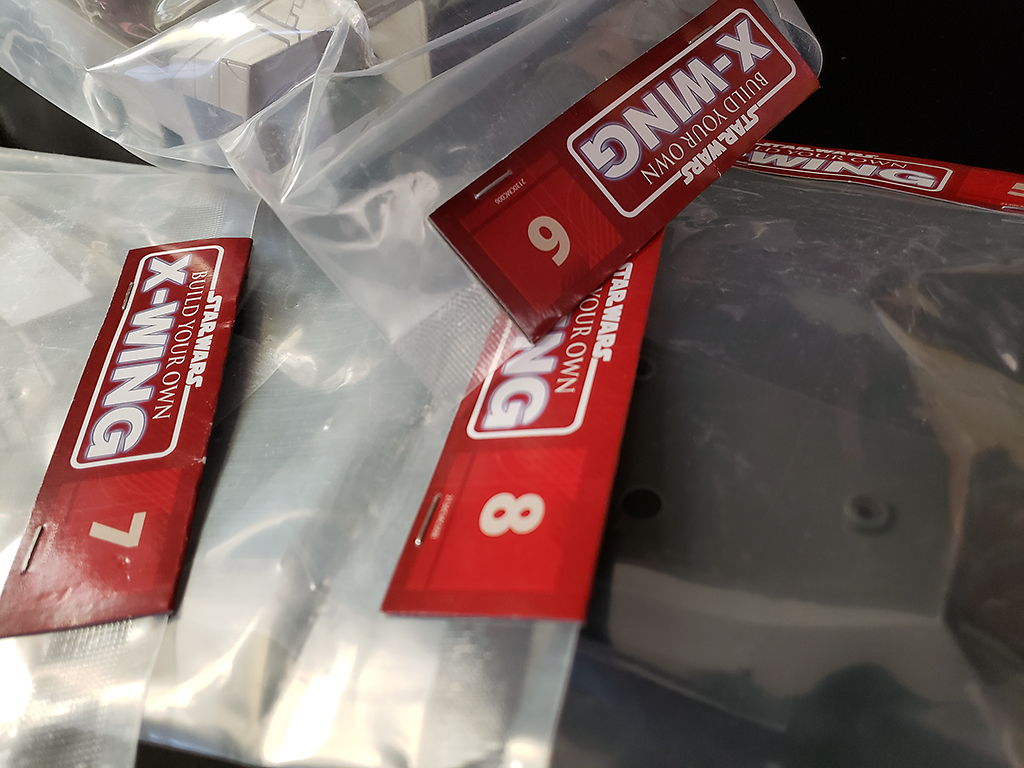
As predicted, the parts are now packaged into plastic bags with card stock labels stapled to the ends. These are much easier and quicker to open, and they produce less waste. The plastic bags are noticeably thicker and more durable than the ones used in the Millennium Falcon model.


One thing about this subscription that I do not agree with is that the X-Wing is spread out over too many issues. The Millennium Falcon had a ton of parts, so there was a lot to do every month. The X-Wing has substantially fewer parts, resulting in issues where there is hardly anything to assemble. I suspect that is the reason that there are so many assembled model parts that will never be seen (i.e. the interior of the laser cannons). They’re simply filler to justify the number of issues. It’s a waste of plastic.
As usual, I always begin by washing all of the plastic parts with warm water and mild soap.
R2-D2
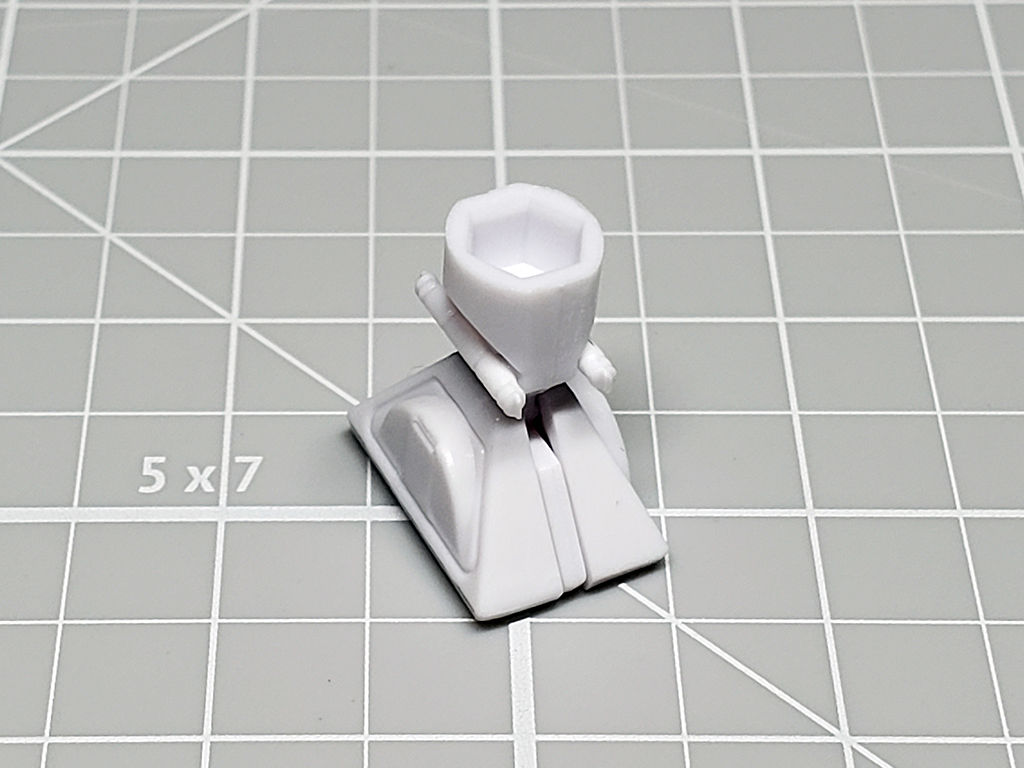
R2-D2’s third leg/foot is included in this month’s parts, although I don’t know why; R2-D2 does not use his third leg when standing upright. I suspect that it may be needed when he is inserted into the X-Wing to make his head turn. Since I’m not going to use the foot if I ever take R2 out, I assembled it but I did not paint it.
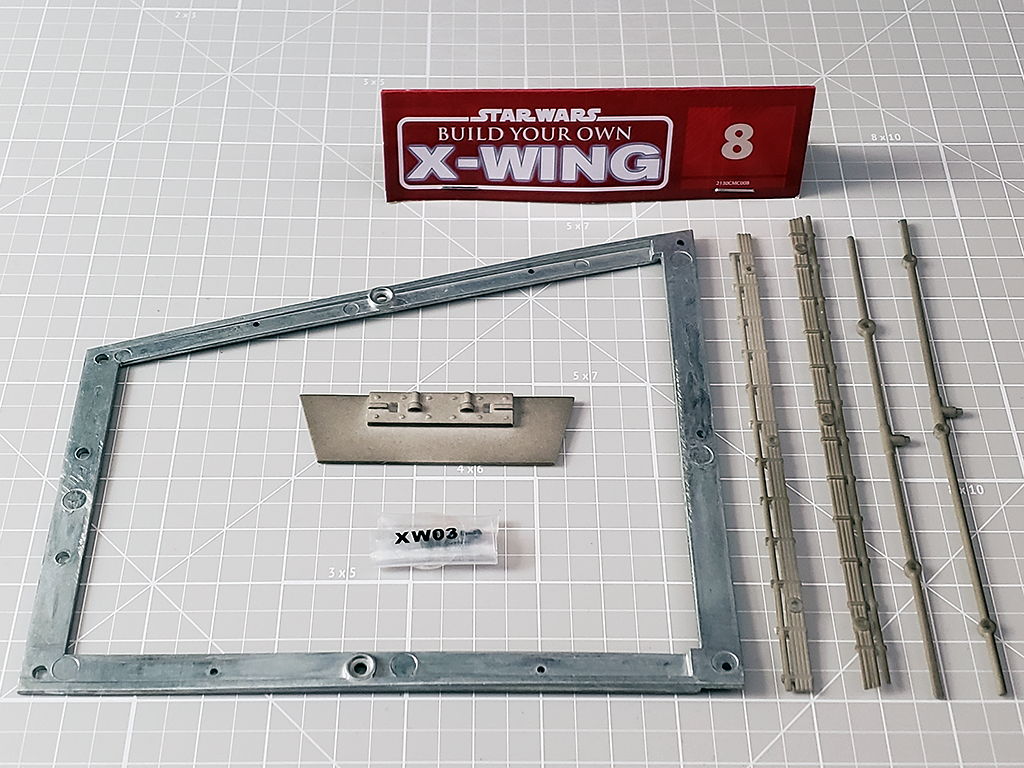
The Wing
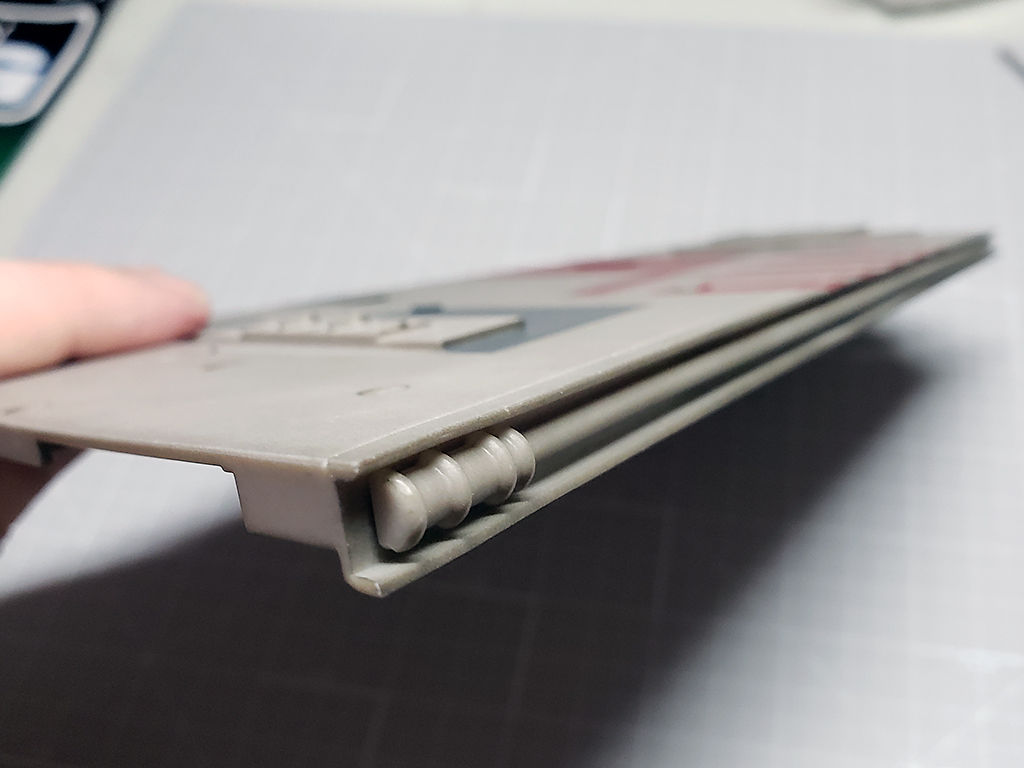
While assembling the wing, it was made clear that the model relies heavily on friction-fit pieces. This was evident while trying to attach the long greebly onto the edge of the wing. The fit was so tight that I had to shave some of the plastic away with an X-Acto knife to widen the holes. I couldn’t get the tabs to fit otherwise. And even then, the fit was so tight that the plastic was buckling outward, so I had to shave even more off.
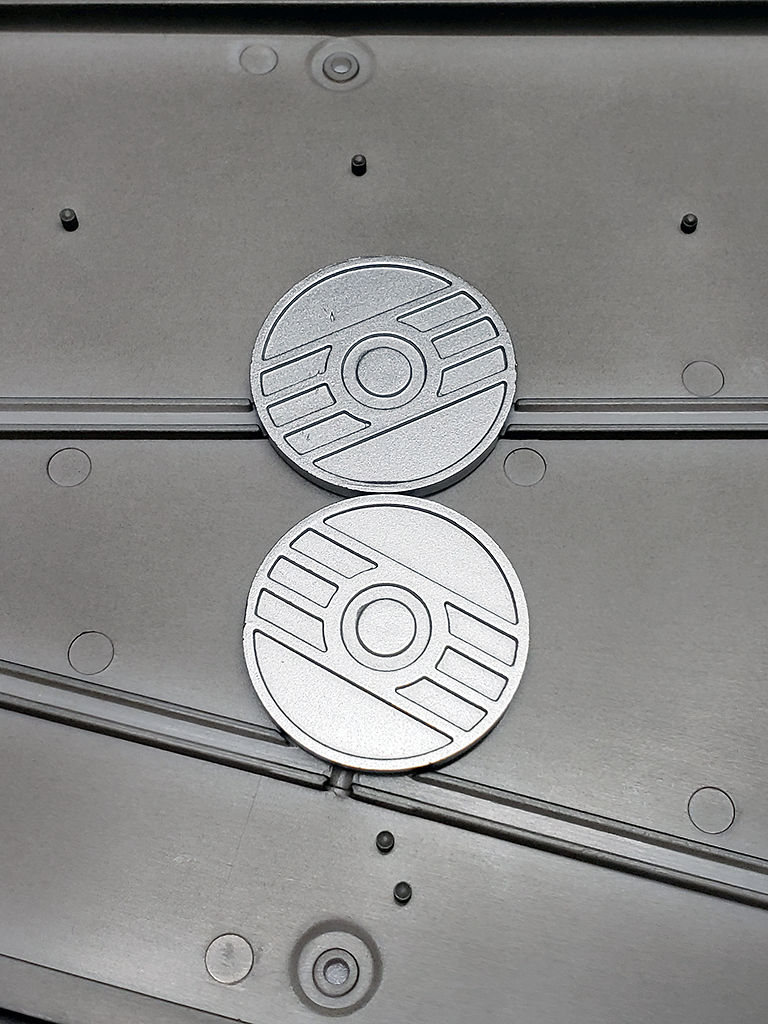
Moving to the interior of the wing, there has been a lot of speculation online about the purpose of the two silver medallions. Most people have speculated that they are slightly magnetic, which will help keep the four wings in their closed positions. Sadly, they are just plastic discs (I checked them with powerful neodymium magnets) that serve no function whatsoever other than to add detail that will be completely hidden by a future part.
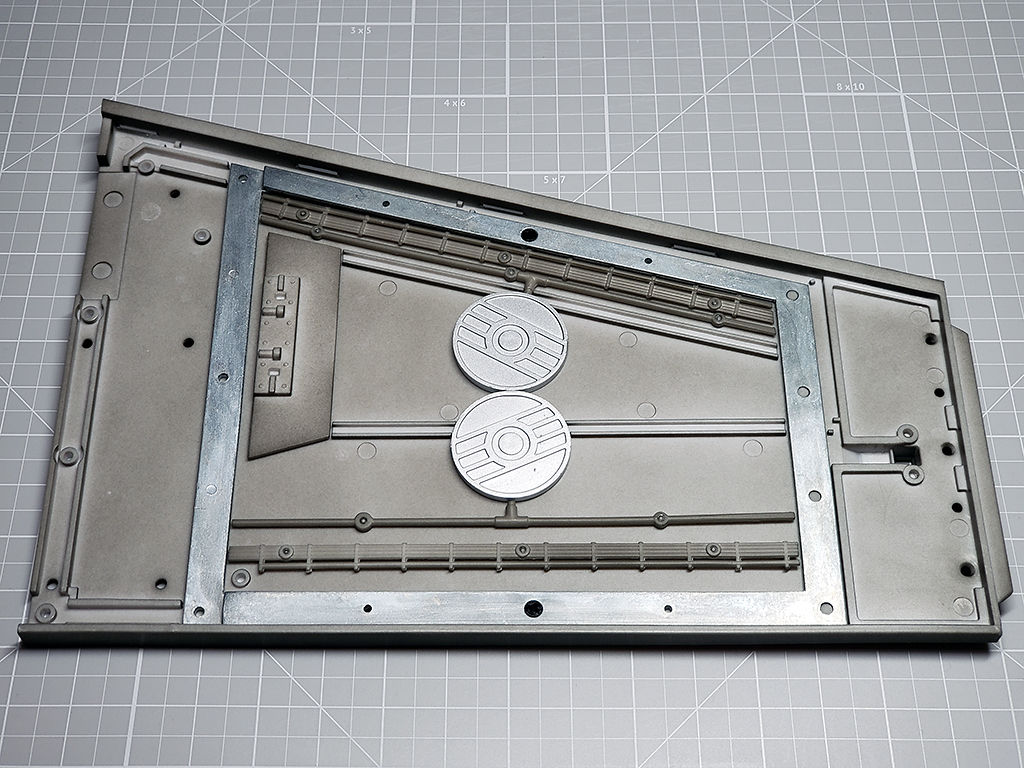
The wing’s metal frame was the first production error of this model. It was slightly bend and twisted, but I was able to gently bend it back into position with a pair of needle nose pliers. It wasn’t that big of a deal. For the screws, I ended up using a #0 Phillips screwdriver because the other screwdrivers were too small. I have a feeling that I am going to need multiple screwdriver sizes for this model.
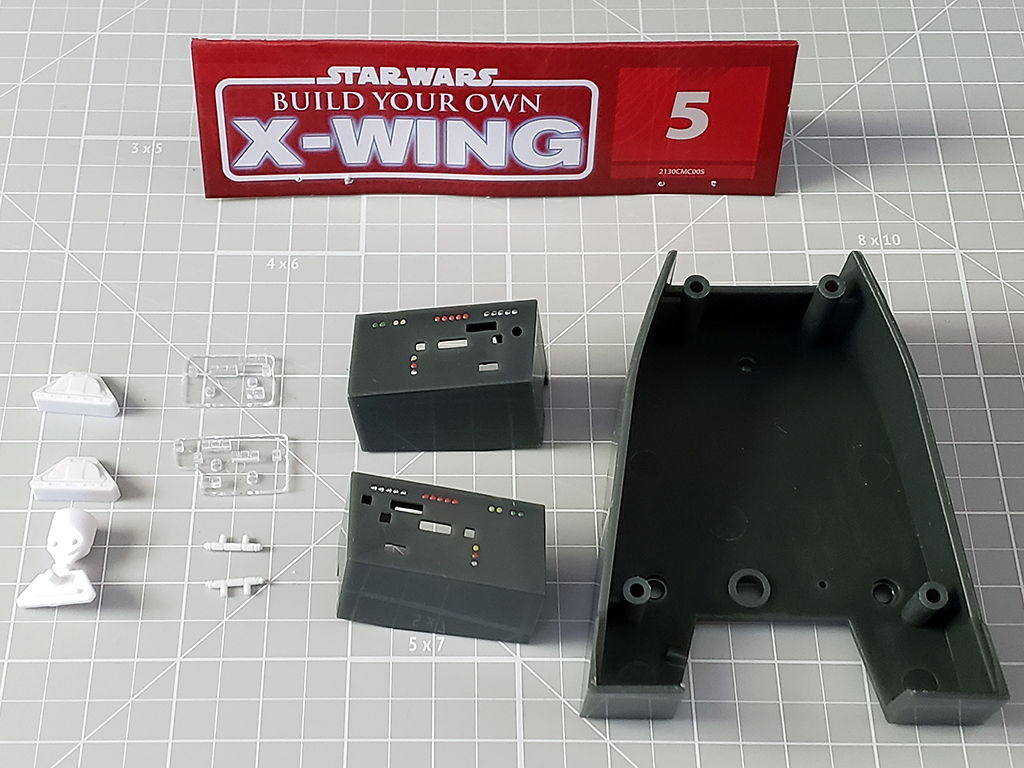
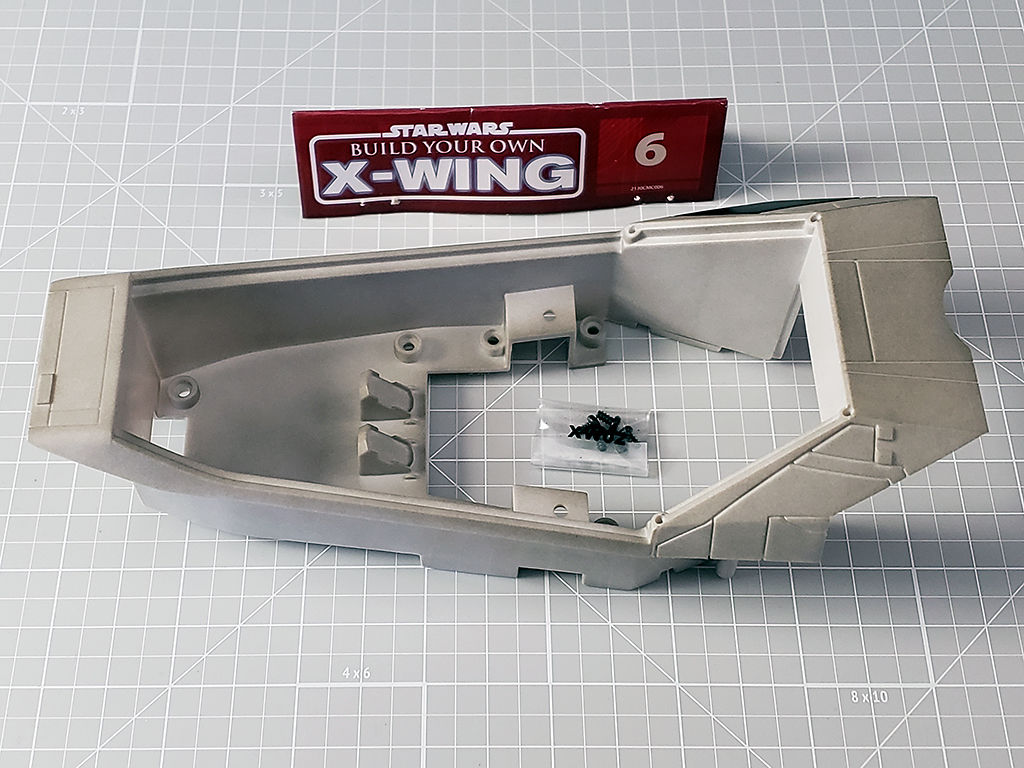
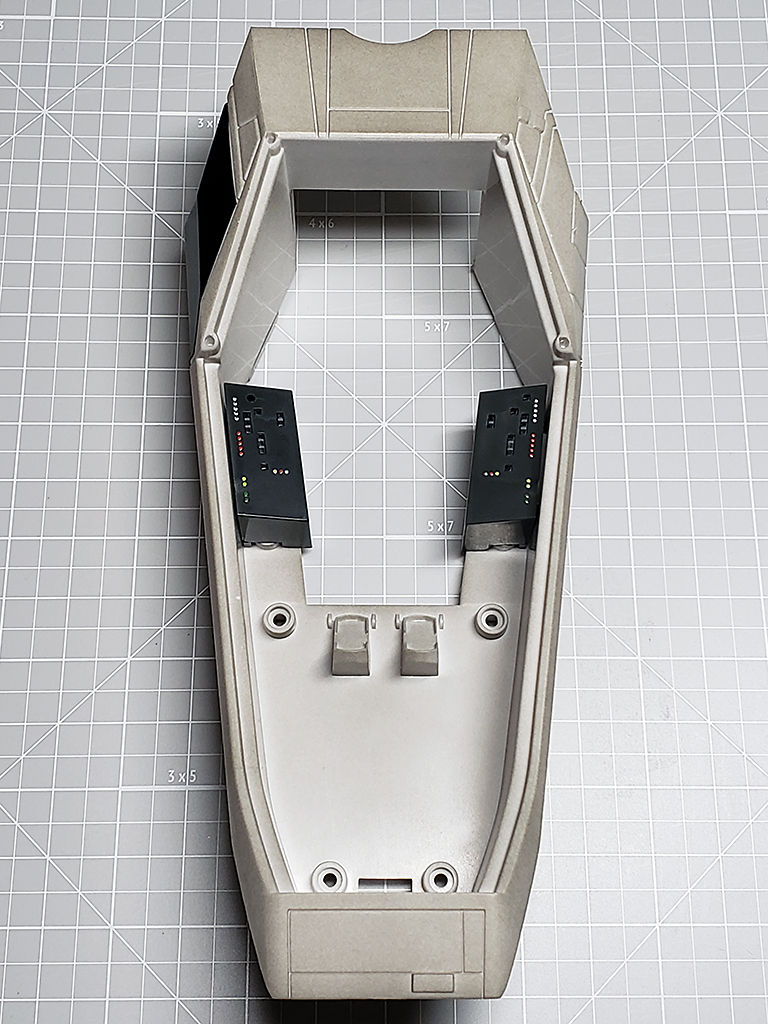
The Cockpit
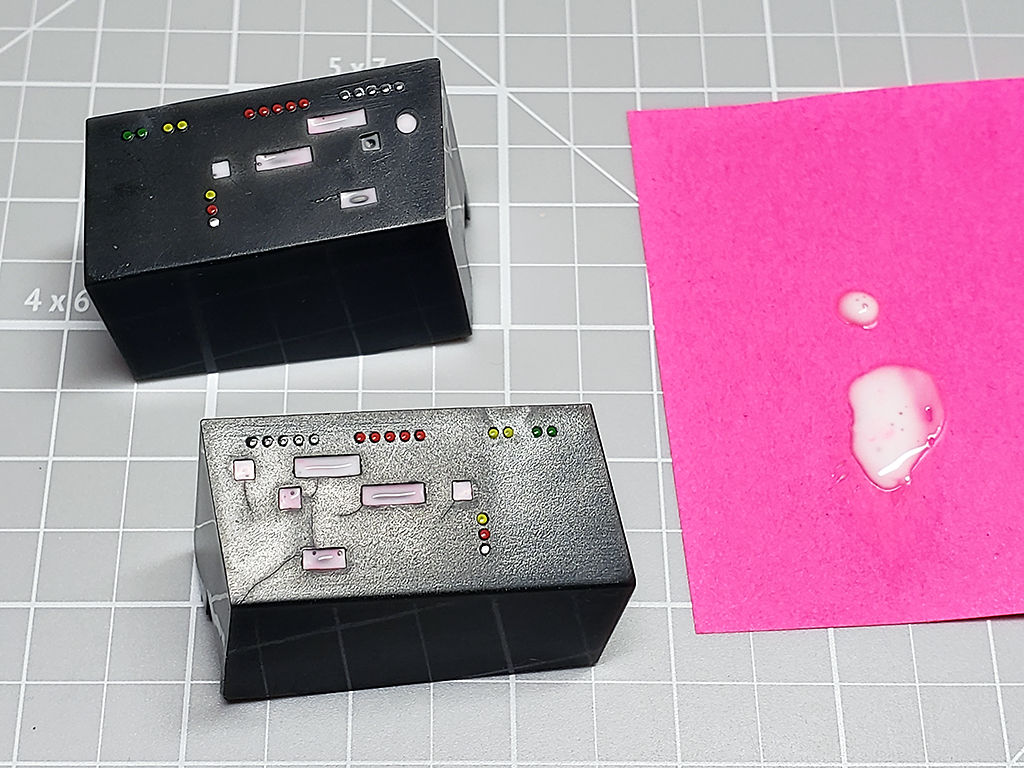
The cockpit control panels required a surprising amount of modifications. For the casings, I plugged the holes with Elmer’s Glue-All, and I painted the inside with gray primer. This is to help prevent/minimize light leaks from the LED that will eventually be housed inside.
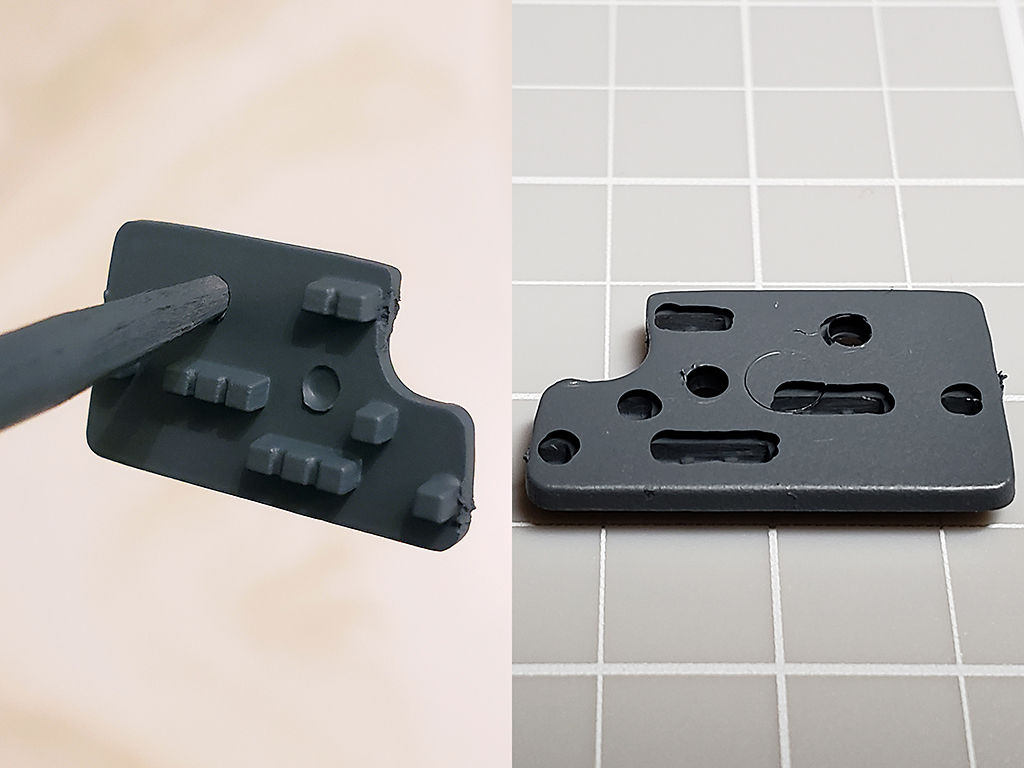
The panel buttons got sprayed with primer as well. For both pieces, I used one of the holes to glue them to the tips of bamboo skewers. The remaining holes were plugged up, and I used glue to mask areas on the flat side of the panels so that light could shine through. After painting, I removed all of the glue masks.
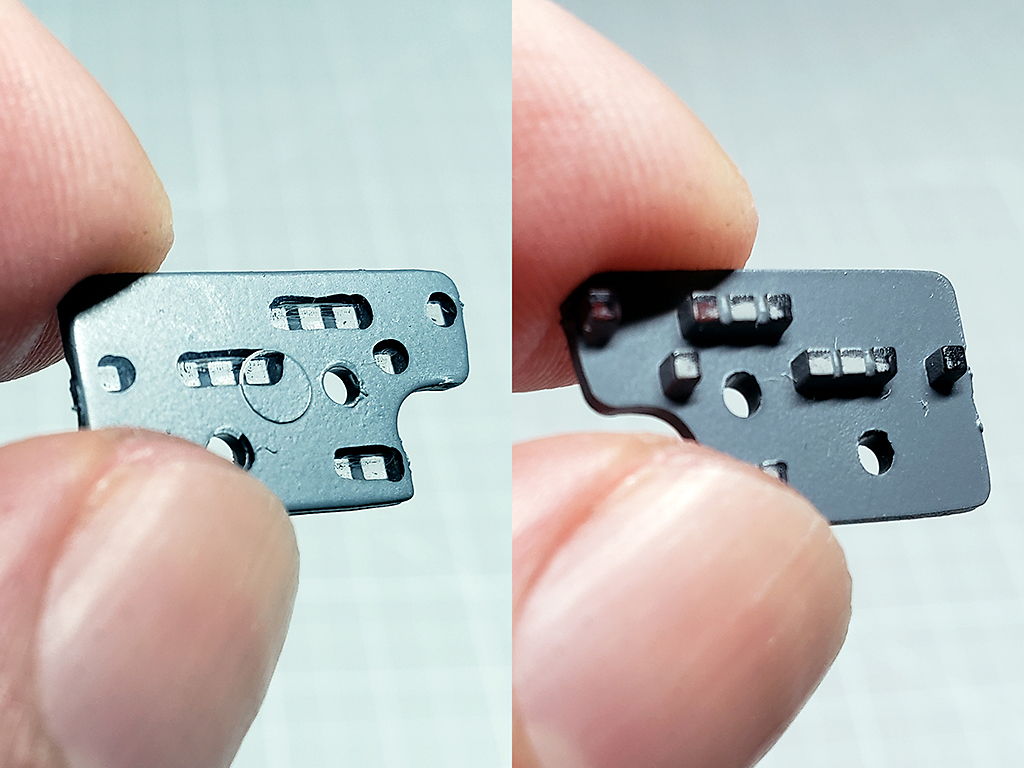
Next, I used some 91% isopropyl alcohol on a lint-free wipe to gently remove the paint along the very top of the buttons. This left paint in the crevices between the buttons. There was still some paint stuck in the imperfections of the buttons, so I sanded the tops with a series of micro mesh sanding sheets.
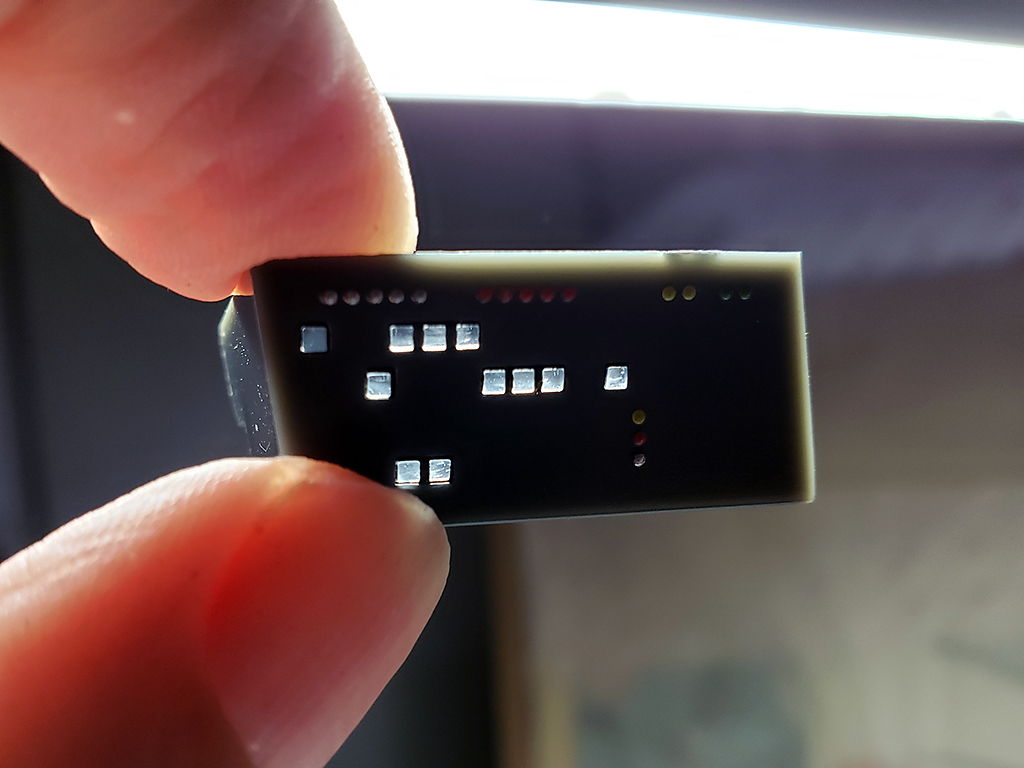
In the end, the panel buttons could all be clearly seen.
There wasn’t much to do this month. I think it will get better next month; I think that’s when I get parts for the engine.
Prev Journal Entry | Next Journal Entry
Both the post author and this website have not received any compensation for writing this post. Both the post author and this website have no material connection to the third-party brands, products, or services that have been mentioned. Some of the links in the post above are “affiliate links.” This means that if you purchase the item, we will receive a commission. As an Amazon associate, we earn from qualifying products. This is being disclosed in accordance with the Federal Trade Commission’s 16 CFR, Part 255: “Guides Concerning the Use of Endorsements and Testimonials in Advertising.”
Do you have a thought about this post? Why not leave a comment . . .