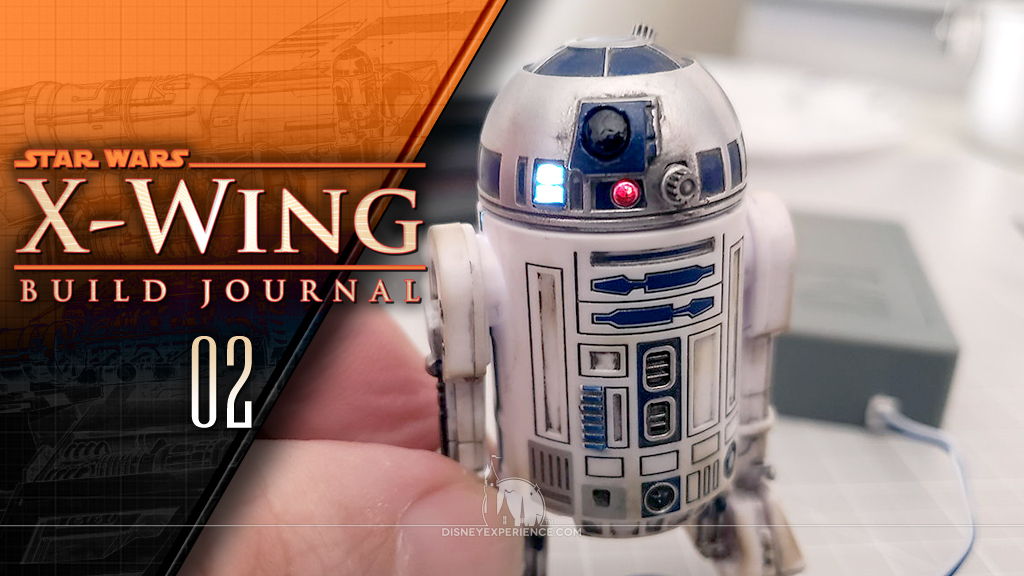
X-Wing Build Journal No. 02: Issues 1-4
Trader Sam | May 7, 2019
What’s Inside
It’s here; the first pack of the DeAgostini X-Wing model kit finally arrived! In this pack, I assemble the cockpit canopy, the first laser canon, and R2-D2. Let’s open up the box and see what’s inside.
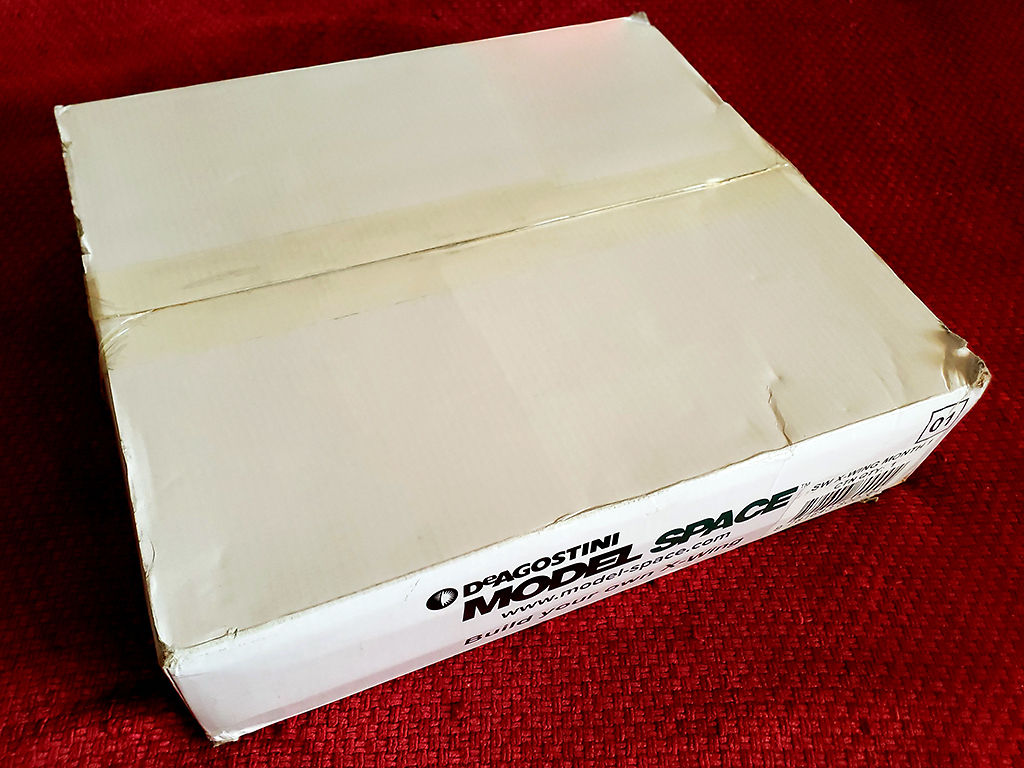
The first thing that I noticed was that the Model Space packaging has changed. The box is now white, and the cardboard is thin and flimsy. There were signs of the box being slightly crushed during transport, and the box was easily ripped into small pieces by hand. Maybe they used a cheap-quality box for the first pack because the model parts come in protective blister packs. Future packs will use plastic bags for the model parts, so I really hope that the box quality changes.

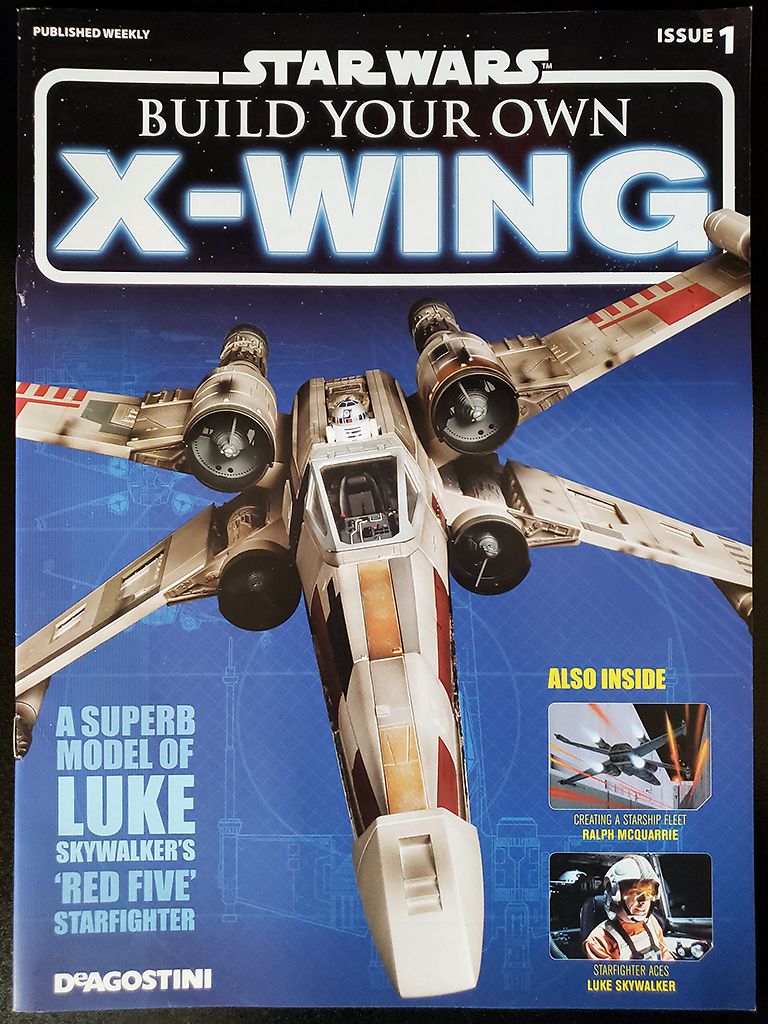
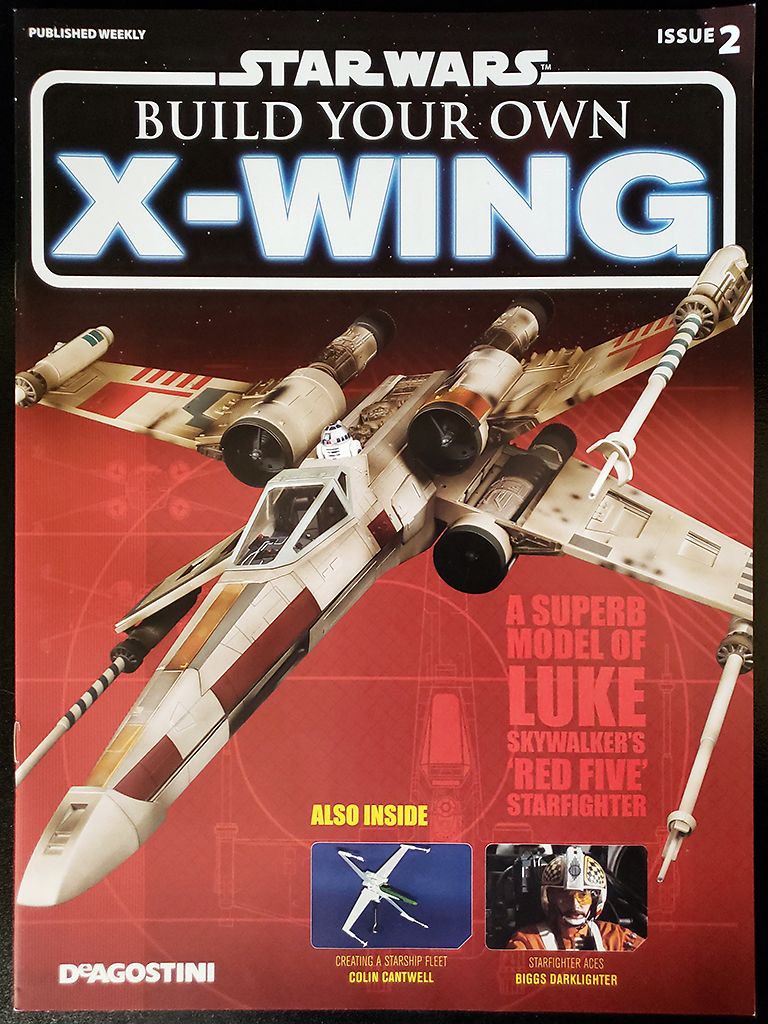


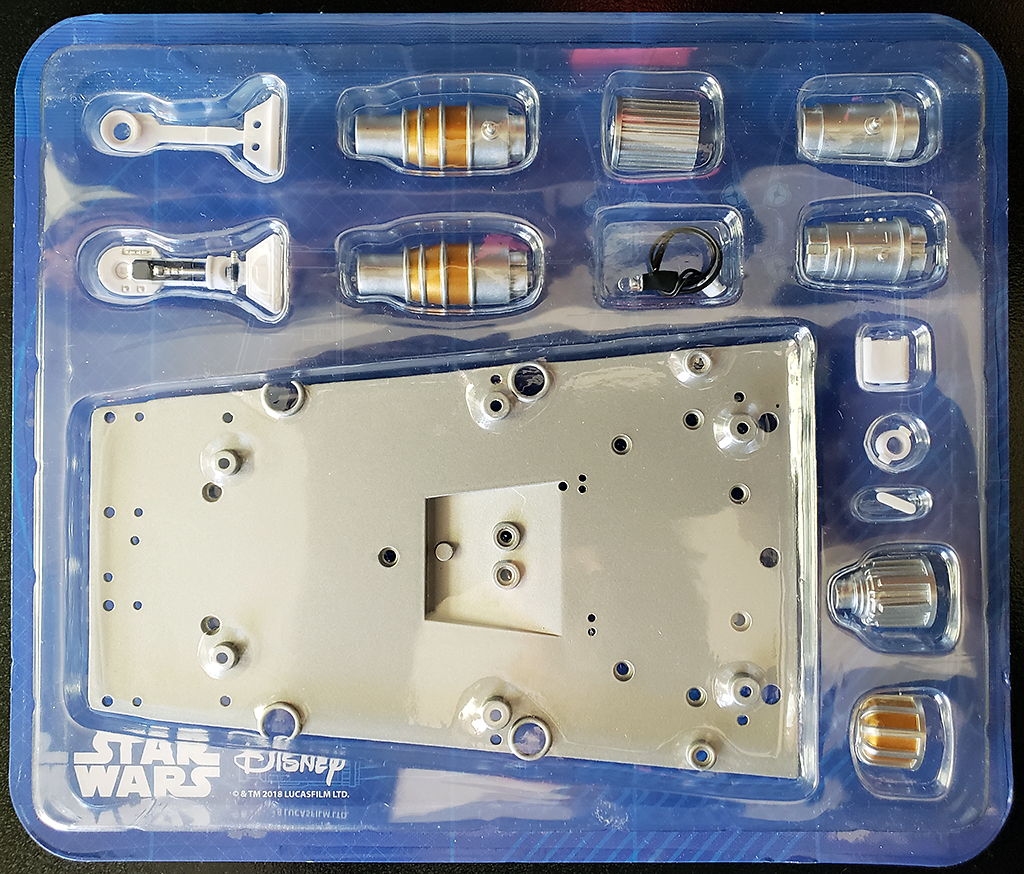
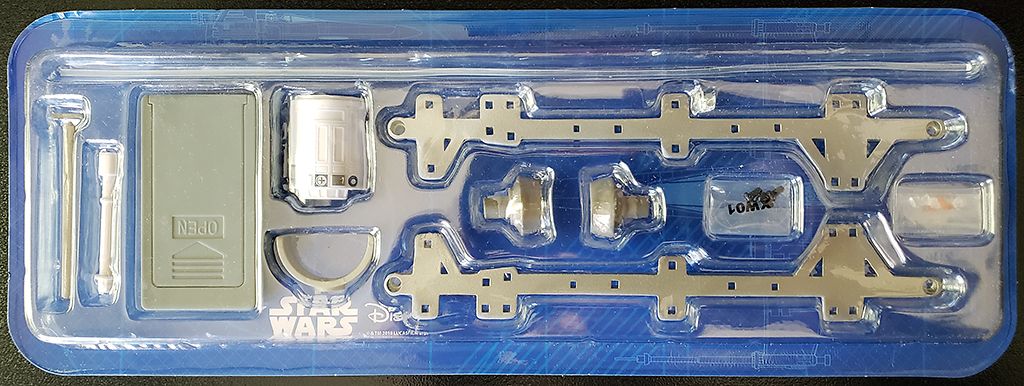
Inside the box, there were the familiar four magazines and four blister packs filled with model parts. That’s it. Unlike the Millennium Falcon model kit, there was neither a fold-out blueprint poster or a fold-out info sheet. Since I don’t need, use, or keep those, it’s not a big deal.
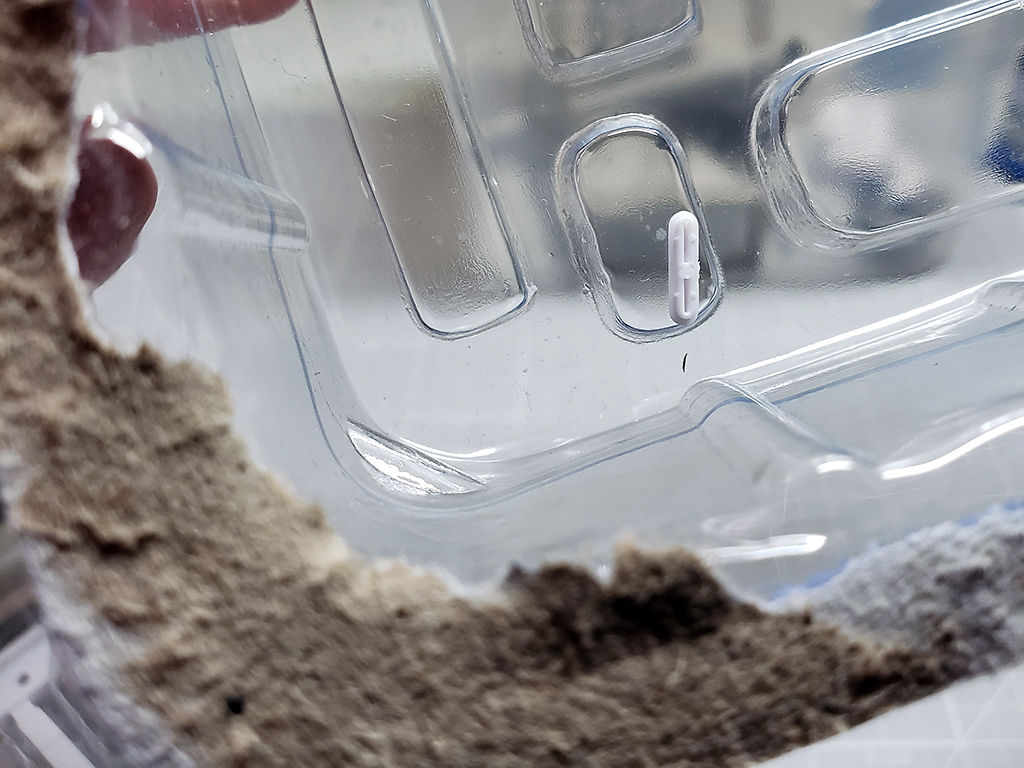
Removing the parts from the blister pack, I found a couple of teeny-tiny R2-D2 parts that stuck to the plastic thanks to my good friend, static. If I hadn’t looked, the parts would have been thrown into the garbage.
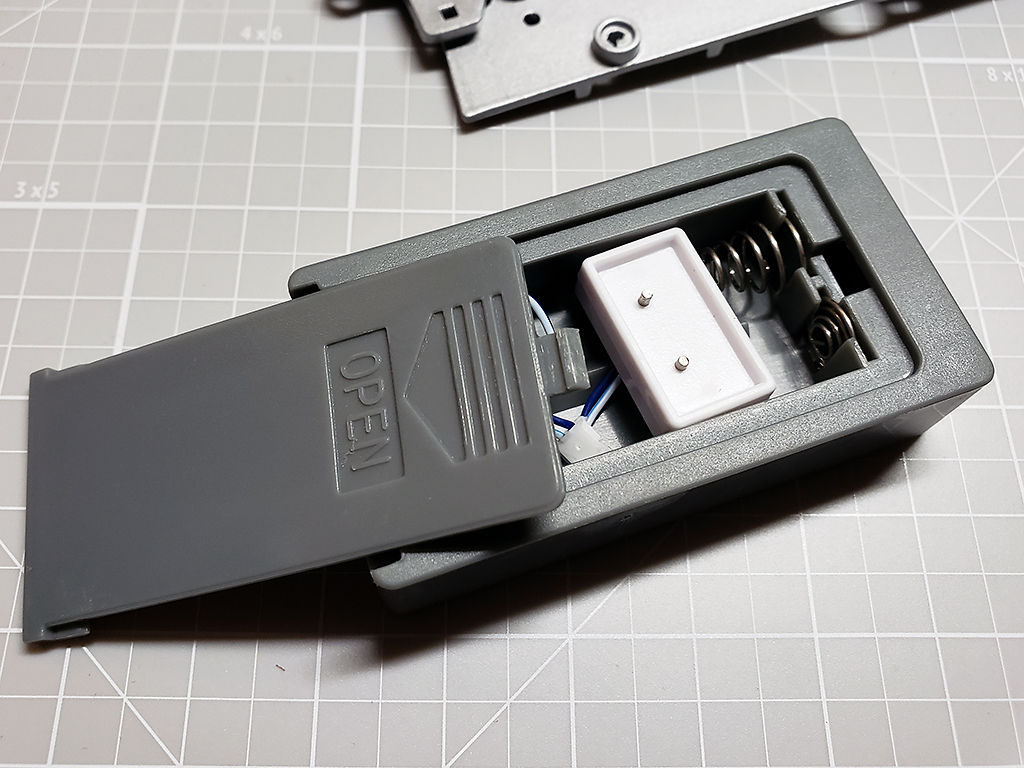
Inside the battery tester, the R2-D2 base contact is hidden.
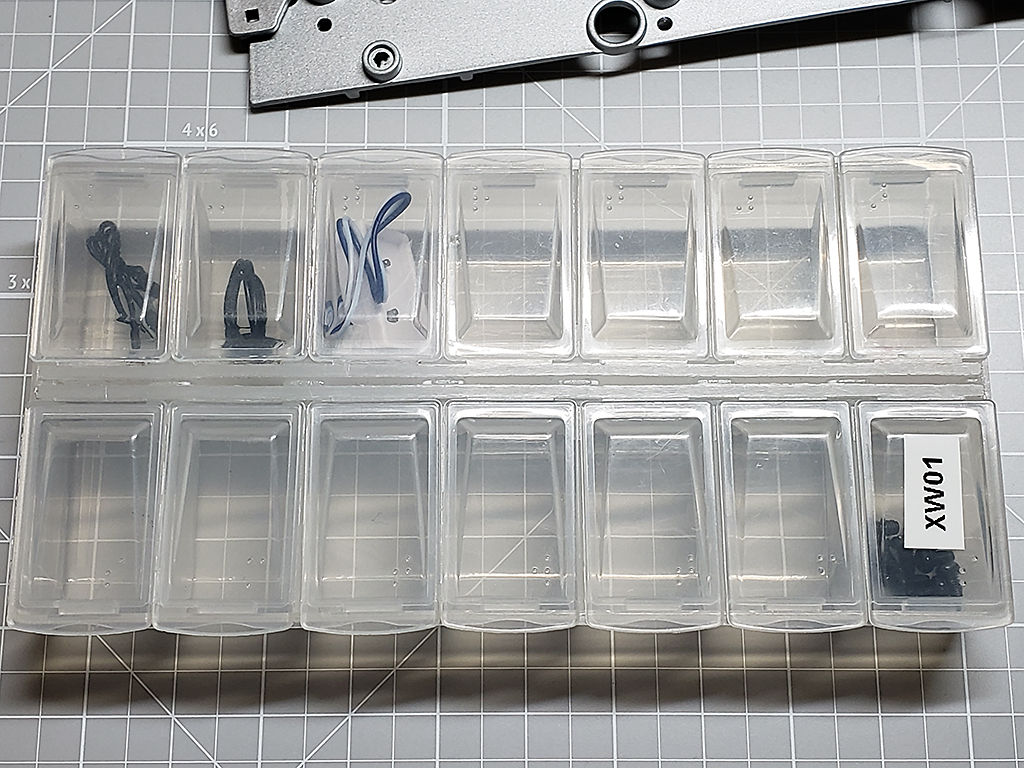
I keep all of my screws and tiny parts safely stored inside a pill organizer.
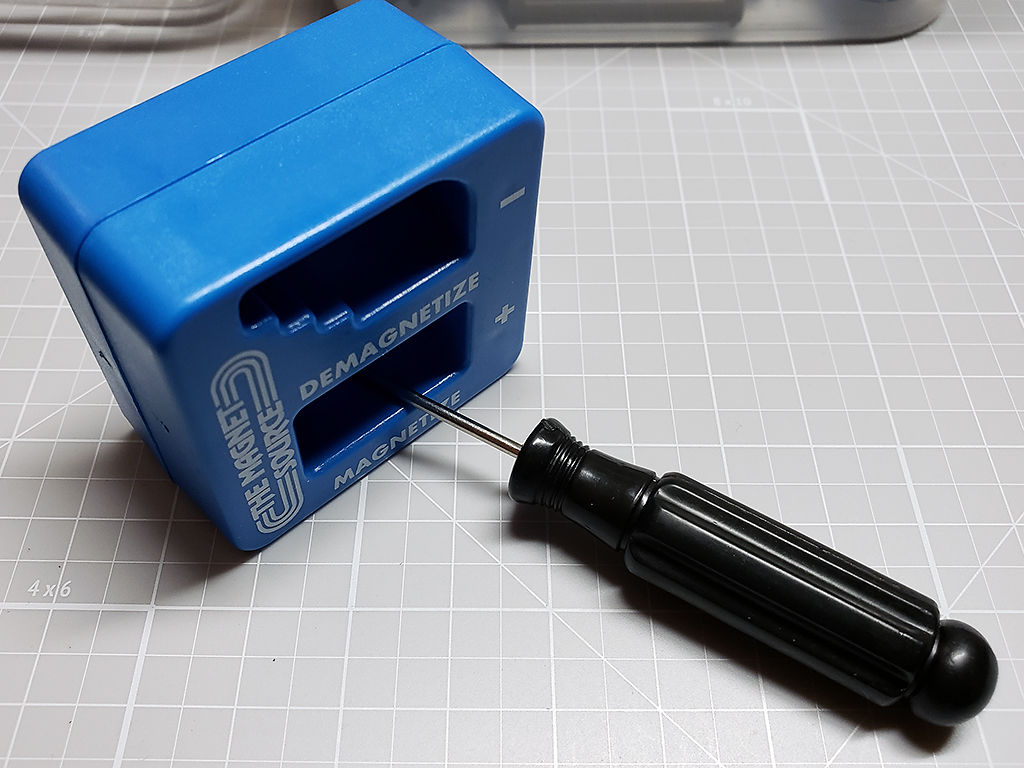
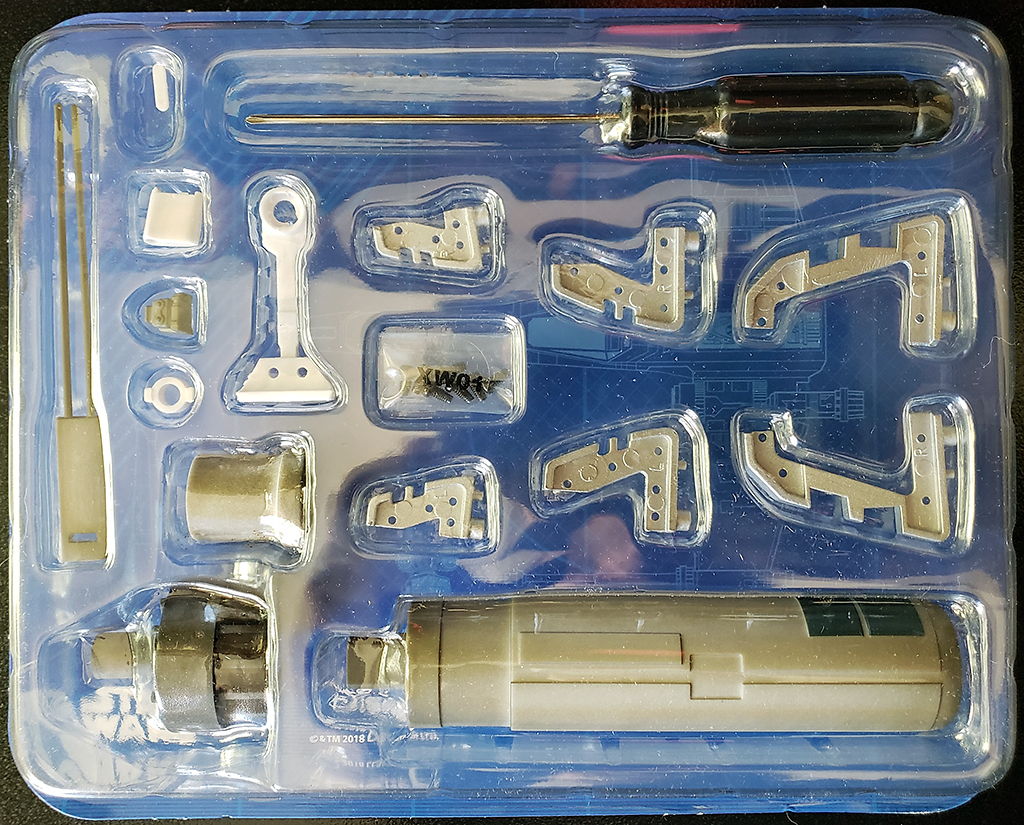
A magnetized screwdriver is a MUST, lest tiny screws disappear into the void that is the carpet. Thankfully, there exists such a tool as a magnetizer/demagnetizer. As for the screwdriver itself, it’s pretty much worthless.
The included screwdriver is of cheap quality, and it barely lasted through assembling the cockpit frame. It gets chewed up so fast. I highly recommend buying a good #0 phillips screwdriver.
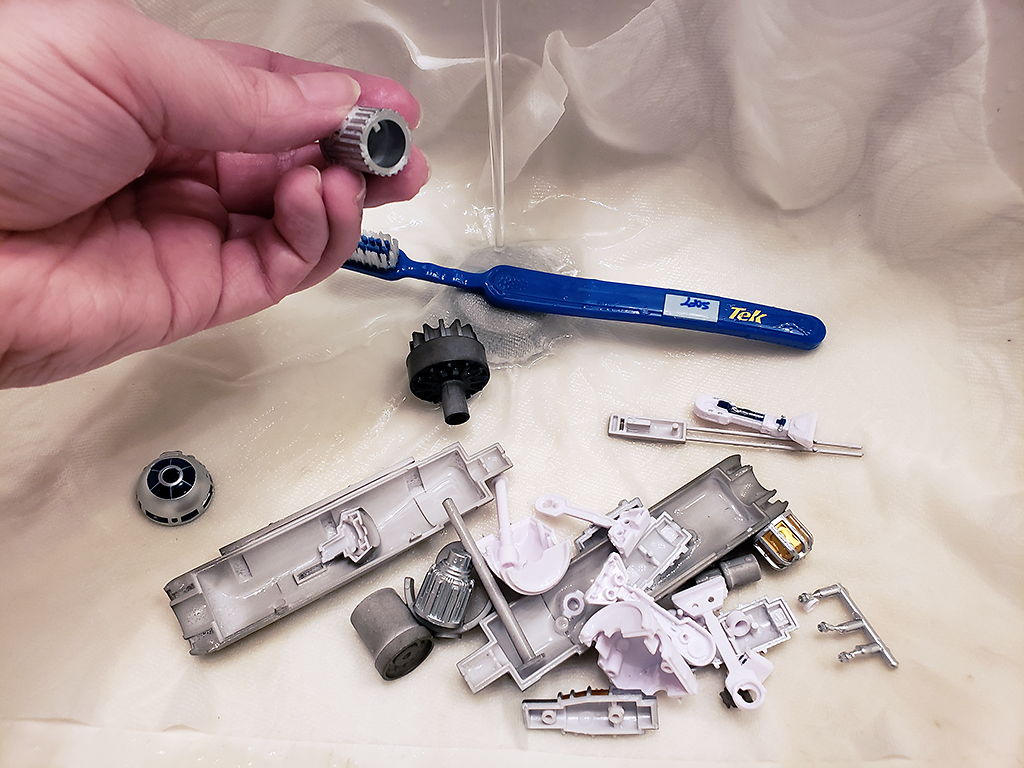
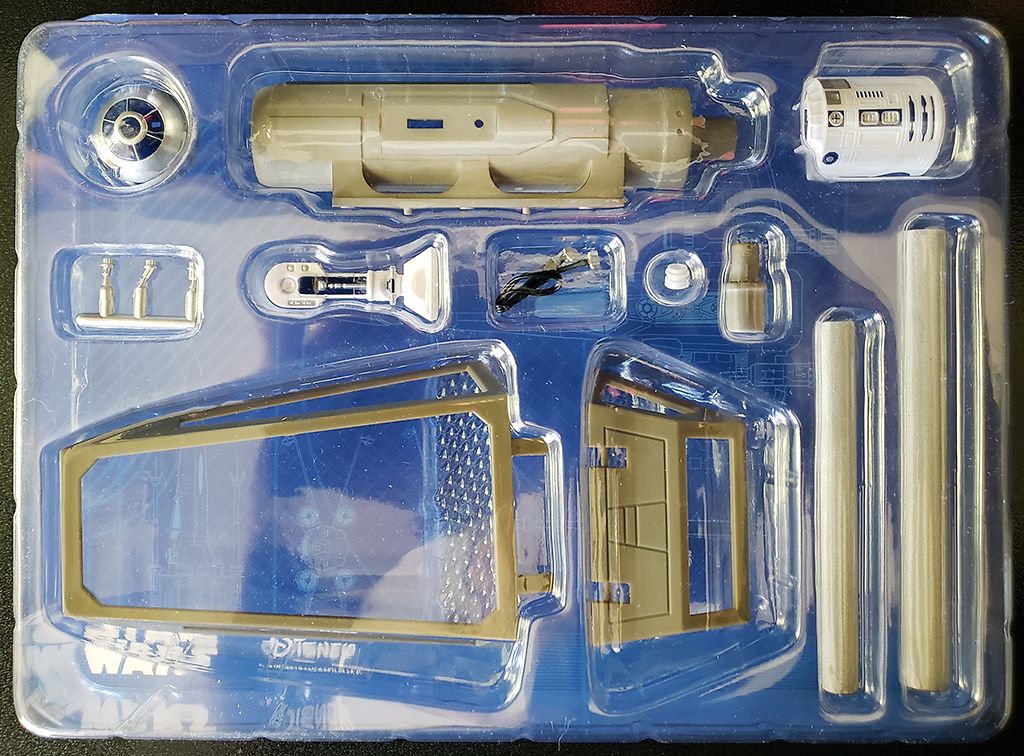
I like to wash every model part with warm water, mild soap, and a toothbrush. This removes any dirt, debris, oils, and mold release agents so that paint and glue with adhere properly. I can really feel a difference in the parts after washing. I noticed that the two tubes of the laser canon are made of metal, so I dried those immediately to prevent any future occurrence of rust.
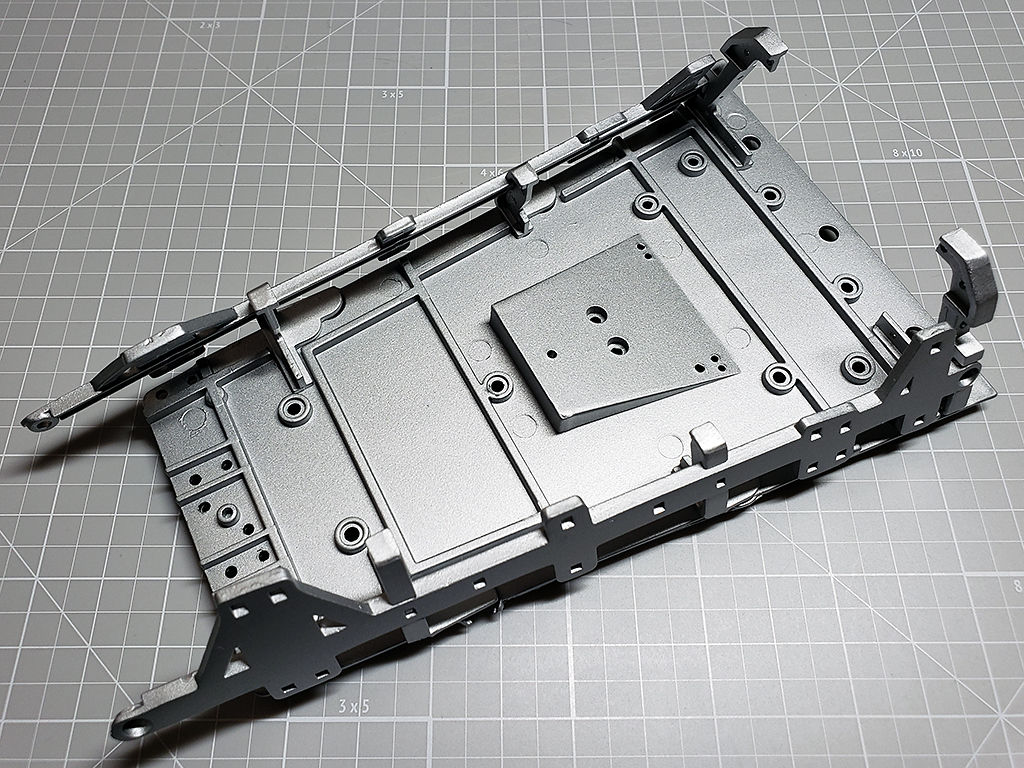
The Cockpit
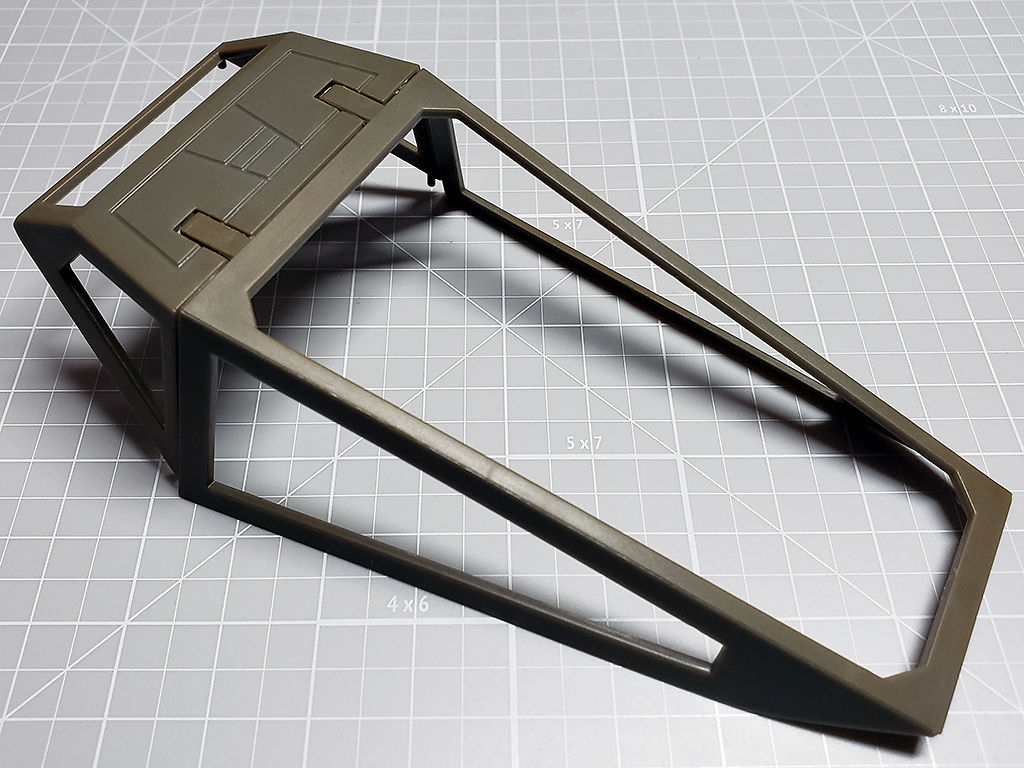
The cockpit was simple and straight-forward. The canopy consists of only 2 pieces, and the metal frame screwed together easily. However, I was a little cautious with the screws because the metal frame pieces were not tapped. I can just imagine breaking a screw head or stripping out a hole. Slow and steady wins the race, and I secured them with thread locking compound.
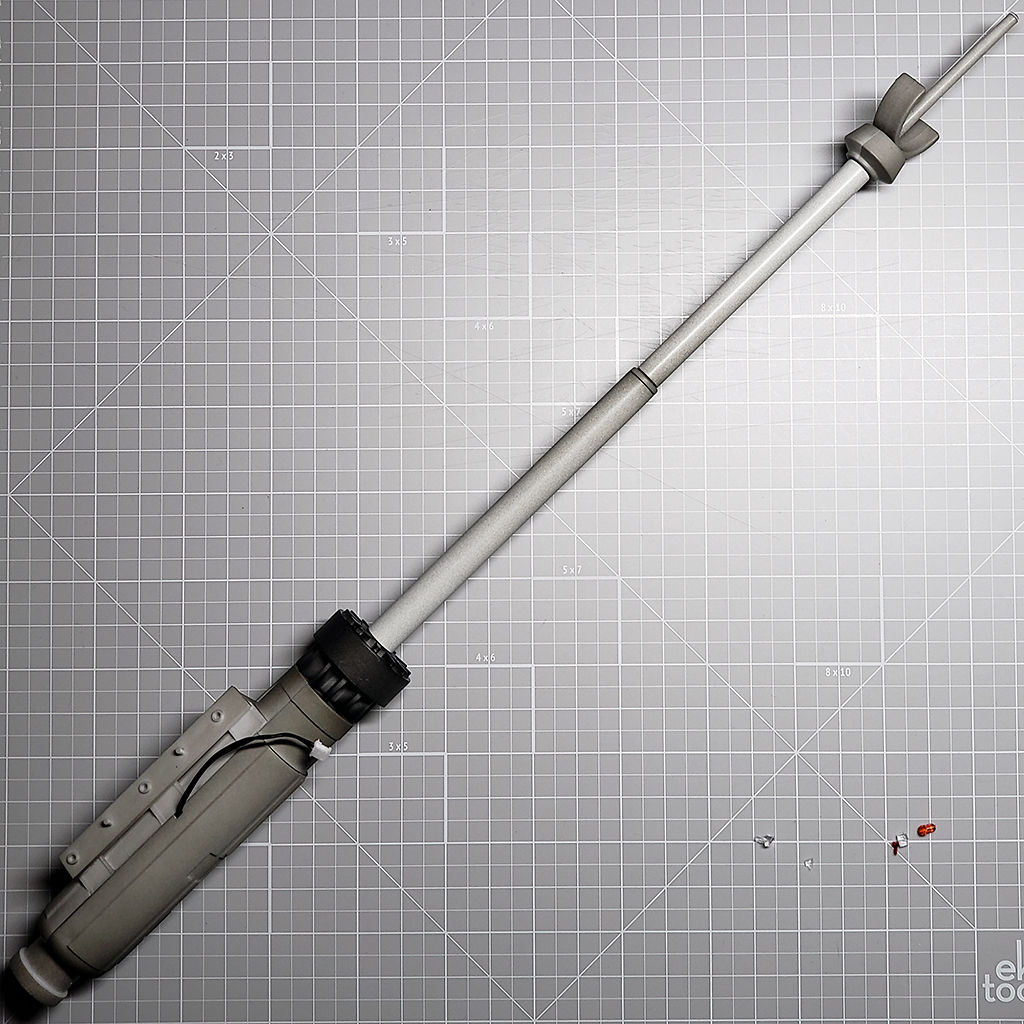
The Laser Canon
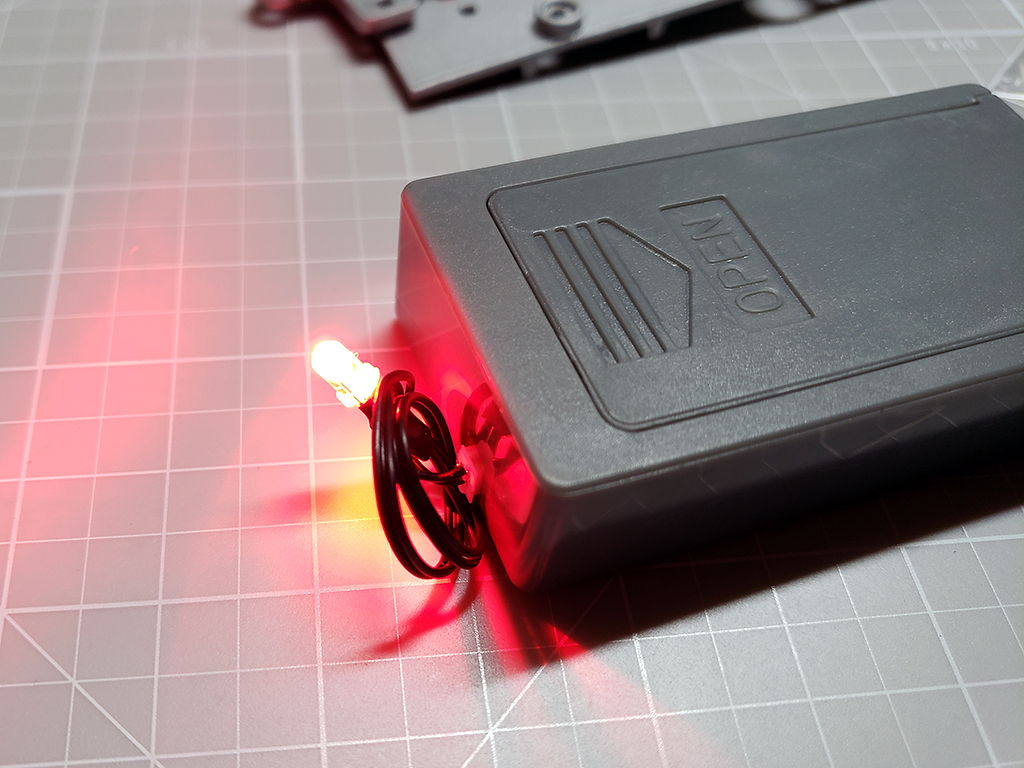
Rule No. 1: always test the electronics before assembly! Electronics cannot be easily replaced in a model kit like the X-Wing, so it’s important to test them now and request replacements when needed.
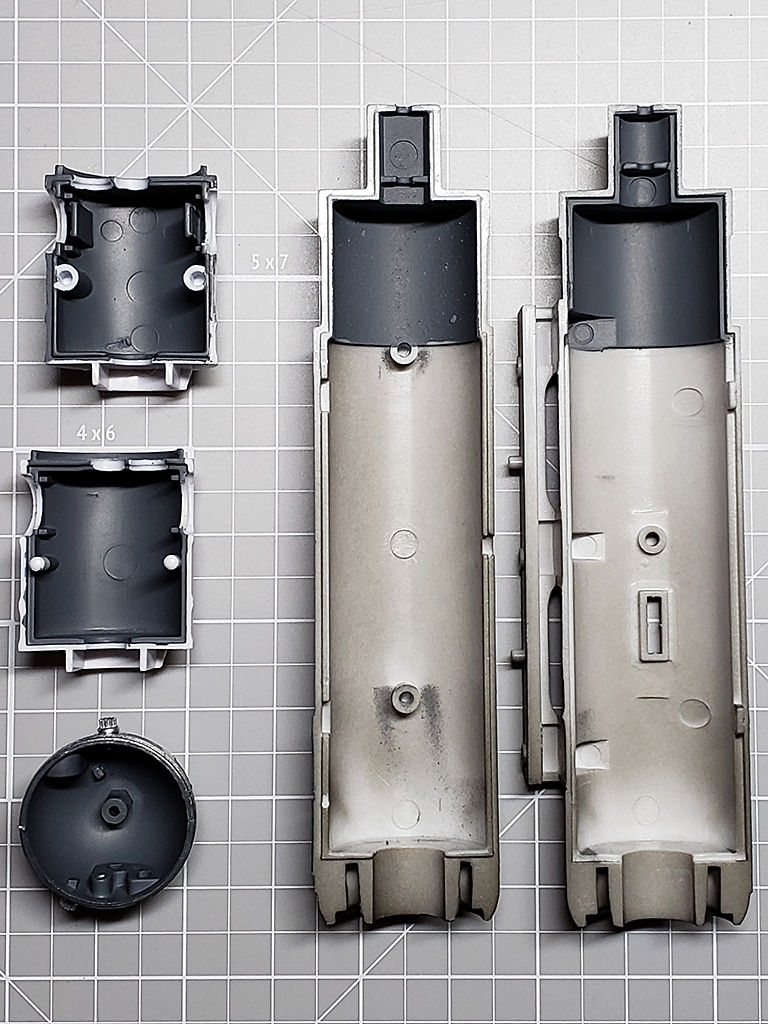
The red LED for the laser canon is housed within a detailed internal component for some reason. While it’s a nice touch, it will never be seen. It seems like a waste of plastic and money to me.
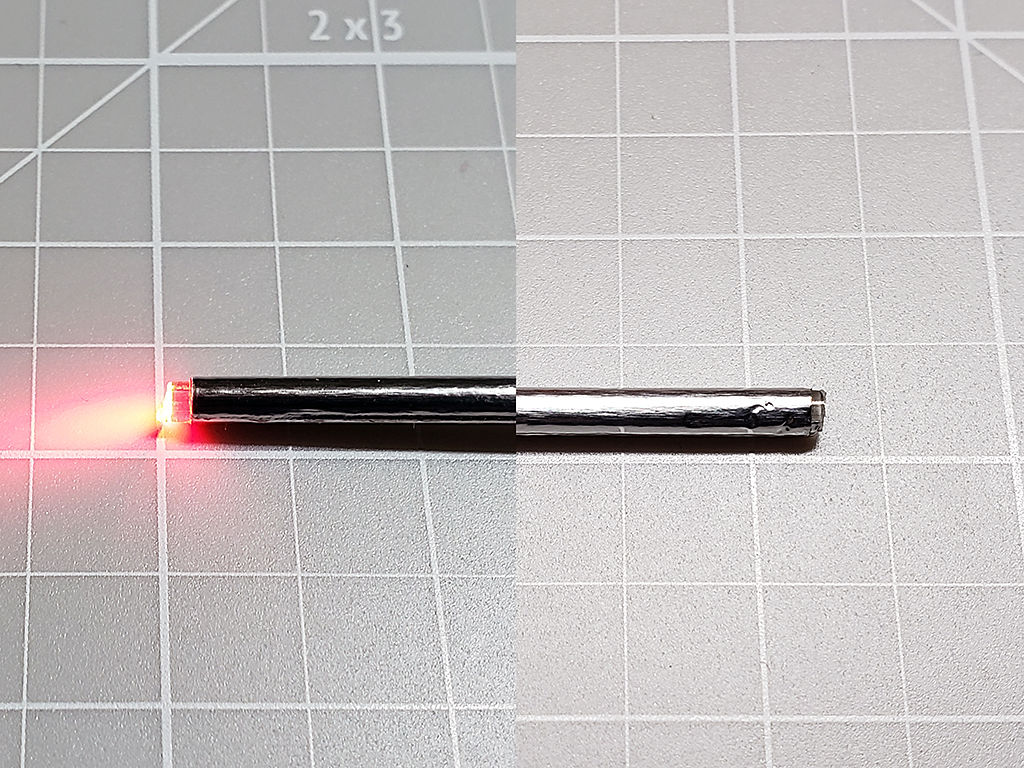
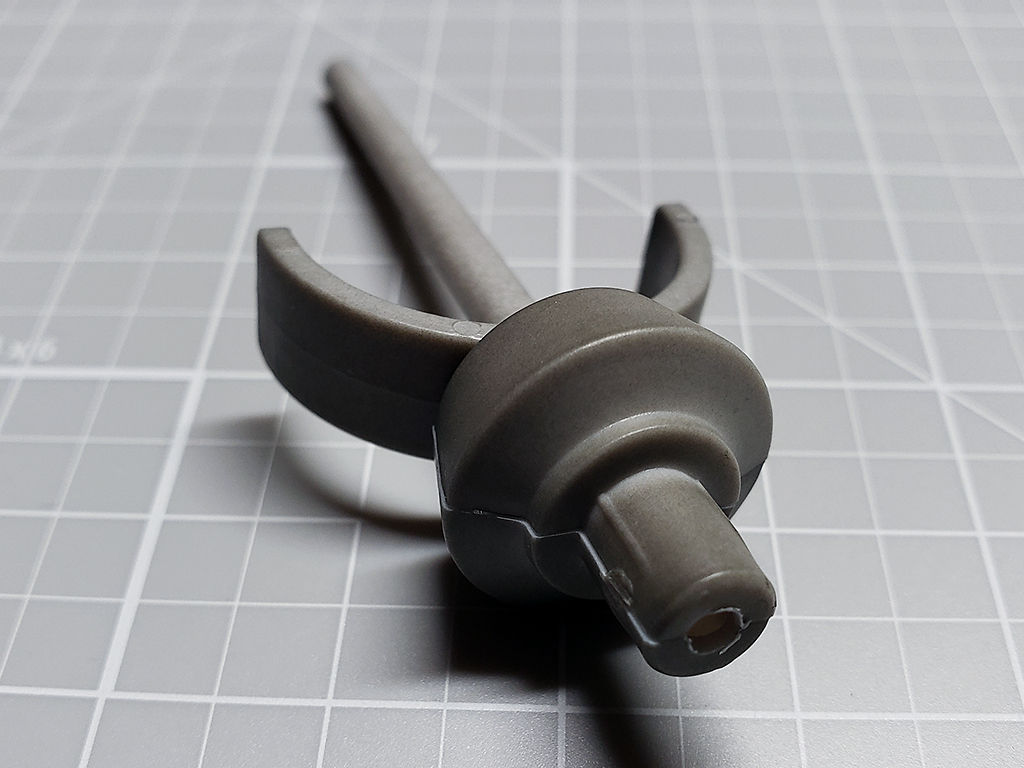
Watching YouTube videos, I knew that the LED was really bright and that it was going to cause a lot of light leaks. To solve the bulk of the problem, I carefully wrapped the long piece of fiber optic with foil tape to prevent light leaks all the way down the laser canon. Foil tape is great at blocking light, and it stiffened the fiber optic which was previously flimsy.

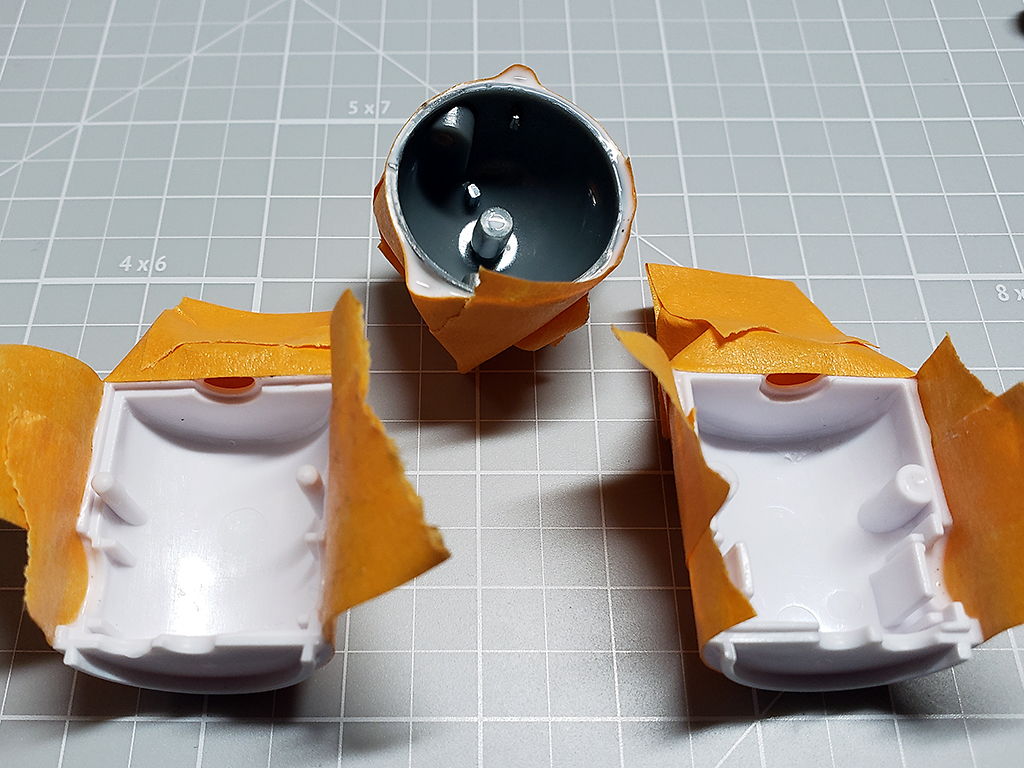
I also sprayed the insides of the large laser canon parts with gray primer, masking the pieces off with tape and filling in small holes with Elmer’s Glue-All. I did the same with R2-D2 so that I could spray everything in one session.

When I tried assembling the laser canon, the tip would not completely fit over the end of the fiber optic. The foil tape added too much width even though it was only 1 layer thick. So, I carefully removed 2 inches of the foil tape from the end.
I also had to drill out the hole in the end of the laser canon tip to accommodate the foil tape. This wasn’t a big deal, and I simply used a 7/64 drill bit to widen the hole.
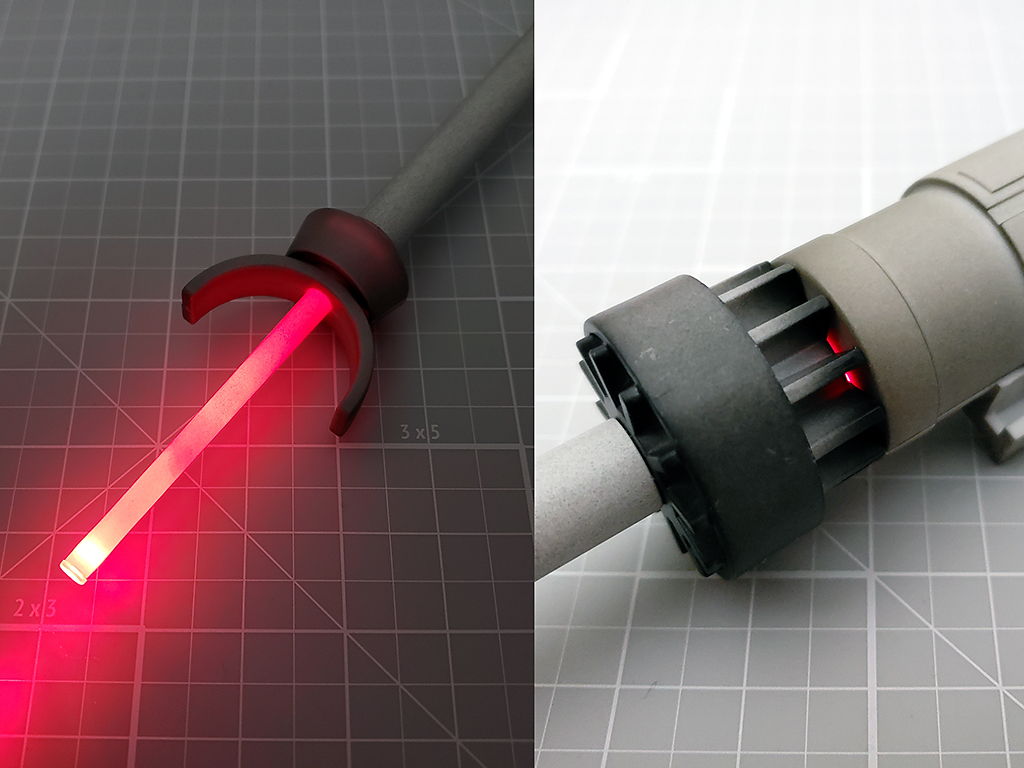
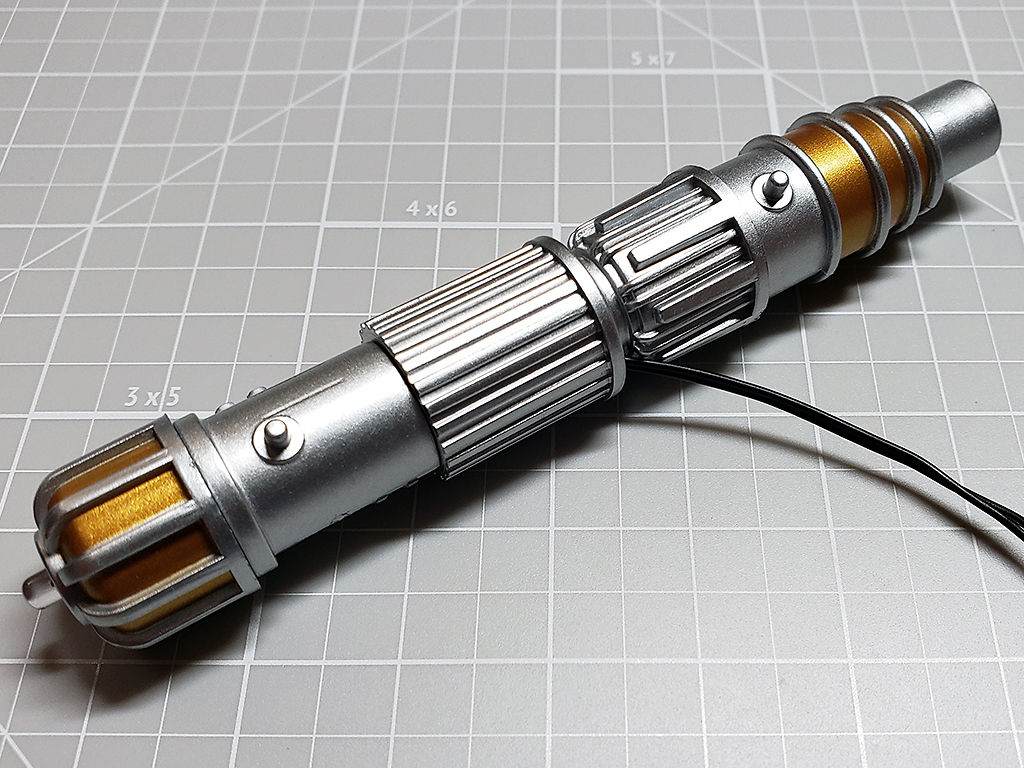
With the laser canon assembled, I turned it on for the first time. Boy, that LED is bright. Super bright; the tip glowed like forged iron! There was also some light leakage where the LED was housed. Despite my efforts, the primer wasn’t up to the task—at least, not with an LED this powerful.

Taking the laser canon apart, I masked the very end of the fiber optic with glue, then I sprayed it with the gray primer. I applied tiny pieces of foil tape to the inside of the LED housing where the LED sits. I put everything together and tested the laser canon again.
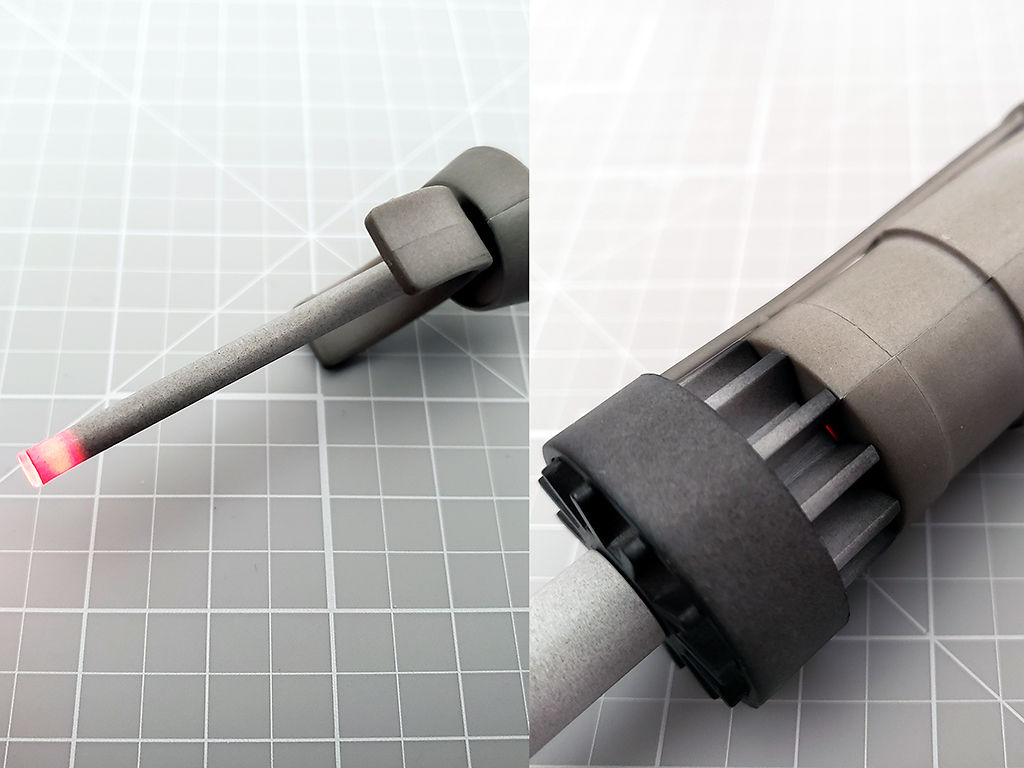
Success; only the very tip of the canon glows red! And, there is only a hint of light leak from the LED housing which can be easily covered with paint weathering if I choose to do so.
One down, three to go.
R2-D2
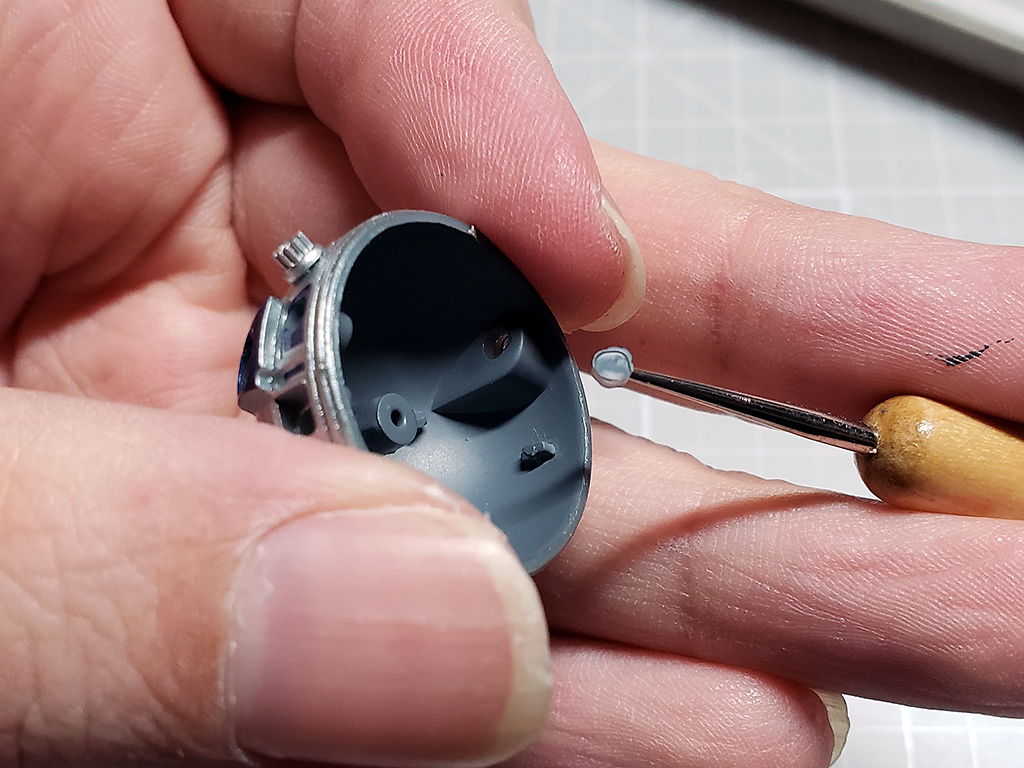
To begin working on the R2-D2 figure, I removed the masking tape and popped the glue free from the various holes. I assembled and glued the body together, plugged the base contact into the battery tester, and tried out R2-D2’s white LED. Nothing. I had broken rule no. 1: test the electronics before assembling. I wasn’t relishing the though of ripping the body apart, so I fiddled with the wires to see if maybe the base contact was faulty, not the LED. And, that turned out to be true.
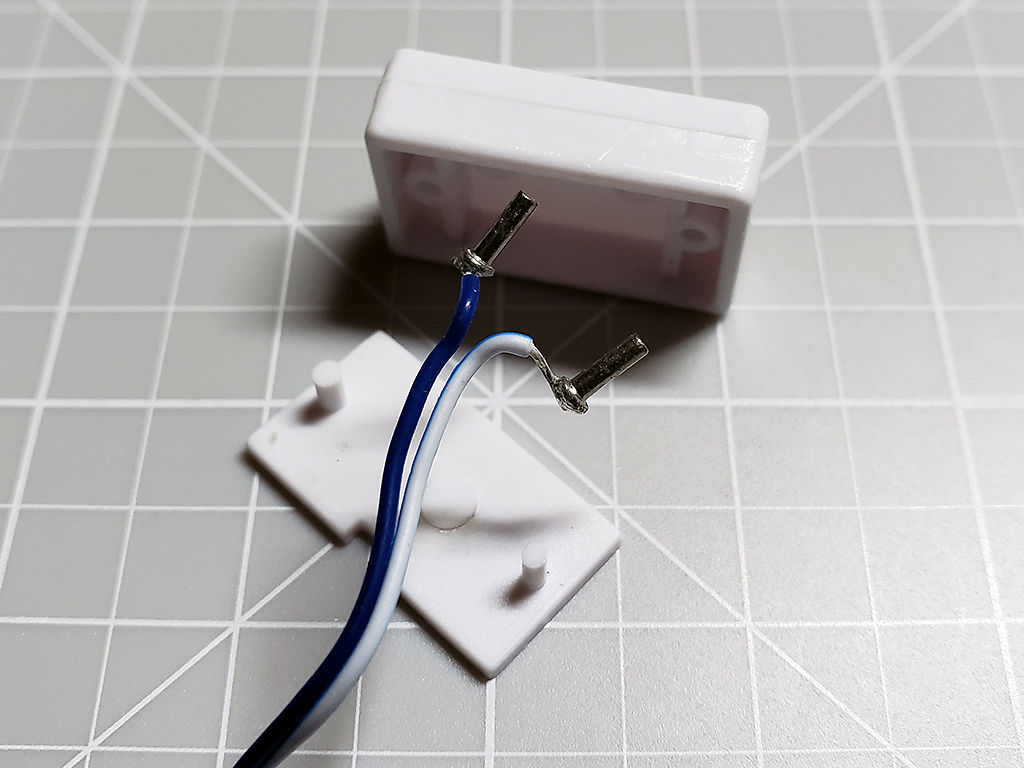
I wanted to see if the wires were somehow shorting out, so I removed the bottom of the base contact’s housing. Nothing wrong there. I tried touching the bare contacts to the bottom of R2-D2’s foot where the tiny connection plates are housed. Nothing. So, I swapped the bare contacts, and the LED lit up immediately. It appears that the contacts were assembled backwards, so I placed them back into the base in their proper order and glued the bottom of the back on. Whew!
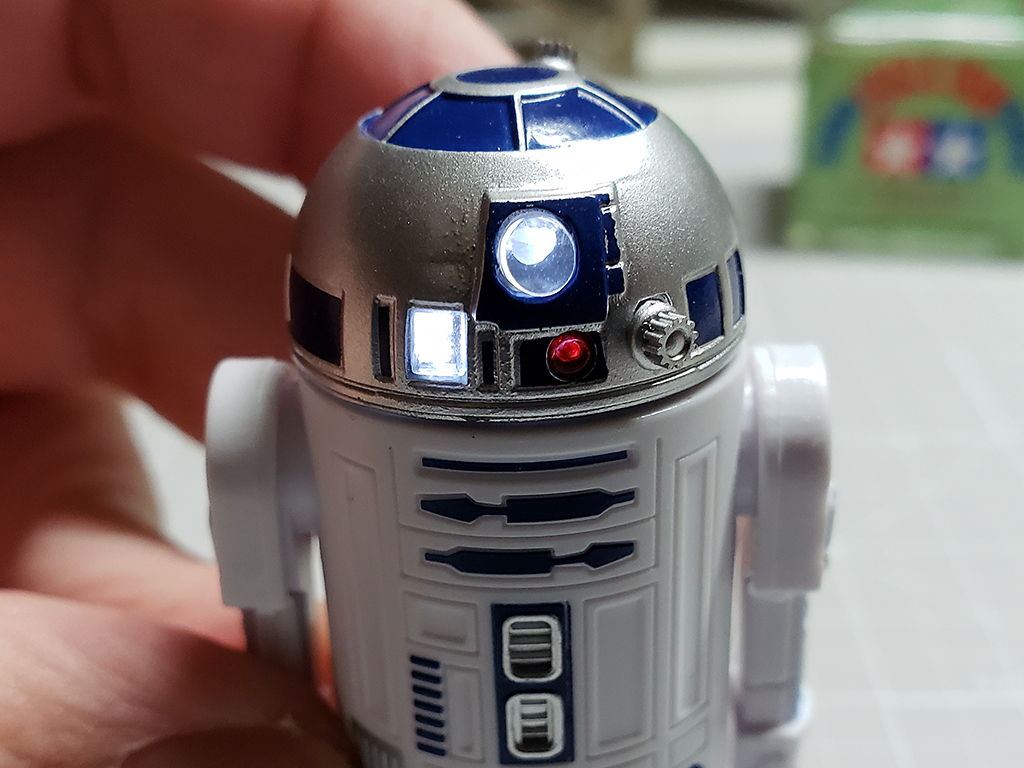
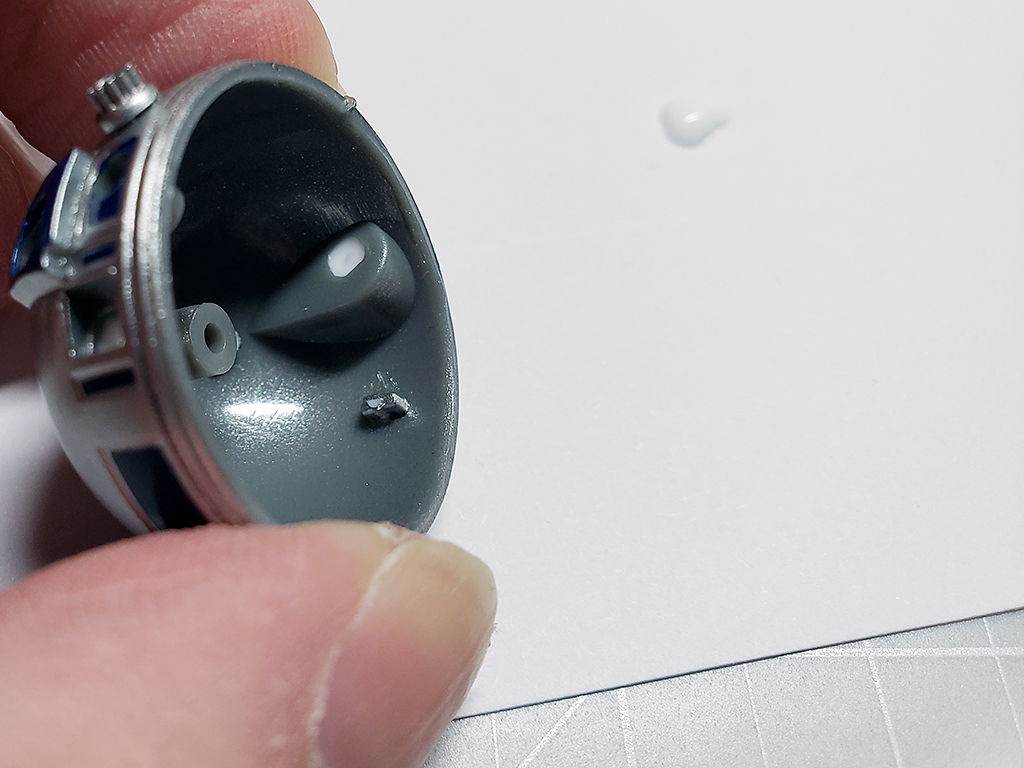
I dry fit the various lenses into R2-D2’s dome, placed it onto the body, and lit it up. Everything looked good aside from a couple of things. First off, R2-D2’s main eye is not supposed to light up, so I ended up painting that black. Second, the two tiny displays to the left of the main eye are molded as a single piece, resulting in one large glowing rectangle. I painted those in, reducing it down to it’s proper size and showing two small lights.

I then added some weathering using Gun Metal and Mud from the Tamiya Weathering Master Set C and Tamiya Weathering Master Set A, respectively. I dipped a brush into some isopropyl alcohol, gently rubbed it into the Gun Metal, and applied a wash over R2-D2’s details. It filled in the crevices wonderfully, and the excess wiped away easily. The Mud was applied afterwards with the supplied sponge brush. A few coats of protective varnish, and R2-D2 was finished. There was a little bit of light leak underneath the dome, but that couldn’t be helped due to the mechanics.


The one thing that I noticed about the X-Wing model kit is that a lot of the parts fit so tightly together that there isn’t much need for glue.
Prev Journal Entry | Next Journal Entry
Both the post author and this website have not received any compensation for writing this post. Both the post author and this website have no material connection to the third-party brands, products, or services that have been mentioned. Some of the links in the post above are “affiliate links.” This means that if you purchase the item, we will receive a commission. As an Amazon associate, we earn from qualifying products. This is being disclosed in accordance with the Federal Trade Commission’s 16 CFR, Part 255: “Guides Concerning the Use of Endorsements and Testimonials in Advertising.”
Do you have a thought about this post? Why not leave a comment . . .