Craft Tip: Gluing

Glue keeps your paper models and crafts together. Without them, they’d sag and fall apart.
Basic Tools
DO NOT USE RUBBER CEMENT! Many people have, unfortunately, discovered that rubber cement loses its adhesiveness over time. This means your paper model will eventually fall apart. The glue fumes are also a factor.
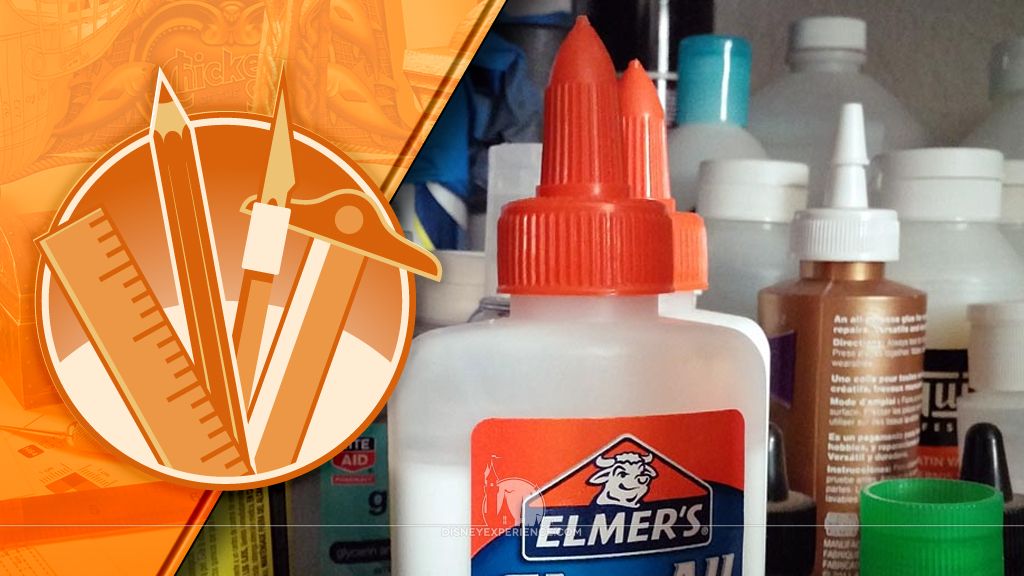
Every person has their own glue preference. White glue (Elmer’s) is typically good—it’s strong and permanent. Some people like to use double-sided tape, and some like to use tacky glues. Some like stick glues, and some like sprays. Try a few different ones, if you can. Otherwise, Elmer’s is a good option.
Gluing
Always dry fit (no glue) pieces before you glue them. It helps to know exactly where and how pieces will fit together so that you don’t run into any surprises.
It’s typically better to use less glue than you need; more glue can usually be added with a toothpick or a spatula tool. Using too much glue can be messy. Additionally, paper can warp and expand as it soaks up the moisture from the glue, causing misalignment. More glue means more moisture!
Spreading glue with your fingers is okay, but be extra careful with all of the extra glue that will be on your hands. Otherwise, you can use a toothpick or a spatula tool.
Large pieces with many glue tabs can be daunting, but they don’t have to be. Don’t try to glue all of the tabs at once. You’ll become frustrated make many mistakes. Instead, glue each tab one at a time, letting the glue set a little in-between. You’ll be able to focus your attention on one item, ensure proper placement and positioning, and you’ll be able to tug and pull on parts if needed for tautness.
Long glue tabs are also troublesome. When you start at one end, the glue tab can end up being too long by the time you reach the other end. The paper absorbs the moisture from the glue and expands, stretching the tab longer than it fits. It’s very frustrating, but it can be avoided. First, dry fit the parts, making sure that the glue tab fits and is the proper length. Next, use a small amount of glue to glue one end of the glue tab where it should be. This will anchor the first end in place. Then, do the same to the other end to anchor it in place. Now, you can glue the rest of the tab knowing that both ends will be exactly where they need to be.
If you need an extra set of hands, you can use spring clothes pins. Just be careful; some pins (alligator clips) have teeth, and they can leave unwanted marks. Mini clothes pins are also an option.
Both the post author and this website have not received any compensation for writing this post. Both the post author and this website have no material connection to the third-party brands, products, or services that have been mentioned. Some of the links in the post above are “affiliate links.” This means that if you purchase the item, we will receive a commission. As an Amazon associate, we earn from qualifying products. This is being disclosed in accordance with the Federal Trade Commission’s 16 CFR, Part 255: “Guides Concerning the Use of Endorsements and Testimonials in Advertising.”


What is the best tape to use while holding glued parts in place while drying – without it pulling the printed image off when removing?
I’m a very patient person, so I typically hold the pieces together by hand when needed. If you do need to use tape, try using a gentle painter’s tape designed for delicate surfaces. FrogTape makes a nice one that I’ve used. Make sure to get the yellow one, not the green one. The green one is way too strong.
I use the mini clothes pins all the time. However, I need to cut or trim down the “nose” of the clothes pin because many crevasses don’t allow you to insert them that deeply into your model–especially the smaller, more intricate ones. You are also right about the glue on your hands. It can leave unsightly fingerprints on an otherwise awesome model.
Hey, Kurt! Glad to see you found a way around your Firefox problem.