Nautilus Build Journal No. 05
Trader Sam | October 14, 2021
It’s time to add the finishing touches, put it all together, and paint the Nautilus.
The Lower Hull
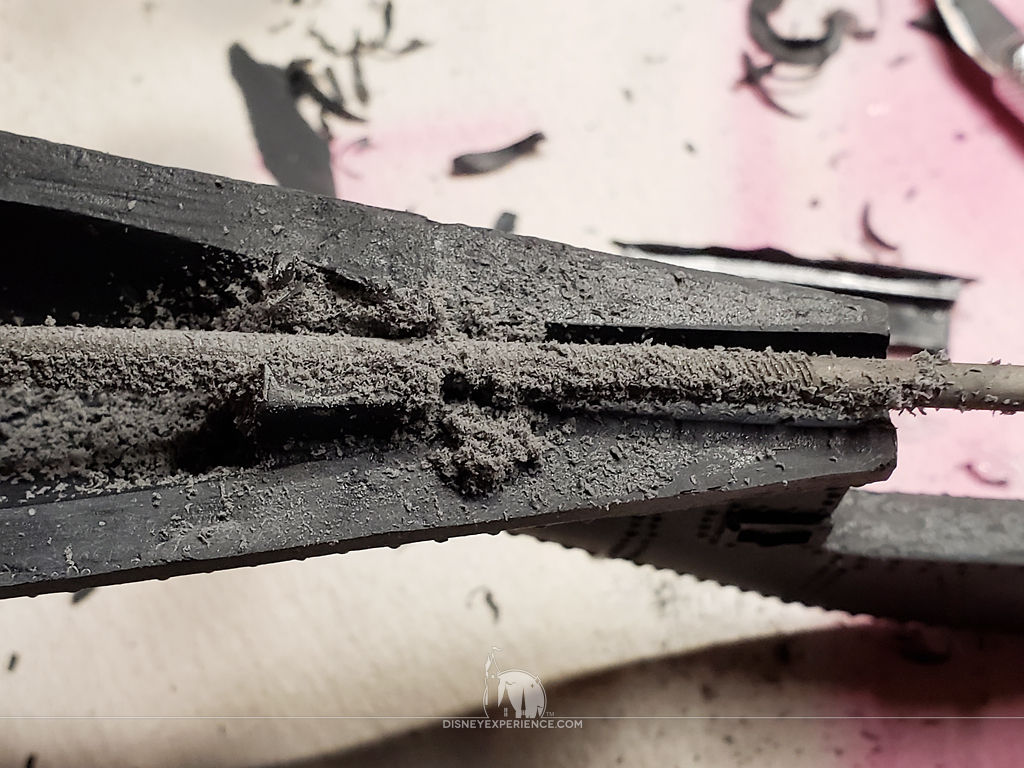
The cleaning of the lower hull is not nearly as bad as the upper hull. The hardest part is cutting out the hole for the speed screw, and that isn’t difficult at all.
Again, the tail section looks as if it had been eaten from the inside out. Some CA glue, baking soda, and some sanding make everything right. Of course, a hole is also drilled for the rudder pin.

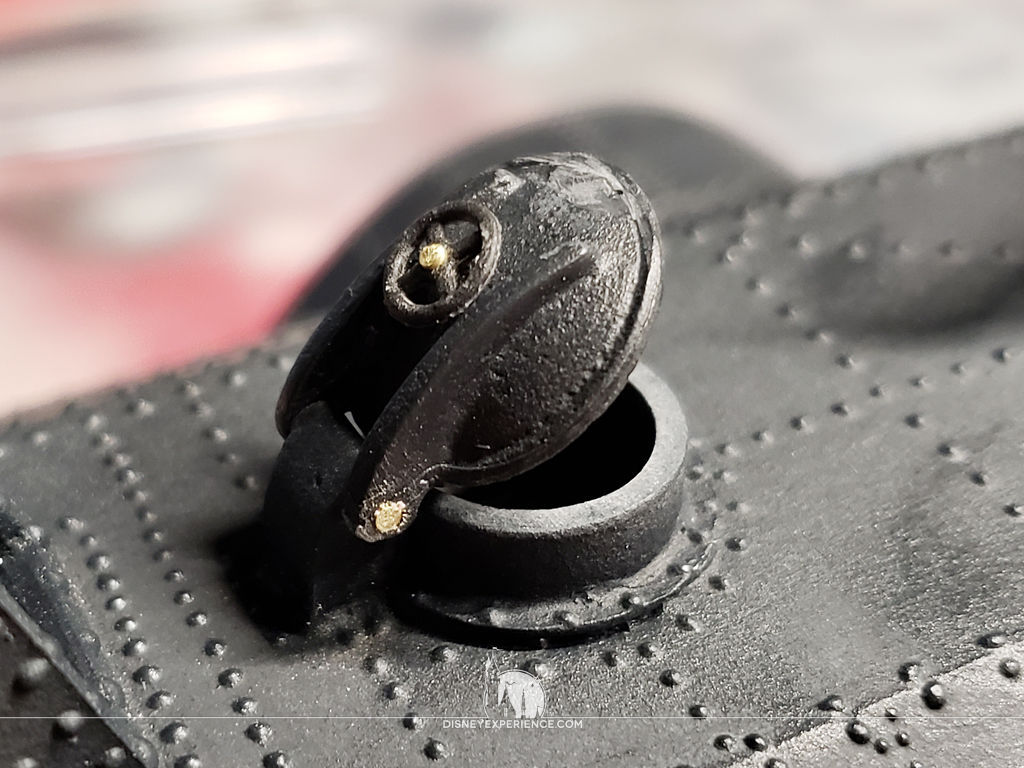
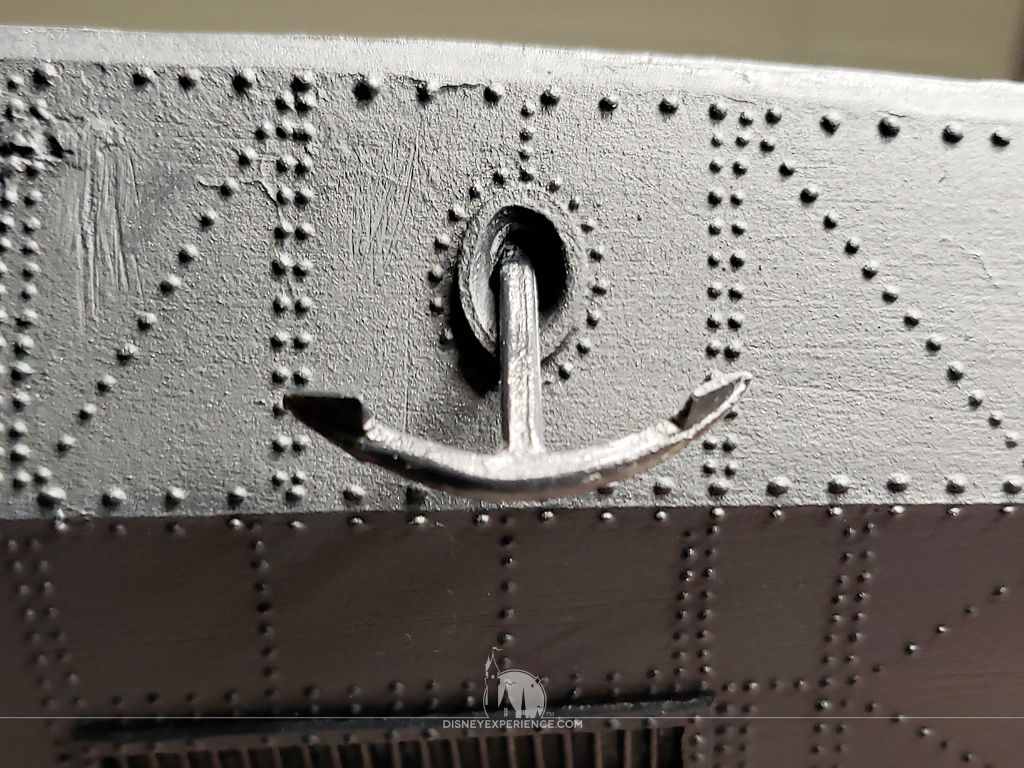
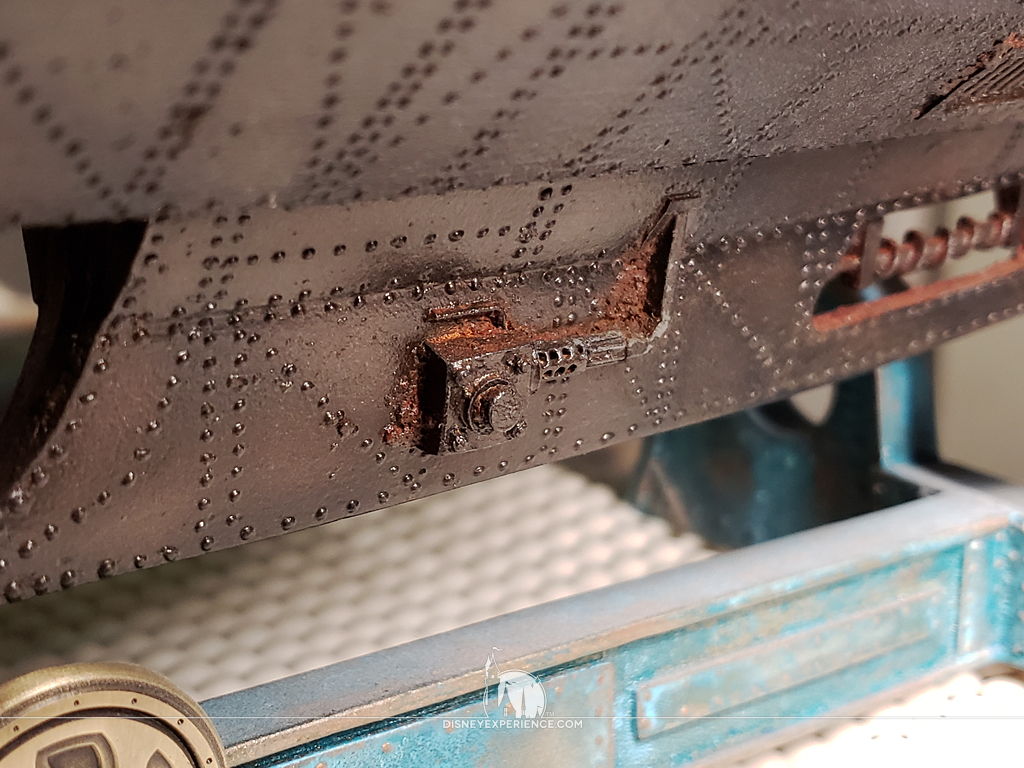
Smaller details like the hatch, speed screw, and anchors are all cleaned of flash and glued into place.
The Propeller
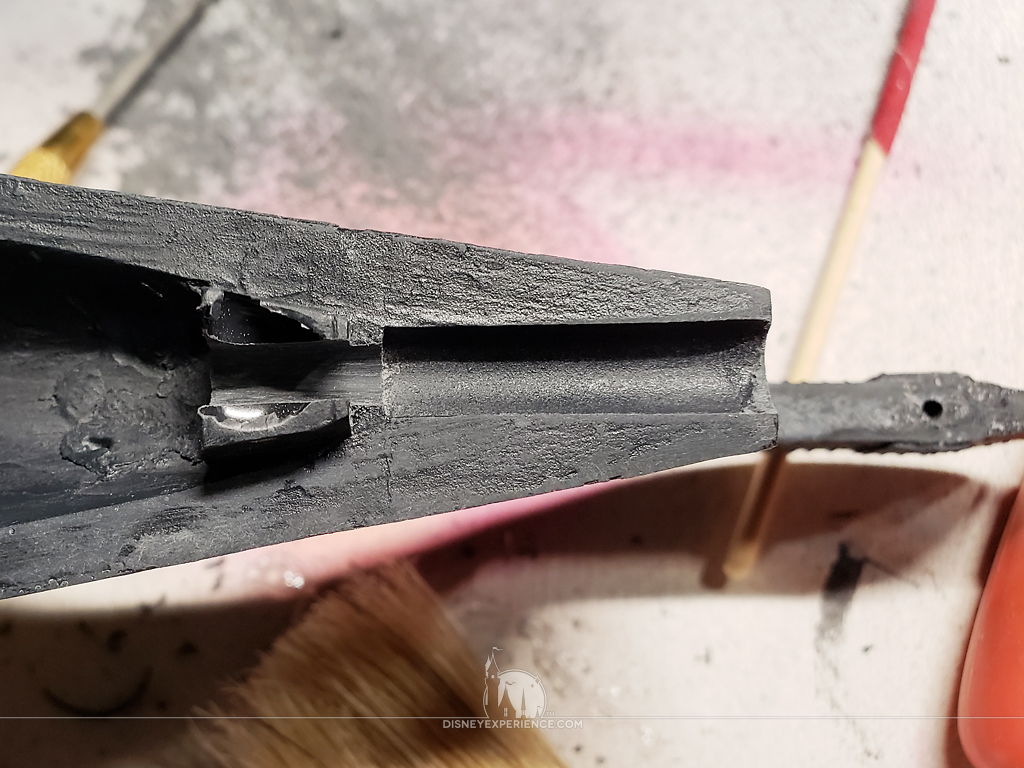
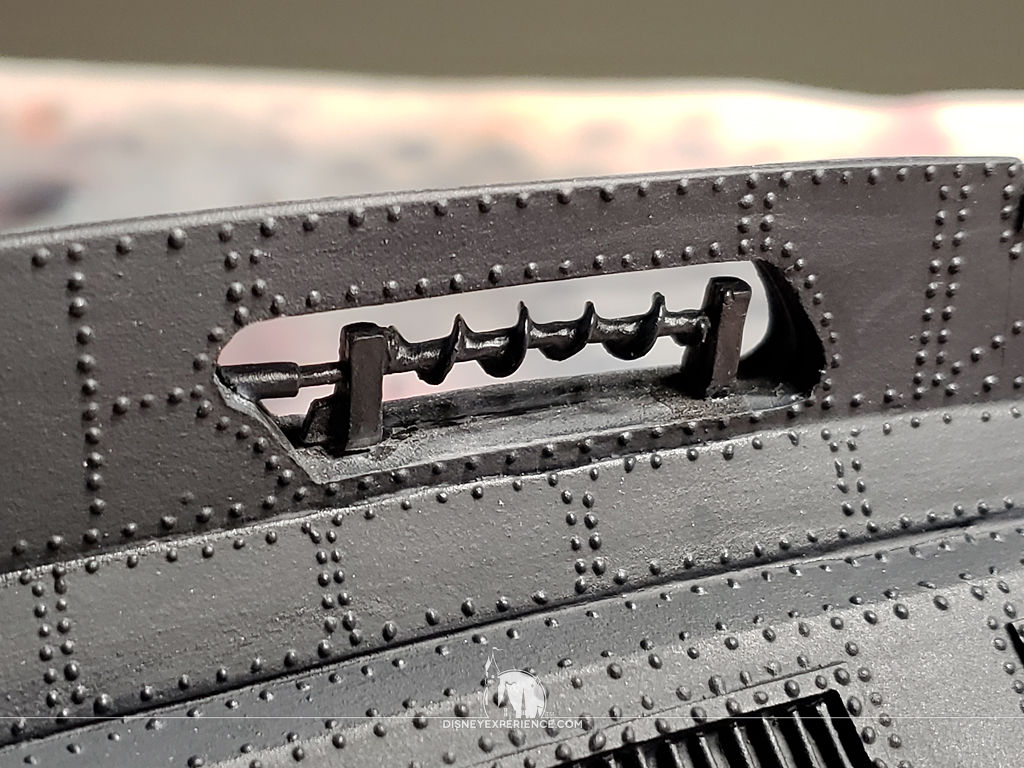
As with the upper hull, the lower hull needs some material filed away to make room for the propeller shaft.
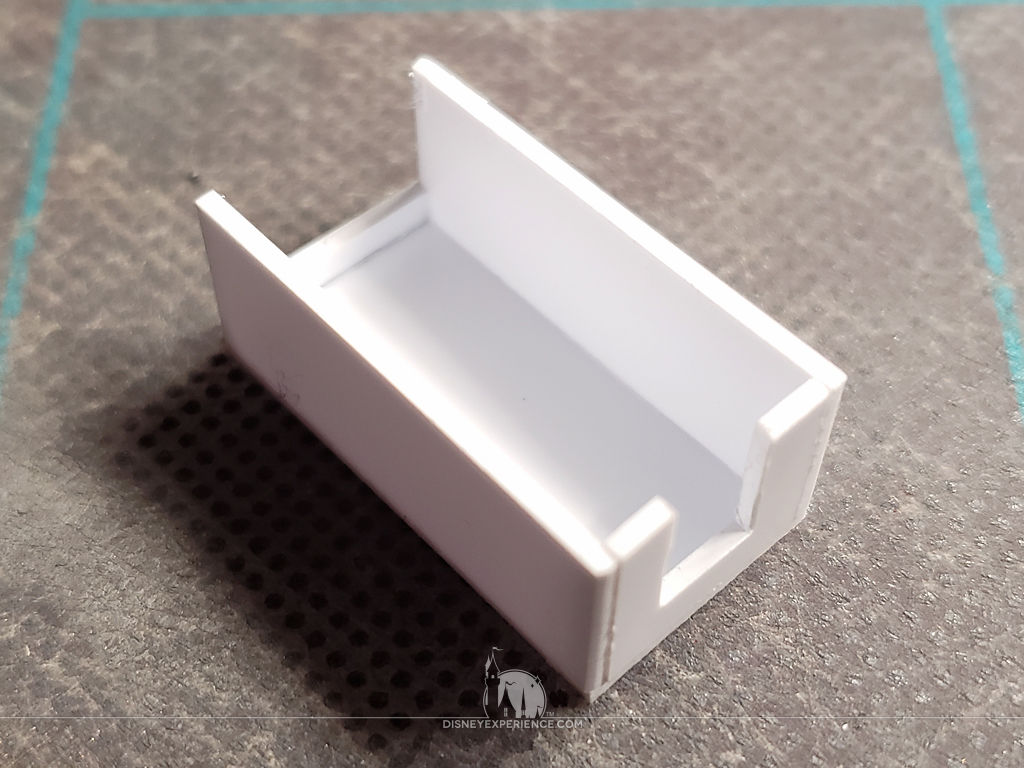
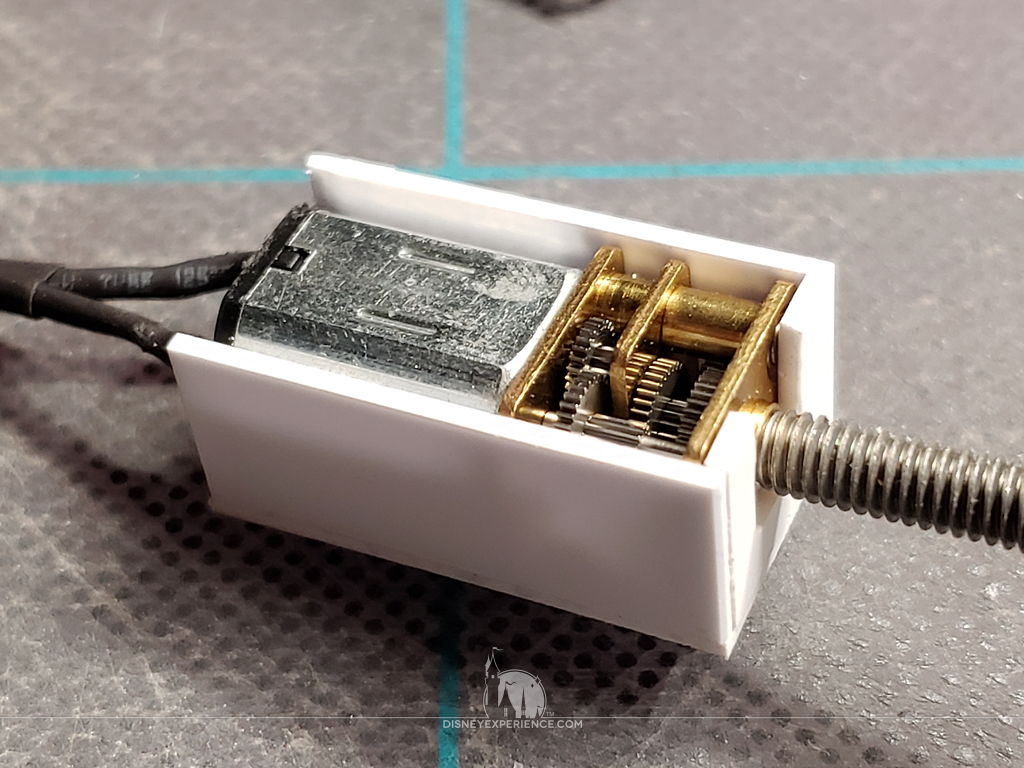
To hold the propeller motor in place, I construct a box made from polystyrene sheets and welded together with Tamiya extra thin cement. I use a caliper to get the dimensions of the tiny motor.

The forward corners of the box rest directly onto the inside of the hull; a polystyrene leg holds up the other end, trimmed so that the motor sits level. Nothing is glued in place just yet.
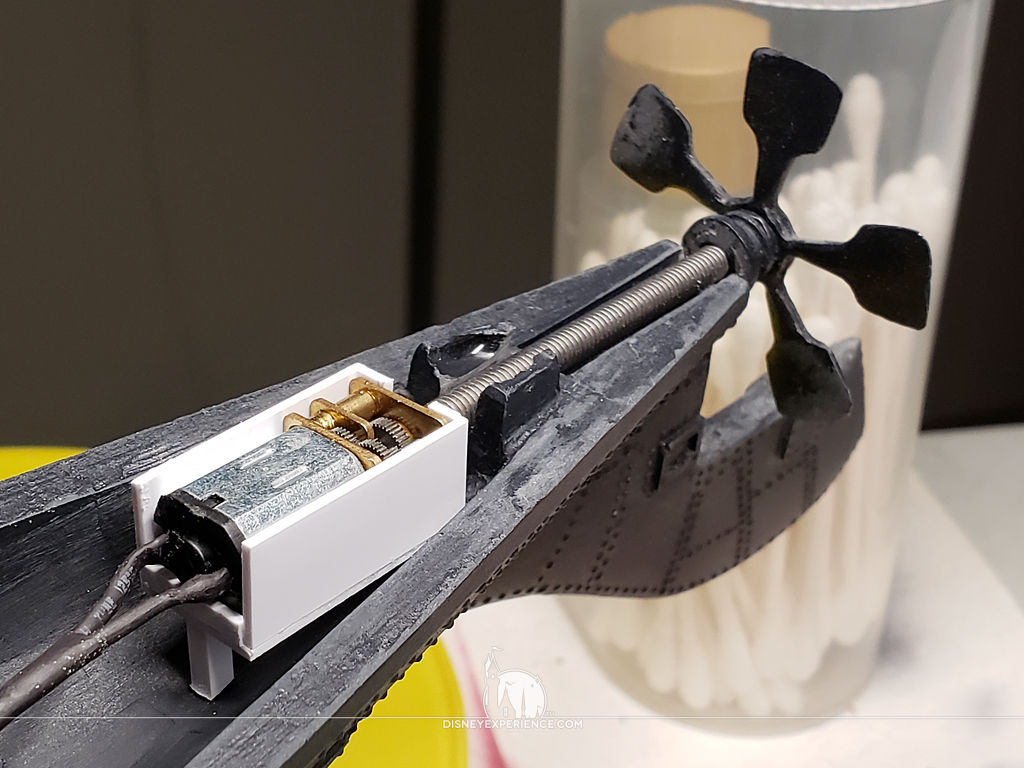
The two halves of the hull are dry fit to make sure that the motor fits and the propeller spins freely.
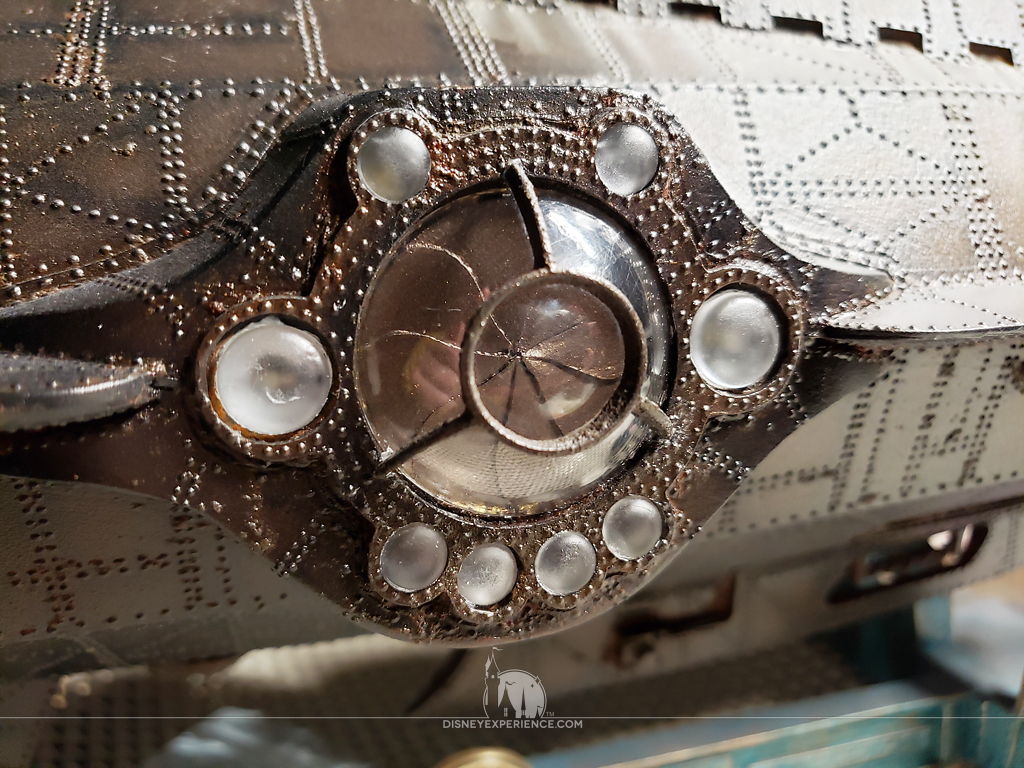
The Salon Windows
The salon window frames are cut free and shaped. They don’t have a lot of flash, but what they do have is thick. That takes time to shave, sand, and sculpt the window frames into shape.
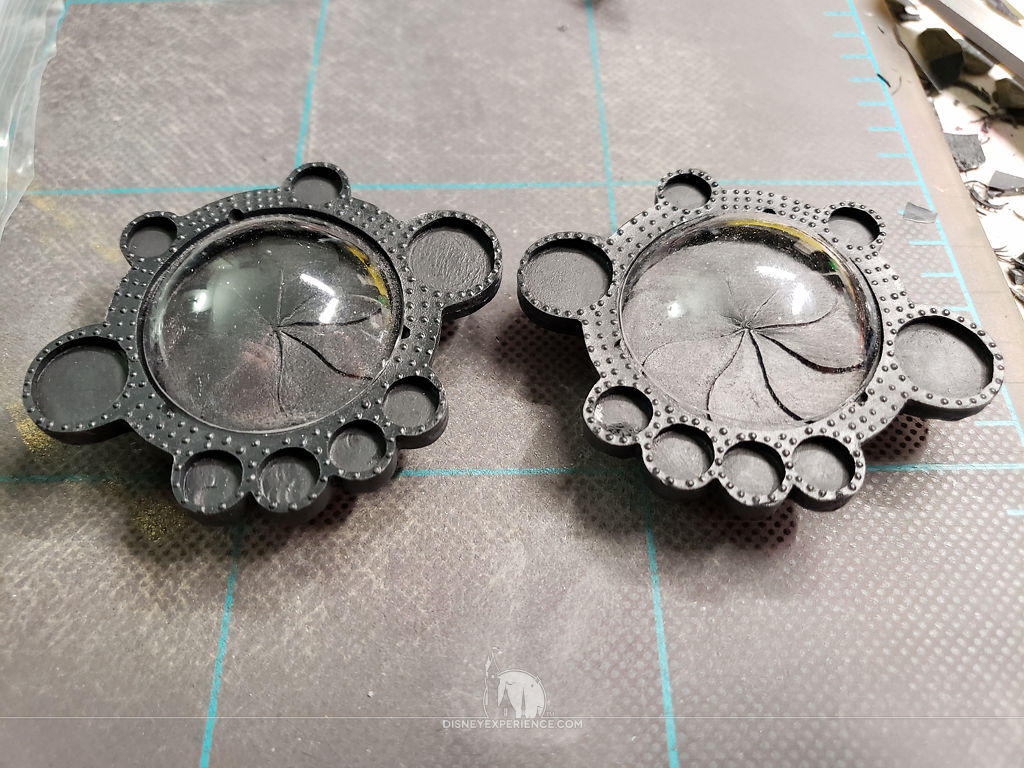
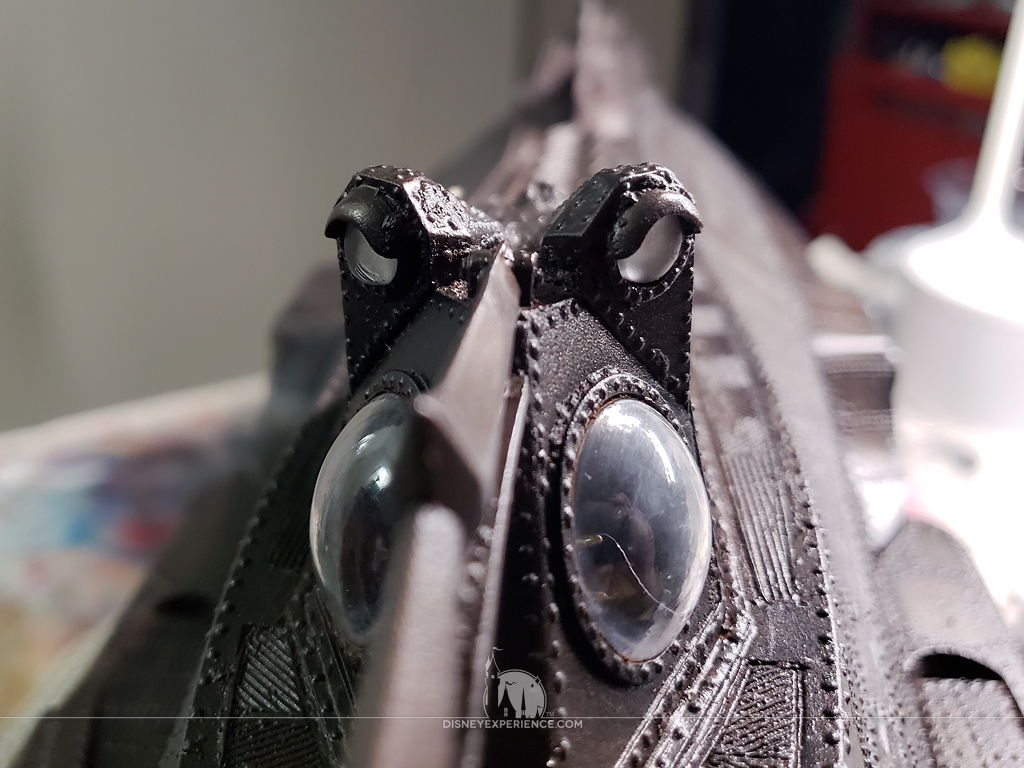
The salon window domes are cut right at the corner line—there is no need for a lip like the wheelhouse windows required.
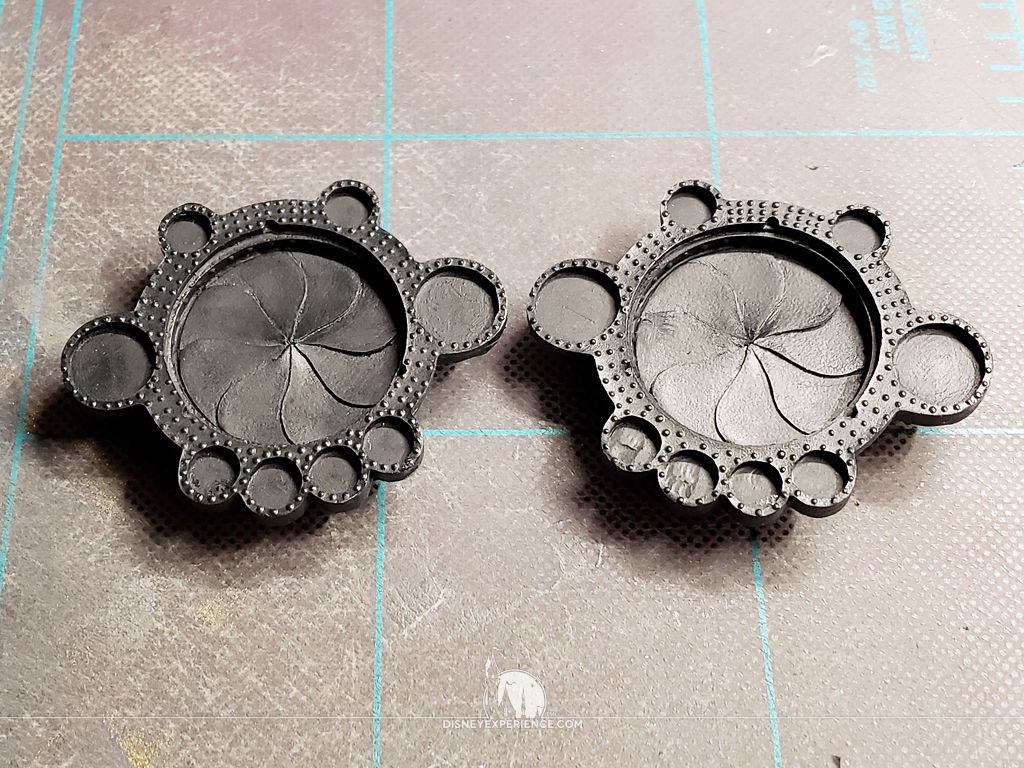
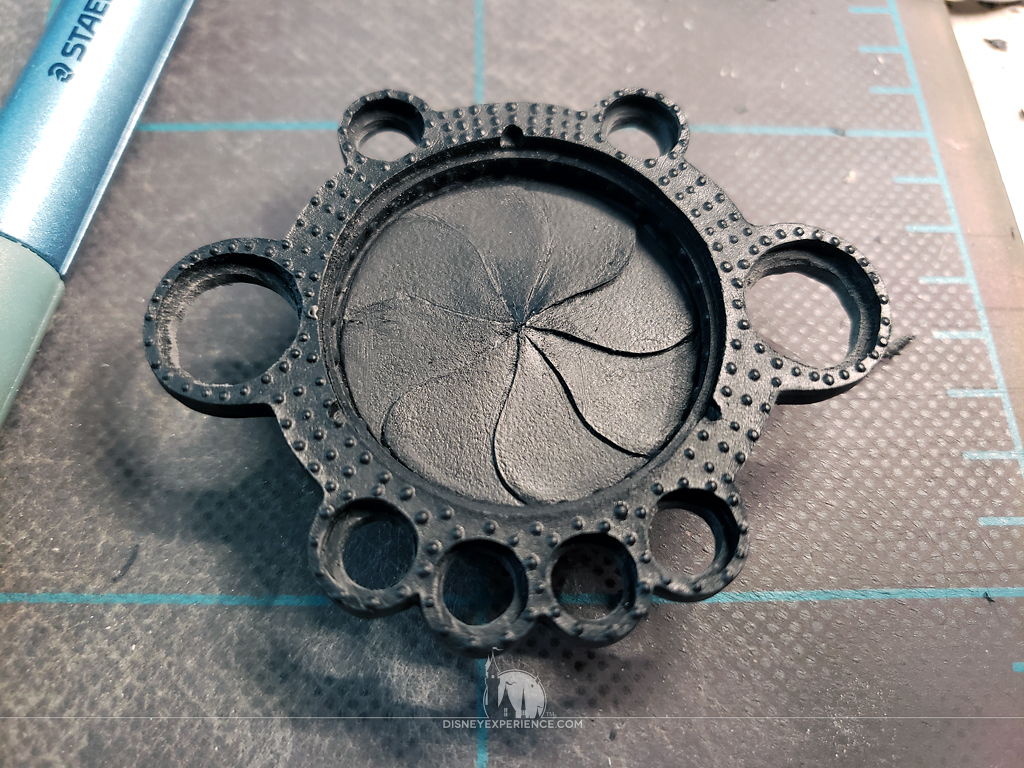
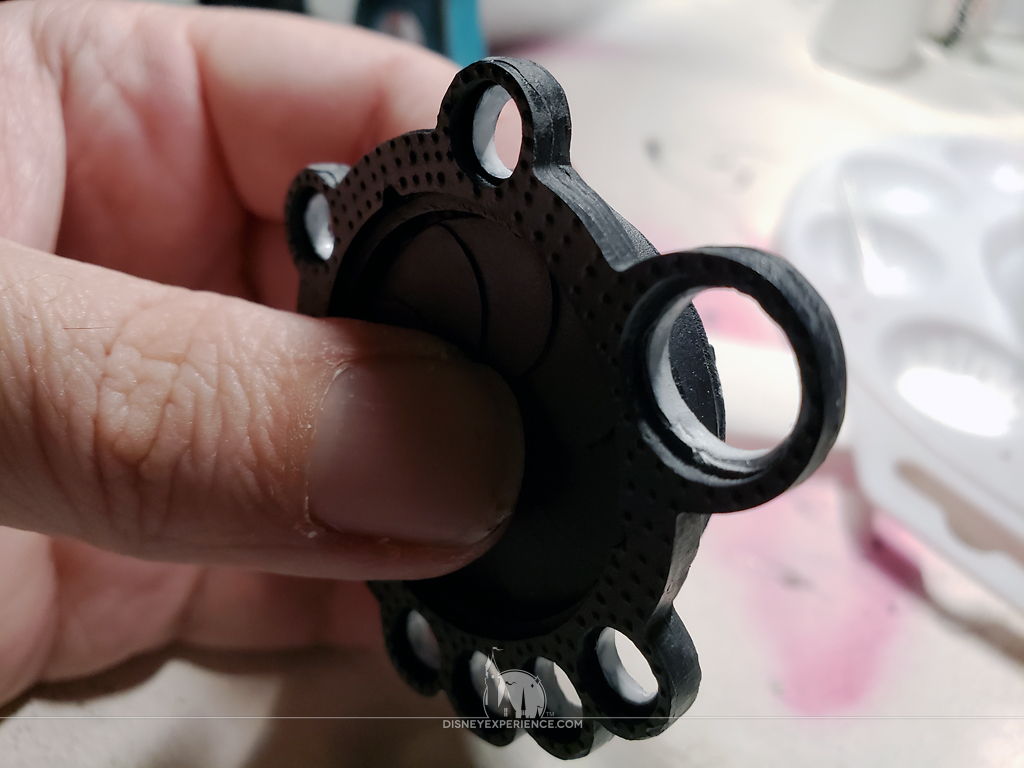
The outer salon window frames are sculpted right into the flashing, which has to be carefully trimmed. I begin with the center hole so that I have plenty of support. An X-Acto knife gets the bulk of it out, but the rest is sanded down.
The arms of the frames are more straightforward; they can mostly be cut free with a hobby cutter.
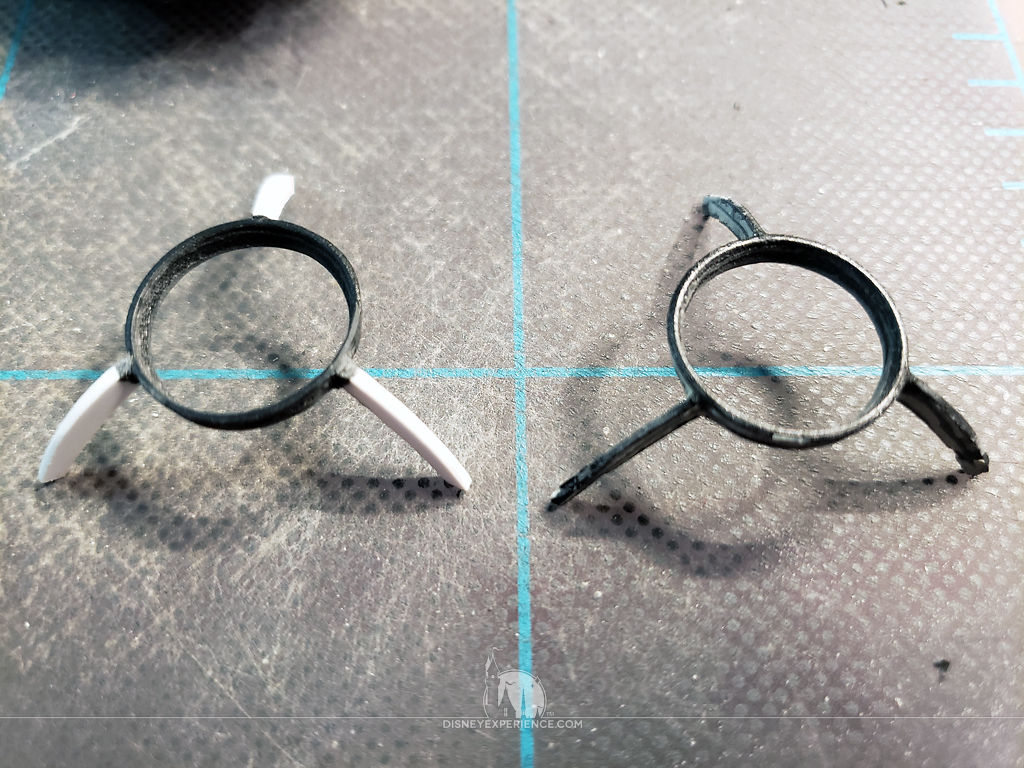
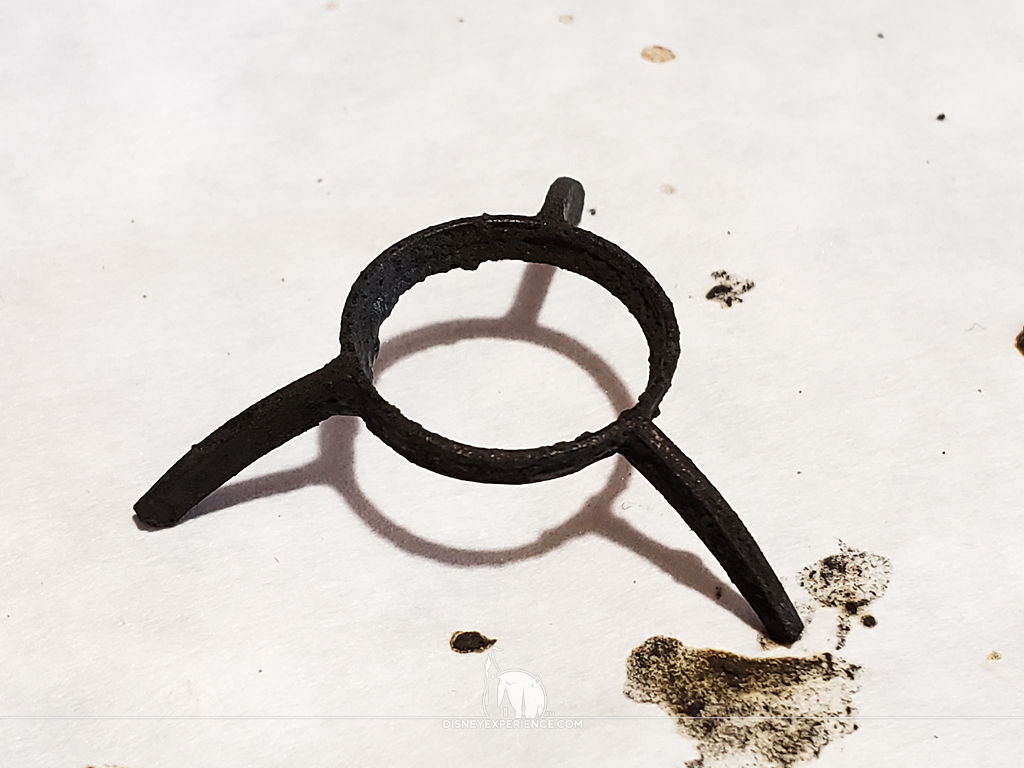
When test fitting the outer salon window frames, only one of them fit properly. The other had one arm that was too short and two that were misshapen. To remedy this, I cut the arms from the center ring, I cut new arms from polystyrene using the good frame as a template, and I glue the new arms onto the ring.
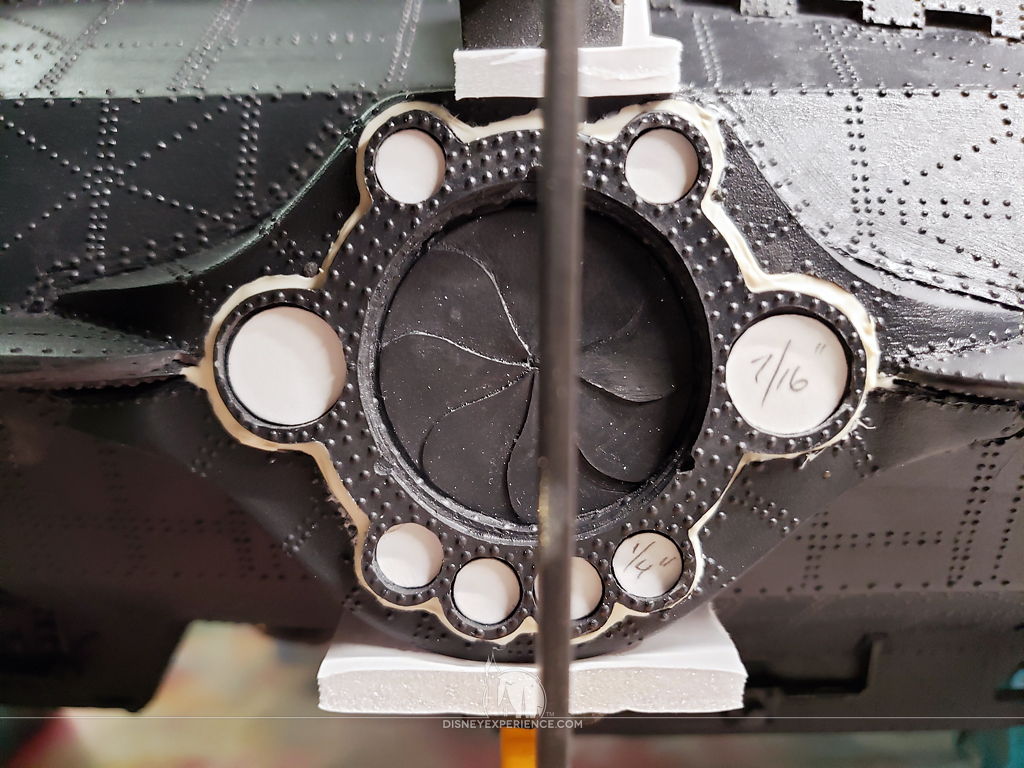
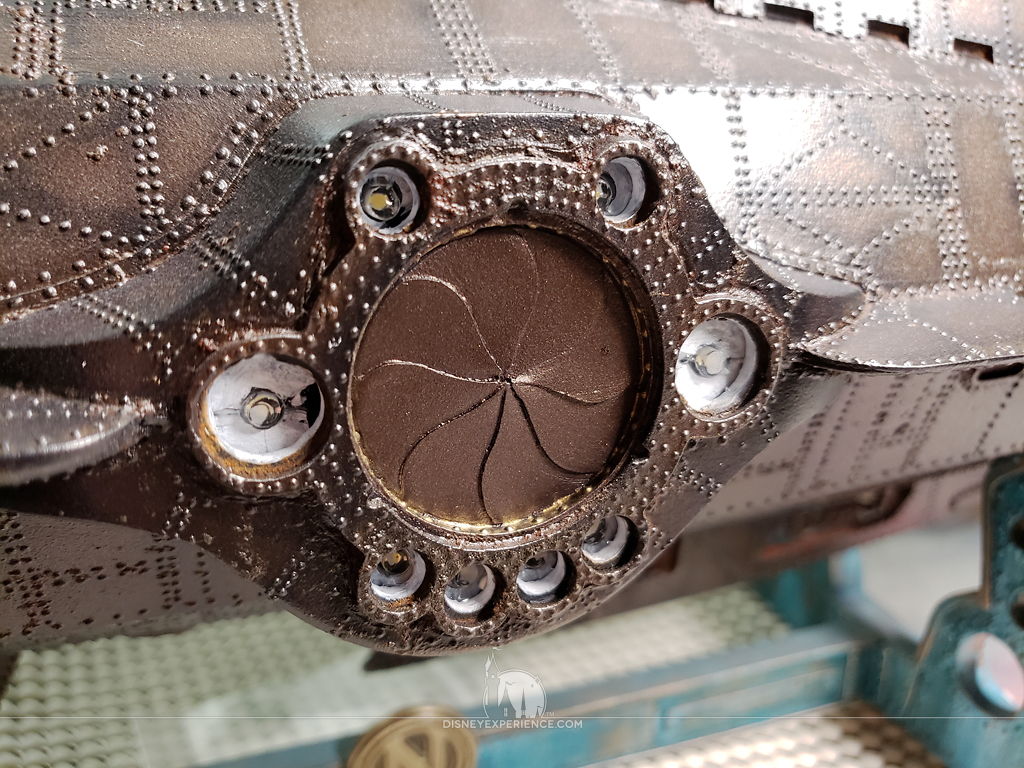
Next, I drill out the salon floodlight frames, leaving a small lip so that the cast floodlights have a ledge to sit upon.
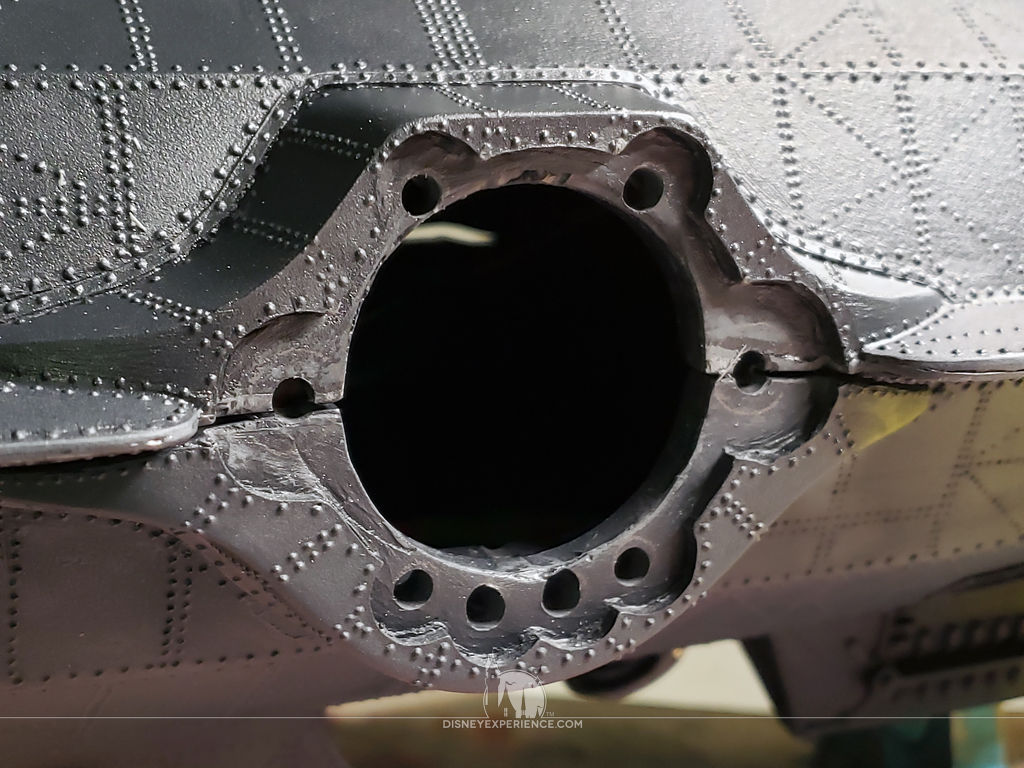
Placing the two hulls together and clamping down on them, I use the salon window frame to stencil the locations of the floodlight holes. I then carefully drill holes for the LEDs.
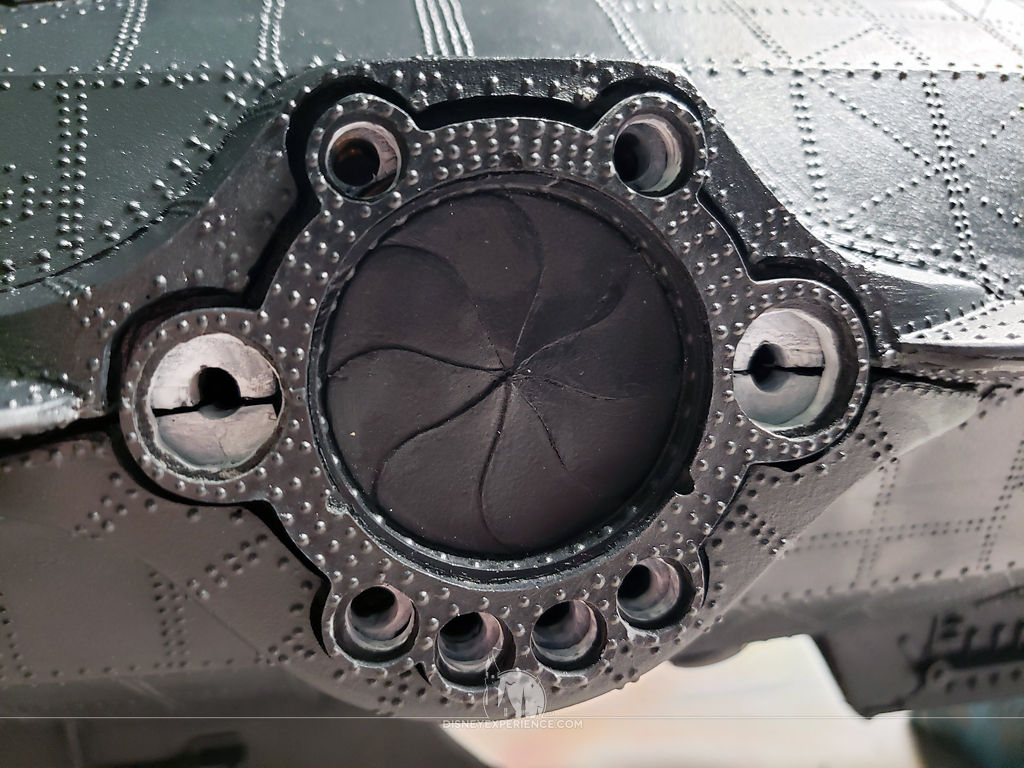
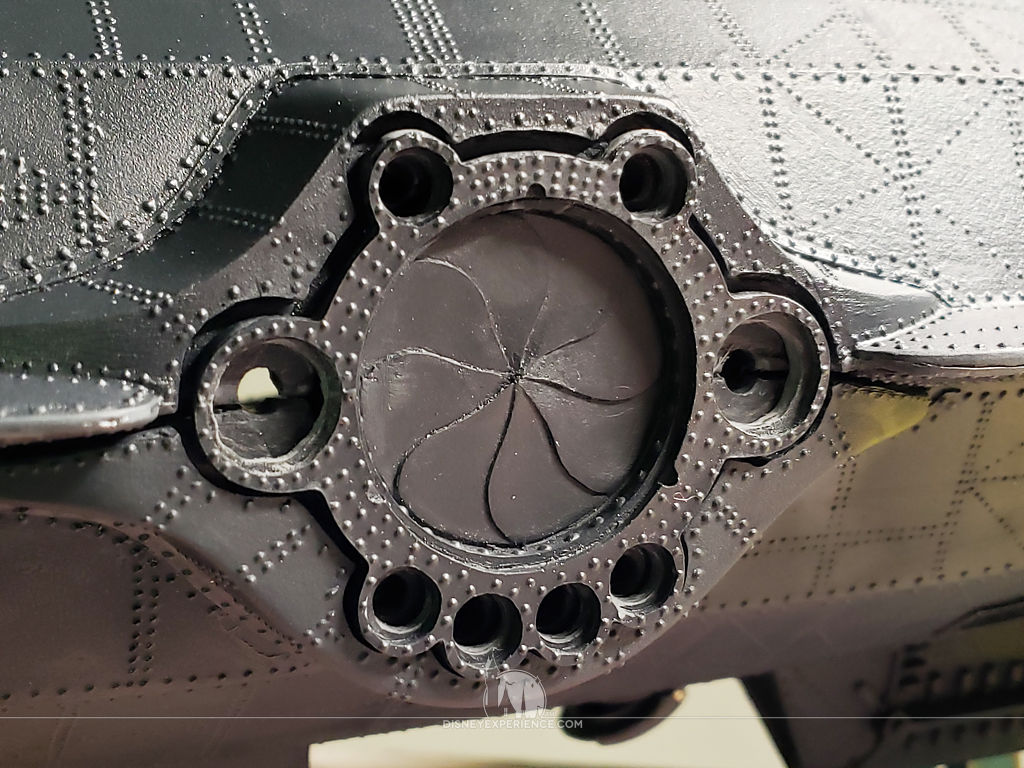
To help reflect and refract the light from the LEDs, I paint the inner edges of the salon floodlight frames as well as the surfaces around the LED holes. When combined, the LEDs will be housed within small, reflective chambers.
The Electronics
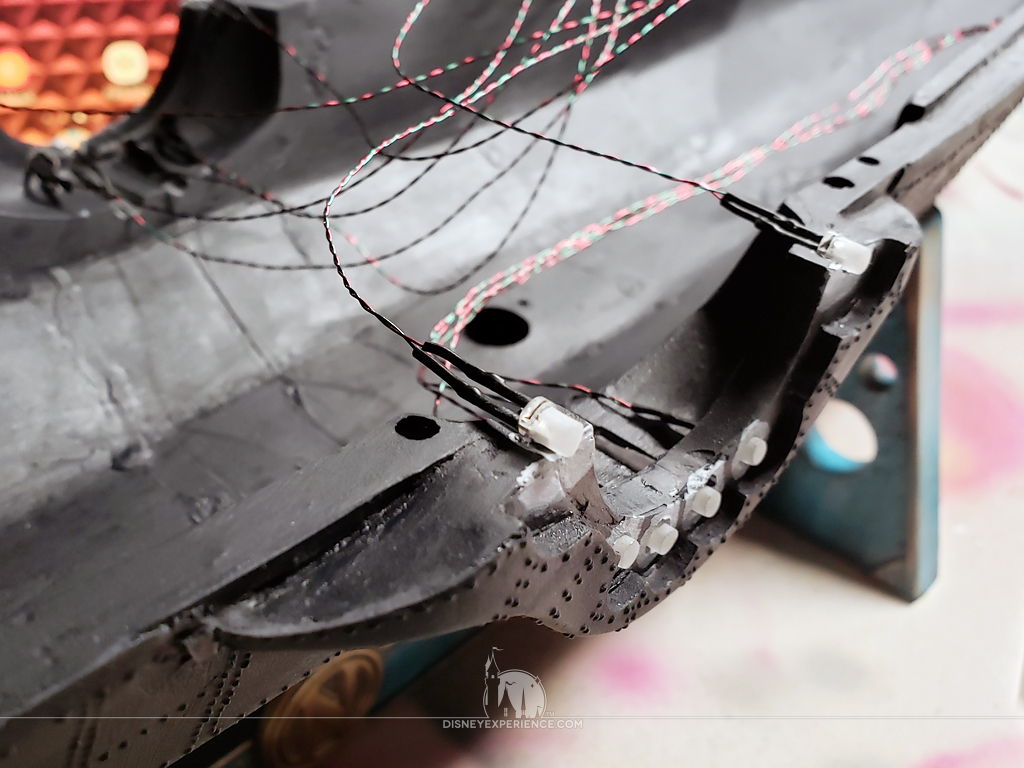
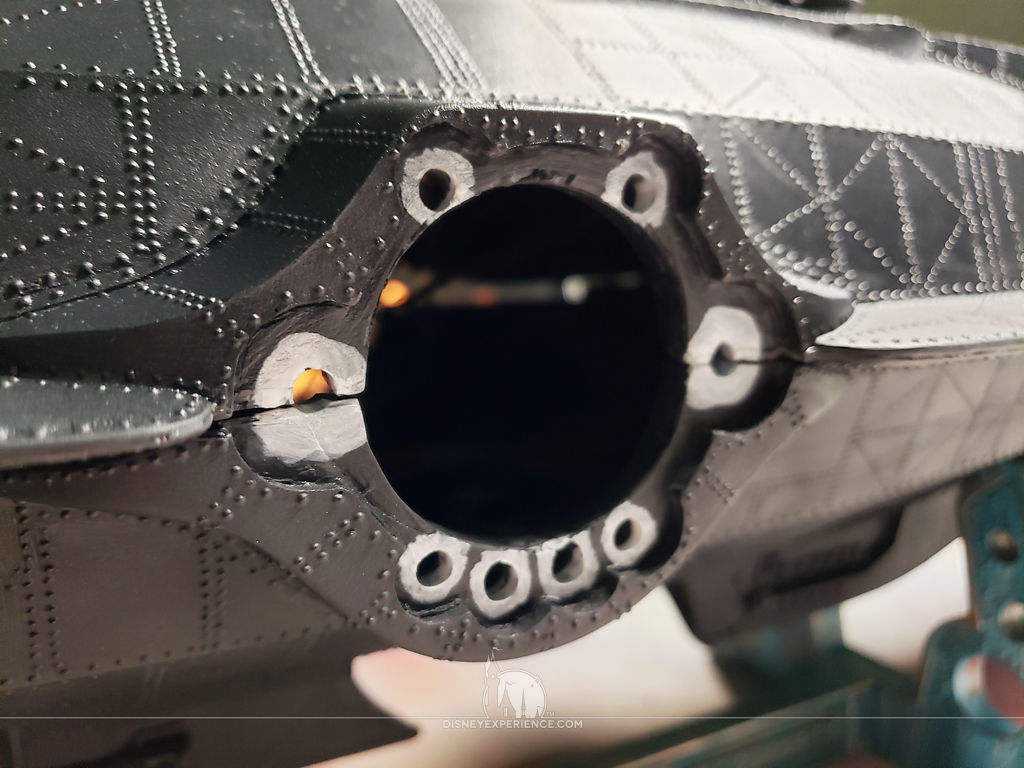
Now, it’s time to glue the floodlight LEDs into place. I take two sets of warm white 4-LEDs and glue them to the bottom four holes on each side of the lower hull.
A third set of warm white 4-LEDs is divided, gluing two LEDs to the holes where the two hulls meet on each side.
For the upper hull, a fourth set of warm white 4-LEDs is divided, gluing them into the remaining holes on each side.
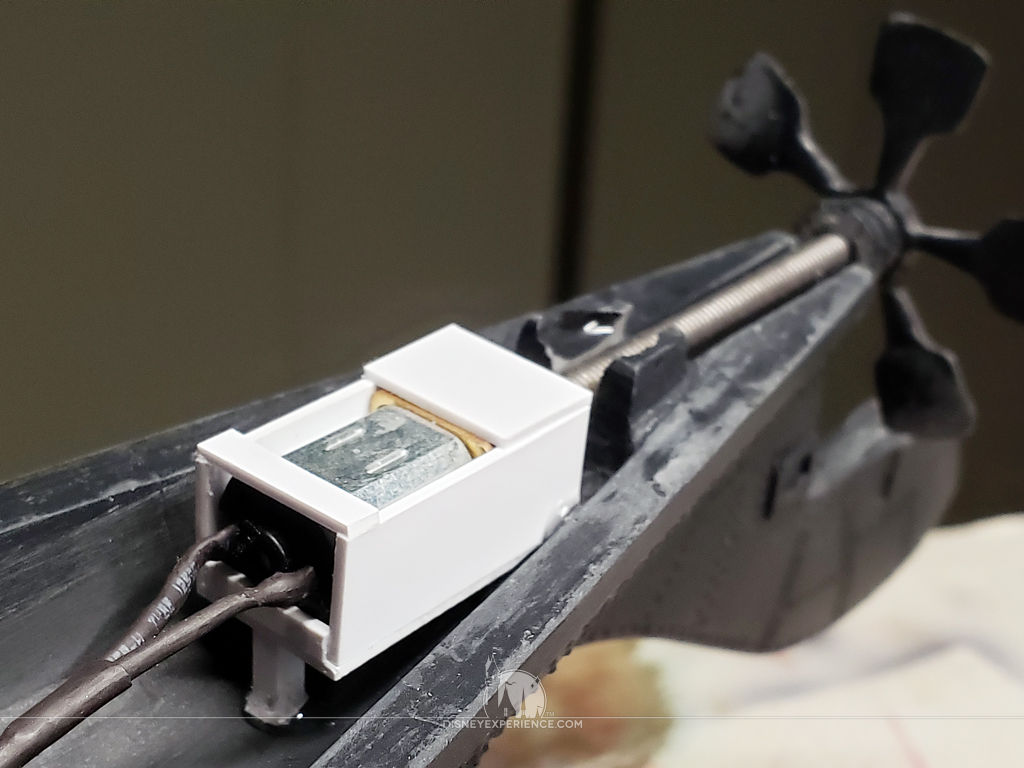
The propeller motor is finally glued into place at the rear of the lower hull. The motor is secured into its box with a couple of extra pieces of polystyrene strips.
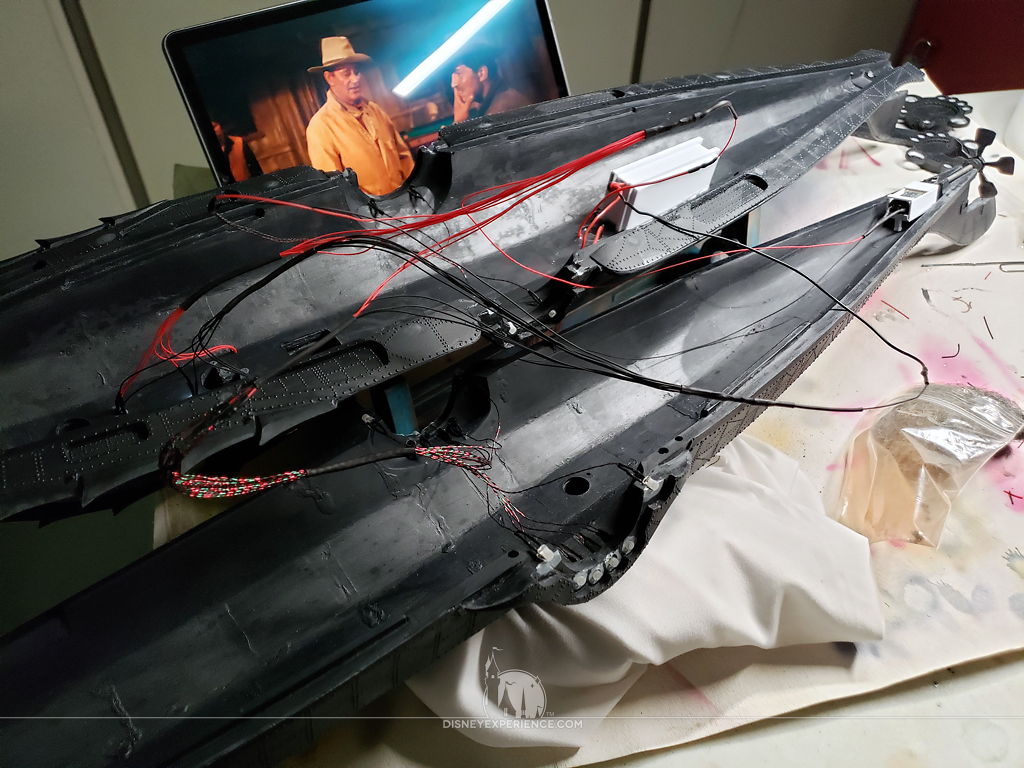
With the two halves of the hull set side-by-side, I begin soldering the wire connections. I gather up all of the red wires, twist them together, solder them, and protect them with a piece of heat shrink tubing. I do the same for the black wires.
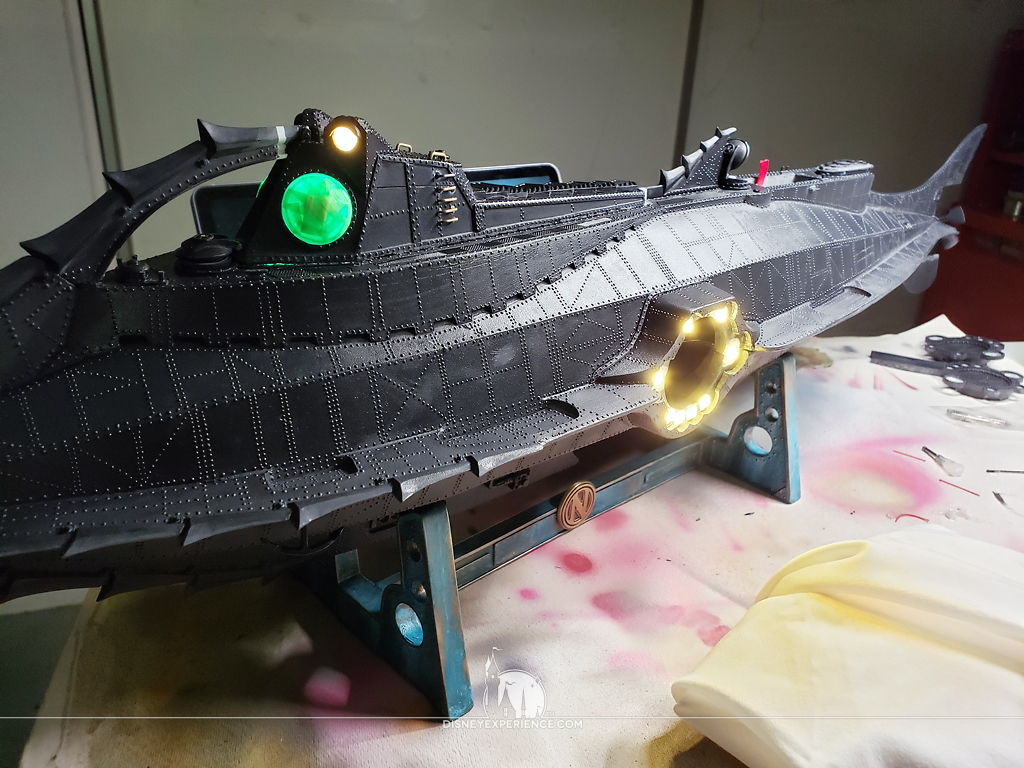
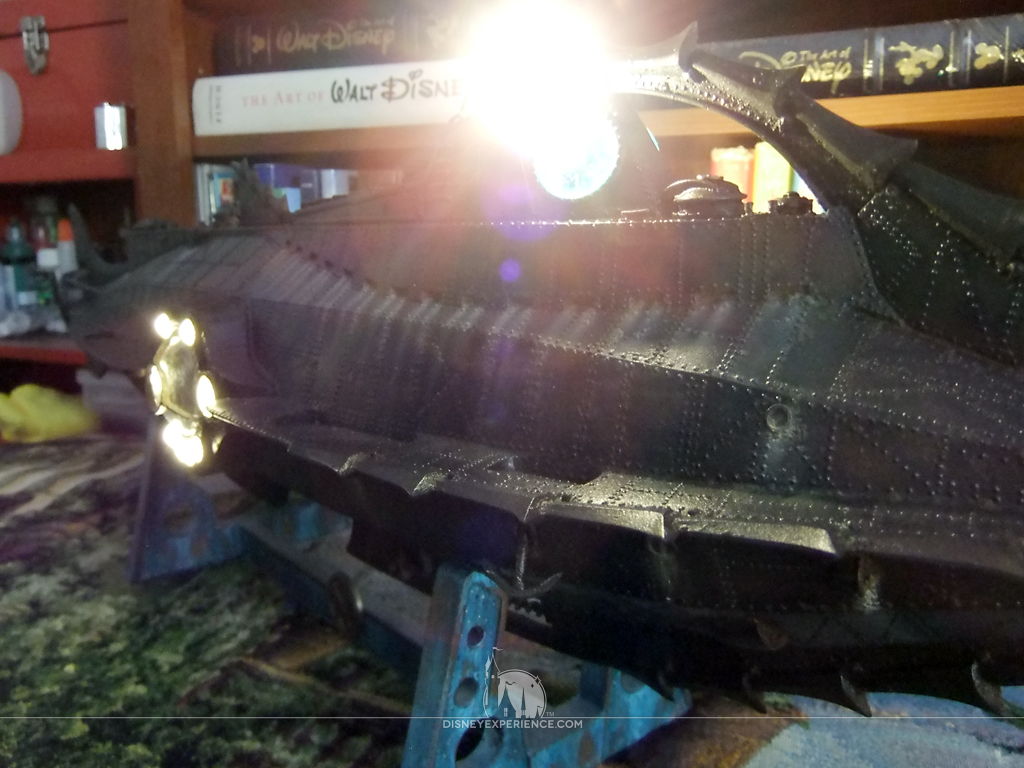
Before gluing the hulls together, I test the electronics to make sure that everything lights up, and the propeller spins.
Finishing Touches
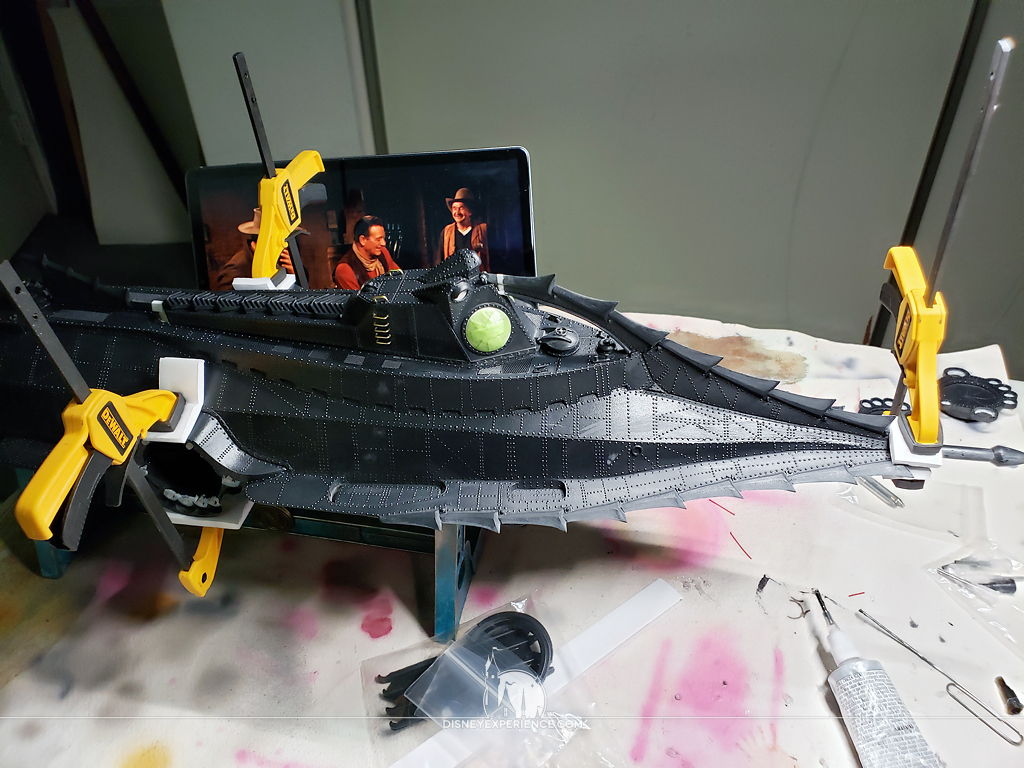
To close up the hull, I apply E6000 to the inside lip of the upper hull and hold the two halves together with bar clamps. Pieces of scrap foam board pad the hull from clamp damage.
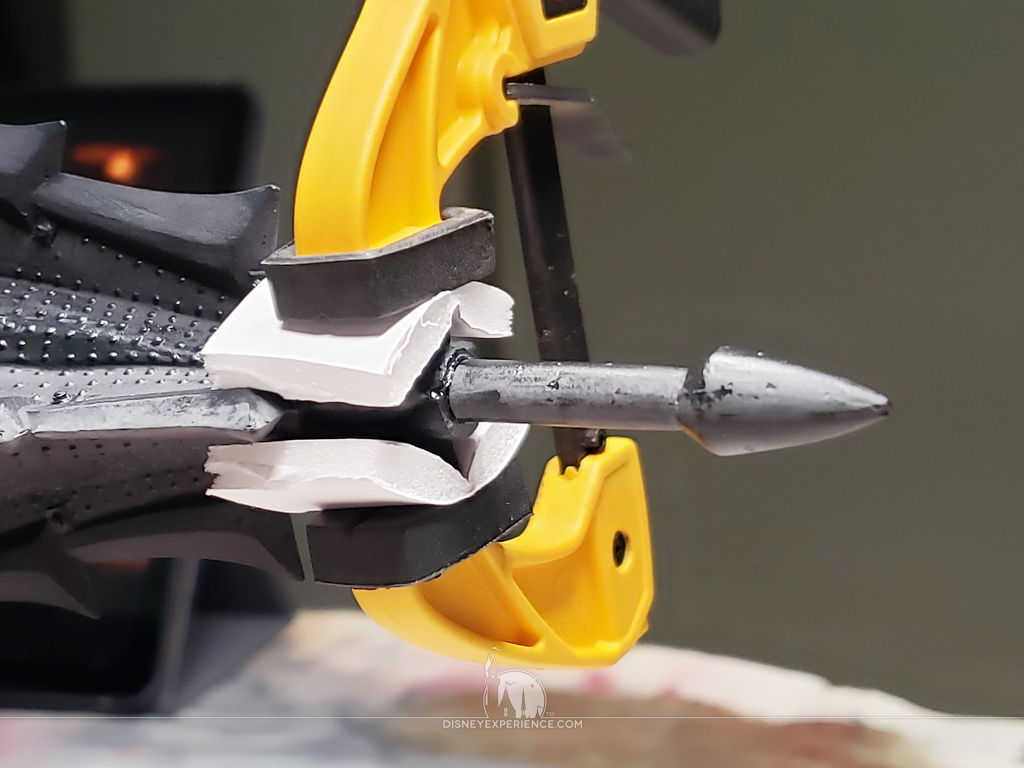
The nose spur is cleaned and glued into place at the bow of the Nautilus.

The salon window frames are also glued to the sides of the hull, held in place with masking tape.
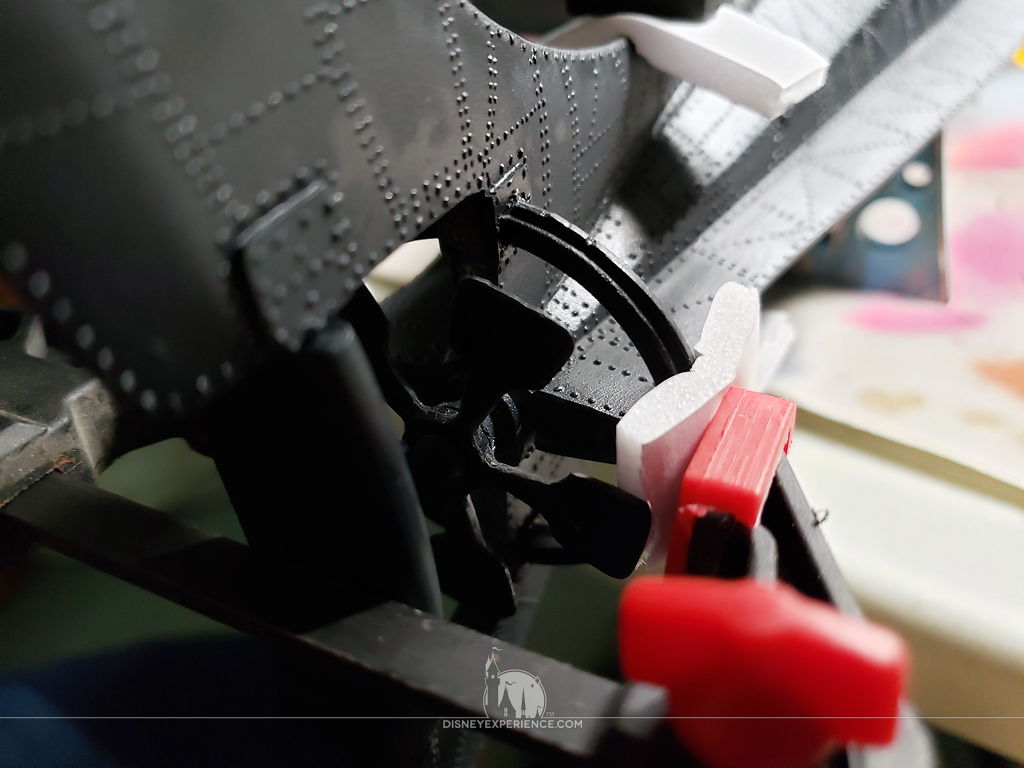
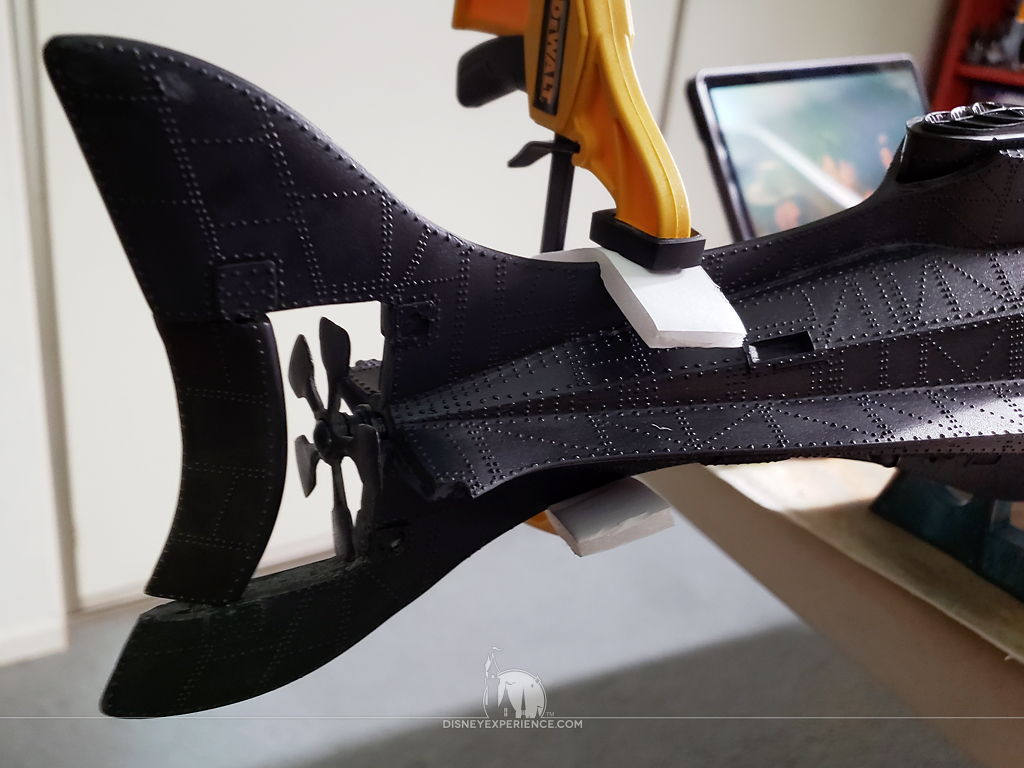
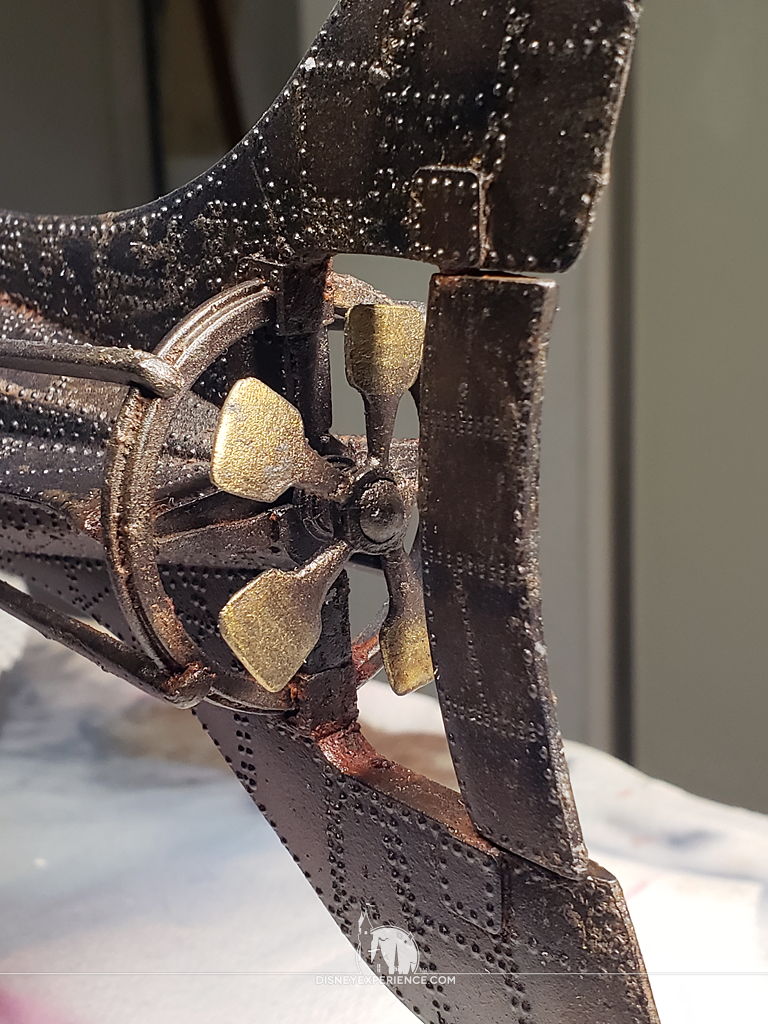
The propeller guards are glued as well. Some material from the lateral tail fins needed to be trimmed away to get them to fit, but even then, I had to clamp them to get them to stay. They are a very snug fit.
Everything stays clamped for at least one day.
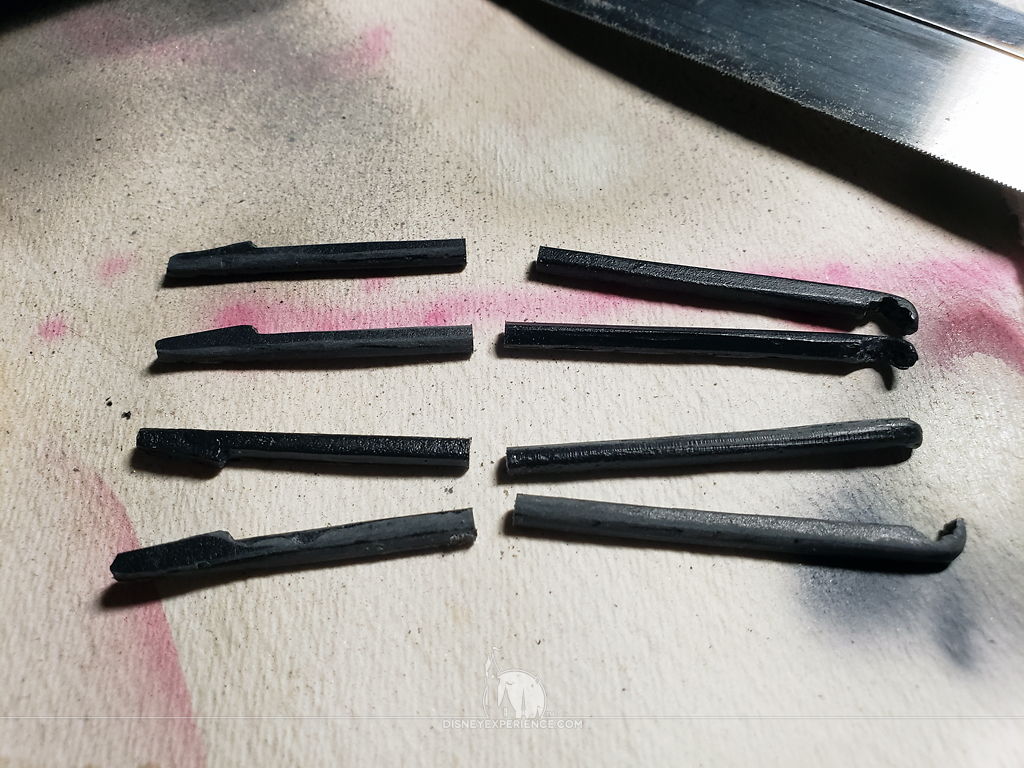


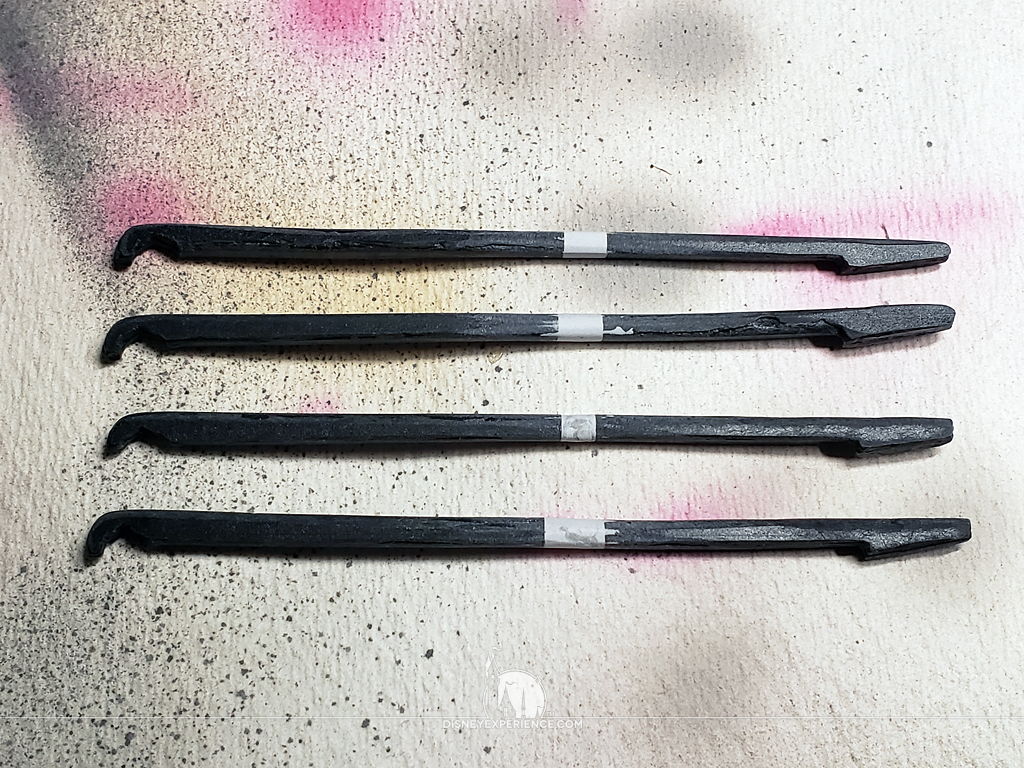

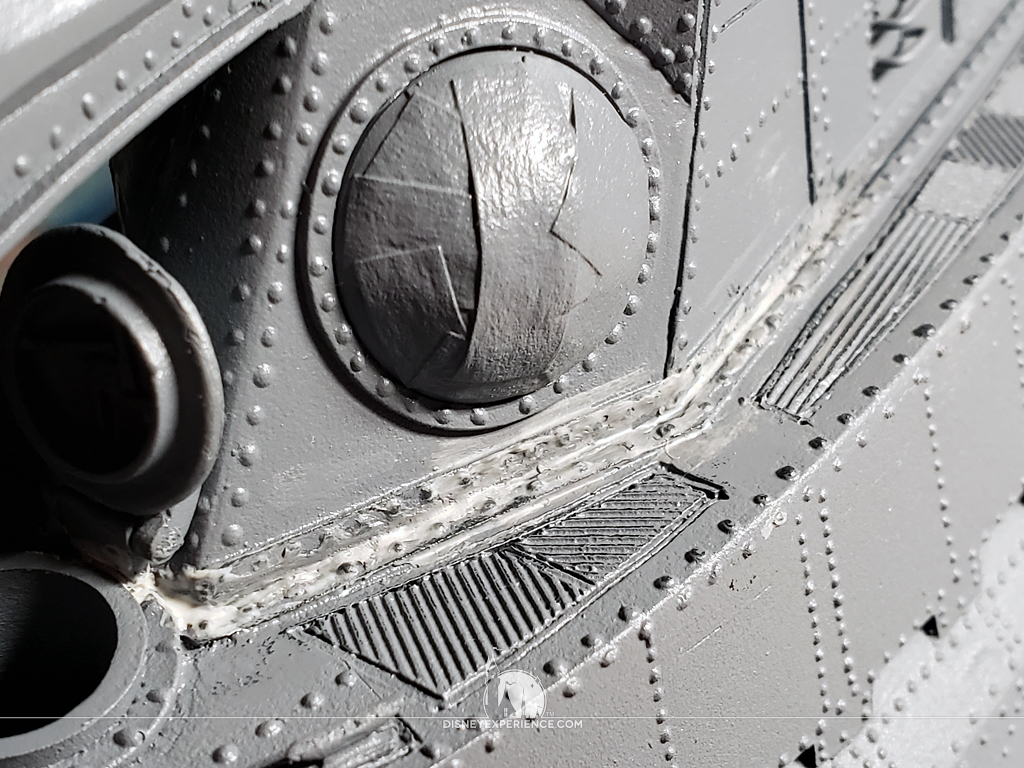
The propeller guard braces are far too short, so I have to lengthen them. I cut them in half with a razor saw, drill holes, glue metal pins, fill the space with PlasticWeld, and carve & sand the compound smooth. With the pieces now at the correct lengths, they are glued into place. By this time, the clamps have come off the Nautilus.

The salon window frames have an ugly gap around them. I fill the space in with Mr. White Putty, let it harden, and carefully carve away excess material.
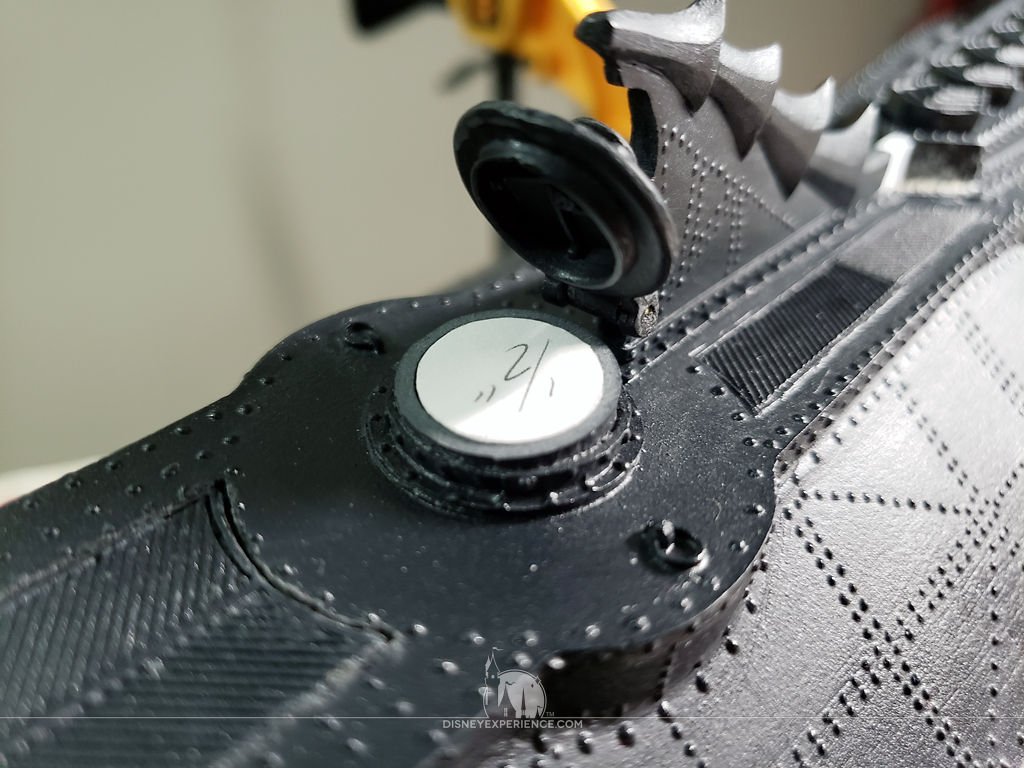
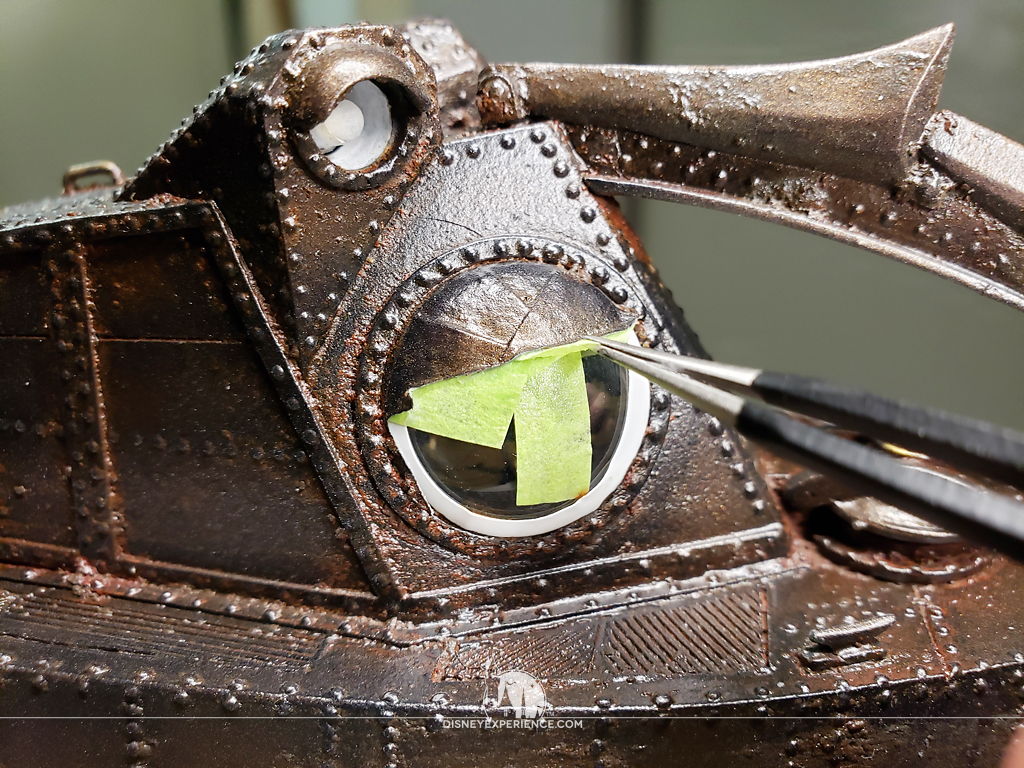
In preparation for paint, I do some last-minute masking of the salon floodlights and the power switch hatch.
Painting
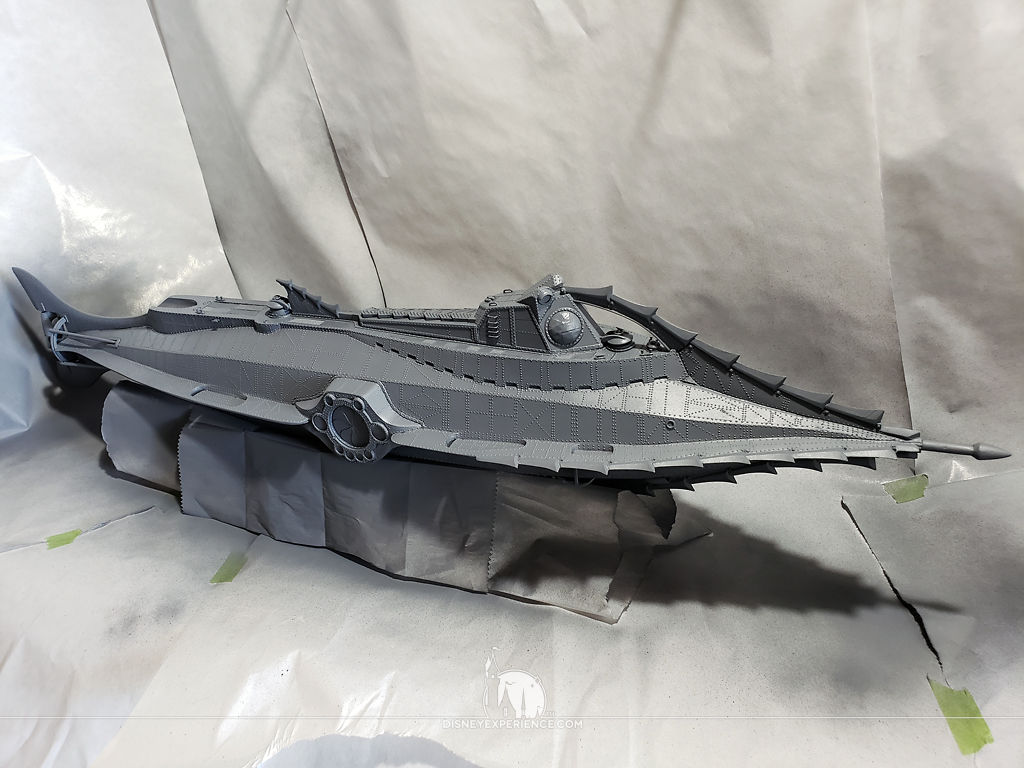
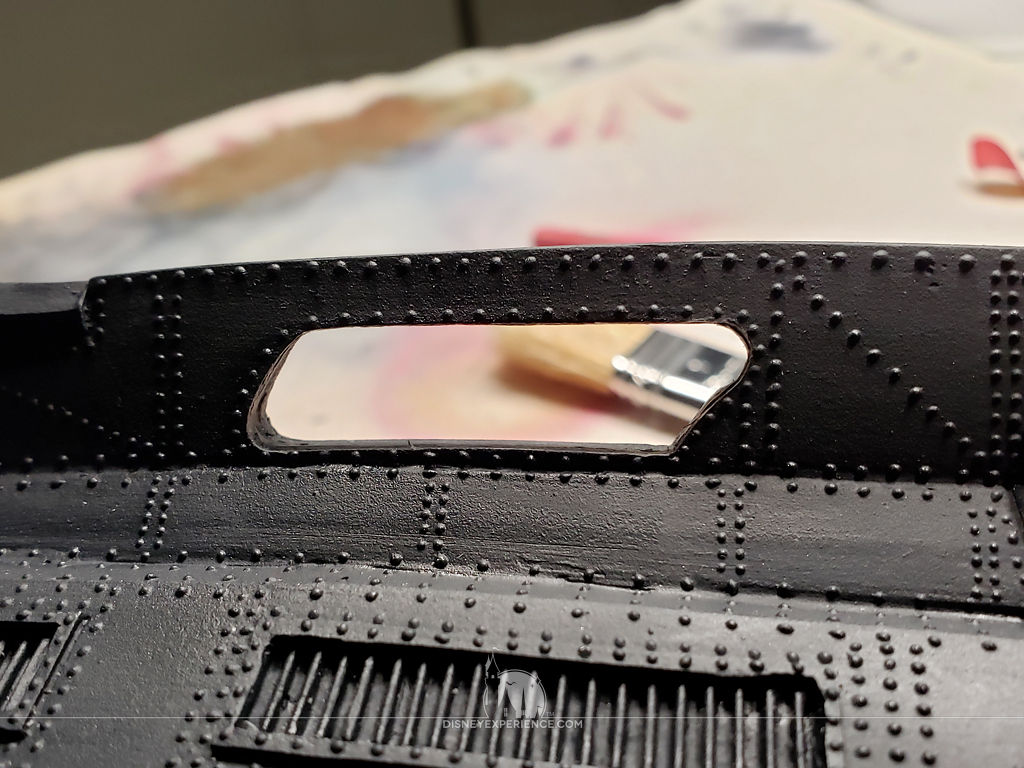
In the garage, I set up a spray area on the workbench. I cover the display stand with paper, and I spray the upper hull with gray primer.
Several hours later, I turn on the lights to test for light leaks. There is a lot coming from beneath the forward section of the wheelhouse.
Learning that Mr. White Putty can be thinned with acetone, I mix a thin mixture, insert it into a small syringe fitted with a precision glue tip, and squeeze it into the cracks under the wheelhouse. This did destroy the syringe, but it made a much cleaner application of the putty.

When the primer is dry, I flip the Nautilus upside-down and prime the lower hull.

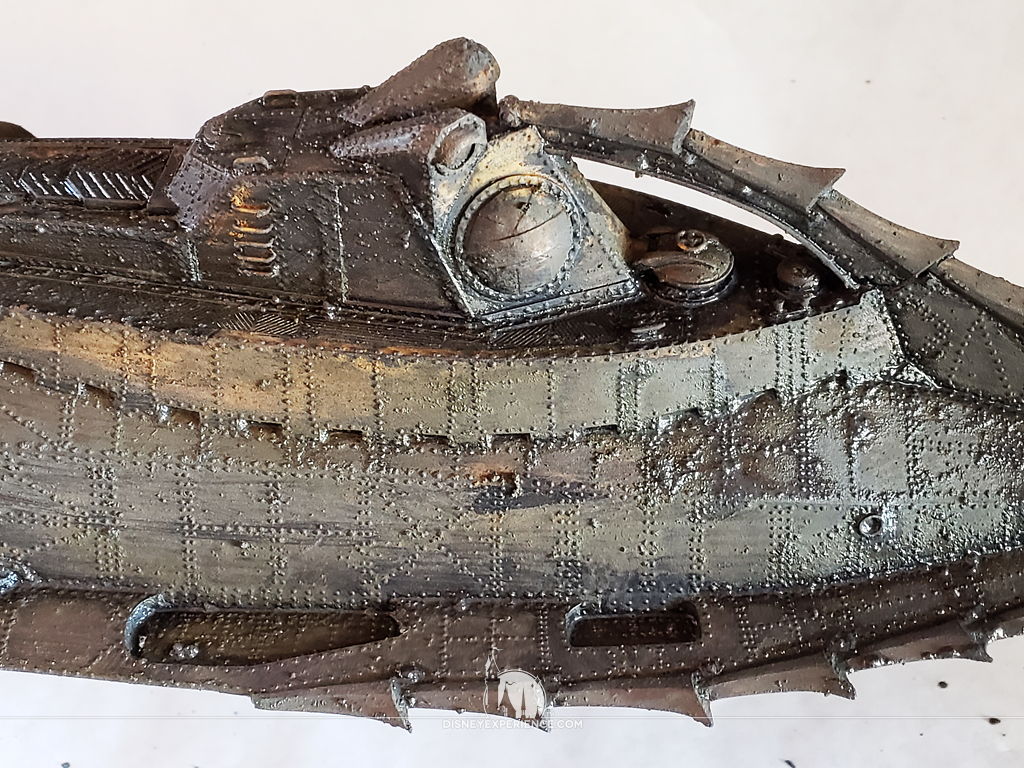
The next day, I airbrush a dark bronze base coat. This is the same color that was used on the interior of the wheelhouse.
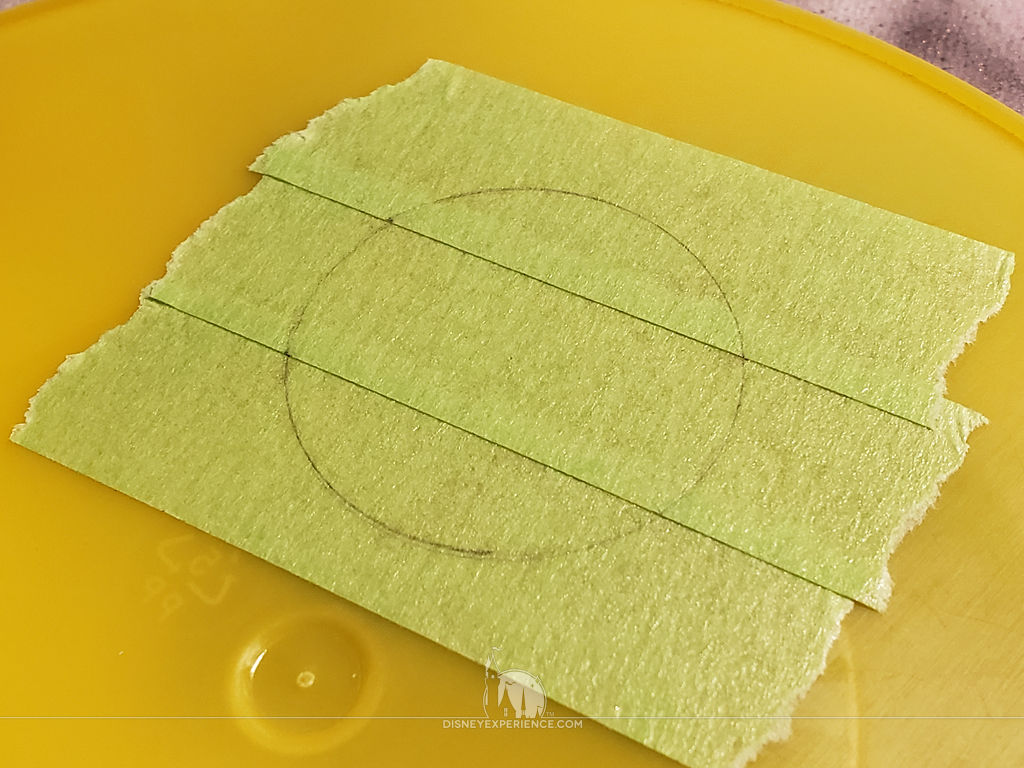
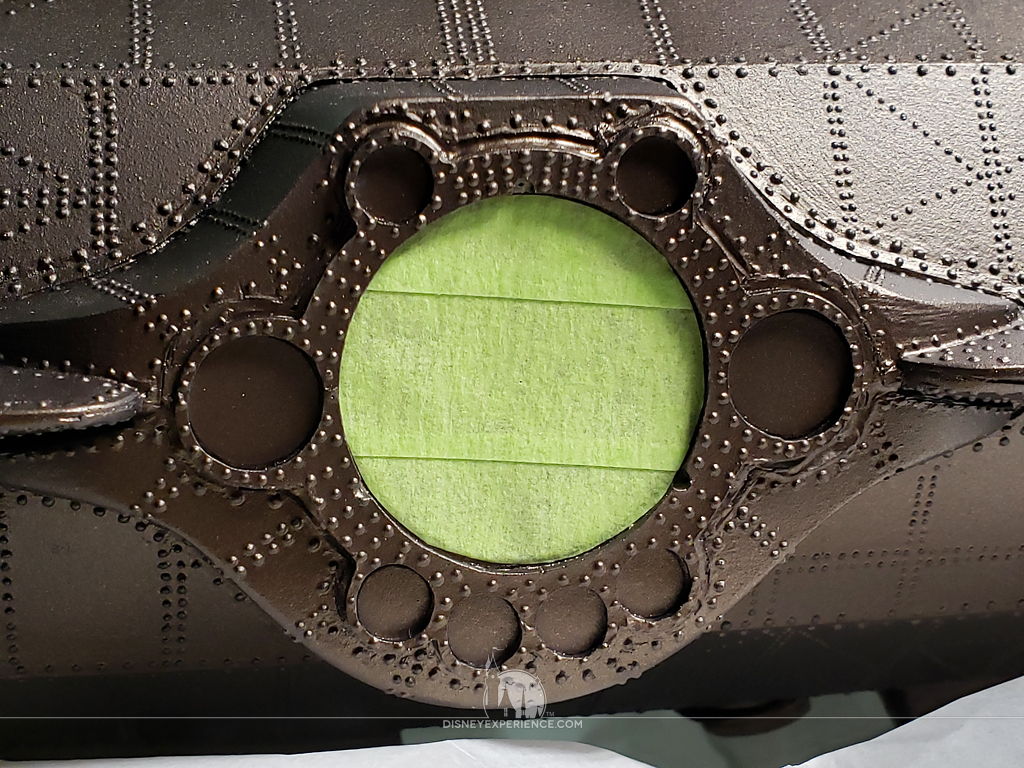
Now, the salon iris’ need to be masked. I overlap short pieces of masking tape, draw circles using a compass, cut them out, and apply them.
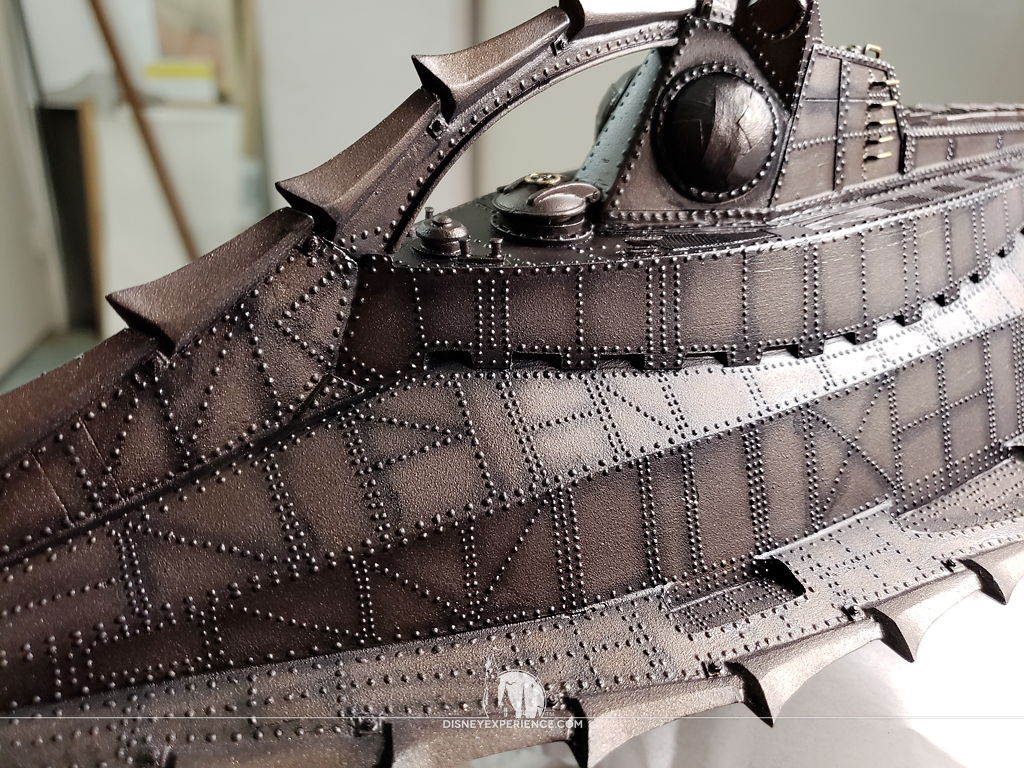
Edges and seams are quickly shaded with some black paint using an airbrush. After that, I apply a light coat of matte varnish.
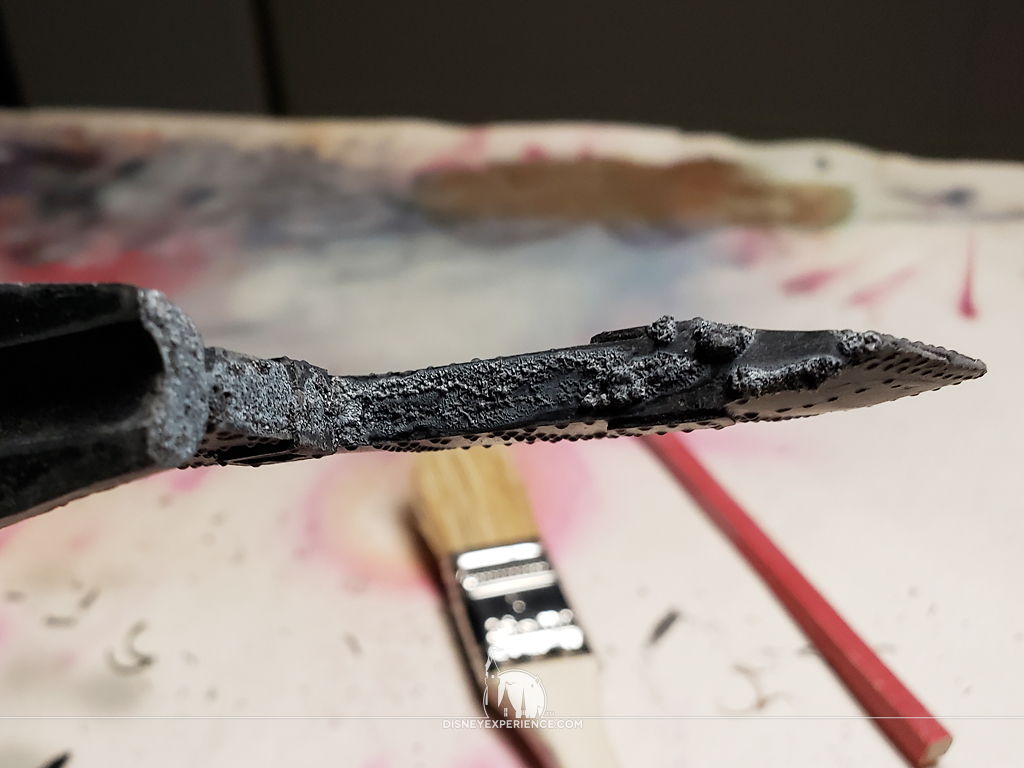
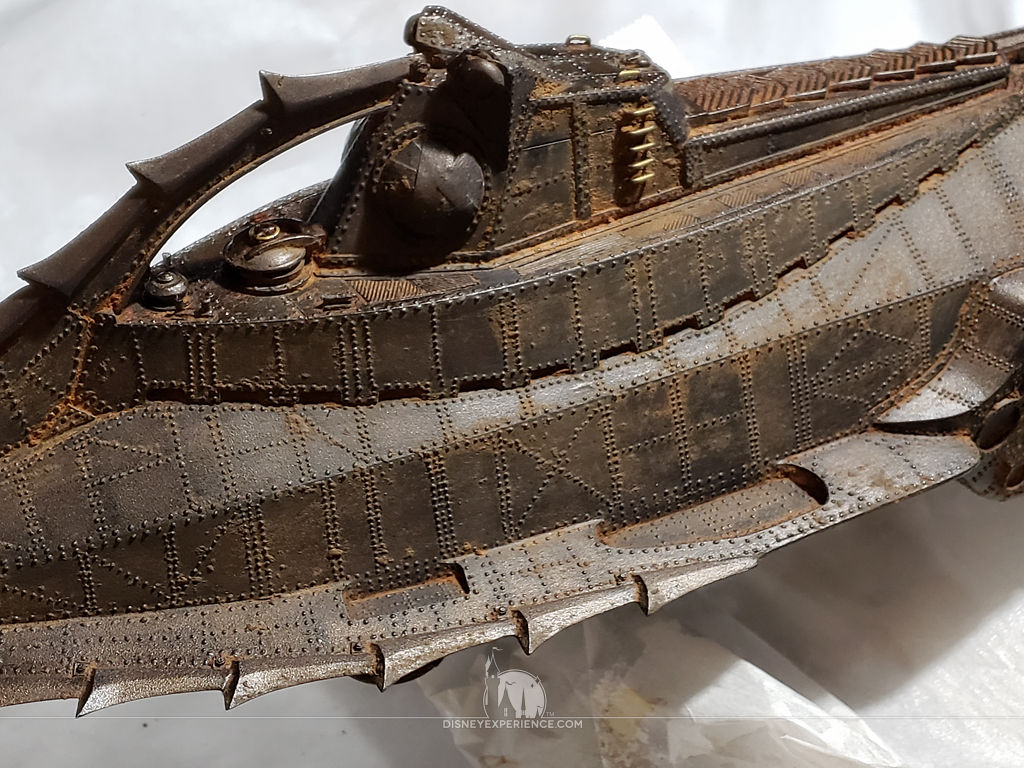
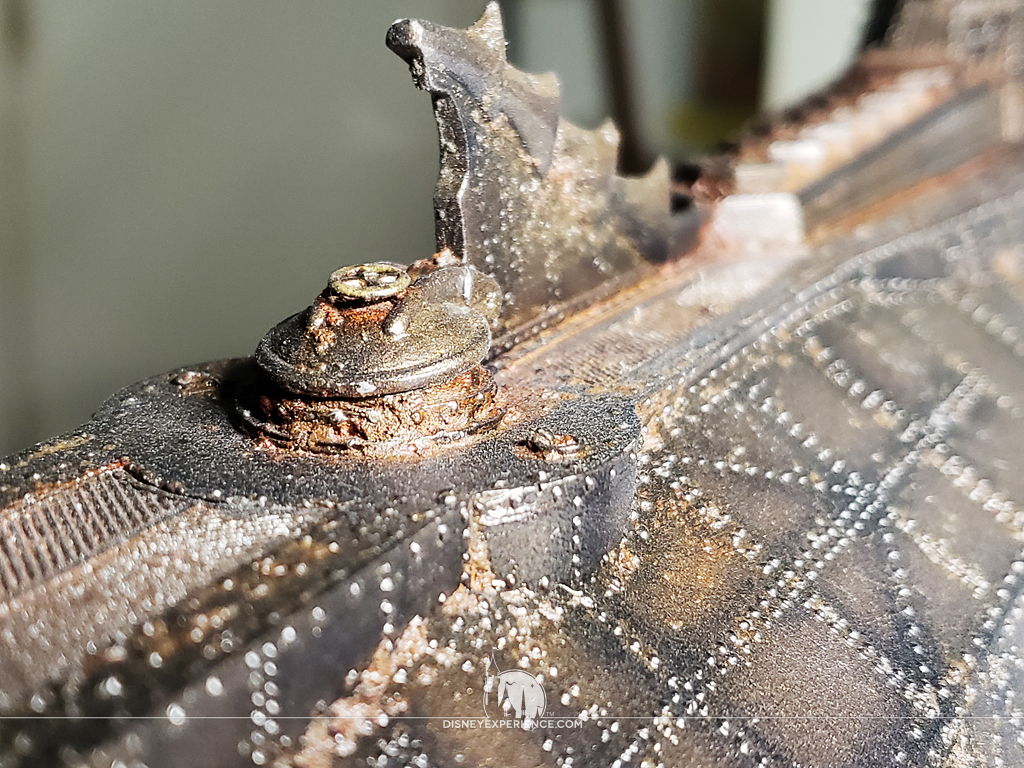
It’s now time to apply the rust! This is a messy process that will destroy the display stand, so I need to suspend the Nautilus using fishing line. That way, I can easily get underneath the Nautilus.
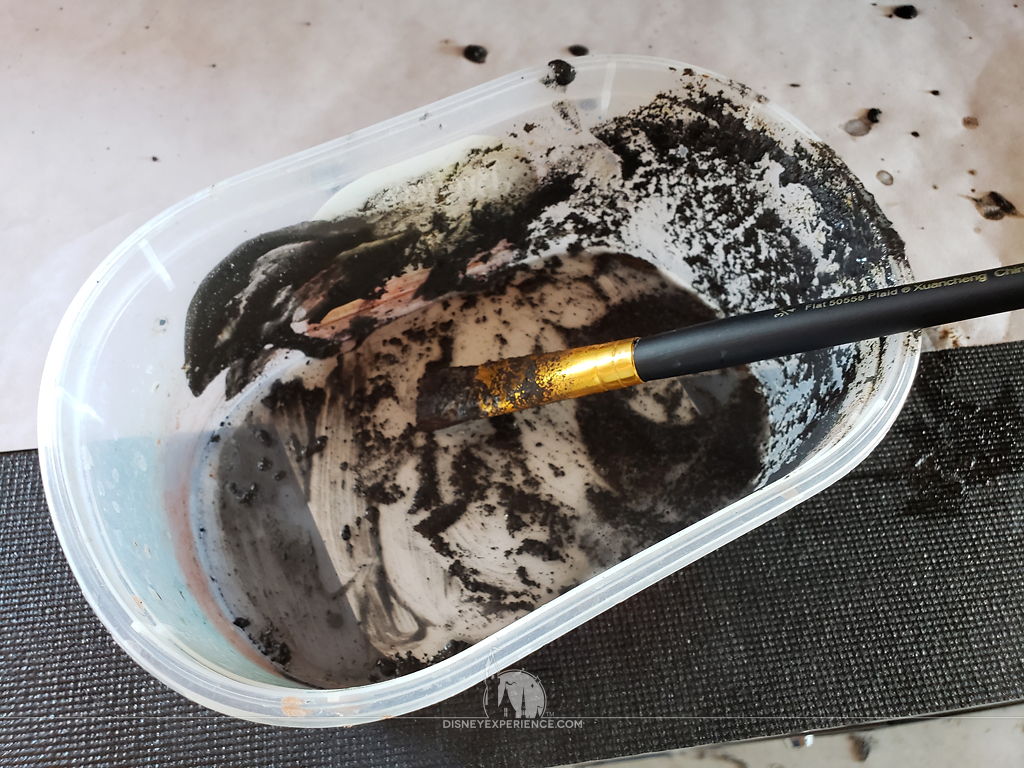
I’ve seen this technique done online, but I have a hard time with the mixture of oxidizing iron paint and vinegar. Even though the online videos say to mix a 1:1 ratio, their mixture is always runny. When I make a runny mixture, the metals coagulate quickly, clumping together and not spreading evenly over the model. A 1:1 ratio does coagulate far less, but it’s more of a loose paste.
I try the 1:1 mixture, and it seems to work well. I think that is why the same technique failed with the oxidizing copper paint when I was doing the display stand. My mixture was just way too runny.
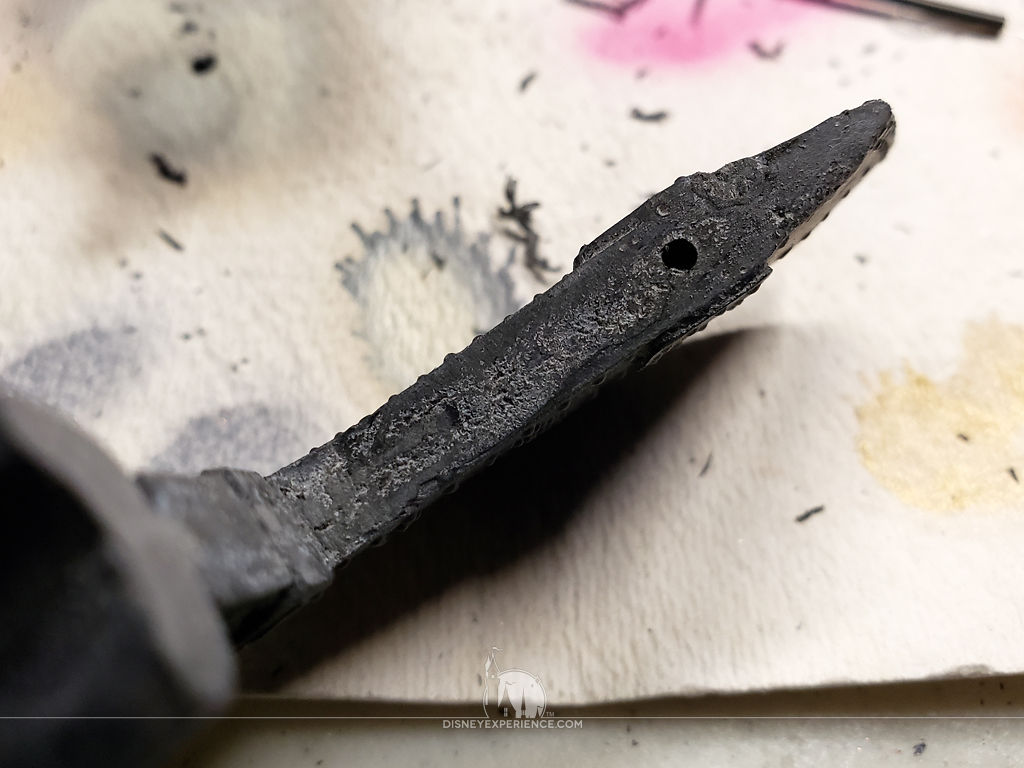
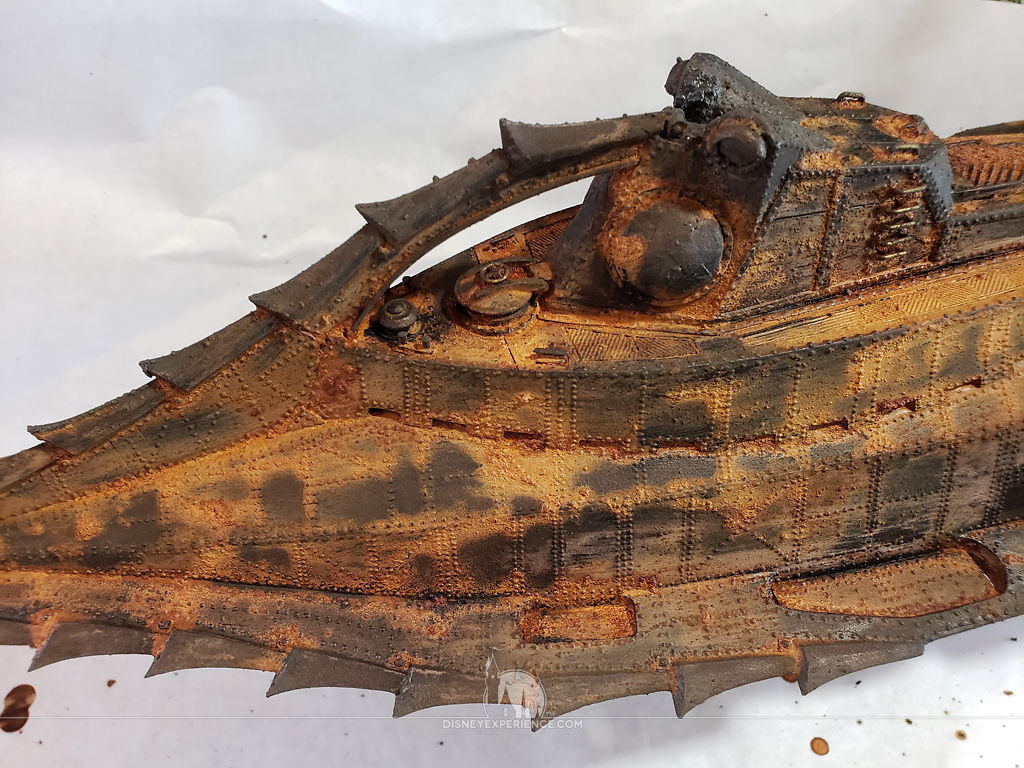
After applying a thin layer of the mixture to the whole model, some areas are already starting to show signs of rust.
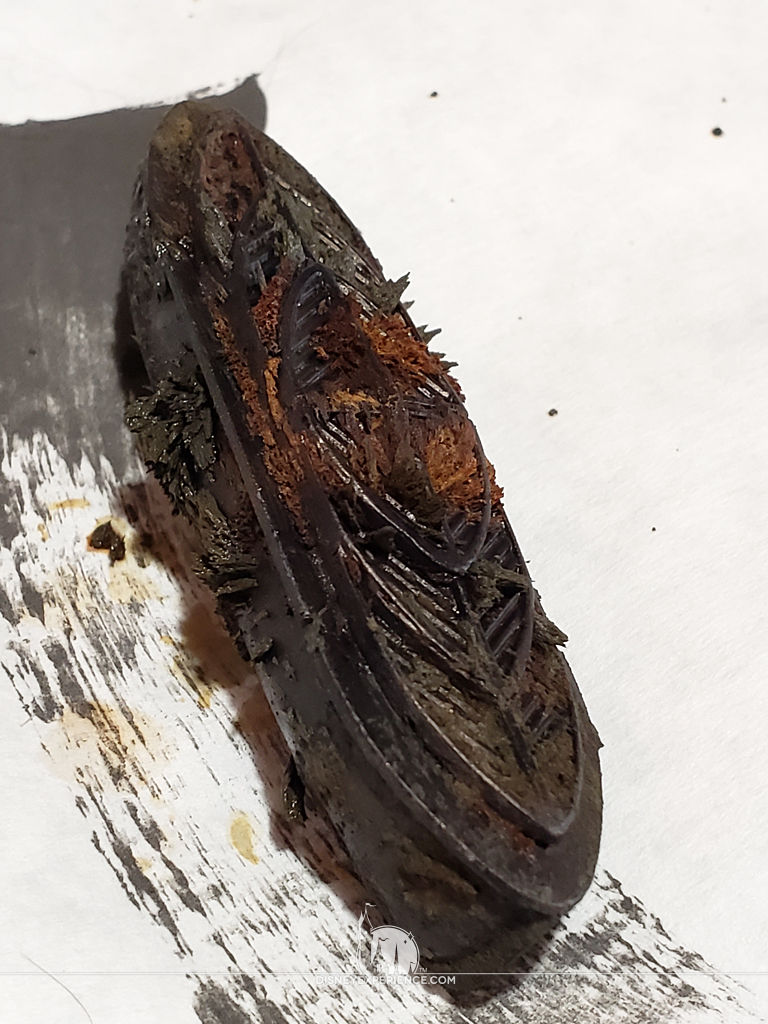
The mixture is applied to the outer salon window frames and the skiff. I didn’t anticipate the iron in the paint mixture to react to the magnets hidden within the skiff. It makes odd shapes, but the mixture still works well.
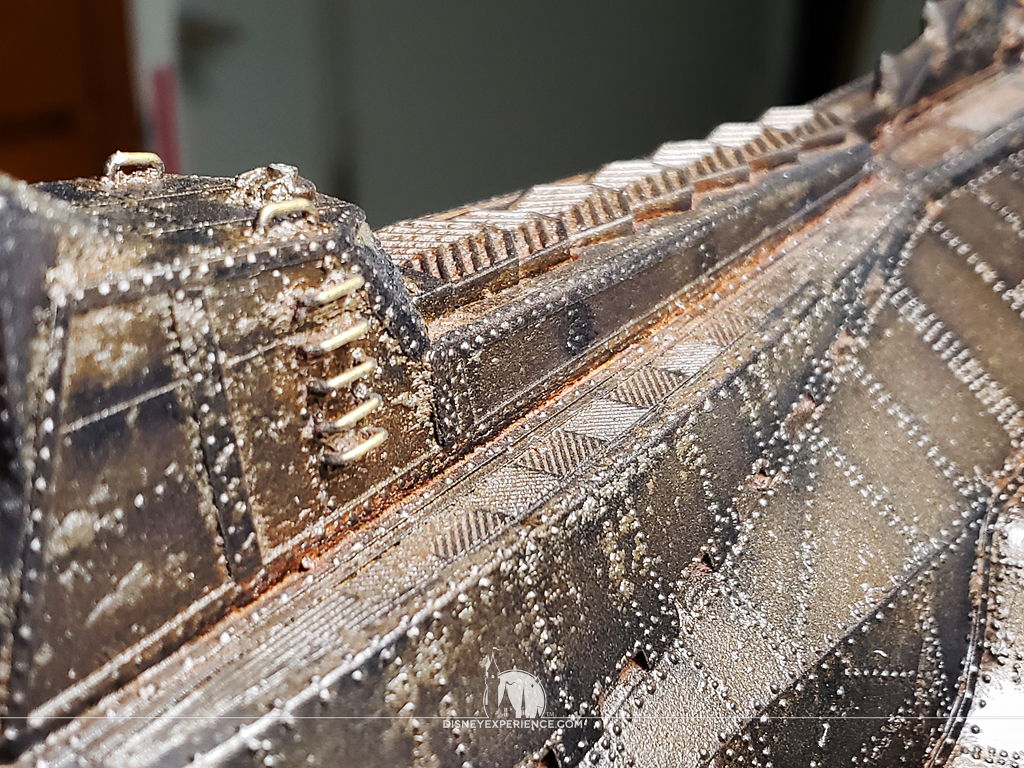
After the rust has formed and dried, I try to remove the excess with paper towels. In the videos, this was a quick and simple process. For me, it is not so.
The rust will not come off with anything less than a brass wire brush. This surprised the heck out of me, because it didn’t harm the base paint at all—and I was being rough. After a while, I got the excess rust off to a level that I was happy with.
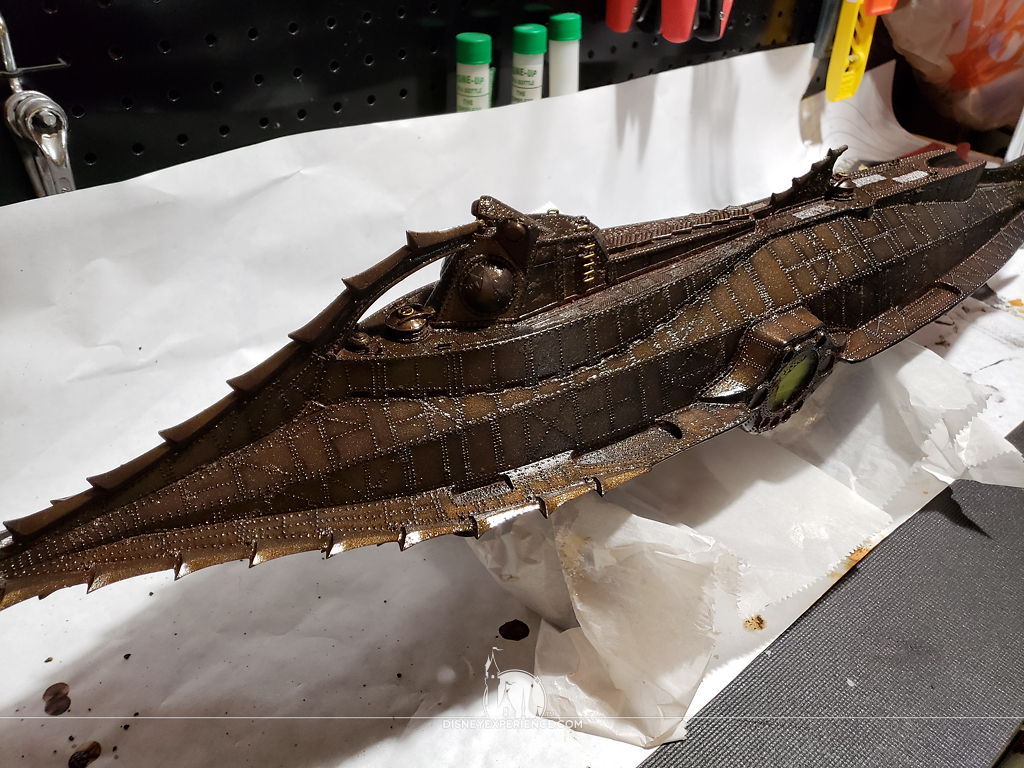
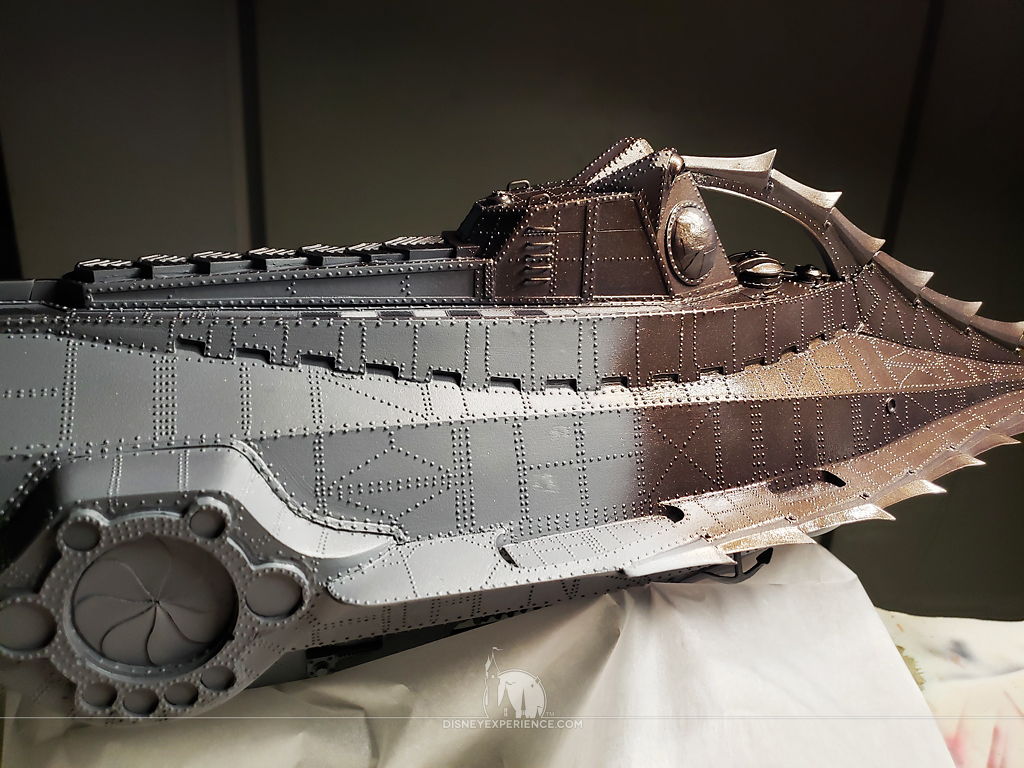
The whole model is sprayed with two coats of gloss varnish (for protection) and two coats of matte varnish (for aesthetics).


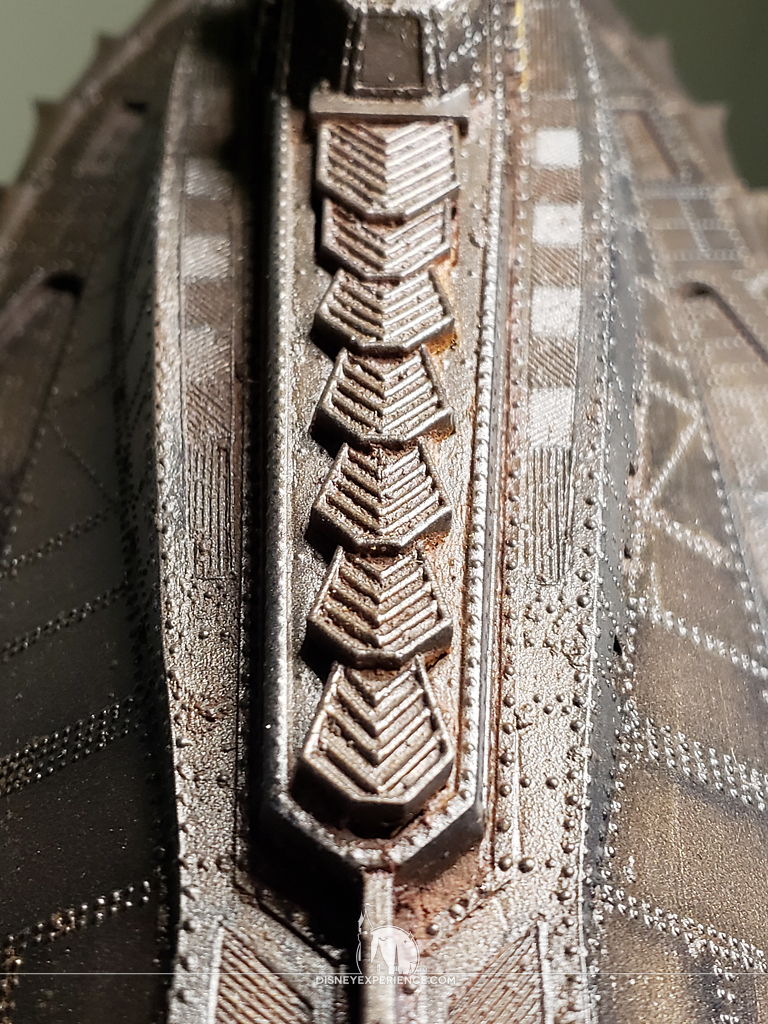
The color of the rust blended in with the model, but there were still many places with wonderful bits of texture and color. Some of the rust clumps even look like barnacles, which I am considering painting as such.
All of the masks can now be removed, cleaning out any rust build-up.

The molded floodlights are set into place.
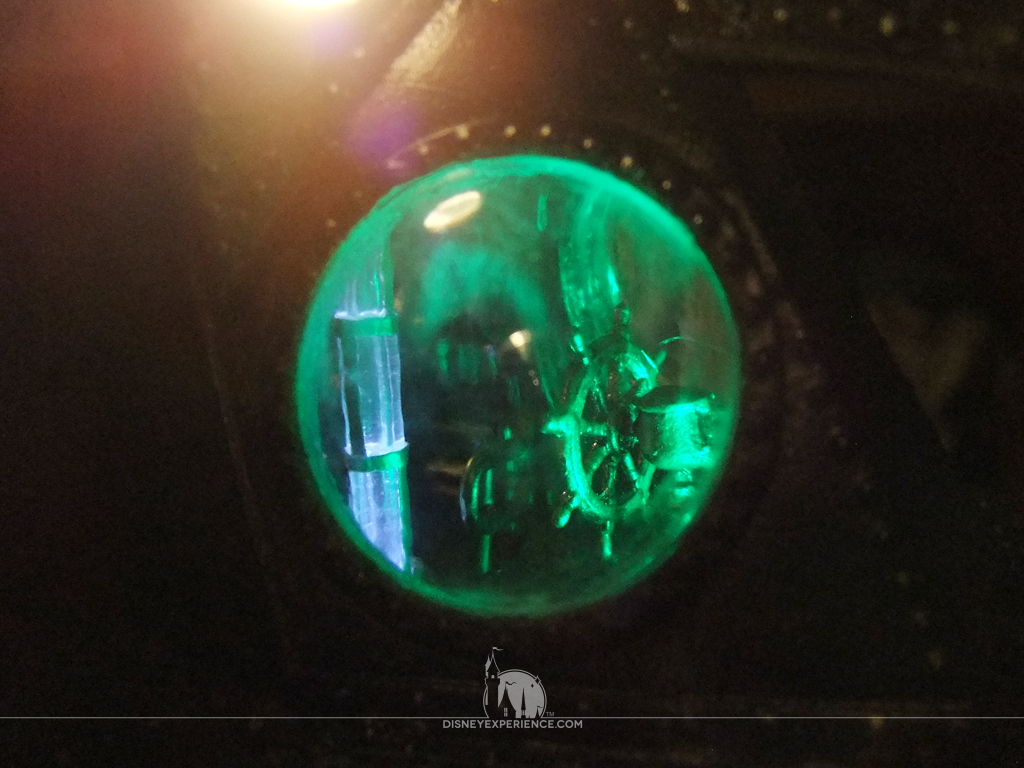
Looking into the wheelhouse, I notice that there are a couple web strands of glue. Well, it’s too late to fix those.
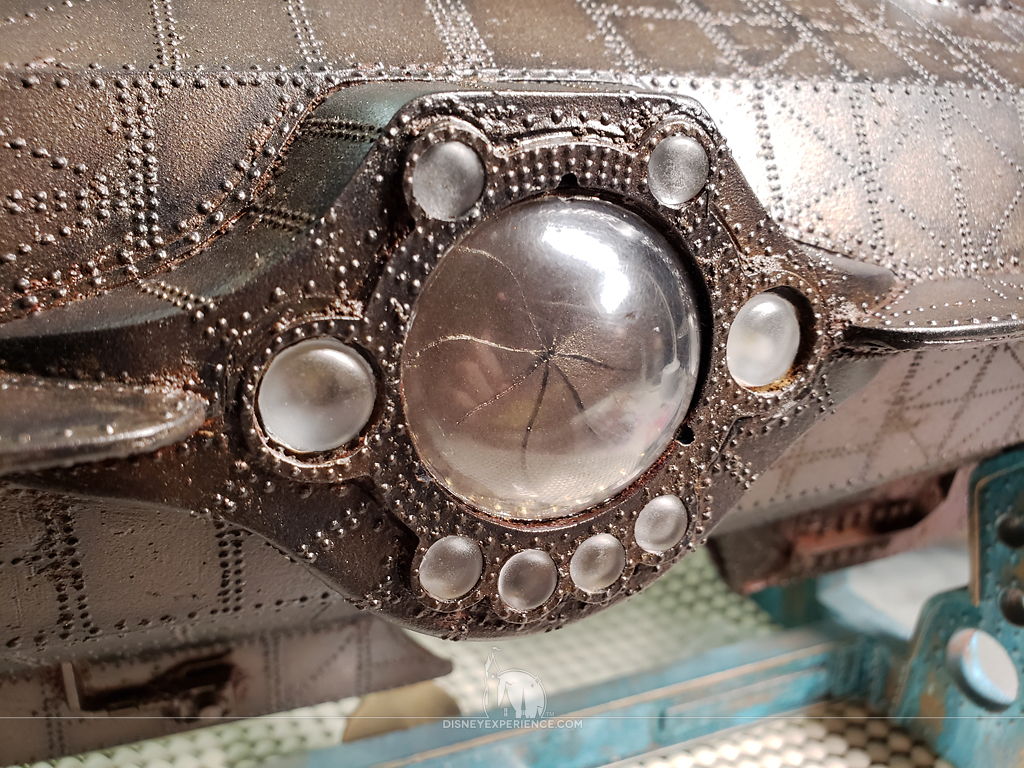
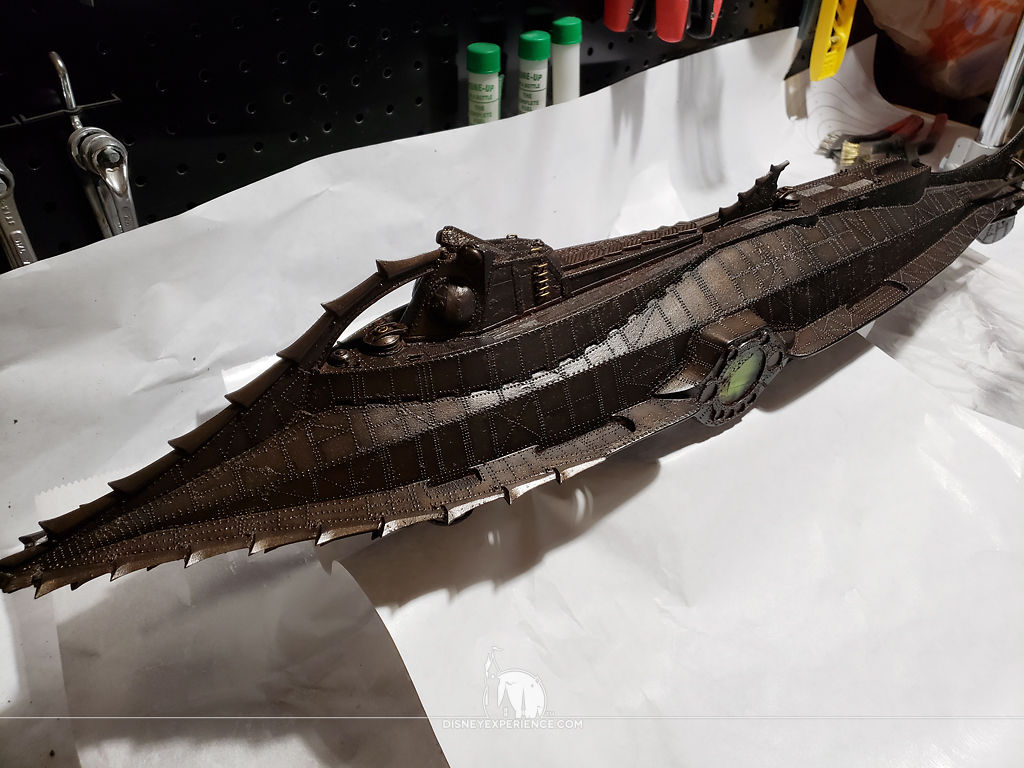
The salon window domes get glued, followed by the outer salon window frames. These are a tight fit, and they require being held into place with tight straps of masking tape.
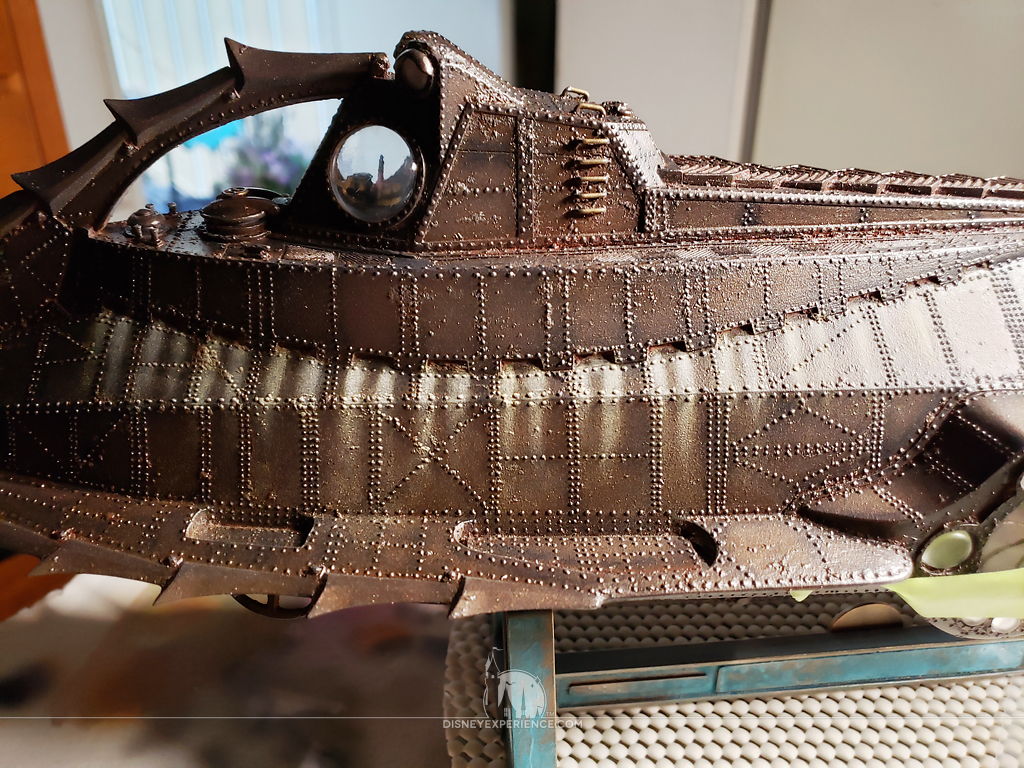
Using a small, stiff paint brush, I apply Tamiya weathering master set ‘A’ sand color to the scuppers to create water stains.

Now that the model is complete, it can be displayed on a shelf—which I need to buy.
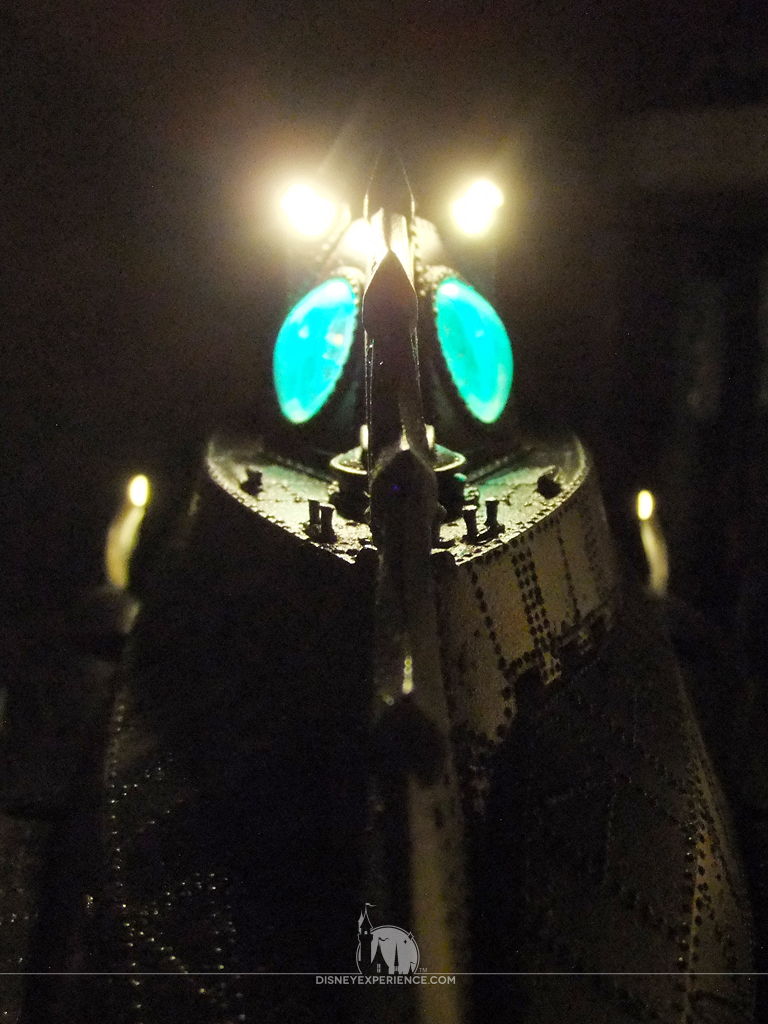
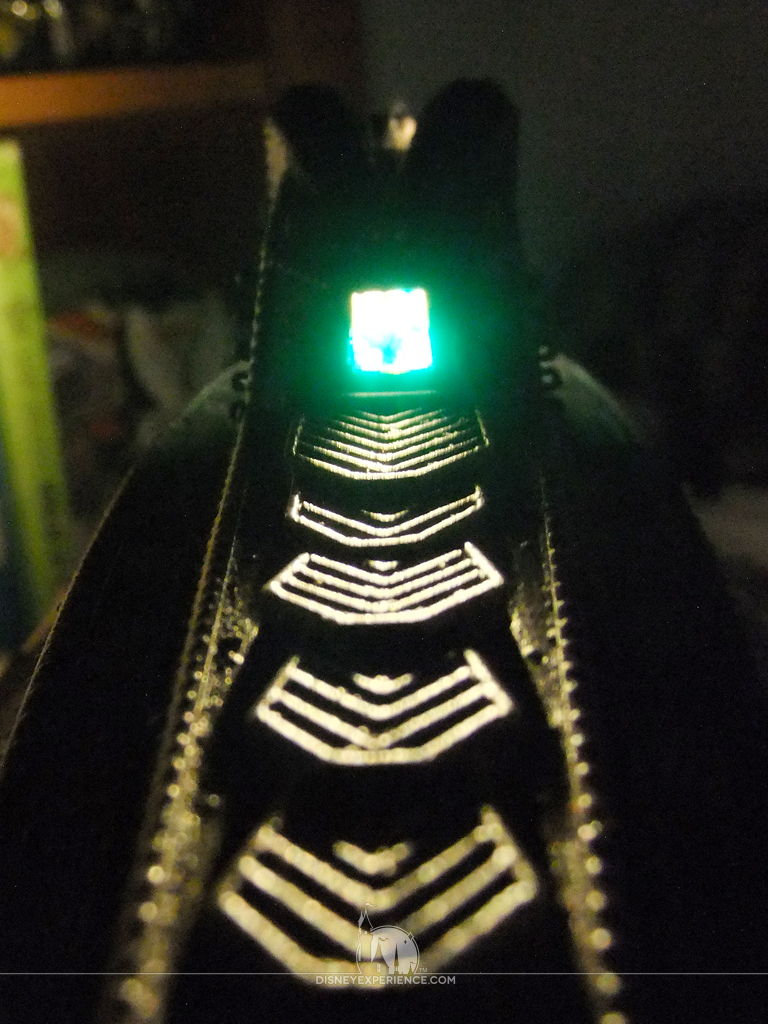
I probably could have left the ceiling light out of the wheelhouse; the green attack lights are so overpowering, and the interior walls really can’t be seen. Live and learn.
The Masterpiece Models Nautilus was my first advanced model, and it wasn’t as daunting as I thought it was going to be. Although it took WAY longer than a traditional plastic kit, it was much more enjoyable. I often spent long hours into the night without realizing that so much time had passed. It was all very relaxing.
Both the post author and this website have not received any compensation for writing this post. Both the post author and this website have no material connection to the third-party brands, products, or services that have been mentioned. Some of the links in the post above are “affiliate links.” This means that if you purchase the item, we will receive a commission. As an Amazon associate, we earn from qualifying products. This is being disclosed in accordance with the Federal Trade Commission’s 16 CFR, Part 255: “Guides Concerning the Use of Endorsements and Testimonials in Advertising.”
Well done sir! Be proud! VERY, VERY proud!
Oh, I LOVE this model! I’ve always wanted one. Actually, I’ve always wanted one as a submersible RC. There are conversion kits out there, but I don’t have any place to actually use an RC submarine. Bummer.