Nautilus Build Journal No. 04
Trader Sam | September 13, 2021
The Battery Compartment, Part 1
Choosing where to put the 9-volt battery was tough. Most people—I’ve watched many YouTube videos about this—place the battery underneath the gill plate, behind the wheelhouse. There’s certainly plenty of room there, but that means that the entire wheelhouse has to be removable. That would make things difficult for me considering how my wires are routed.
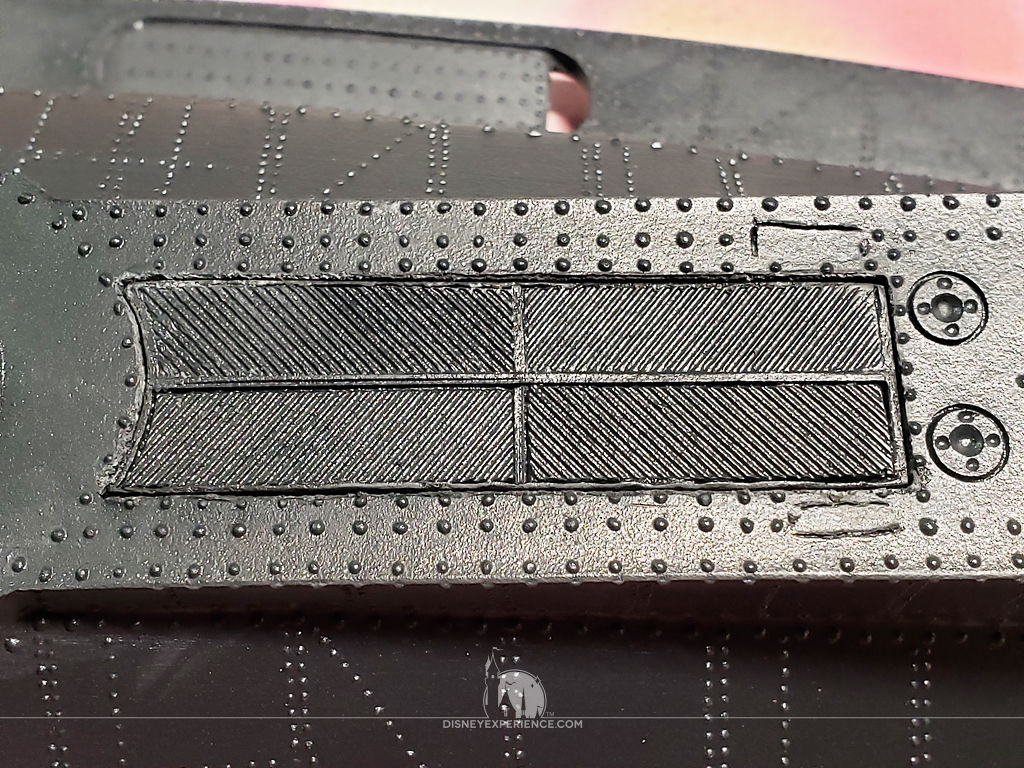
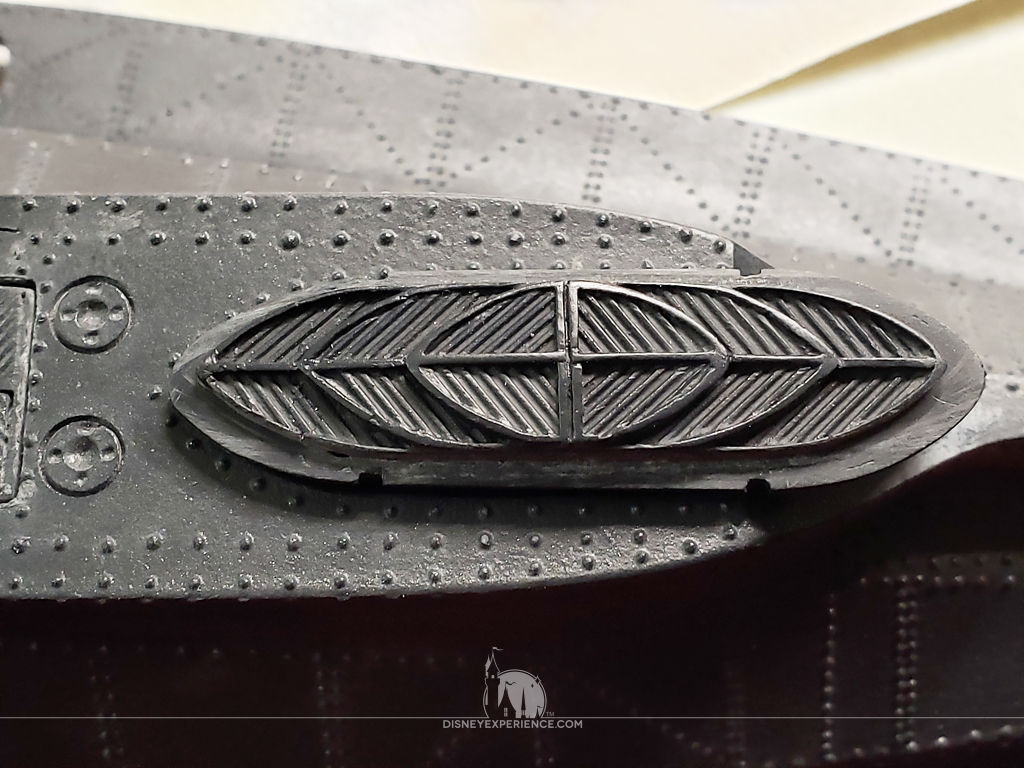
The best place that I found for the battery compartment is right next to the skiff.
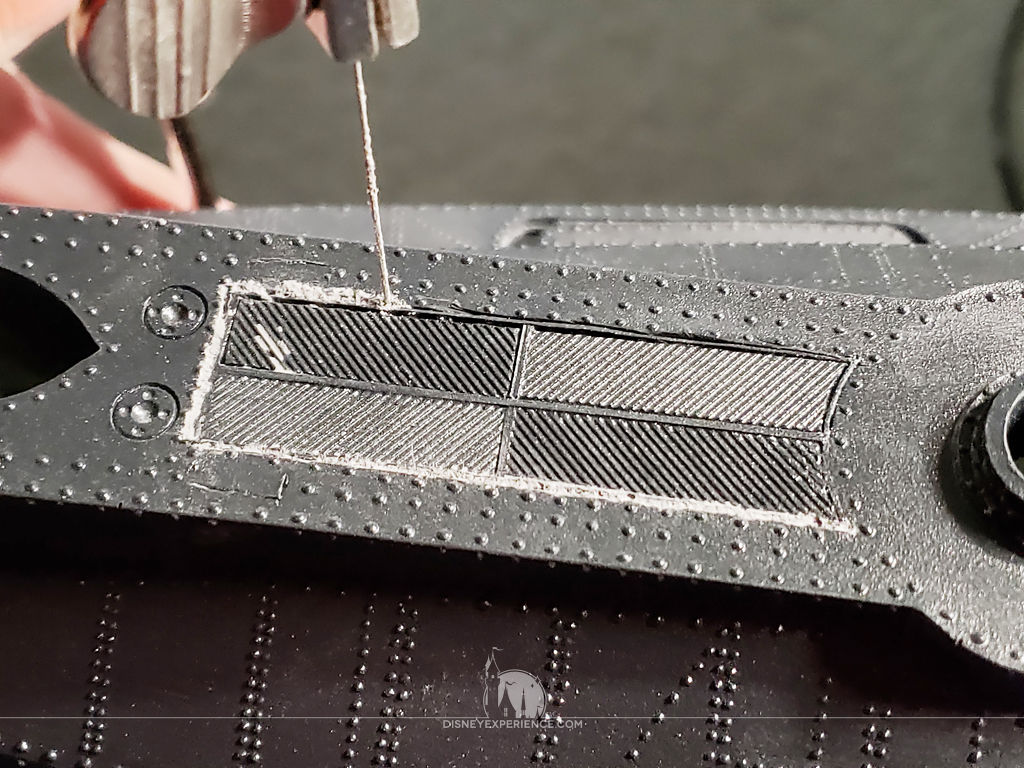
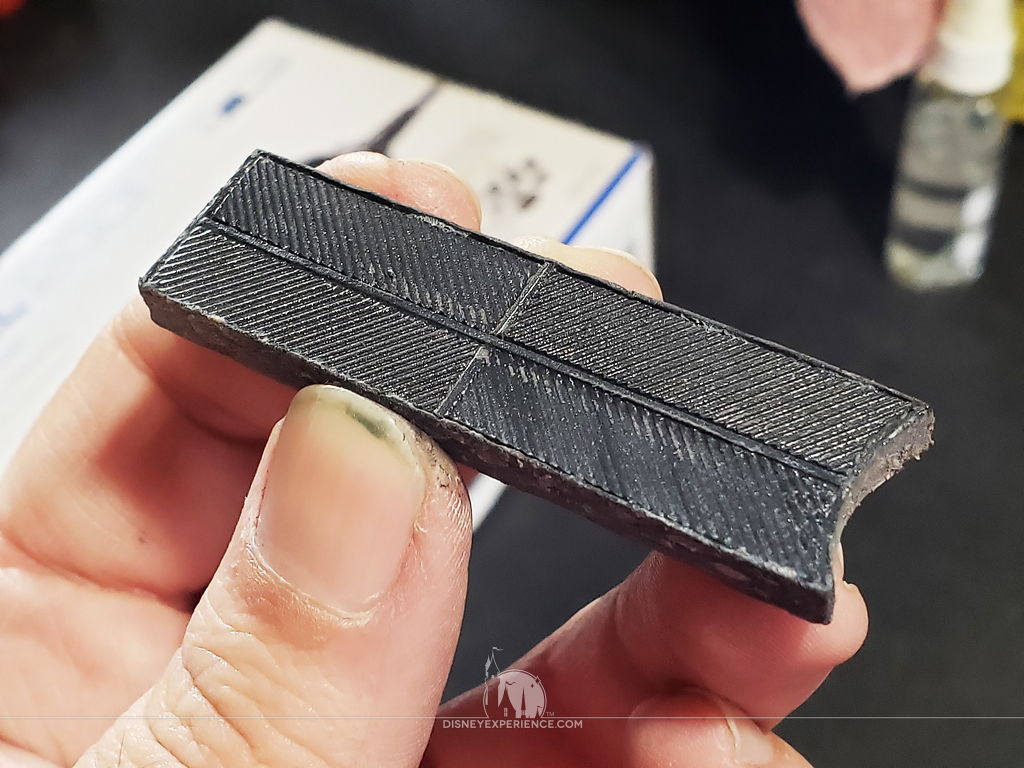
Using a diamond wire coping saw, I slowly and carefully cut out the battery compartment.
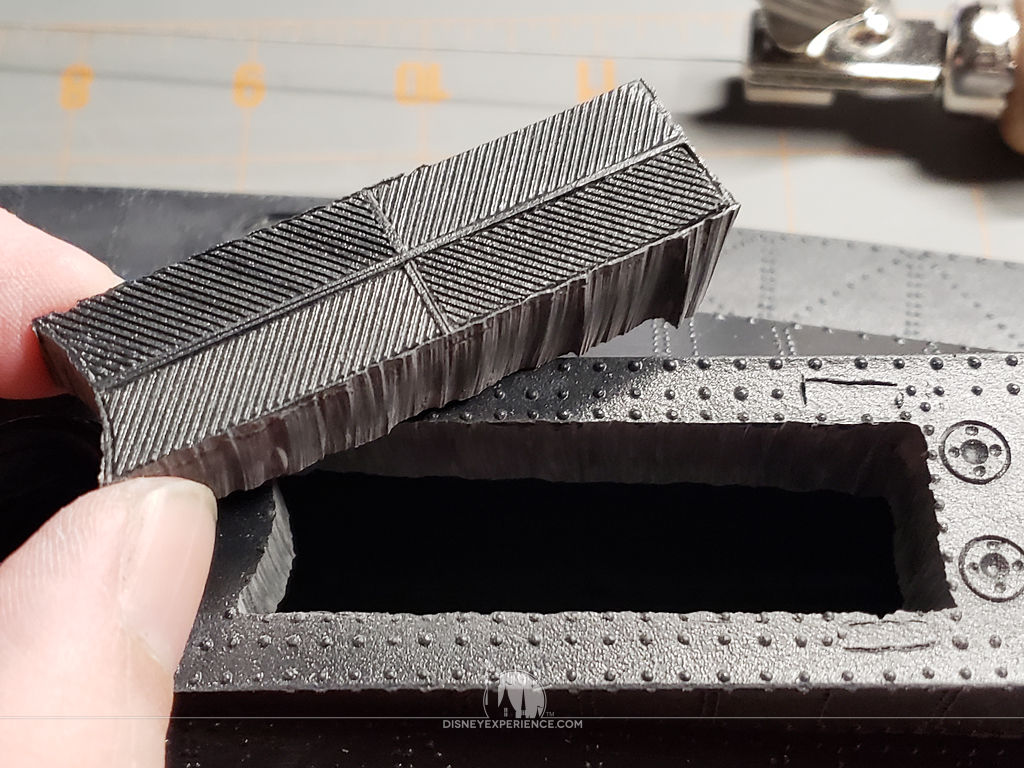

The cut is a little jagged, and the piece is thick. Let’s fix that.

I apply some CA glue & baking soda along the top edge of what will become the lid to fill in the jagged gaps. Then, I sand it down to make straight, smooth edges. I do the same for the interior of the battery compartment.
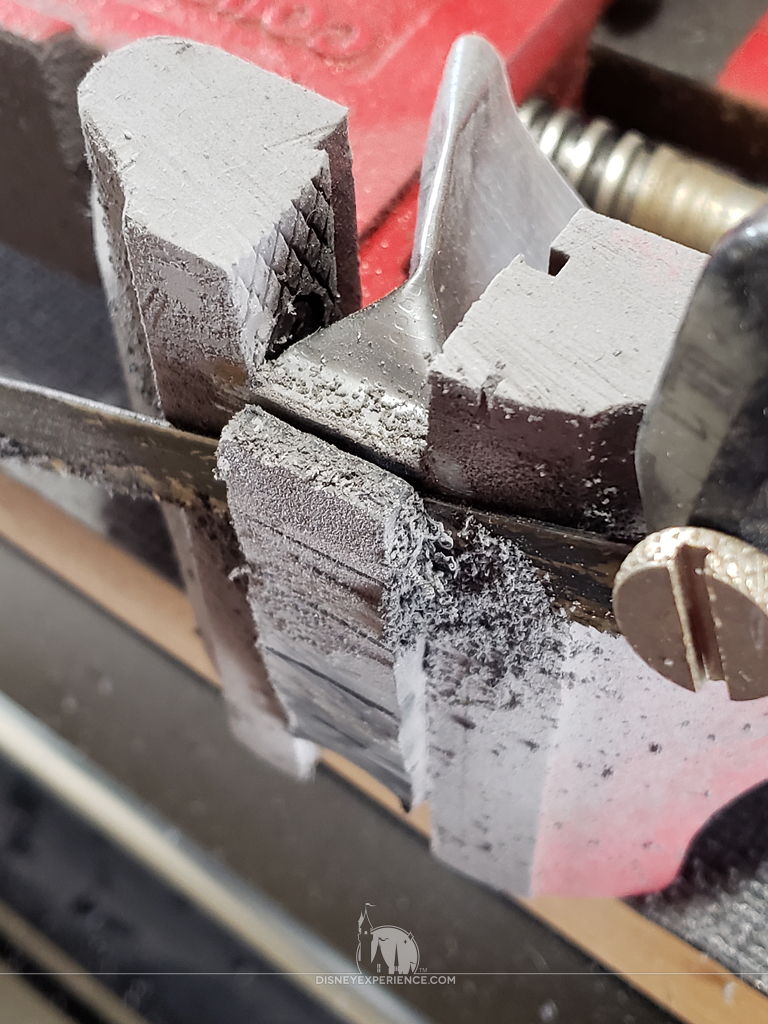
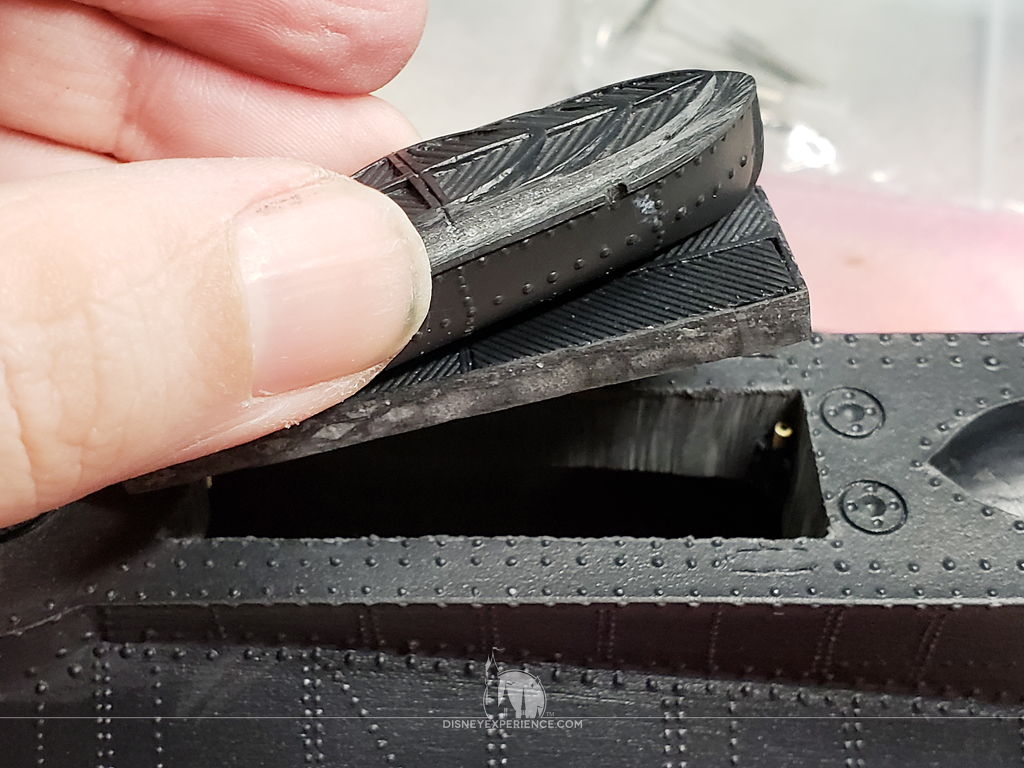
Clamping the lid within a vise, I cut off the excess material with a saw. The lid is now approximately 1/4 inch thick.
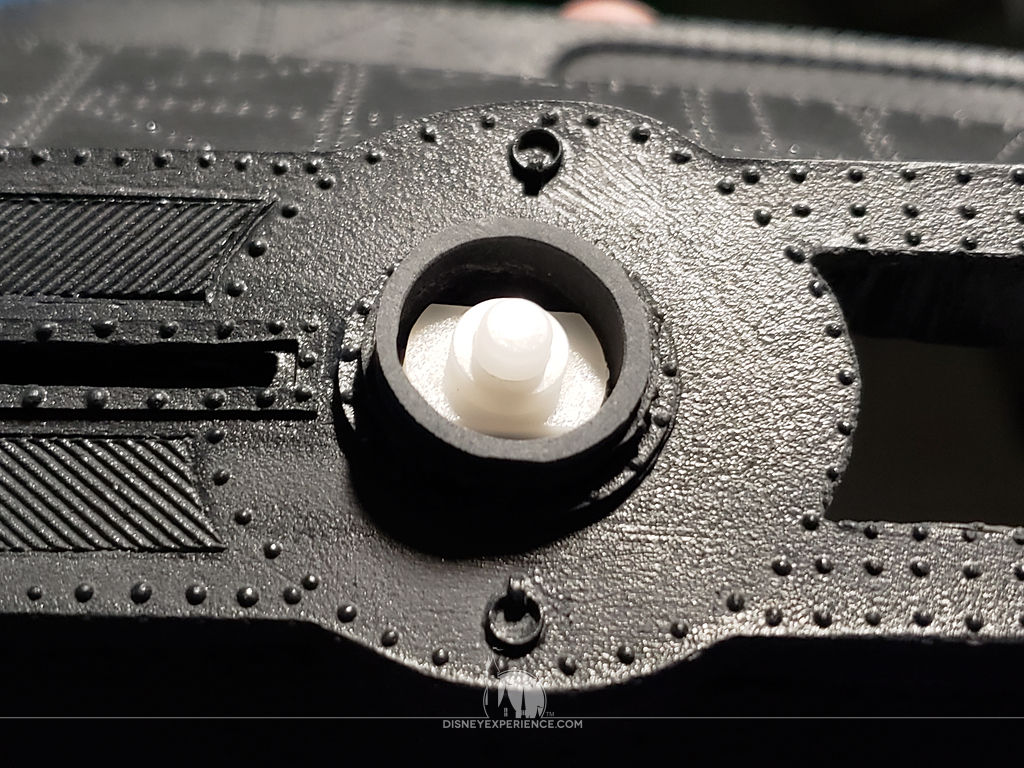
Since the lid sits flush with the deck of the Nautilus, I now have to create a way to easily remove the lid to access the battery compartment. I decide to embed a piece of metal so that the lid can be removed with a magnet.

With a multipurpose cutting bit, I mount my Dremel tool into a Dremel WorkStation. I can now use my Dremel like a mini drill press, which I use to rout out a space on the backside of the lid.
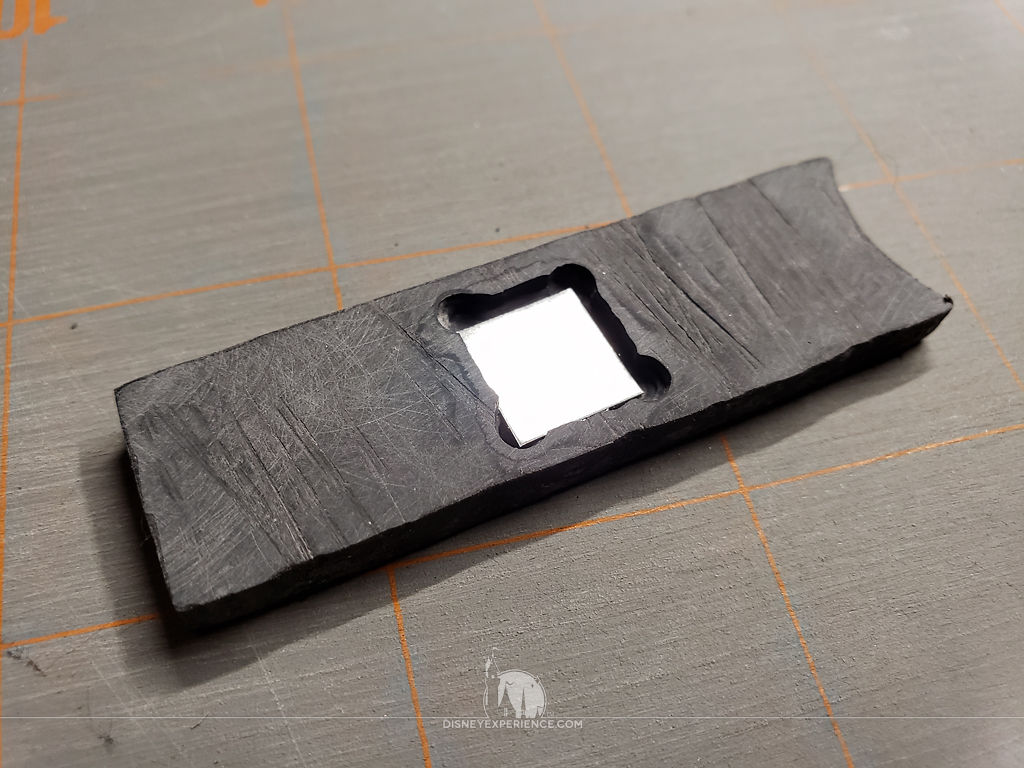
I glue a piece of sheet metal into the space, cover it with CA glue & baking soda, and sand it flush.
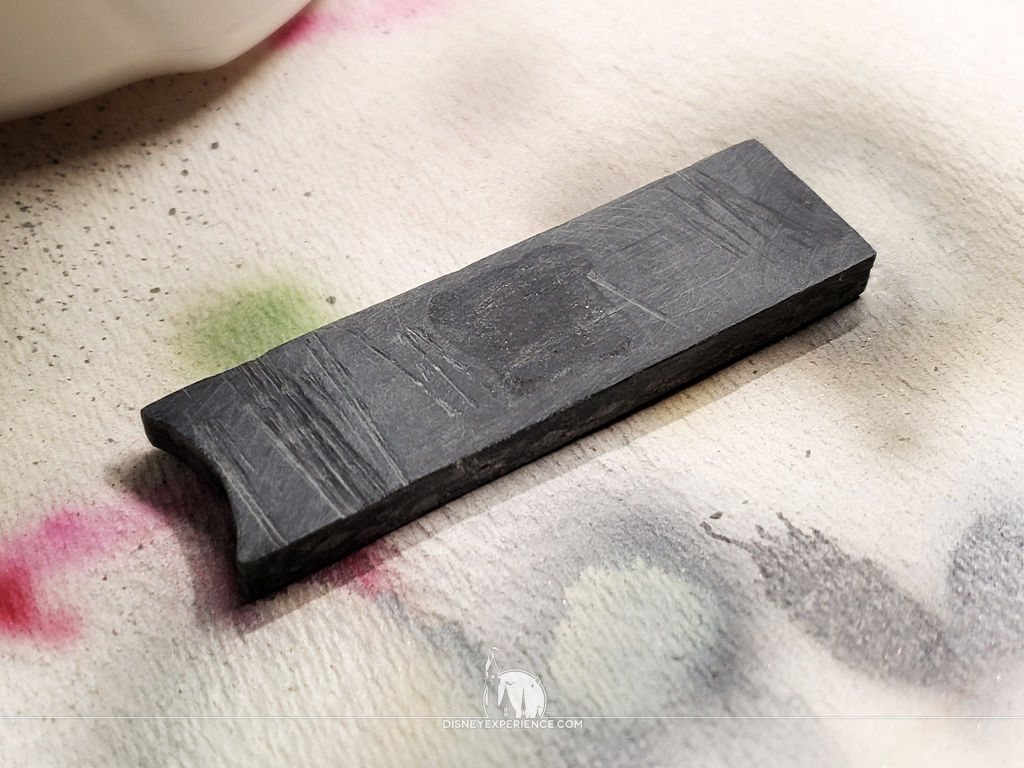
To keep the lid from falling into the battery compartment, I glue 4 short pieces of brass tubing into the corners. At the right positions, they allow the lid to sit flush with the deck of the Nautilus.

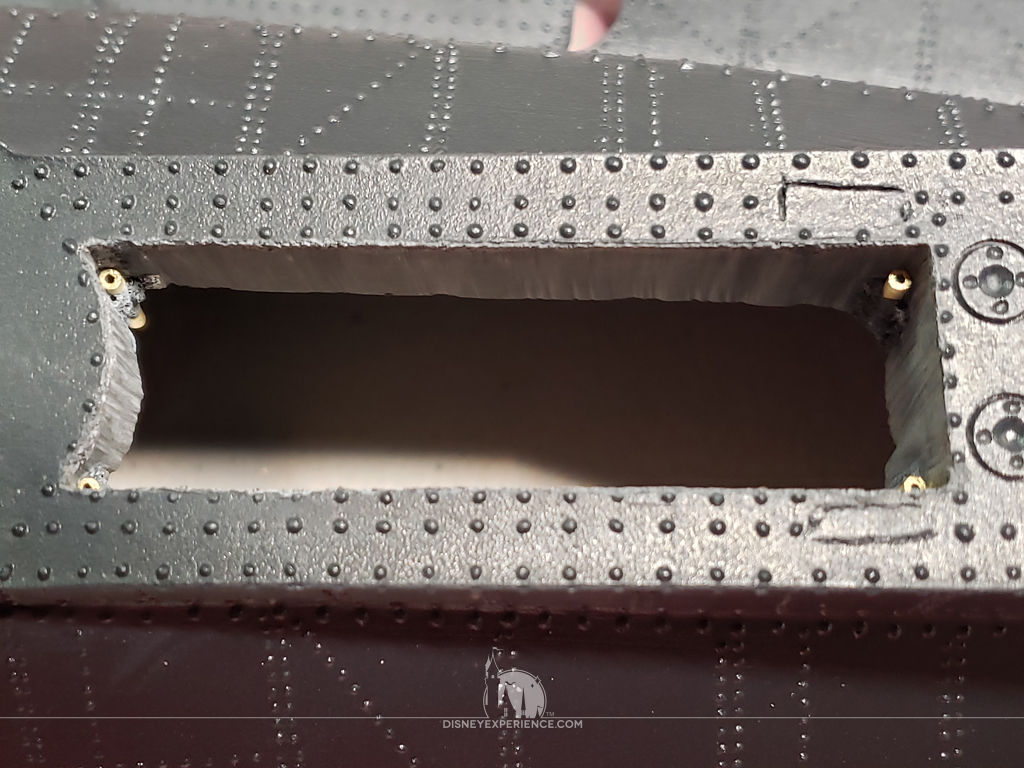
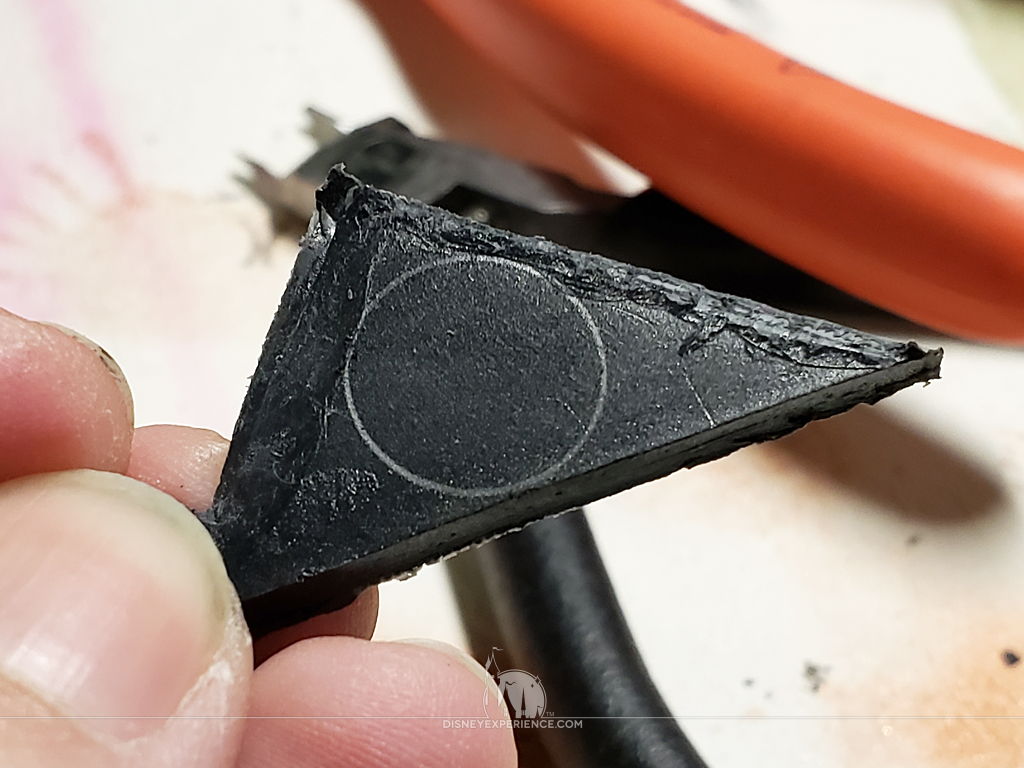
Inside the skiff, I hide 3 rare earth magnets. To make them fit, I carve out the insides of both the skiff and the skiff’s cover. The skiff now acts as a tool to remove the battery compartment lid.
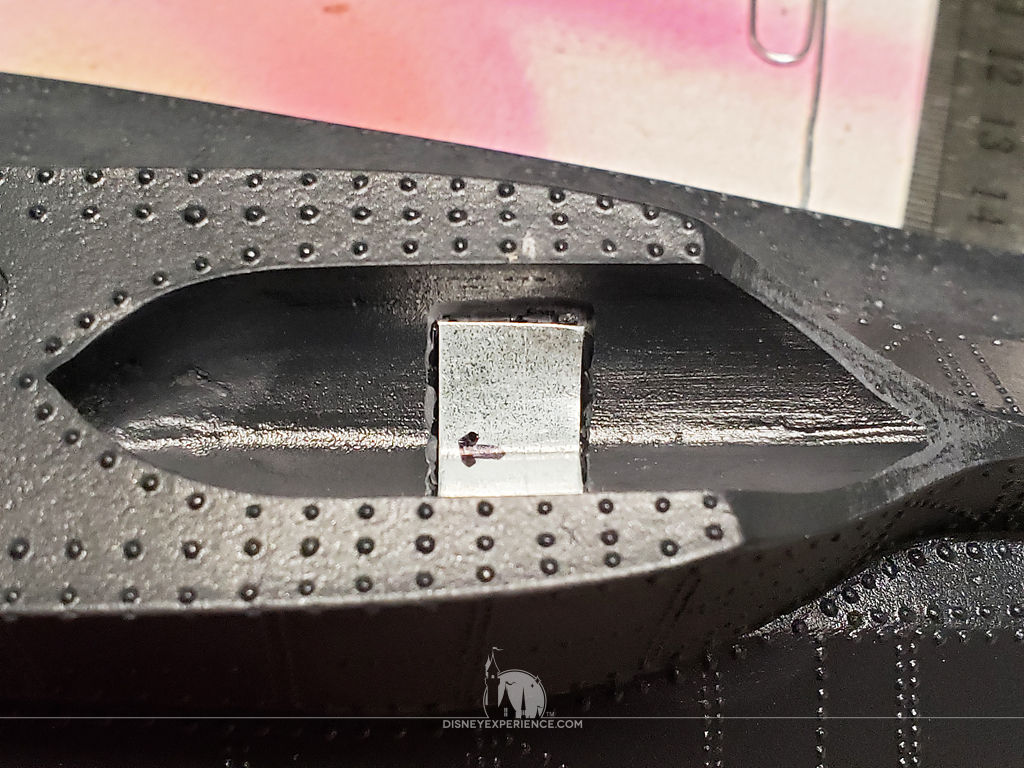
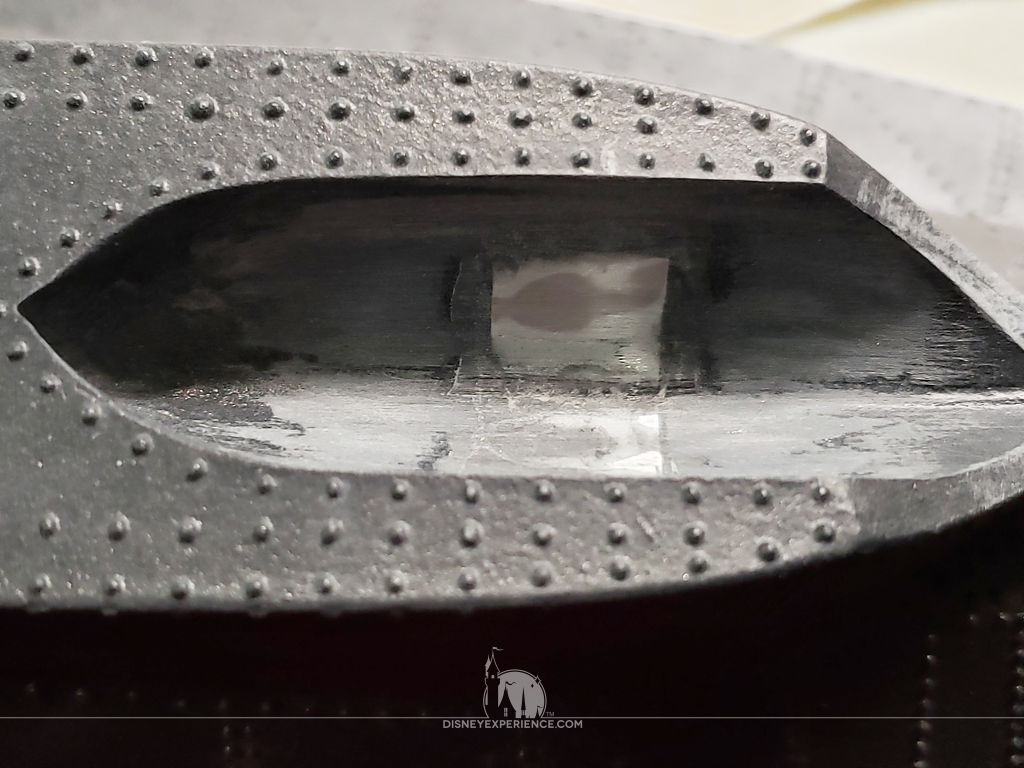
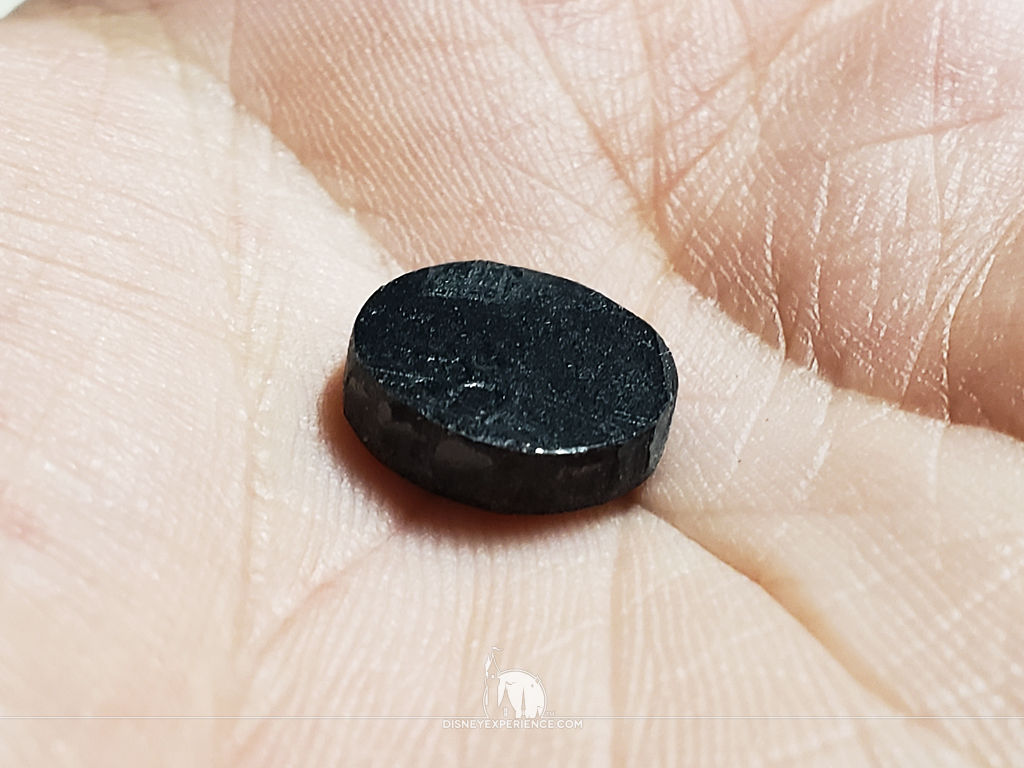
To make the skiff removable, I carve out a space within the skiff bay and glue a shaped piece of sheet metal inside. I cover it with CA glue & baking soda, and I sand it flush with the rest of the skiff bay. The skiff can now be magnetically secured after use.
The Power Switch
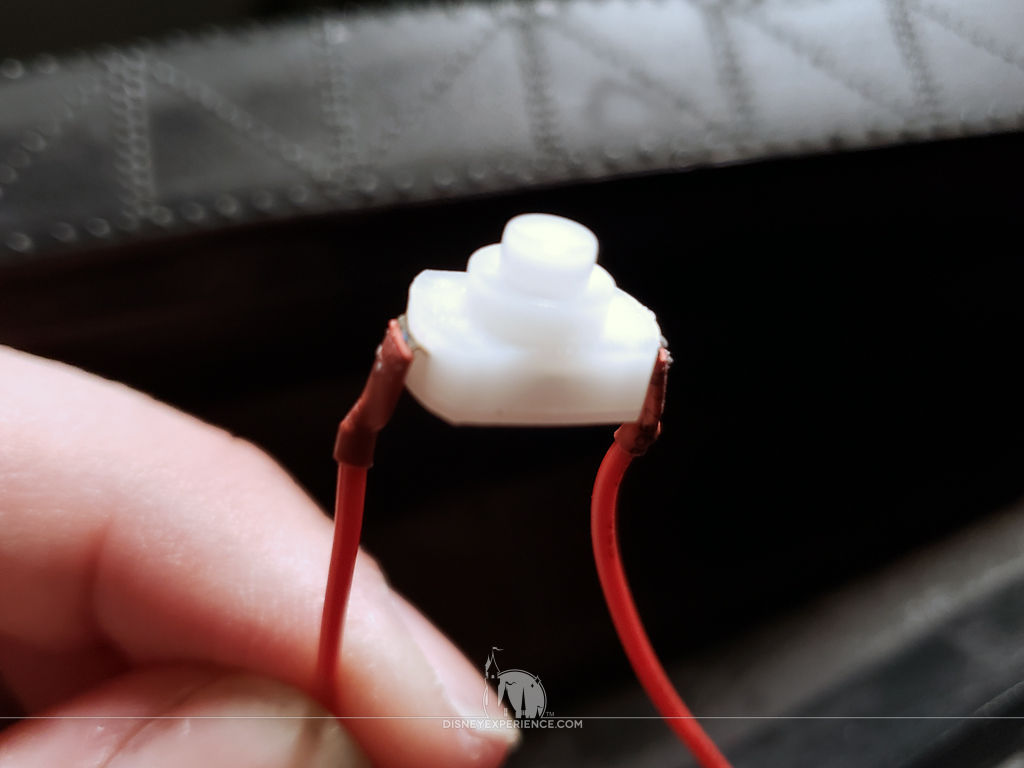
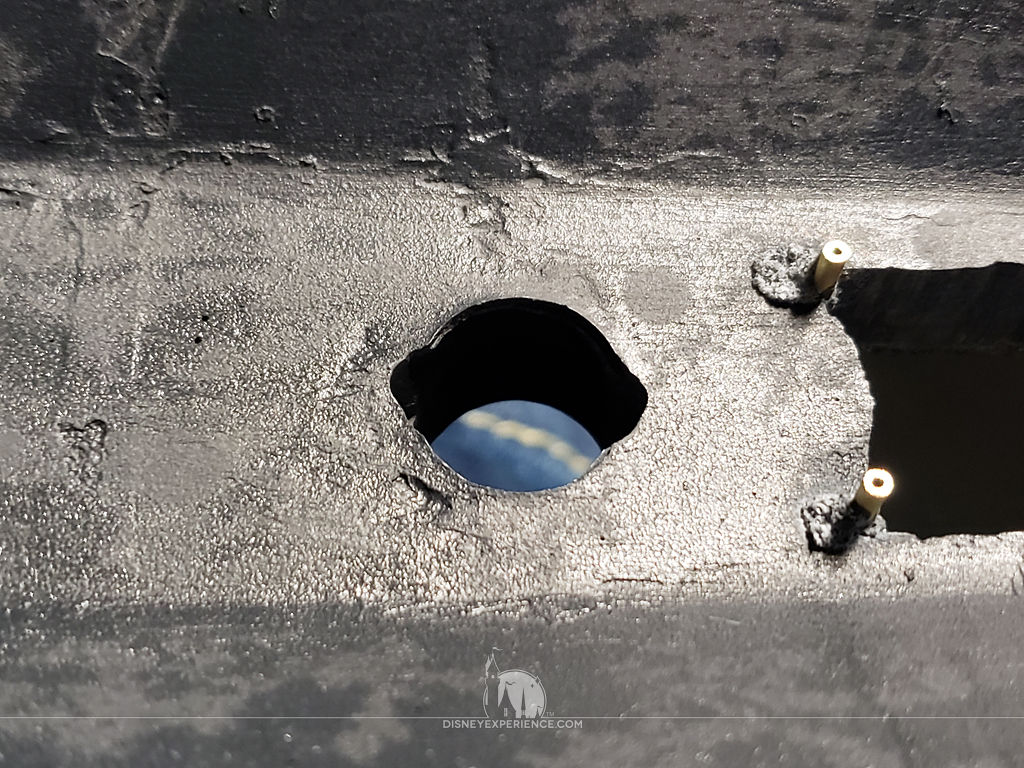
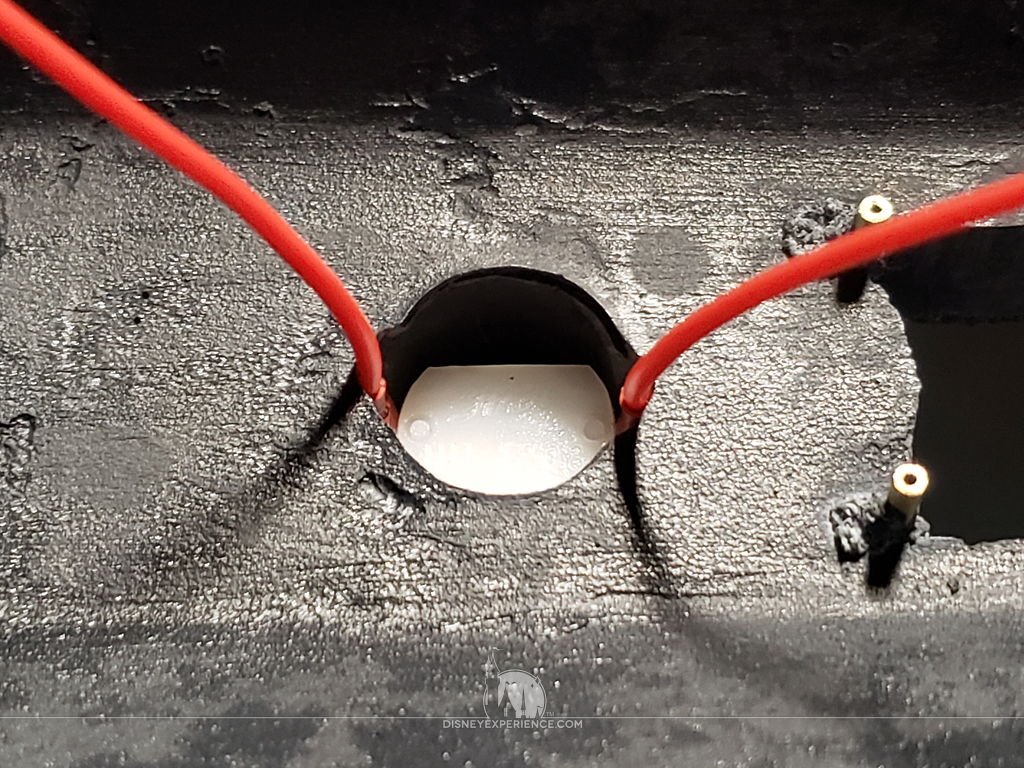
The power switch that is connected to the 9-volt battery snap is just the right size to insert into the dorsal fin hatch. I carefully bend the wires 90 degrees, and I carve out a little extra space within the hatch to make room for the wires. The fit is right, and the switch is easily accessible.
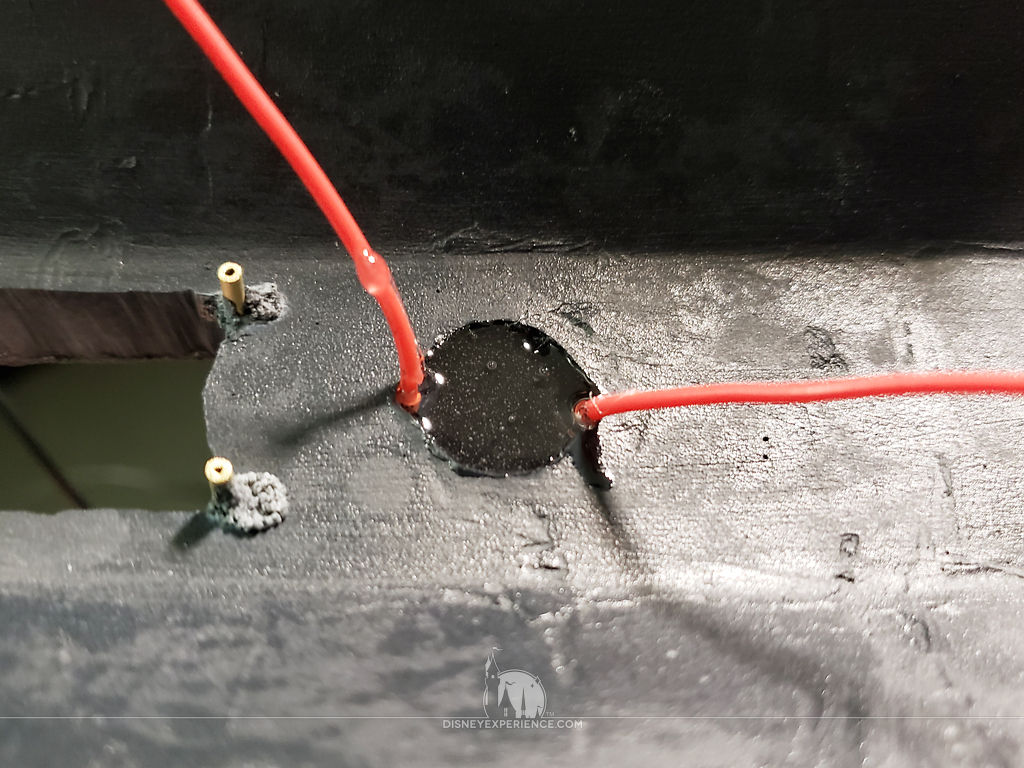
To keep the switch inside of the hatch, I cut a plug from the spare piece of resin that came off of the Nautilus’ tail section. The plug is temporarily glued into place to keep the switch at the correct depth. Then, I fill the rest of the hole with E6000. When hardened, the glue will provide plenty of strength to withstand repetitious button pressing for years to come.
I assemble the remaining two hatches and attach the large hatch to the dorsal fin with a piece of brass rod.

The dorsal fin is glued into place, and the hatch now disguises the power switch perfectly.
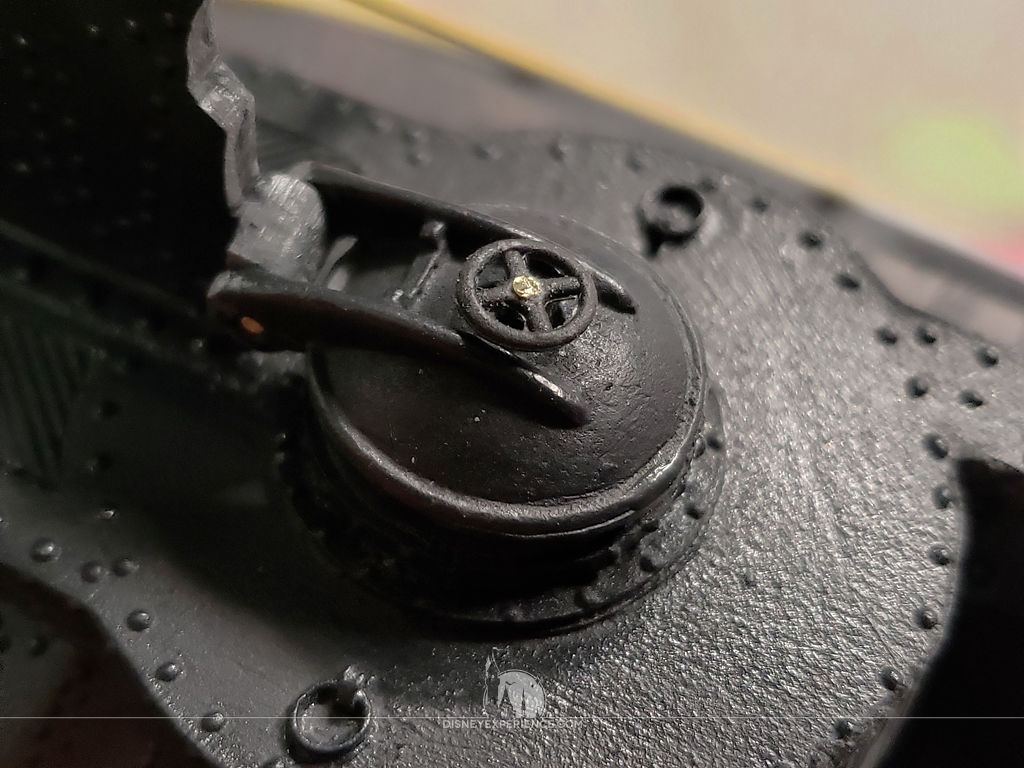
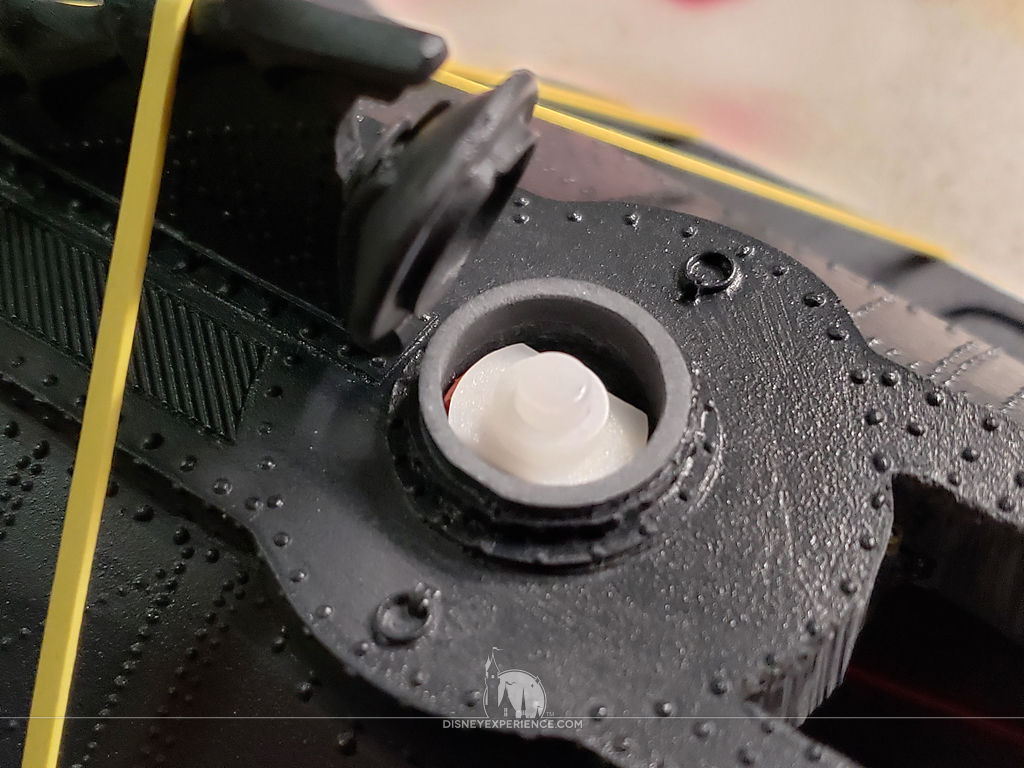
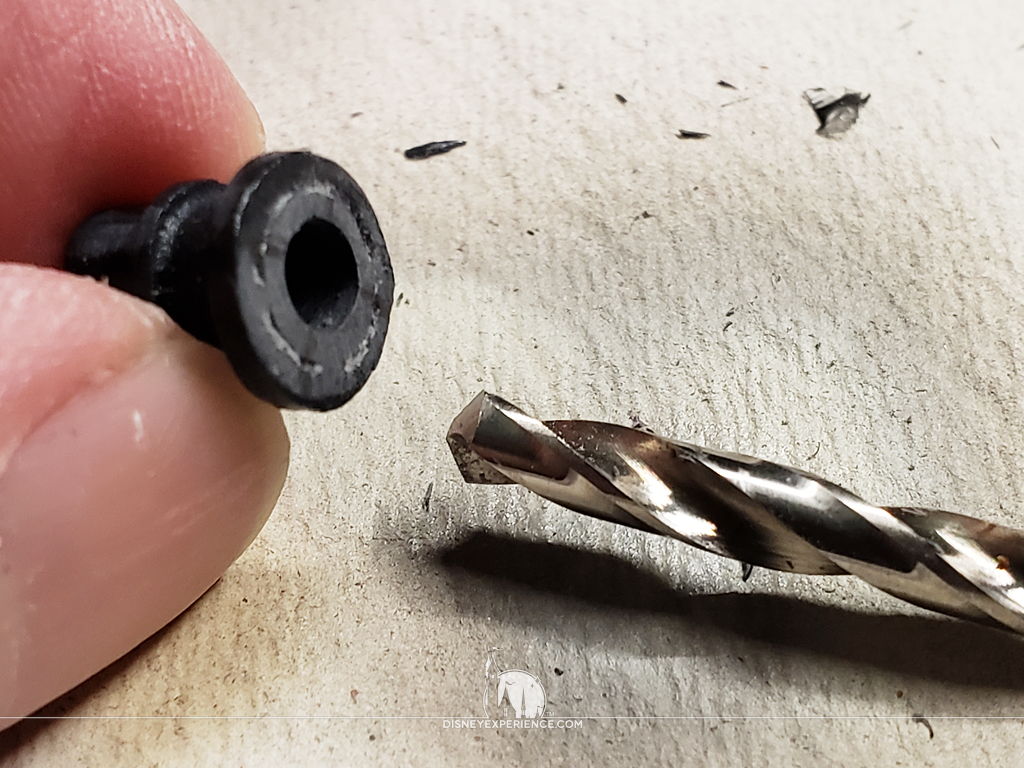
During my build, I was continually having problems with the hatch wheels breaking off. So, I took a moment to pin all three hatch wheels using pieces of brass rod for secure connections.
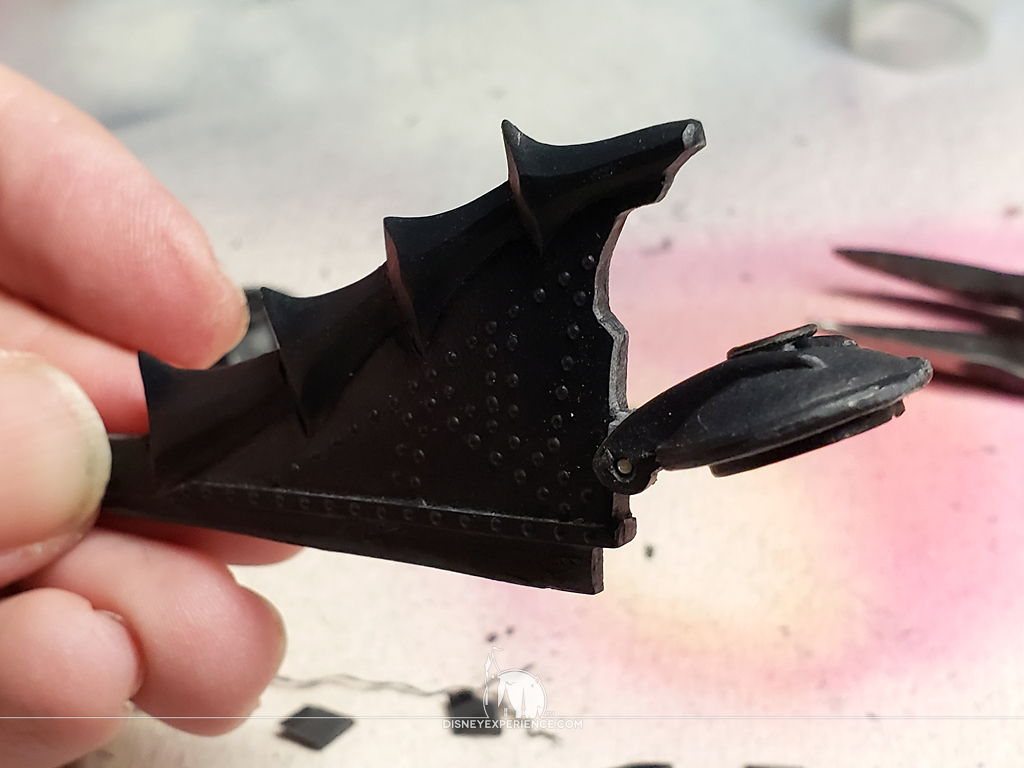
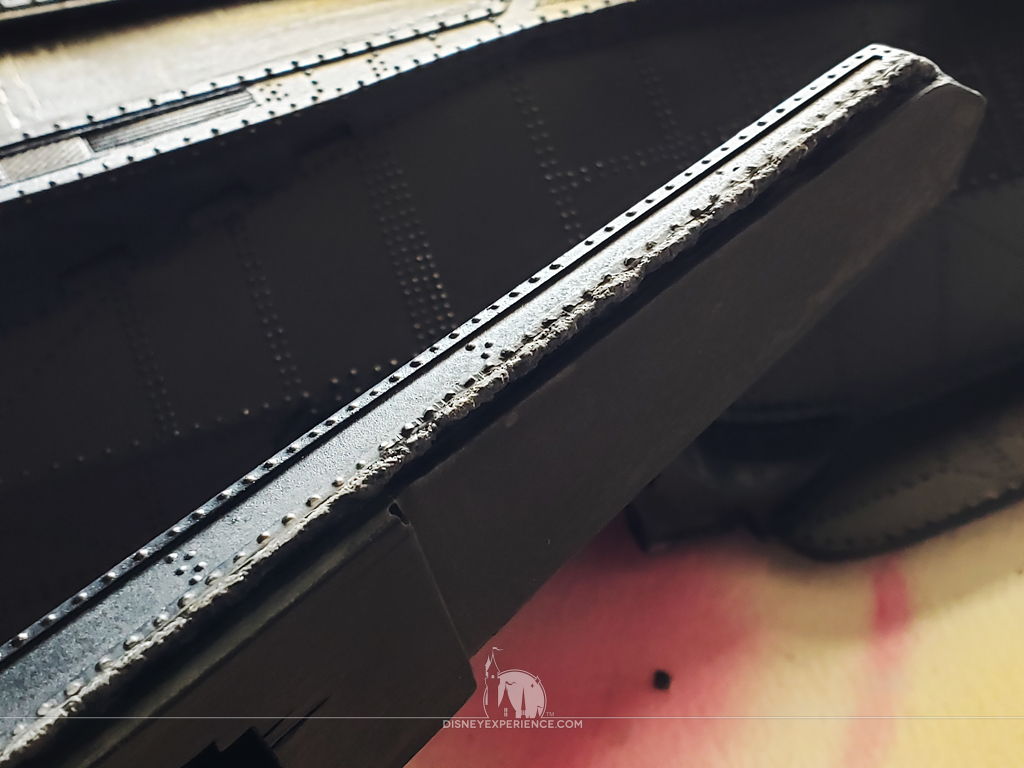
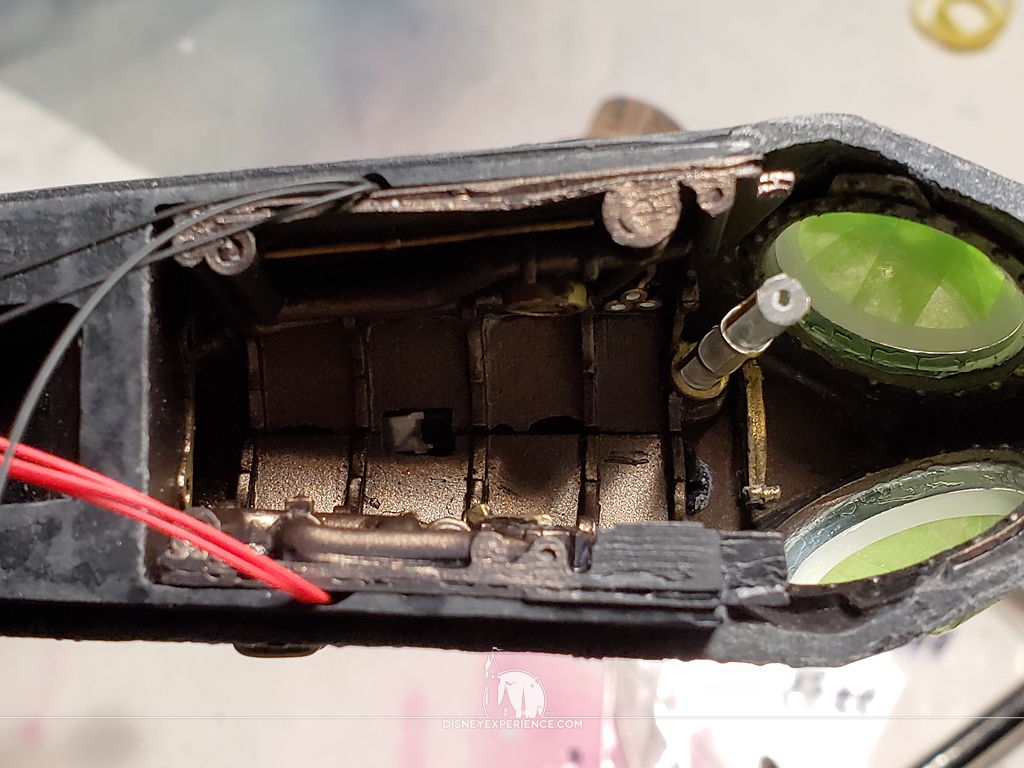
The Upper Hull & the Wheelhouse

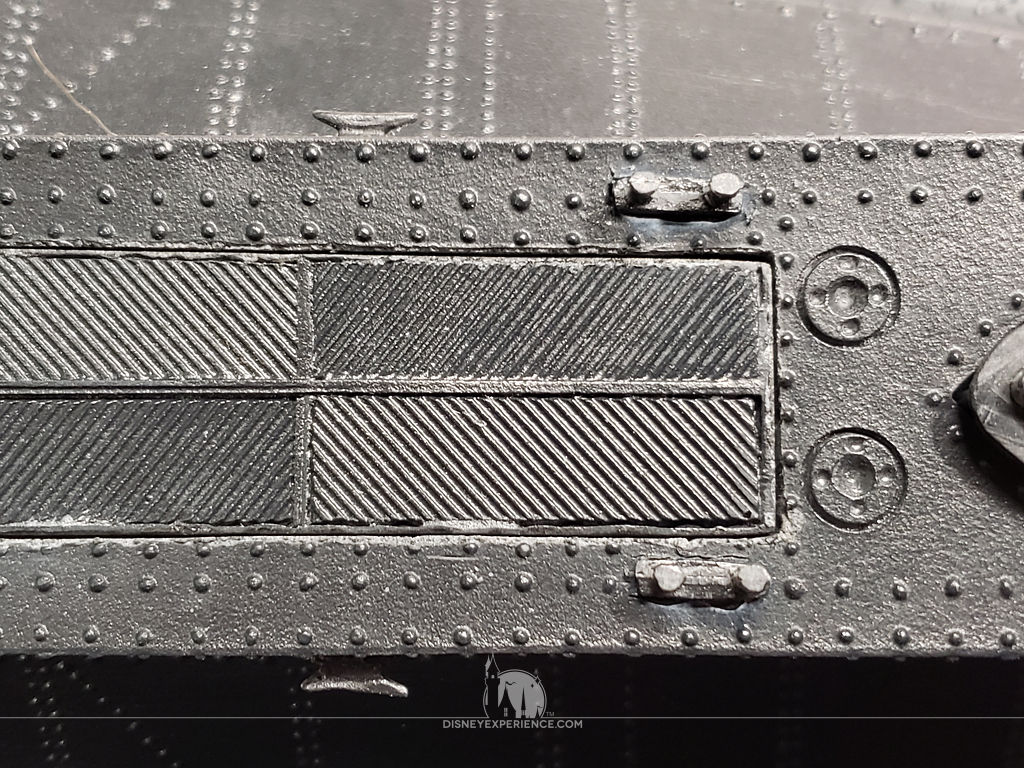

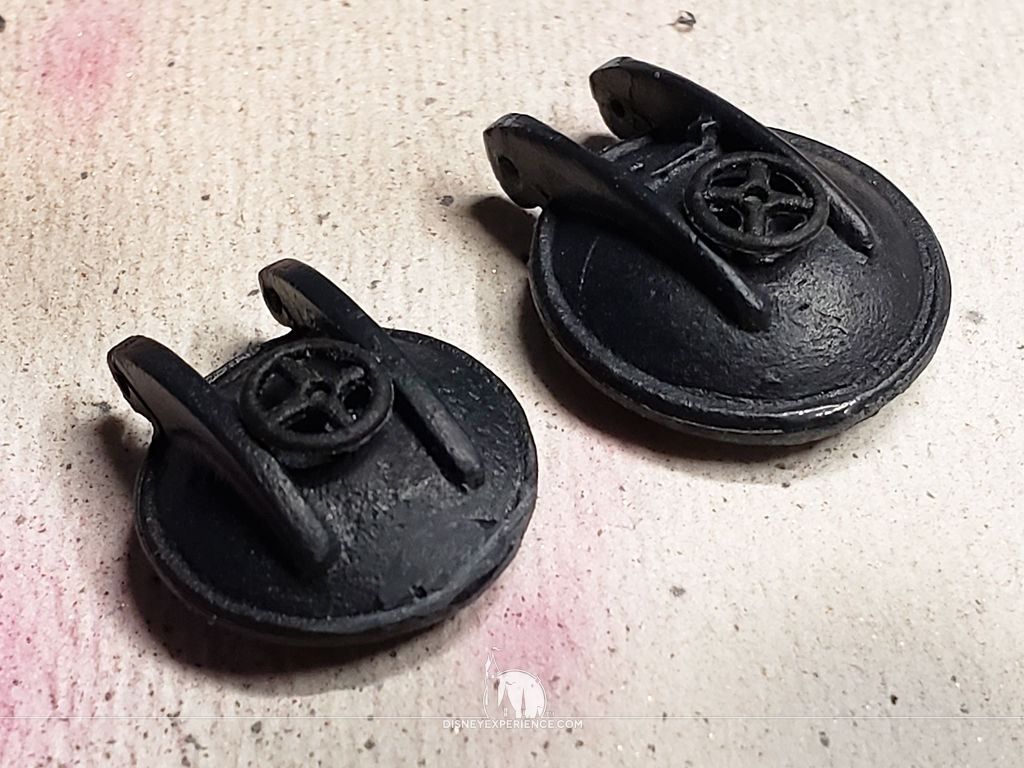
The cleats and bollards are tiny, but important details that attach to the hull.
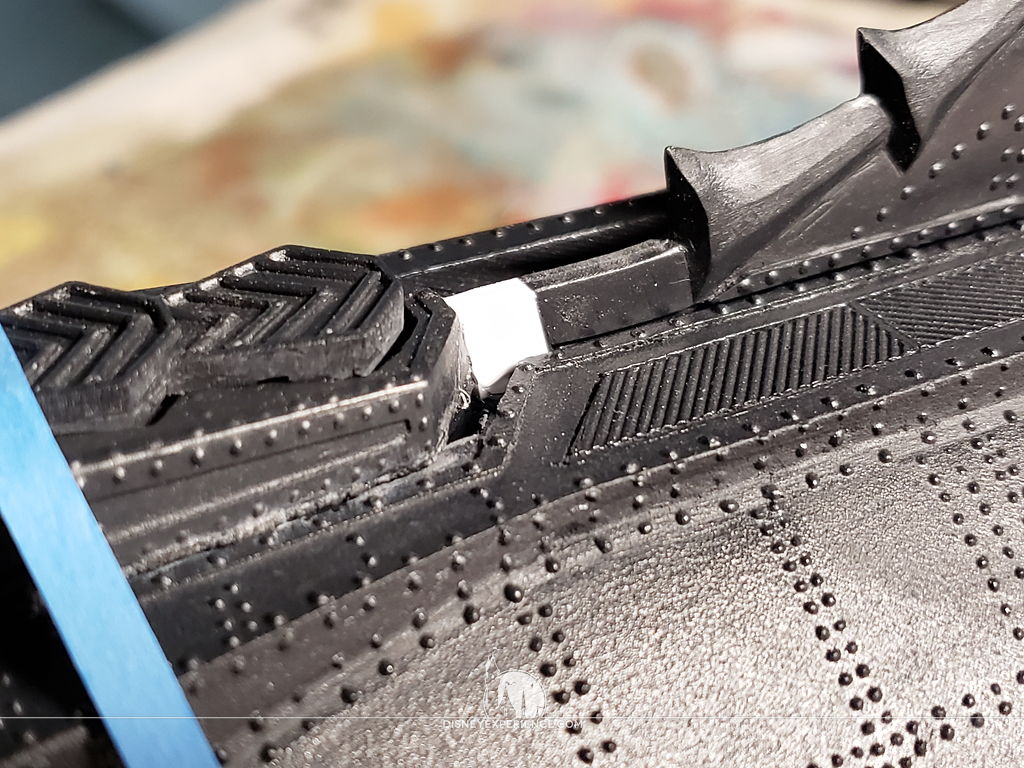
In test fitting the wheelhouse, the rear section has a gap. I fill the gap by building up CA glue & baking soda.
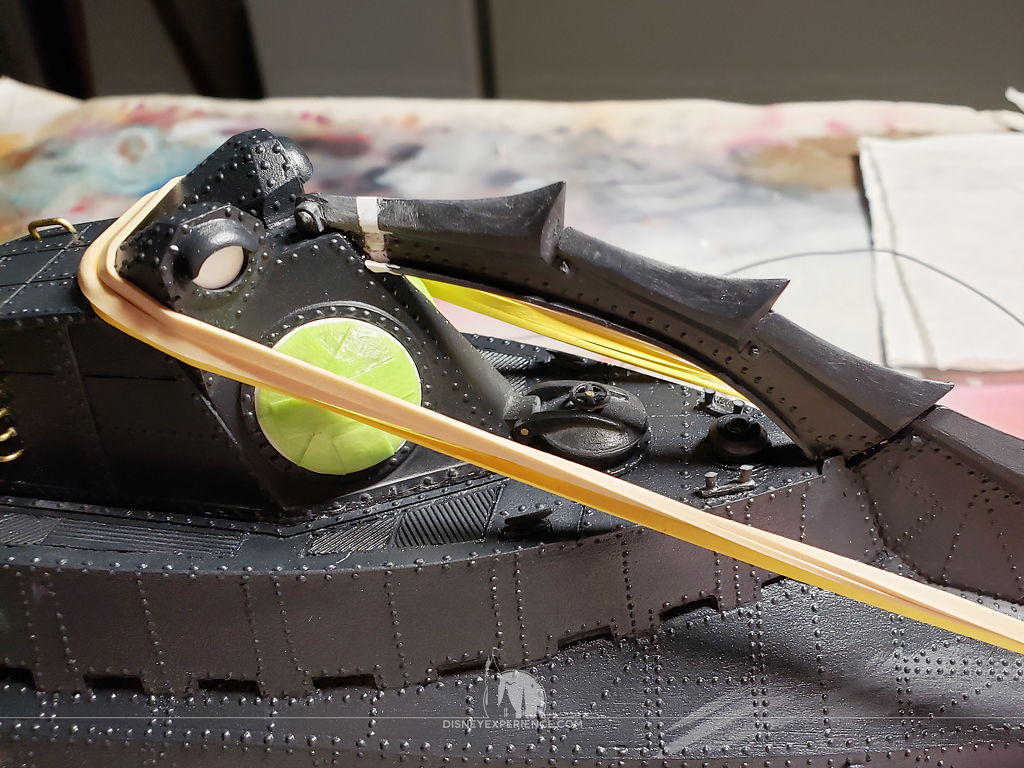
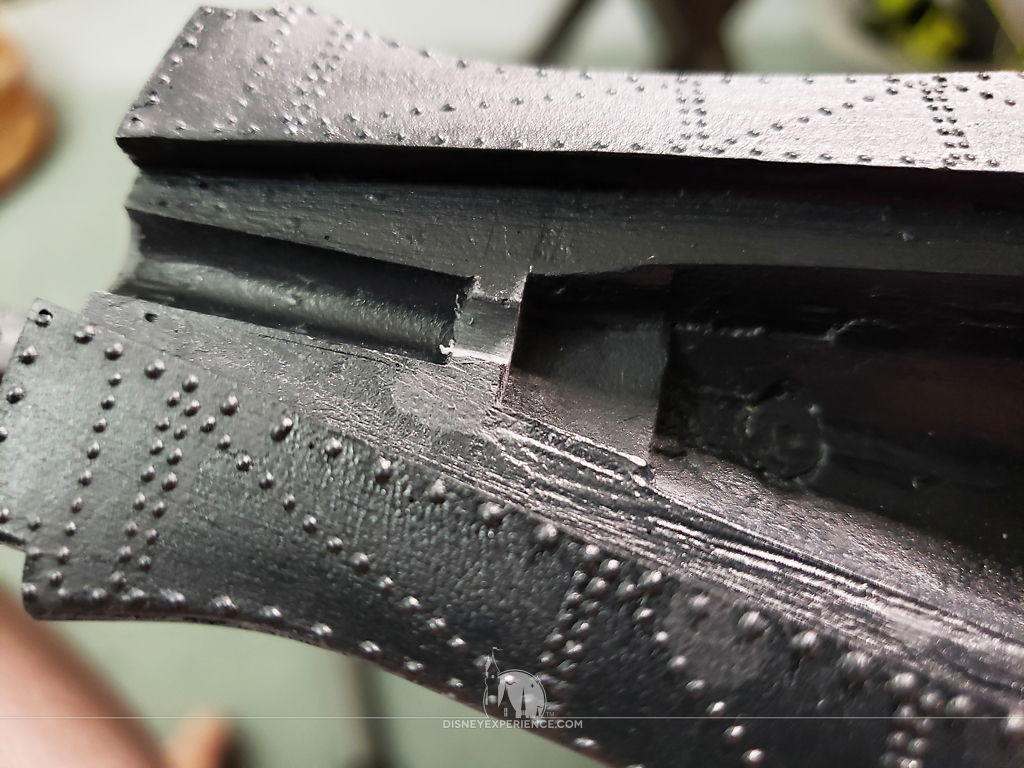
In test fitting the tooth fin, there is a gap where it is supposed to connect to the wheelhouse. I’ve read that shrinkage is a common problem with resin kits.
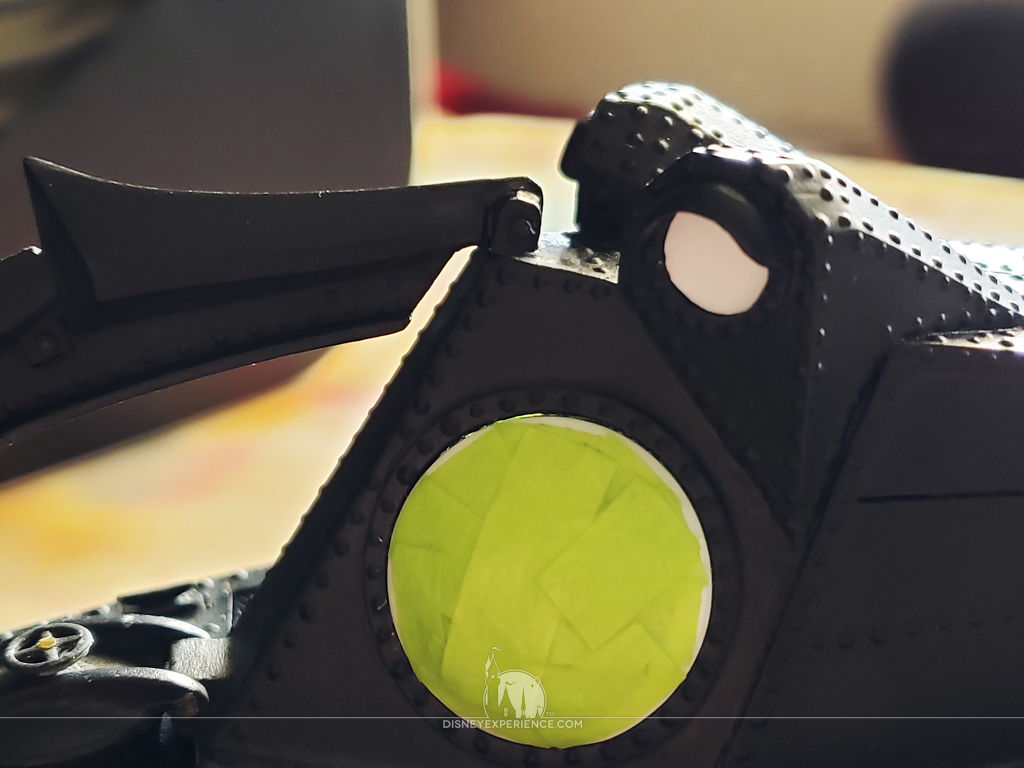
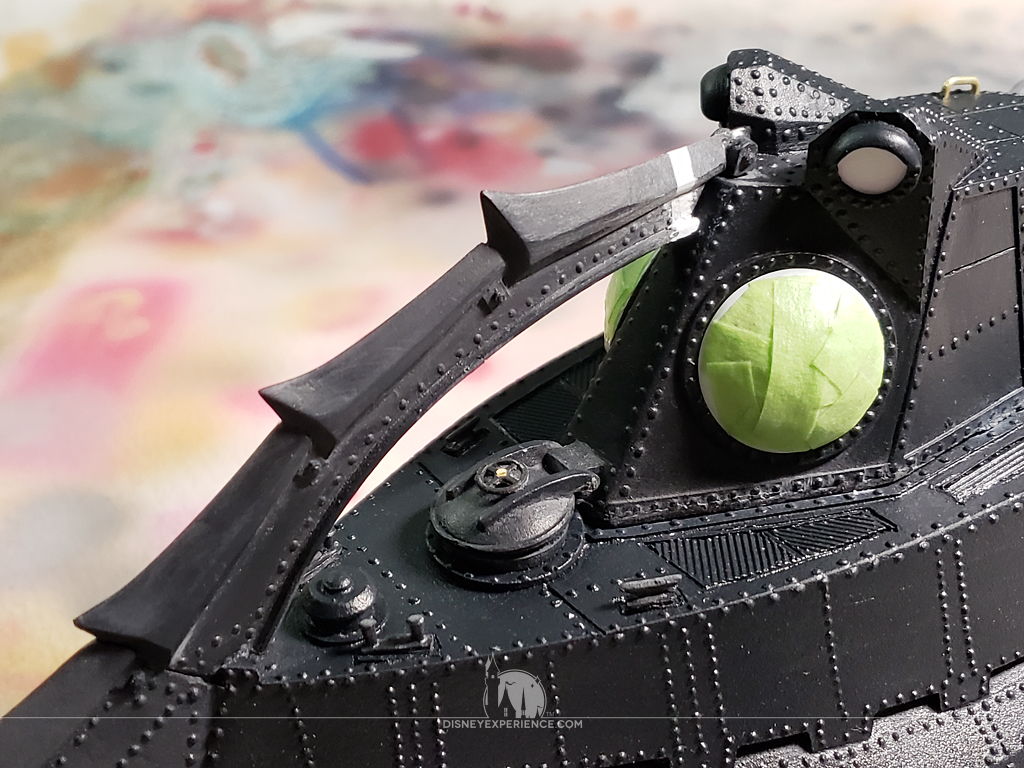
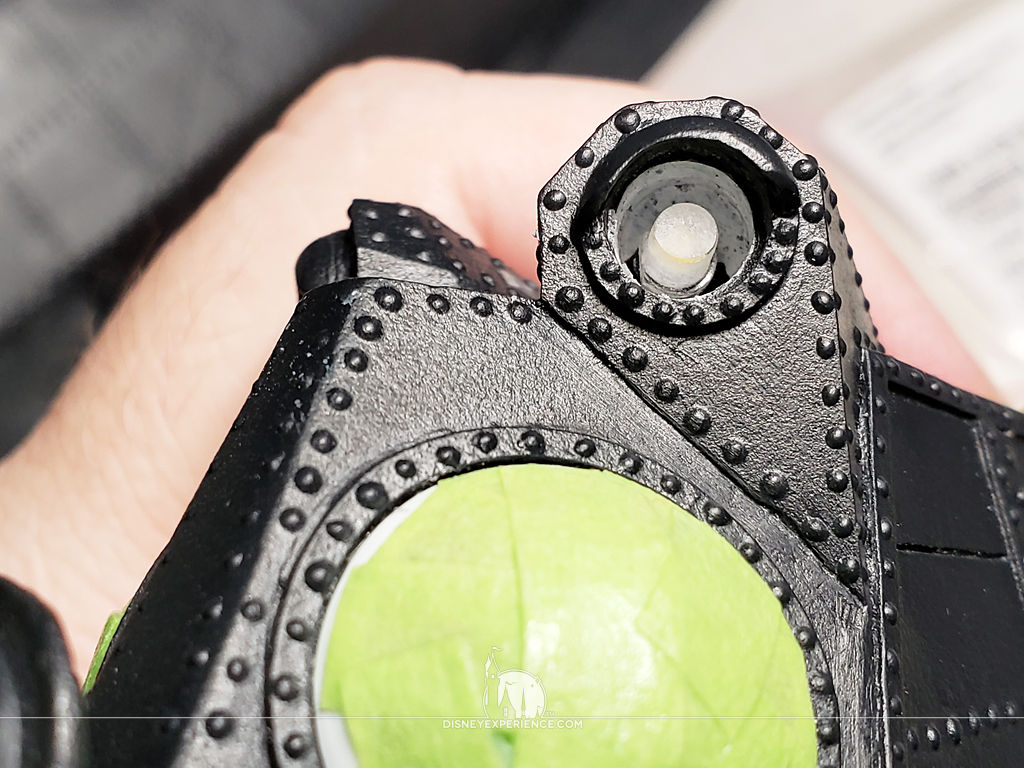
Note that I also take the time to cut out cardstock discs to mask the insides of the alligator eyes.
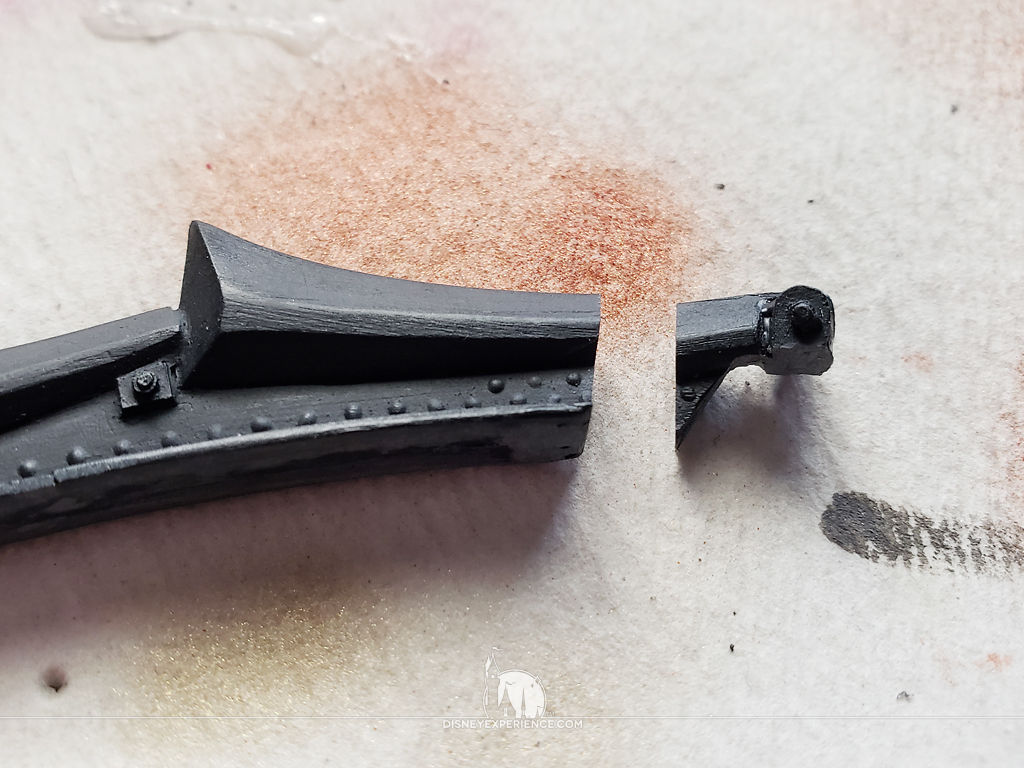
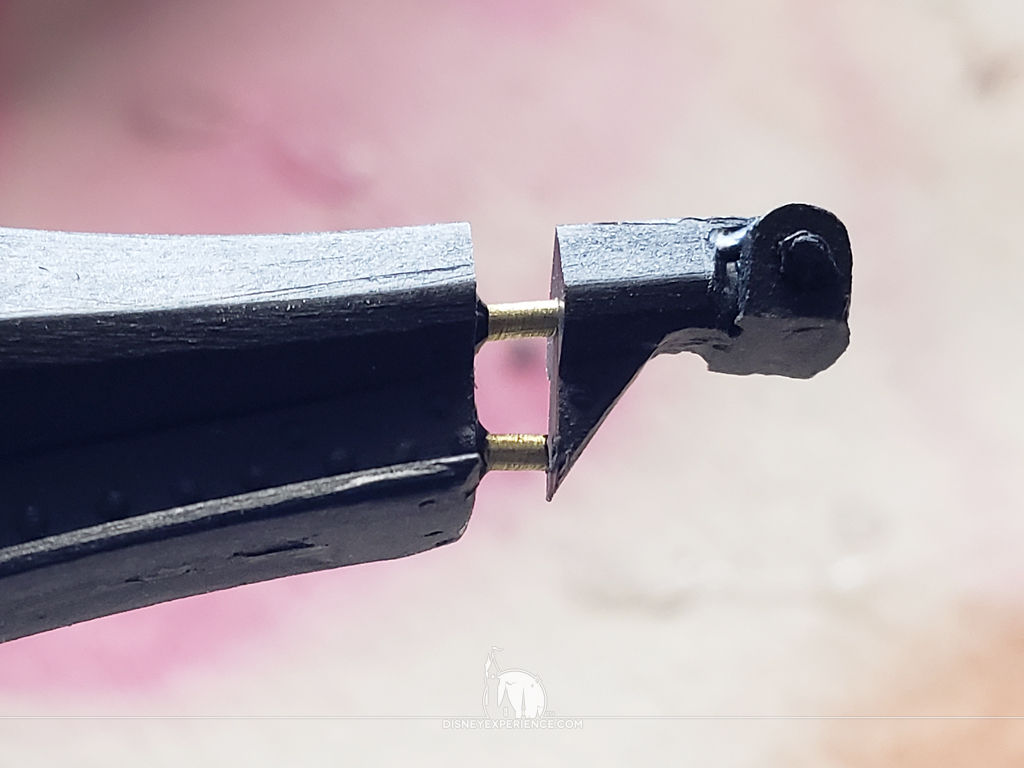
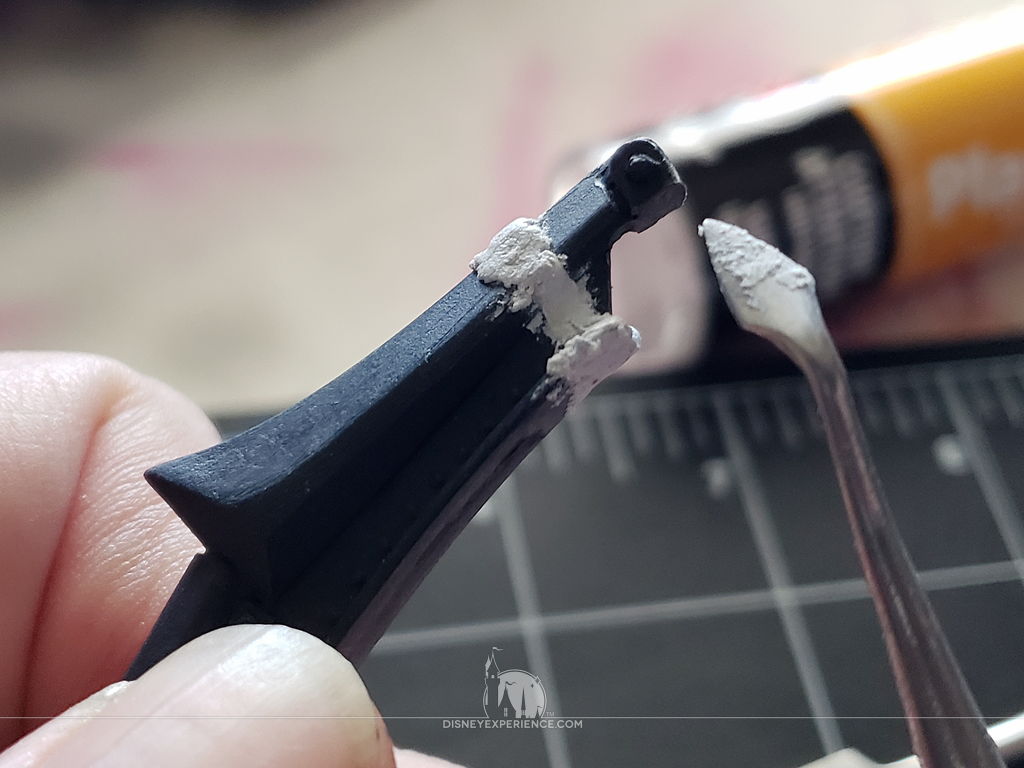
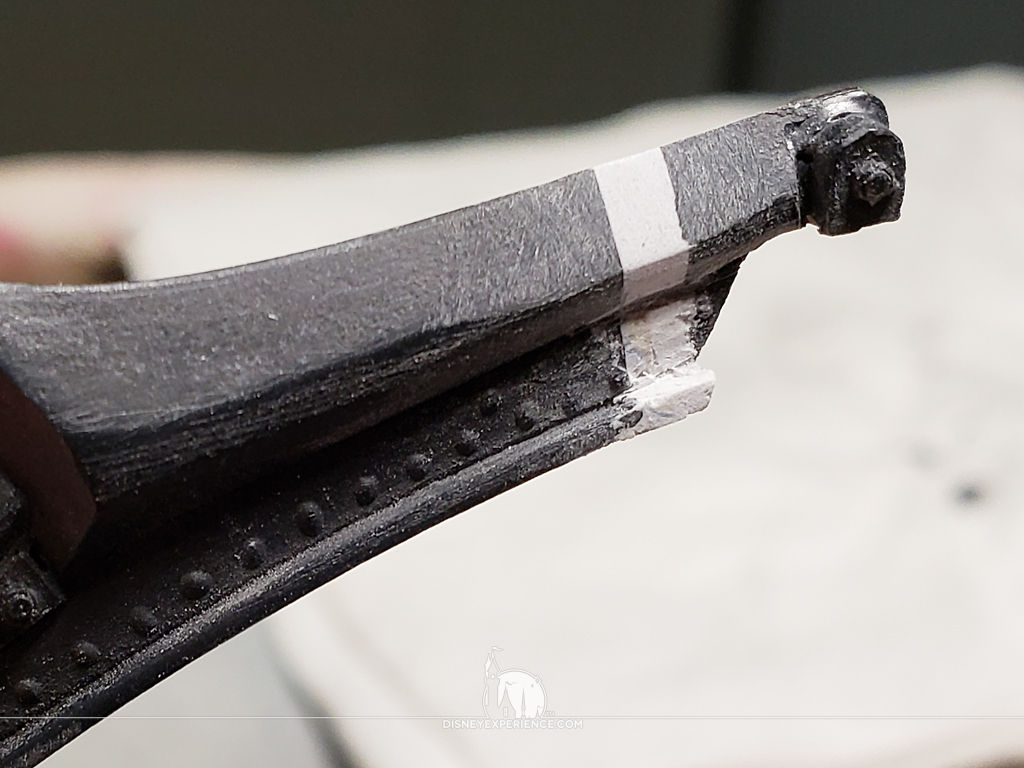
The tooth fin is cut using a razor saw and pinned with some pieces of brass rod. The rods expand the tooth fin to the correct length.
PlasticWeld is filled into the tooth fin’s gap, it’s shaped, and it’s sanded to create a seamless bridge. The tooth fin now fits perfectly.
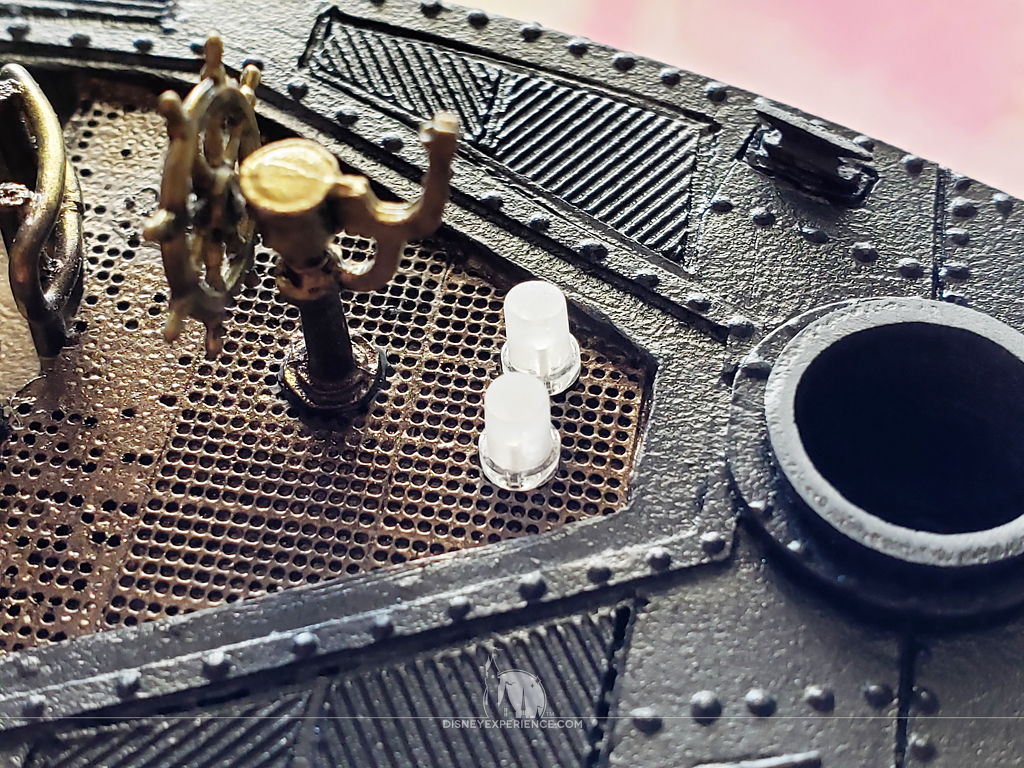
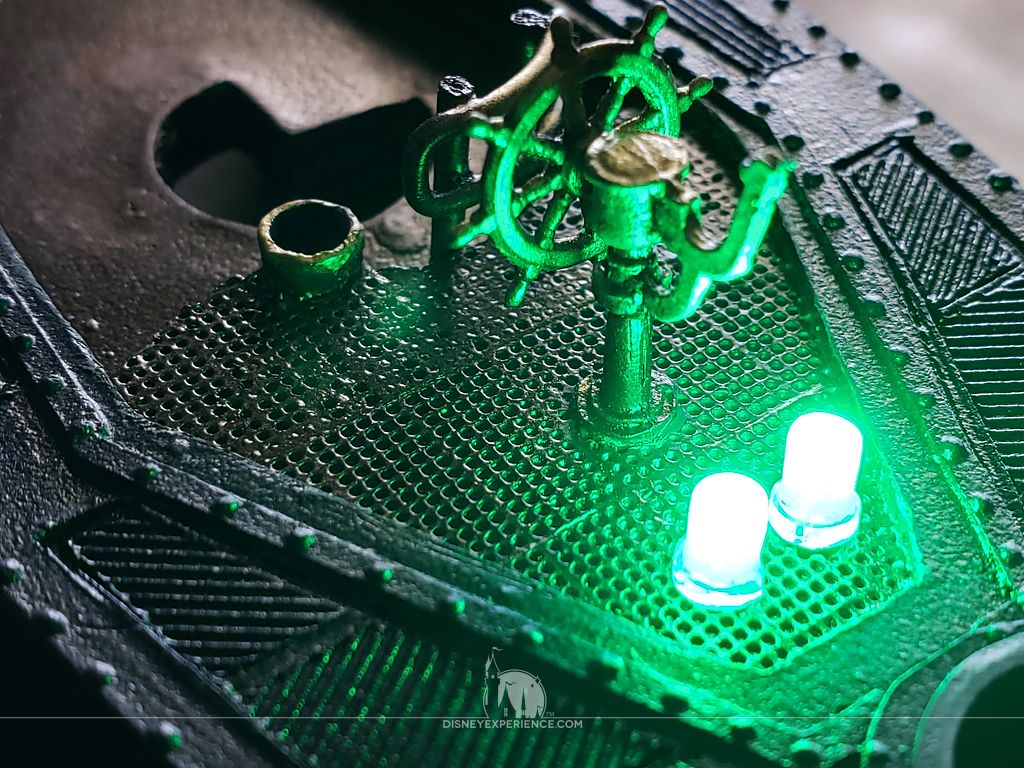
Prior to the installation of the green LEDs, I sand the tops of them flat and scuff up the sides. This makes the lights emit a soft, diffused glow.

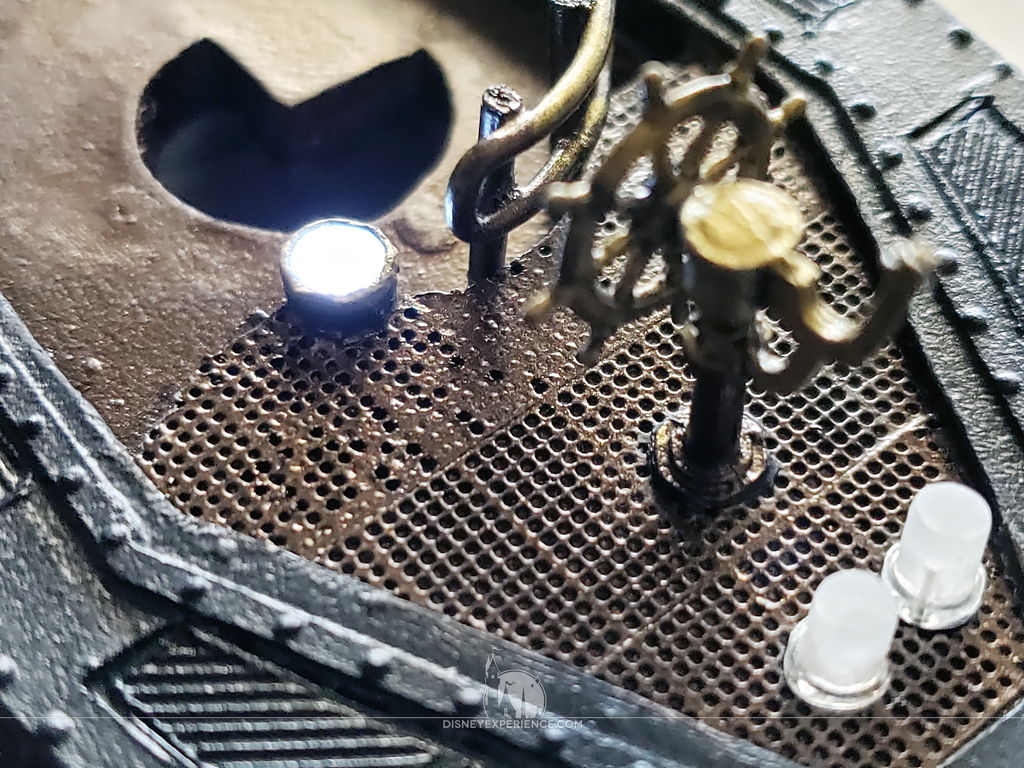
I do the same to the float tube LED, which is glued from underneath.
For the wheelhouse light, I sand a warm white LED flat and glue it into the ceiling of the wheelhouse. The wires are crudely routed, though not glued into place just yet.
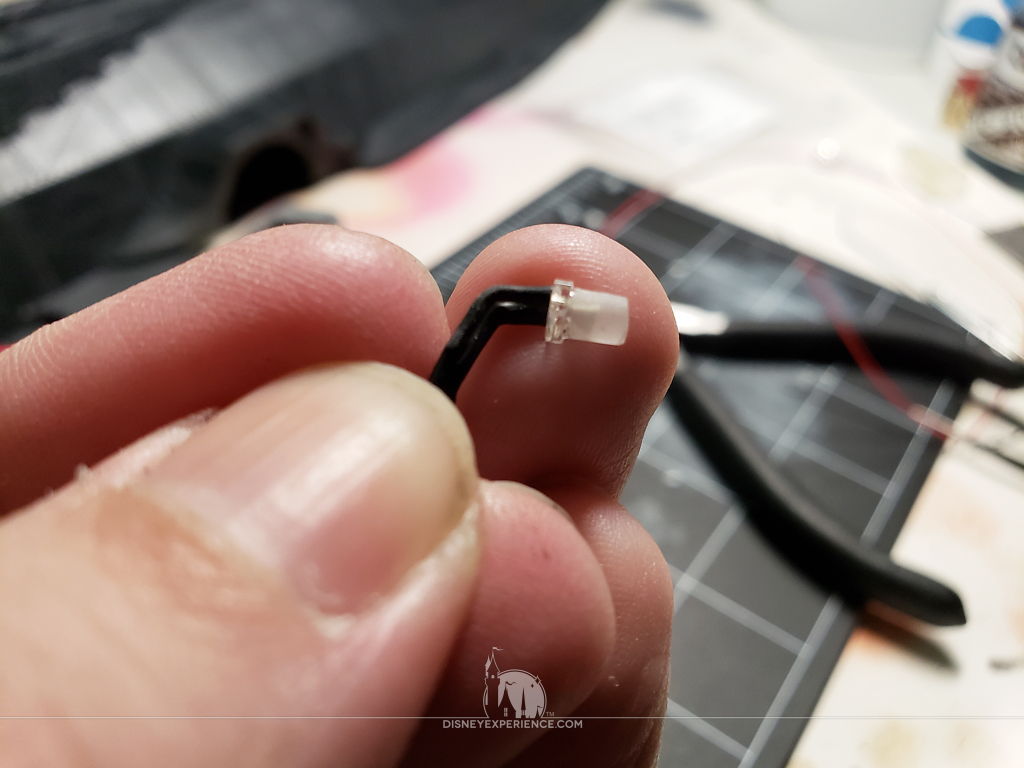
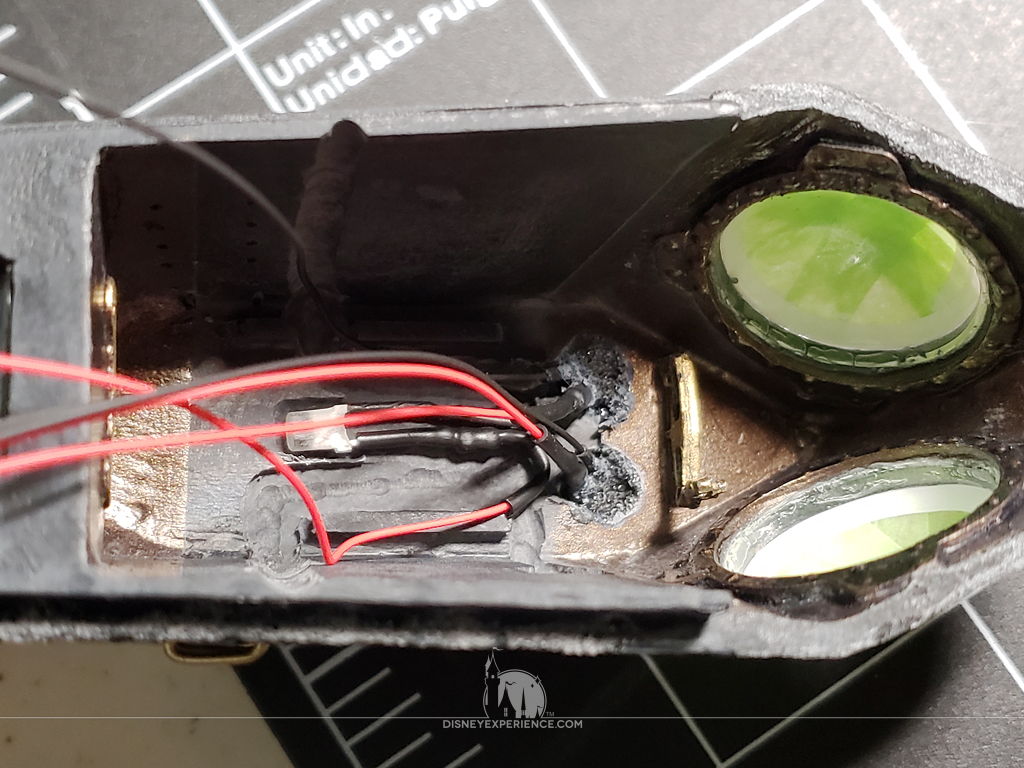
The wires of the alligator eye LEDs are carefully bent, and they are glued inside of the sockets. Again, all LEDs are flattened and sanded to diffuse the light.
Inside of the wheelhouse, I fill the sockets with a buildup of CA glue & baking soda to prevent any of the light from the alligator eyes from leaking into the wheelhouse.
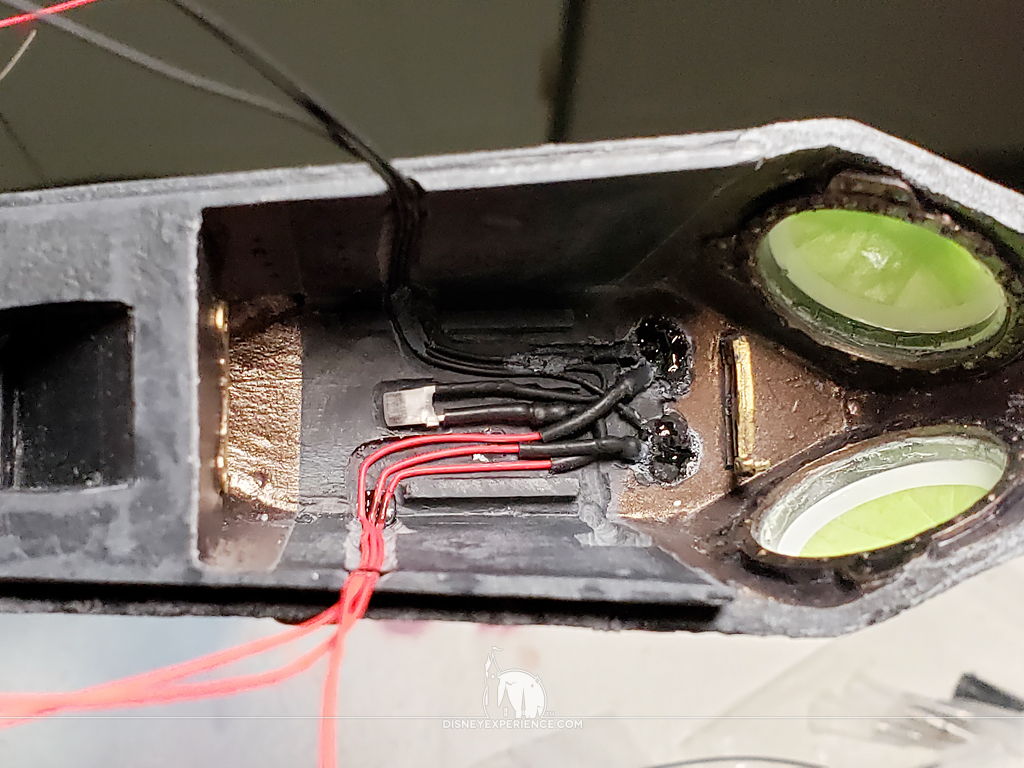
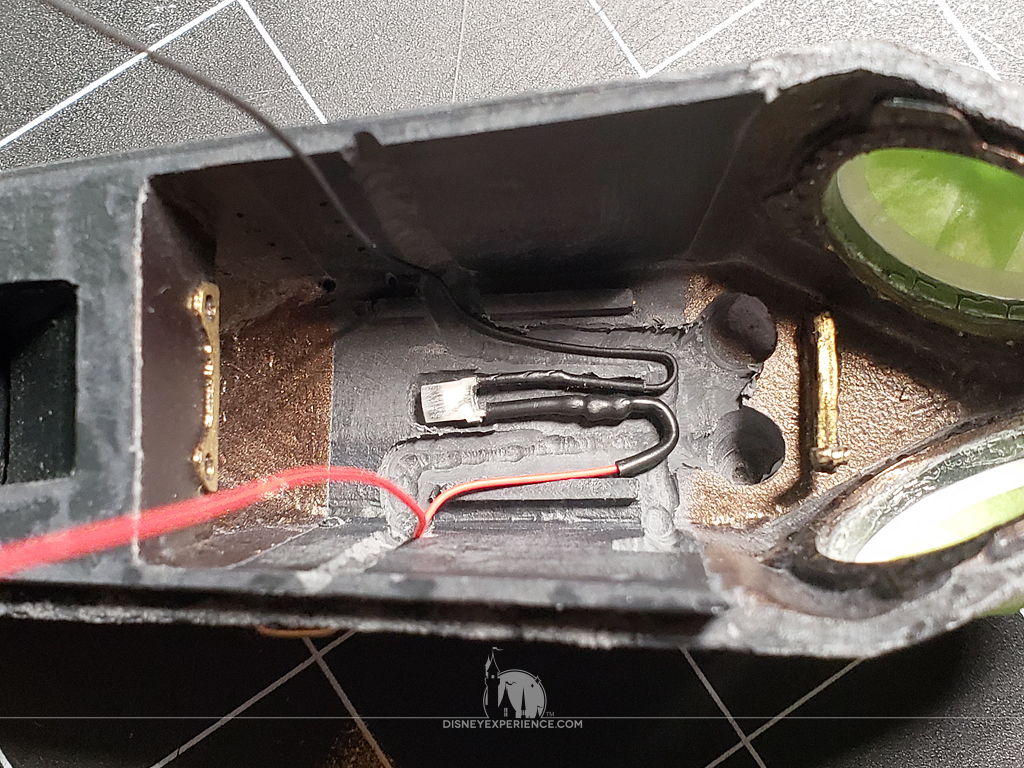
With the lights in place, I carefully route and glue the wires through the wheelhouse channels. The red wires come out on one side; the black wires come out on the other side.
To seal the wires, I glue the wheelhouse walls into place. Note the cutout so that the ceiling LED is exposed.
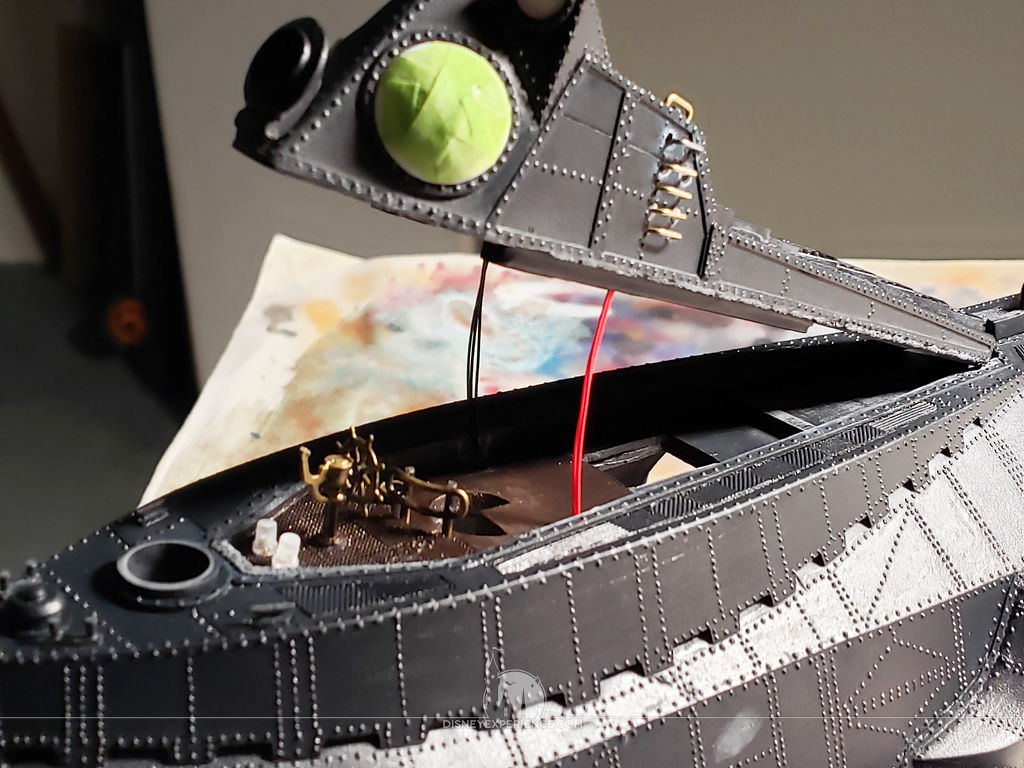
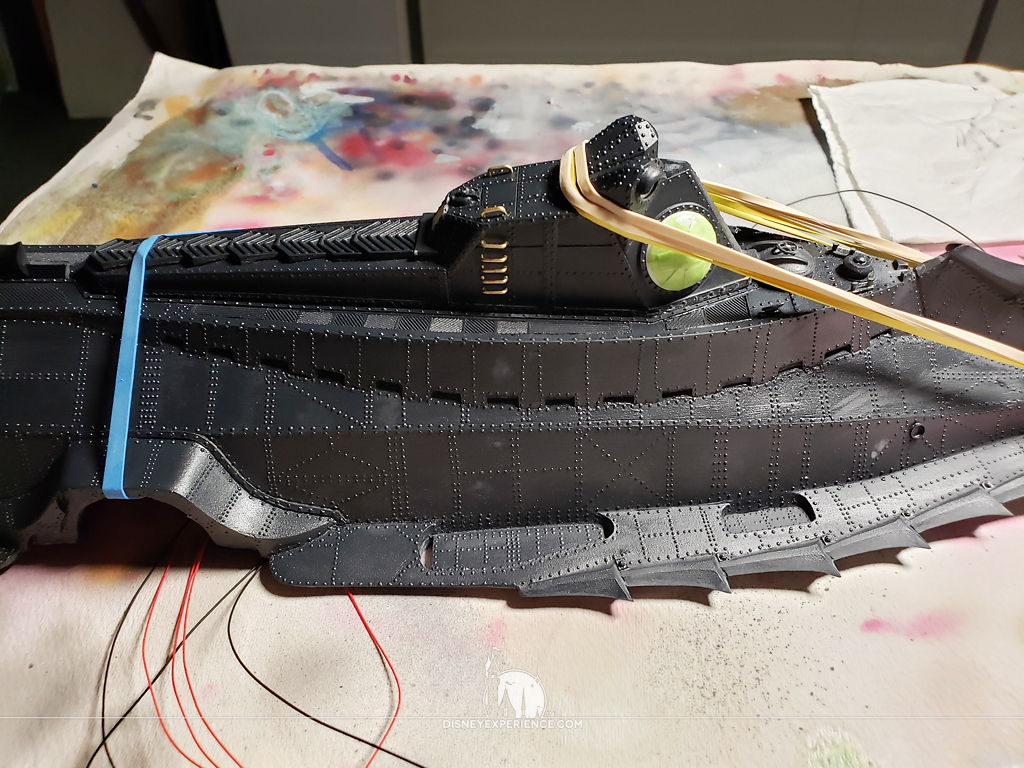
I run the wires through the two holes in the wheelhouse floor and glue the wheelhouse into place. To maintain the correct position, the wheelhouse has to be held into place using rubber bands.
To complete the wheelhouse, the tooth fin is added.
The Battery Compartment, Part 2
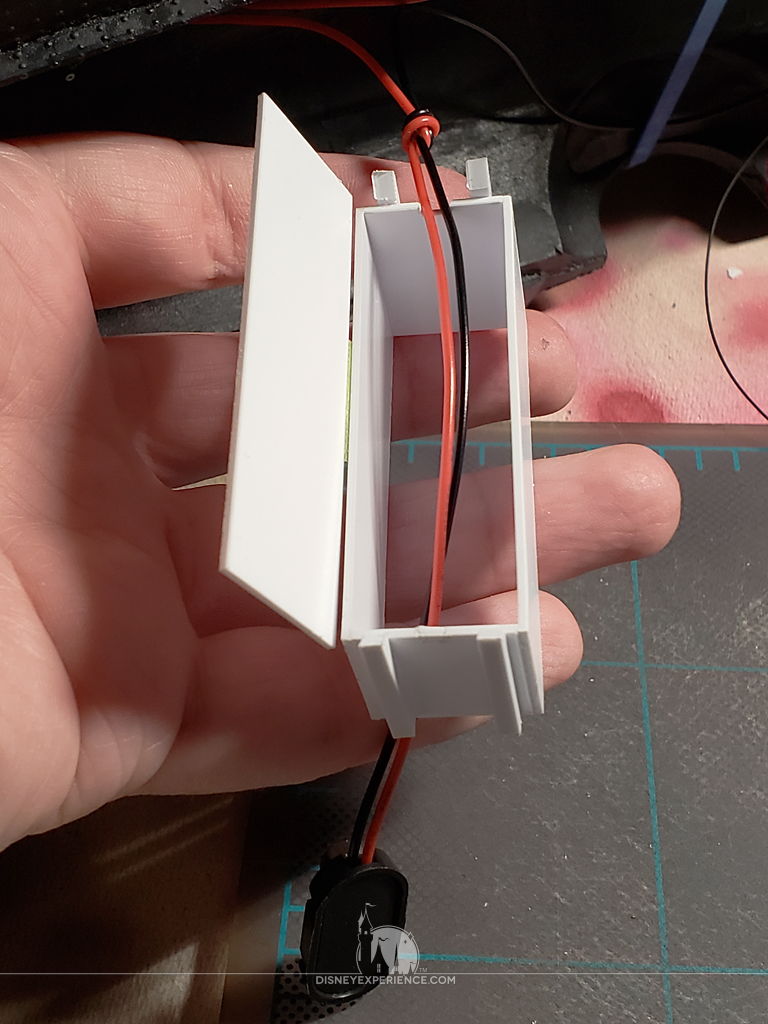
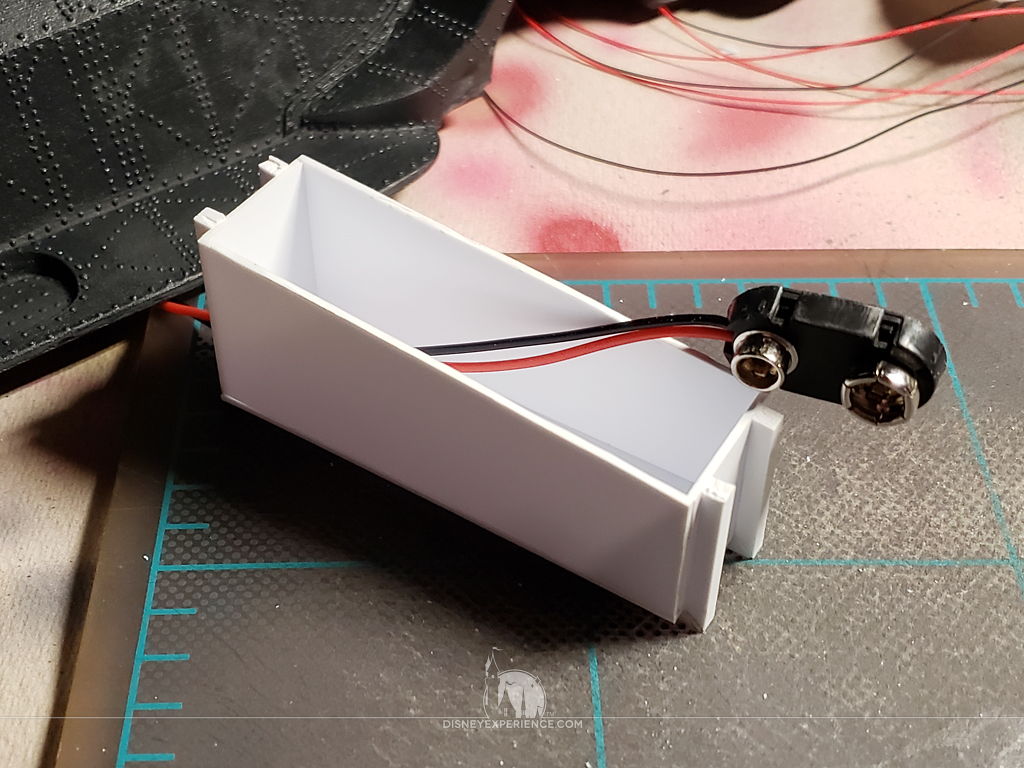
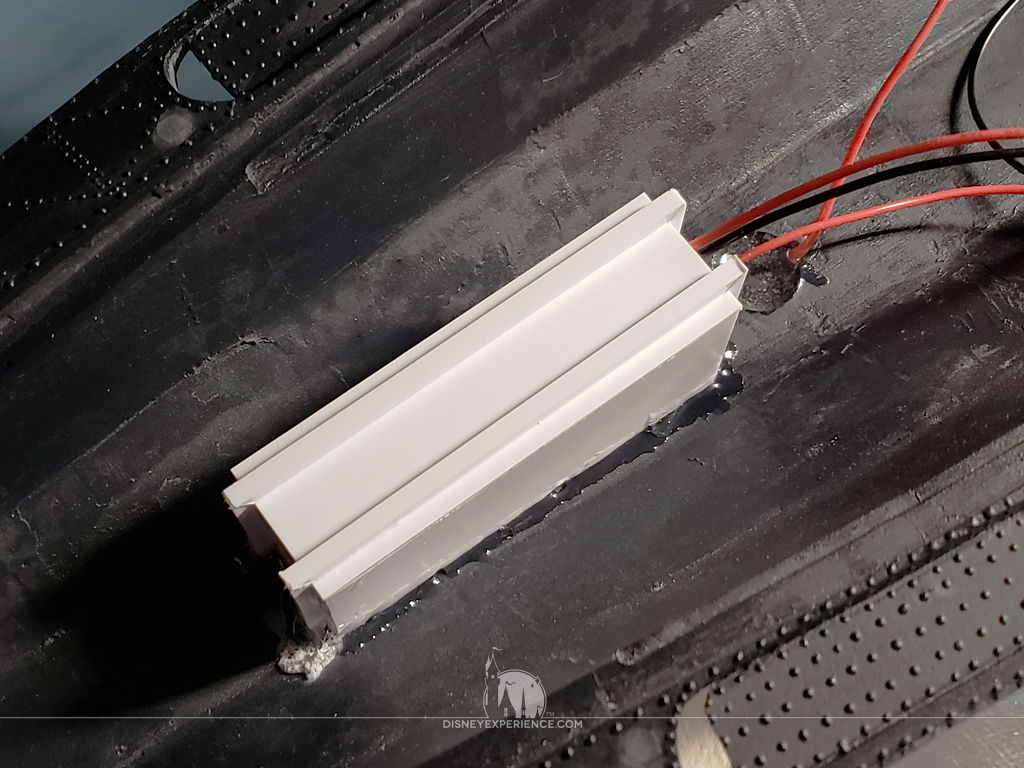
While the wheelhouse dries, I begin construction of the battery box, which is made from .04 inch polystyrene sheets reinforced with square rods.
This is my first time working with polystyrene, and I really enjoyed it. The sheets are cut by scoring them and snapping them. It’s so quick and easy!
I create a small notch for the battery connector wires to run through, and I tied a simple knot so that the wires do not come out too far or pull on any of the other connections.
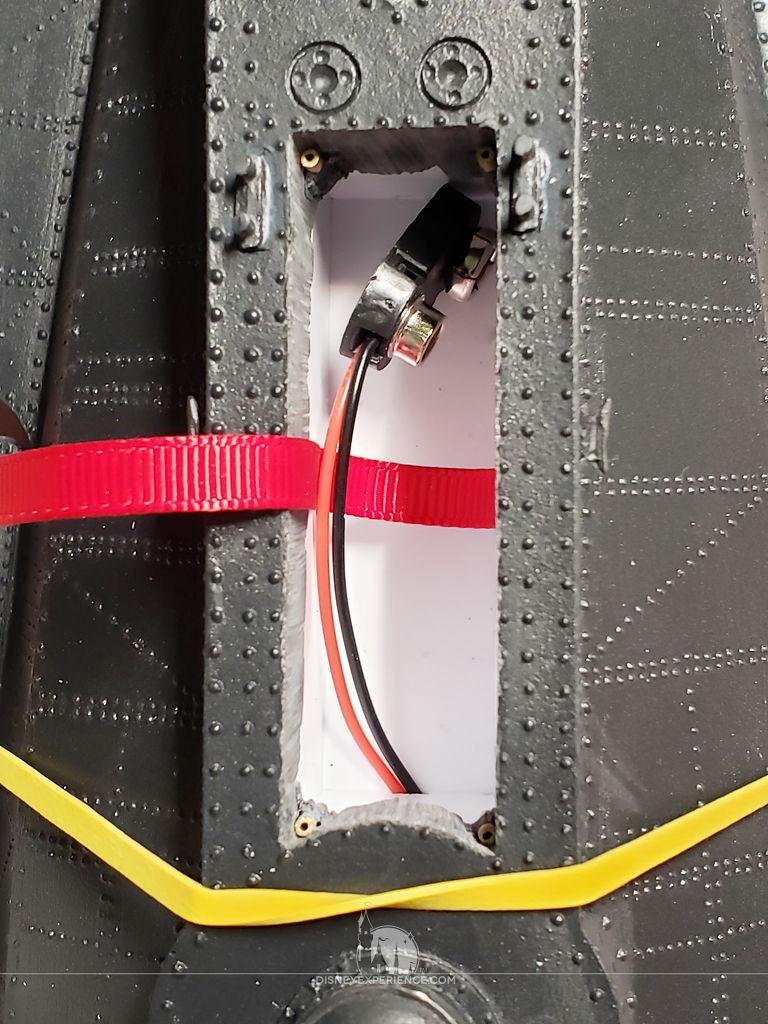

With the battery box glued into place, I add a piece of ribbon for pulling out the battery.
Filling Gaps & the Propeller
I notice that there is a gap between the dorsal fin and the wheelhouse. Looking at the film, I see that there should not be a gap there, so I fill it with pieces of polystyrene glued together.

There is also a gap behind the wheelhouse, obviously another result of resin shrinkage. The space is filled with Mr. White Putty, which is difficult to work with at first. As it dries, it is more easily sculpted.


Since the propeller is going to be motorized, I cut off the propeller shaft, leaving the head. A hole is drilled into the back of the head so that it can be glued to the end of the motor shaft.
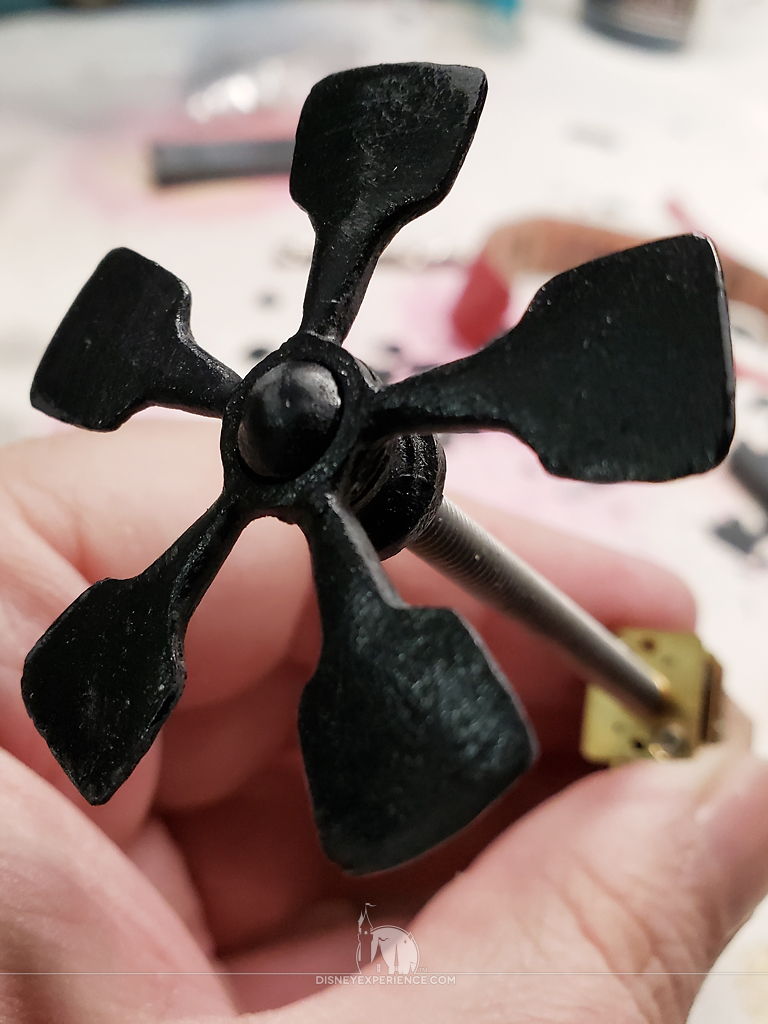
The propeller is glued to the shaft head.
To make room for the motor shaft, a little bit of the interior resin is shaved away using needle files.
Prev Journal Entry | Next Journal Entry
Both the post author and this website have not received any compensation for writing this post. Both the post author and this website have no material connection to the third-party brands, products, or services that have been mentioned. Some of the links in the post above are “affiliate links.” This means that if you purchase the item, we will receive a commission. As an Amazon associate, we earn from qualifying products. This is being disclosed in accordance with the Federal Trade Commission’s 16 CFR, Part 255: “Guides Concerning the Use of Endorsements and Testimonials in Advertising.”
Do you have a thought about this post? Why not leave a comment . . .