
Nautilus Build Journal No. 01
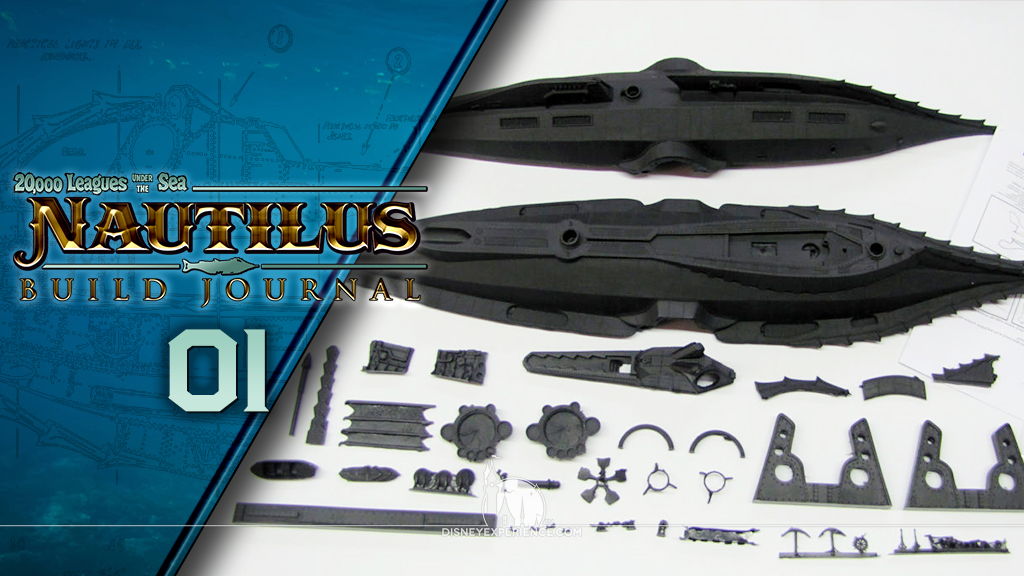
6-15-2021: I have added a couple of last-minute electronic components, and I have made some changes to the LED lighting kit.
A New Model Kit!
Well, it wasn’t long after I finished the DeAgostini X-Wing model that I decided to work on a new model. I settled on the Masterpiece Models Nautilus, a ship that I have always loved. In fact, it was the Nautilus that got me into creating paper models (download the Nautilus paper model).
This time around, the Nautilus is not a subscription kit, so this Build Journal will not be a 2-year series. Since I will be winging it, I don’t know how long it will take.
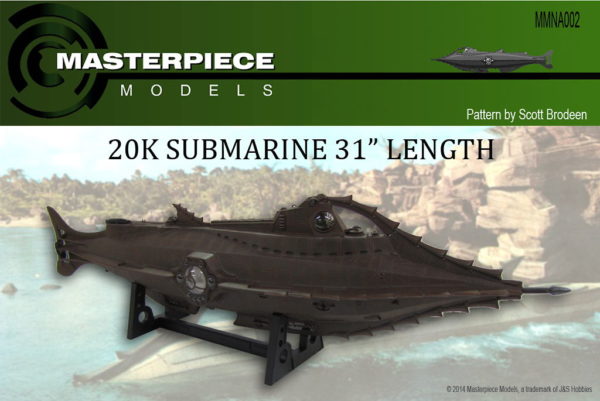
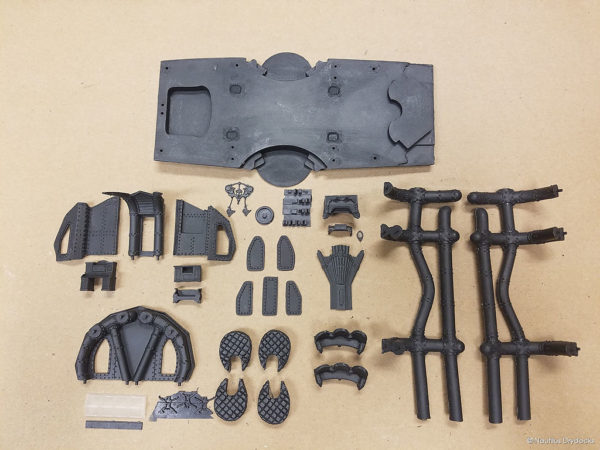
The model is a 1:77 resin kit measuring 31 inches (78.7 cm) long (a less expensive 16-inch model is also available), and it comes with a display stand and wheelhouse interior. It is an advanced build that will require a lot of cleaning and tinkering, but I’m up for the challenge. I also have never worked with a resin kit before, so I need to research adhesives.
I will NOT be using the magnetic mission switch. More on this in later Build Journals.
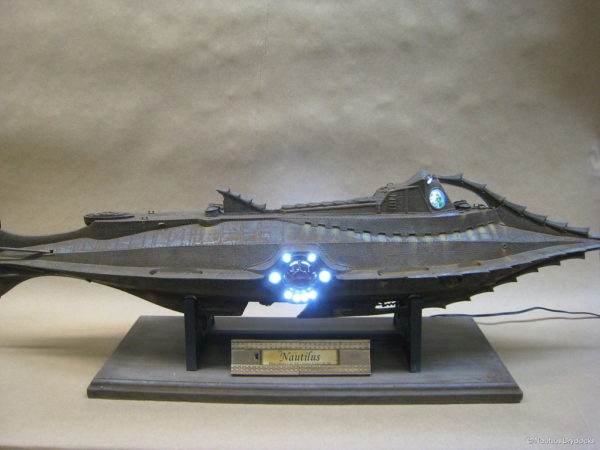
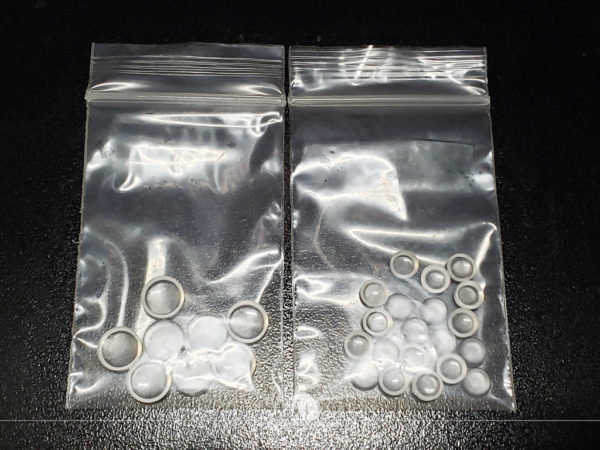
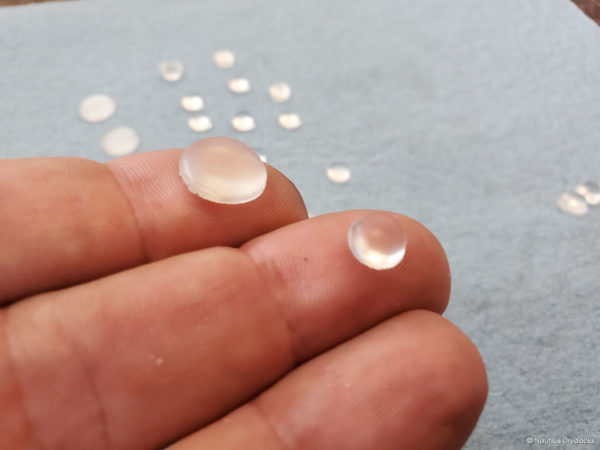
I also bought an LED kit, clear cast floodlight lenses, a magnetic mission switch, and a micro geared motor from Nautilus Drydocks. The floodlight lenses are solid and frosted for easier assembly and better light diffusion. The regular lenses that come with the model kit are either vacuum-formed or googly eyes. Yes, actual googly eyes; the plastic domes are supposed to be separated, which I hear is a pain.
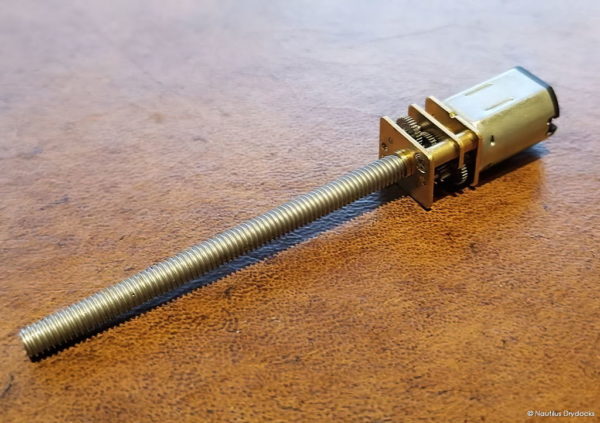
The motor will spin the propeller. I originally wasn’t going to animate the propeller, but the more I thought about it, the more it just seemed right.
I will NOT be using the magnetic mission switch. More on this in later Build Journals.
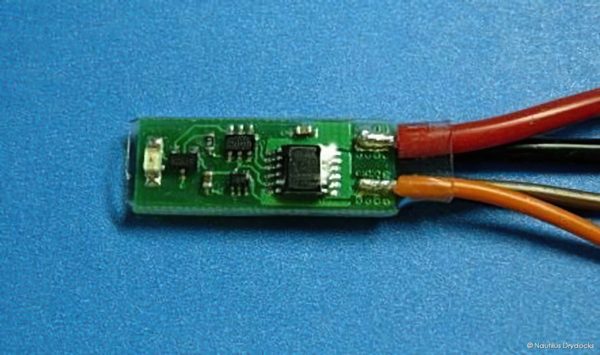
The magnetic mission switch is a neat little device that will allow me to turn the electronics on and off with a magnet. I may hide the magnet either inside of the removable skiff, or on the end of the removable nose spur.
Nautilus Drydocks has several other accessory kits like a giant squid, scale crewmen, a name plaque, raised breathers, an upgraded skiff, and more. I was considering doing the salon interior, but I thought that I’d keep the model simple.
Saving Money
I was initially going to buy the model from Nautilus Drydocks until it donned on me that they are reselling the Masterpiece Models kit. So, I went to the other website to compare prices. Nautilus Drydocks sold the Nautilus kit for $249; Masterpeice Models sold the Nautilus kit for $229.99 . . . and they were having a 15% site-wide sale which brought the kit down to $195.49 (a $34.50 savings). Masterpiece Models was the far better choice at the time, so I bought it from there.
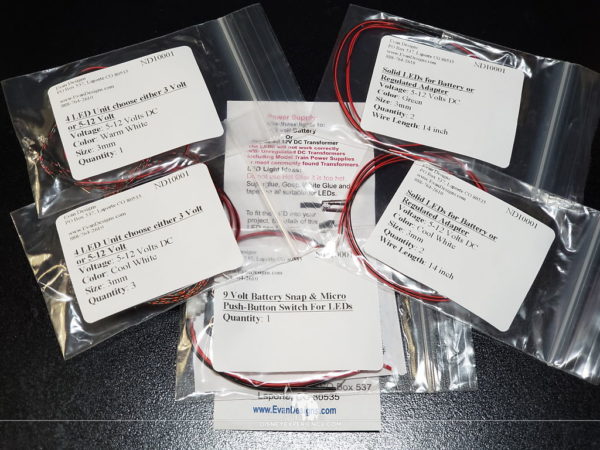
Now, I could have saved some money on the LED kit, but I didn’t discover this until I received it in the mail. It turns out that Nautilus Drydocks simply resells a bundle of parts from Evan Designs—the baggies that the electronics come in are all branded with the Evan Designs name and part specifications. Picking out the identical parts on Evan Designs (see list, below), the subtotal came out to $54.15 . . . with free shipping. Nautilus Drydocks sold the lighting kit for $89 (no free shipping). I could have saved over $34.85 if I had the relevant information at the time.
Here is the list of parts from Evan Designs that are included in the lighting kit. Be sure to note the quantities:
- (Qty. 1) Battery Snap pre-connected to a Micro Push-button Switch
- (Qty. 2) Green Pre-Wired LEDs ready for 5-13 Volt DC Battery or Regulated DC Transformer
- (Qty. 2) Cool White Pre-Wired LEDs ready for 5-13 Volt DC Battery or Regulated DC Transformer
- (Qty. 1) Warm White 4 LEDS on one hookup wire
- (Qty. 3) Cool White 4 LEDS on one hookup wire
HOWEVER . . . I am going to modify the parts for my model as follows (again, note the quantities):
- (Qty. 1) Battery Snap pre-connected to a Micro Push-button Switch
- (Qty. 2) Green Pre-Wired LEDs ready for 5-13 Volt DC Battery or Regulated DC Transformer
- (Qty. 3) Warm White Pre-Wired LEDs ready for 5-13 Volt DC Battery or Regulated DC Transformer
- (Qty. 1) Cool White Pre-Wired LEDs ready for 5-13 Volt DC Battery or Regulated DC Transformer
- (Qty. 4) Warm White 4 LEDS on one hookup wire
I’m primarily swapping cool white lights for warm ones, but here’s how I’m going to use everything:
- Salon Floodlights: Qty. 4—warm white (4-LED assemblies)
- Wheelhouse Alligator Eyes: Qty. 2—warm white (single-LED assemblies)
- Wheelhouse Attack Lights: Qty. 2—green (single-LED assemblies)
- Salon Interior Areas: none (salon interior is not being used)
- Wheelhouse Interior: Qty. 1—warm white (single-LED assembly)
- Depth Gauge: Qty. 1—cool white (single-LED assembly)
In all, I spent somewhere around $330 for the model kit, the LED kit, and the floodlight lenses. That’s roughly 1/5 the cost of either the X-Wing or the Millennium Falcon. I do still need to spend some money on a few supplies (new LEDs, etc.), but that shouldn’t exceed $100.
Tools & Materials
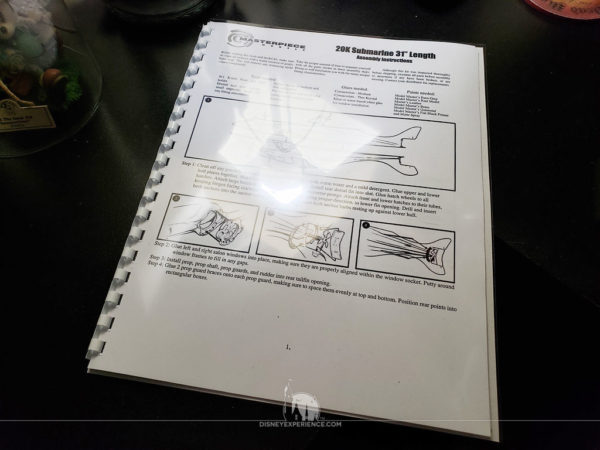
For easier reference, I downloaded the instructions for both the model and the LED kit, I printed them along with all of the reference photos, and I bound everything together using my binding machine to create a handy manual. I look forward to working on the model and finally having a Nautilus to display in my home. I would also love to build the 41-inch Moonliner model, but that will have to wait for another time.
I’ve been watching a lot of assembly videos on YouTube, and it looks like I will be using a lot of Cyanoacrylate glue (CA glue, aka super glue). I already have some thin CA glue, but I think I’m going to try a rubber-reinforced CA glue that was used by one builder. The rubber gives the glue added strength and flexibility, making it shock-resistant. It’s probably overkill, but glues do tend to become brittle over time, weakening and cracking.
I think I’ll try E6000 adhesive (with precision tips) for the windows; CA glue has a nasty habit of fogging plastic. E6000 is used by a lot of crafters and modelers, and it doesn’t have to be mixed like a lot of epoxies. However, it does take 24 hours to set (48-72 hours for full strength).
For finishing, I’m looking forward to trying Modern Masters reactive metallic iron paint to cover the Nautilus in actual rust. I might use the copper paint on the display stand.
As for the other materials and tools, I pretty much have everything that I need; I’ve built up a collection over the years.
Both the post author and this website have not received any compensation for writing this post. Both the post author and this website have no material connection to the third-party brands, products, or services that have been mentioned. Some of the links in the post above are “affiliate links.” This means that if you purchase the item, we will receive a commission. As an Amazon associate, we earn from qualifying products. This is being disclosed in accordance with the Federal Trade Commission’s 16 CFR, Part 255: “Guides Concerning the Use of Endorsements and Testimonials in Advertising.”


Top 10 coolest vehicles from film and TV, in no particular order:
Nautilus
Millennium Falcon
U.S.S. Cygnus
U.S.S. Enterprise
Imperial Star Destroyer
1966 Batmobile
Space 1999 Eagle
U.S.S. Reliant
A.T.A.T.
Martian Tripod 1953 George Pal Wotw
I thought about getting a plaque . . . but, honestly, does such an iconic vessel need one?
You could make one. I’ve had good success with using inkjet decals applied over thin brass. Mine were ovals btw.
I found a compromise. It’s not a name plate, but it does enhance the display stand. You’ll see the end result in the next Build Journal.