
Millennium Falcon Build Journal No. 18: Issues 65-68
A Status Update
Before I get into this build journal, there are a couple of things that I need to make known.
First, I may have to put my DeAgostini subscription on hold for a few months so that I can catch up on other things like bills and miscellaneous expenses that pop up. It happens; that’s life. $61 per month is more than what I typically spend on any of my hobbies combined, and after a year, it’s caught up with me. Obviously, this will affect the build journals, creating a sizeable gap in time between posts.
Second, I did promise that this build journal would contain the Japan parts. Unfortunately, it takes 4-6 weeks for them to arrive, and it has only been less than 3 weeks; I really hoped that the parts would arrive in time. But, there will be a special build journal posted when they come in, despite whether or not I have to pause my DeAgostini subscription. I will point out the differences in the Japan parts versus the original parts, and I will show you how to make the “corrected” Japan parts more accurate.
I thank-you for both your understanding and your patience.
The Arrival
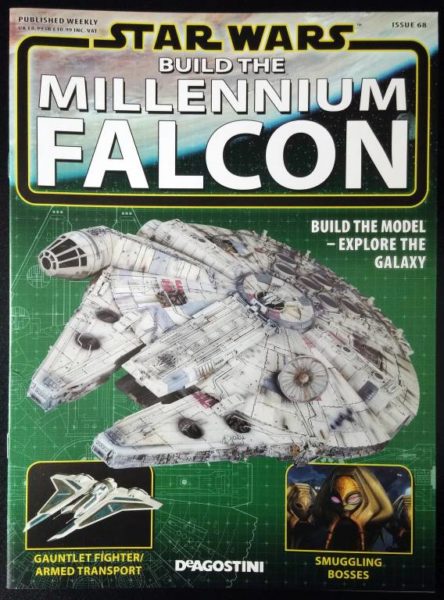
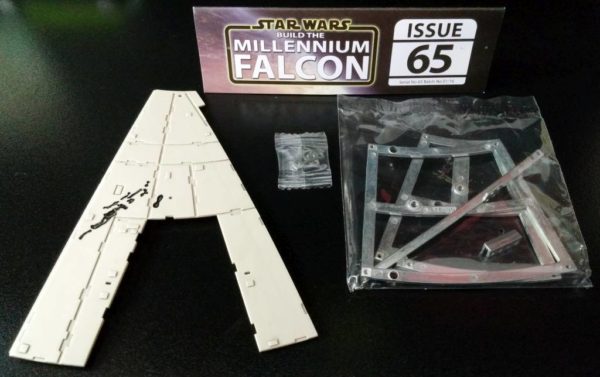
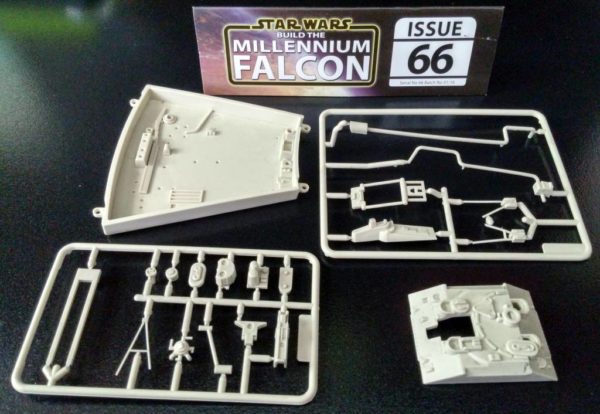
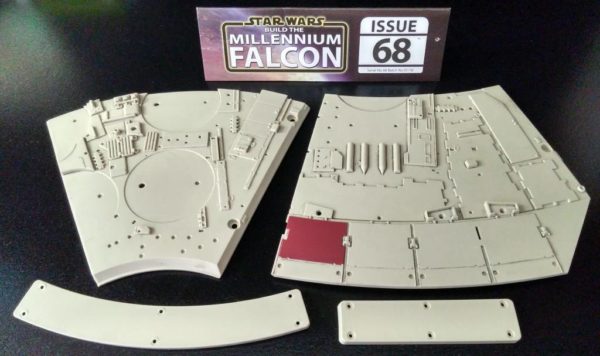
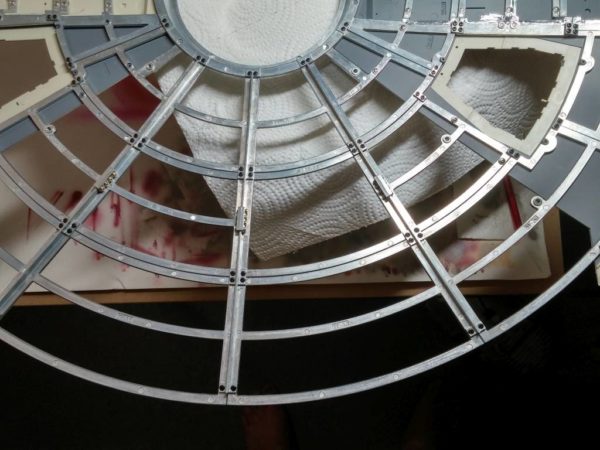
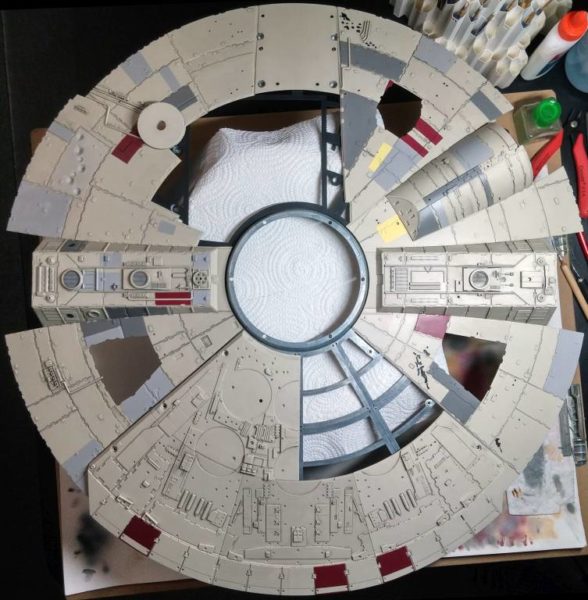
The metal framework for the upper hull is finally complete, along with the machinery recesses.
I was hoping that the Japan parts would arrive in time so that I could finally crew down the starboard-side hull panels, but they’re going to take a few a few more weeks to arrive. Bummer!
Assembly
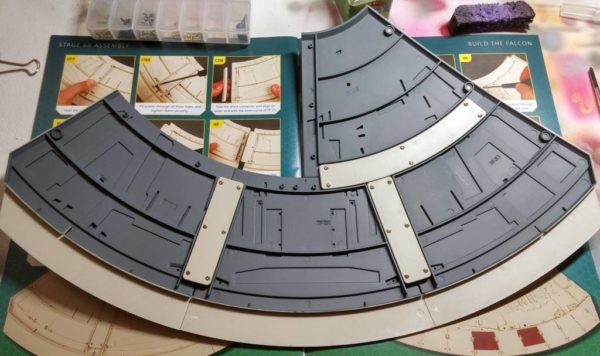
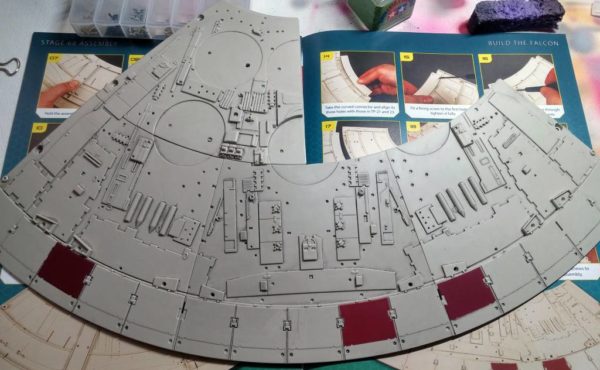
With the final pieces, the upper hull frame is completed. I feel better knowing that the framework is far more sturdy. I also don’t remember it weighing so much. The completed model is going to be so heavy!
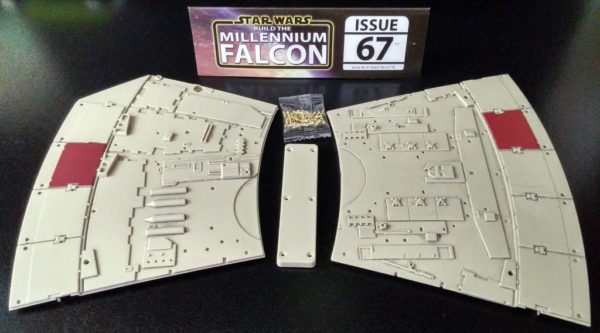
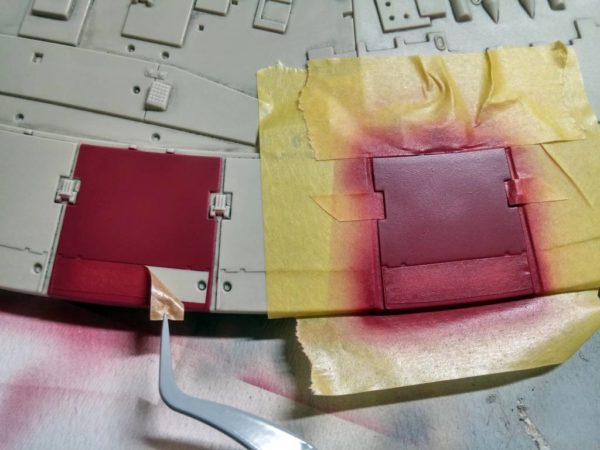
I was a tad disappointed with the engine cover pieces. First, the way the parts are divided creates ugly seams that will have to be filled with epoxy. Second, the three red thrust vector plates were painted with minimal effort. But, these are things that I can fix.
You’d think that DeAgostini would have designed this section better, but they have a reputation of pulling off little surprises like this.
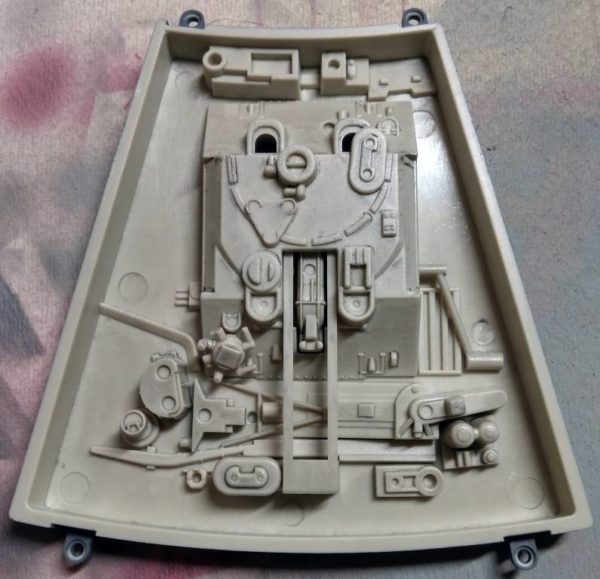
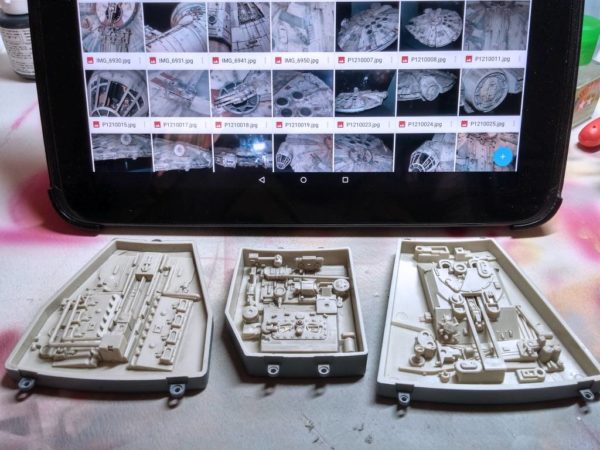
The last machinery recess is the only thing left to build. I’ve been saving the other two recesses so that I could paint all of them at the same time.
Painting
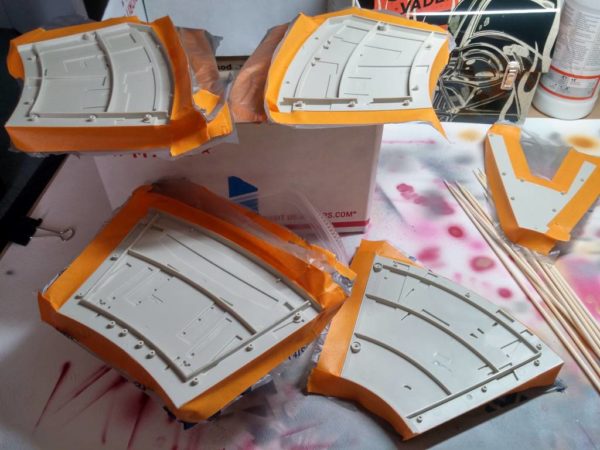
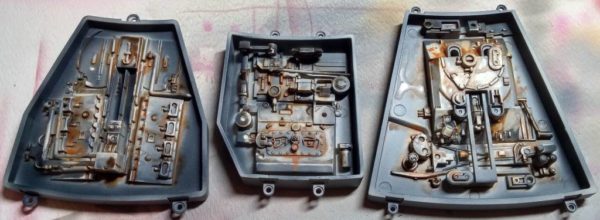
With all three machinery recesses completed, and plenty of reference pictures in hand, it’s time to paint them. I took a different approach from the recesses on the bottom hull, and decided to keep the paint job simple.
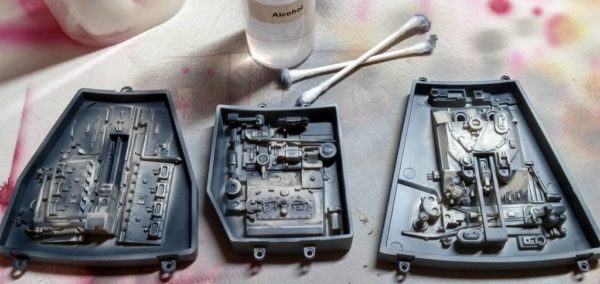
Before painting, I used the reference pictures on my tablet to locate where future pipes and parts would be glued. Using some Elmer’s glue, I mask off those areas.
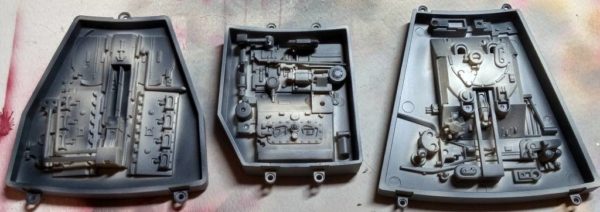
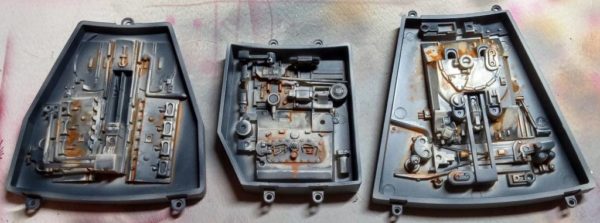
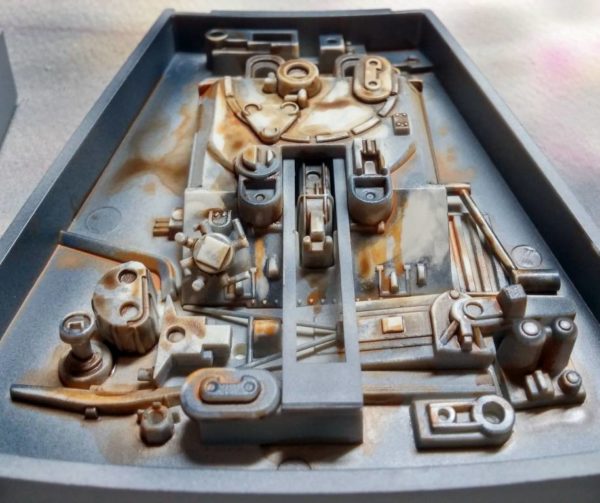
I sprayed some Payne’s Gray around the inner perimeter and in key areas to create grime and soot. Then, I used cotton swabs dabbed with isopropyl alcohol to remove the paint in certain areas to lighten everything back up.
I then added some rust stains using a brownish yellow, and finally some oil stains with a dark brown.
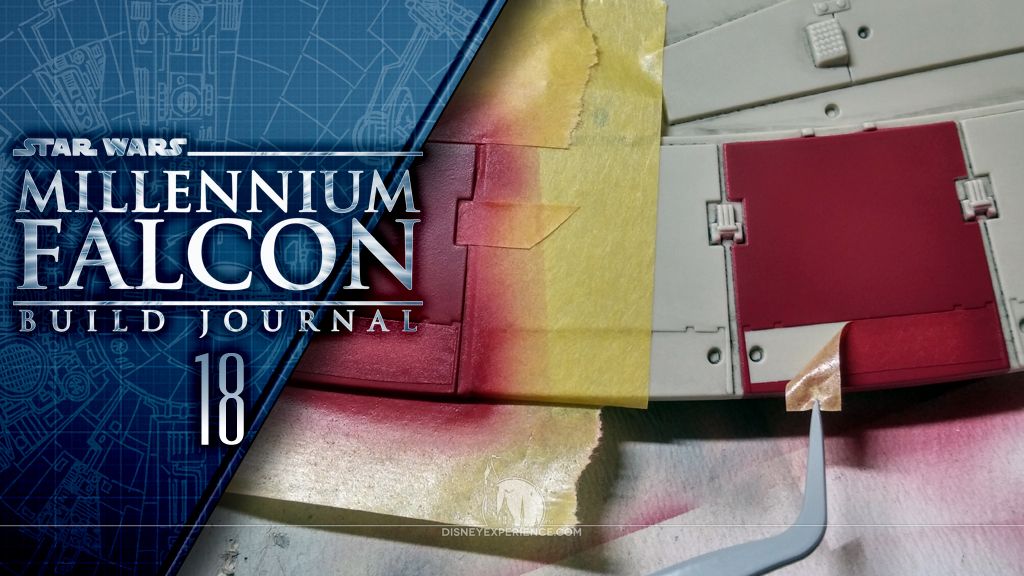
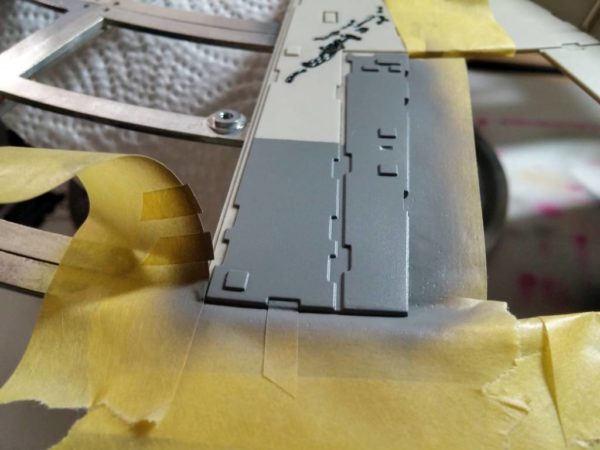
Painting the hull marking was straight-forward. But, the red thrust vector plates needed to be re-painted.
I extended the red areas so that each plate was entirely painted, save for a small masked section where additional parts will be glued. I also sprayed over the existing paint to make sure that the color was seamless.
Prev Journal Entry | Next Journal Entry
Both the post author and this website have not received any compensation for writing this post. Both the post author and this website have no material connection to the third-party brands, products, or services that have been mentioned. Some of the links in the post above are “affiliate links.” This means that if you purchase the item, we will receive a commission. As an Amazon associate, we earn from qualifying products. This is being disclosed in accordance with the Federal Trade Commission’s 16 CFR, Part 255: “Guides Concerning the Use of Endorsements and Testimonials in Advertising.”


Do you have a thought about this post? Why not leave a comment . . .