
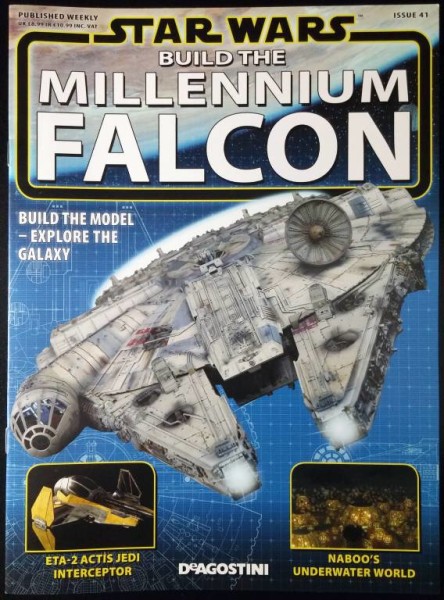
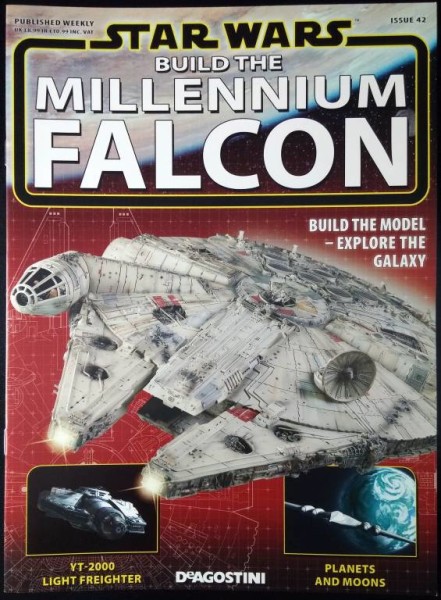
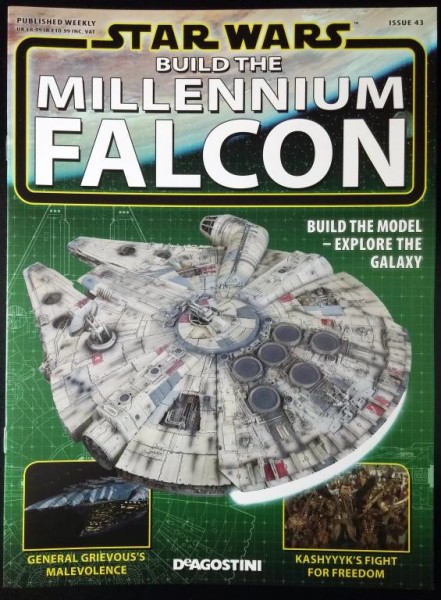
Millennium Falcon Build Journal No. 12: Issues 41-44
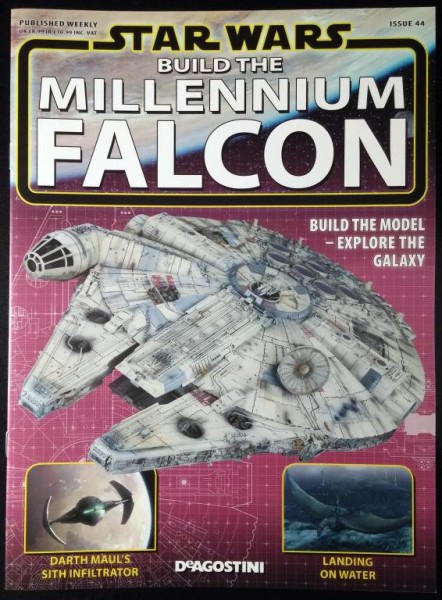
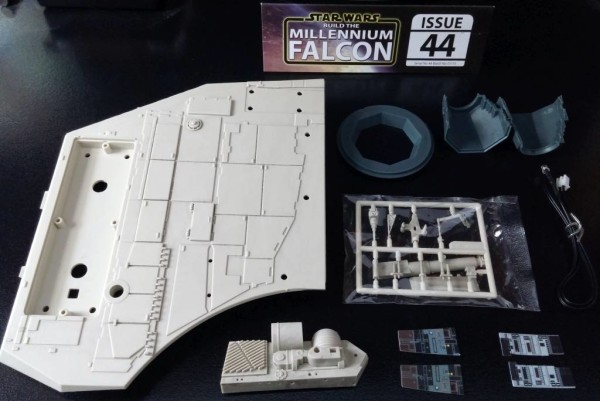
The Arrival
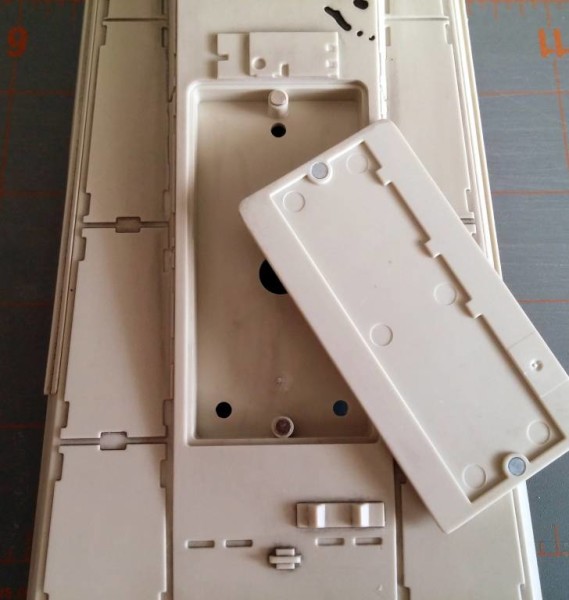
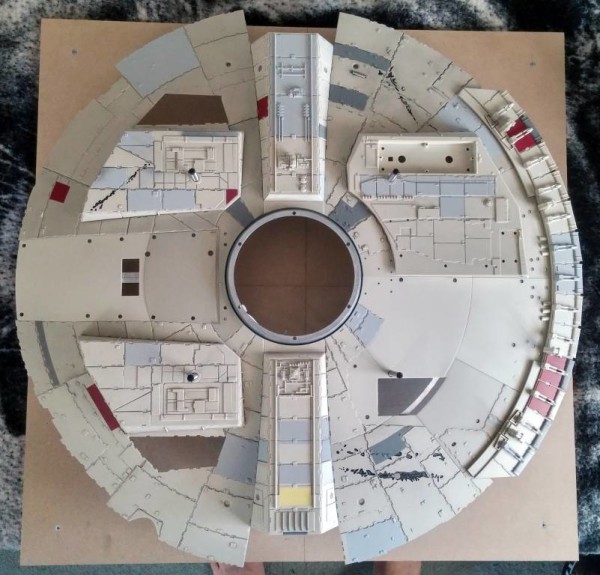
The main portion of the lower hull is finally completed, covering all of the metal framework.
Now, I can start focusing on additional details like the recessed machinery, the turrets, extra surface details/parts, and painting.
Supplies
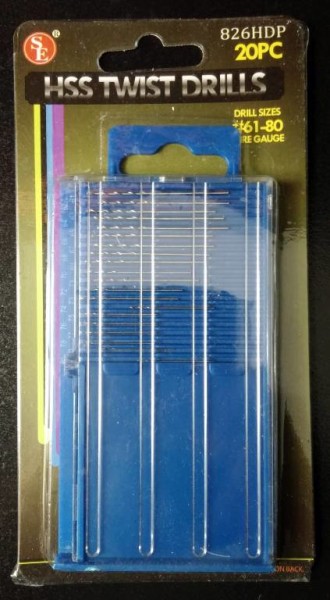
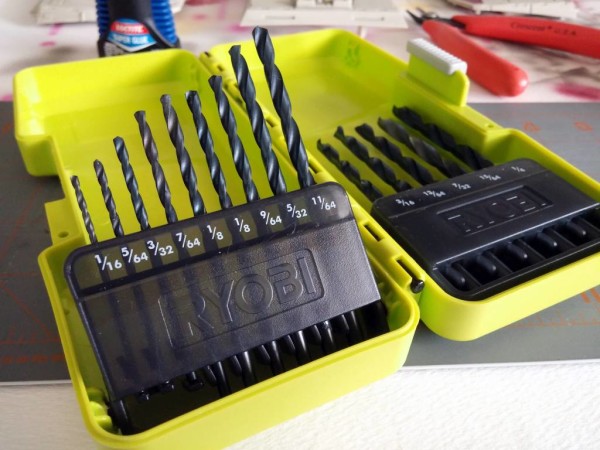
In this month’s build, I needed to clean out a couple of holes, requiring the use of a 5/64 drill bit (I bought a whole drill bit set) and a wire gauge drill bit. The wire gauge drill bits were found on Amazon since I couldn’t find a store that carried these teeny-tiny drill bits.
Assembly
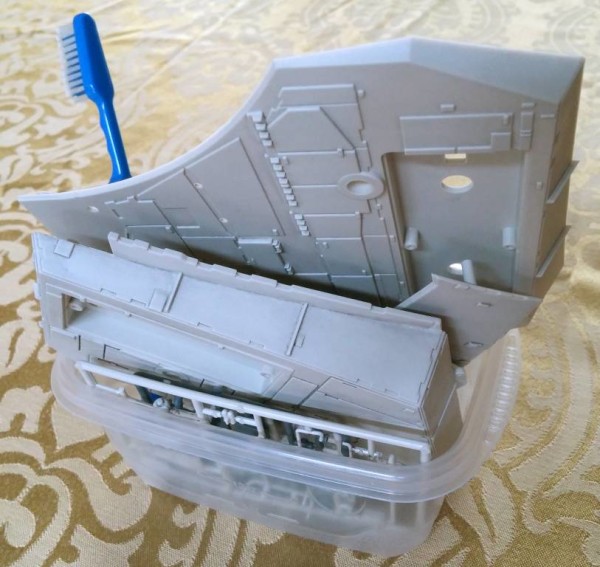
As always . . . CLEAN EVERY PART with warm water and mild soap. You never know what chemicals have been left behind that may hinder the adhesion of paint and glue.
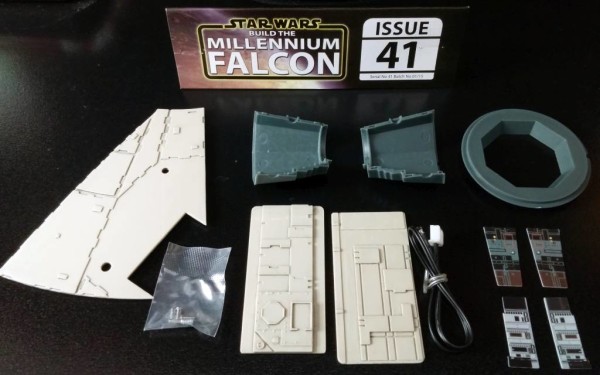
I started the assembly by gluing the tiny magnets and metal pins to complete the landing gear hatches. Most of the doors fit perfectly, but one had to be sanded to get it to fit just right. And, I had to use a 5/64 drill bit to clear out one of the holes for the metal pin. Other than that, everything glued in like a charm.
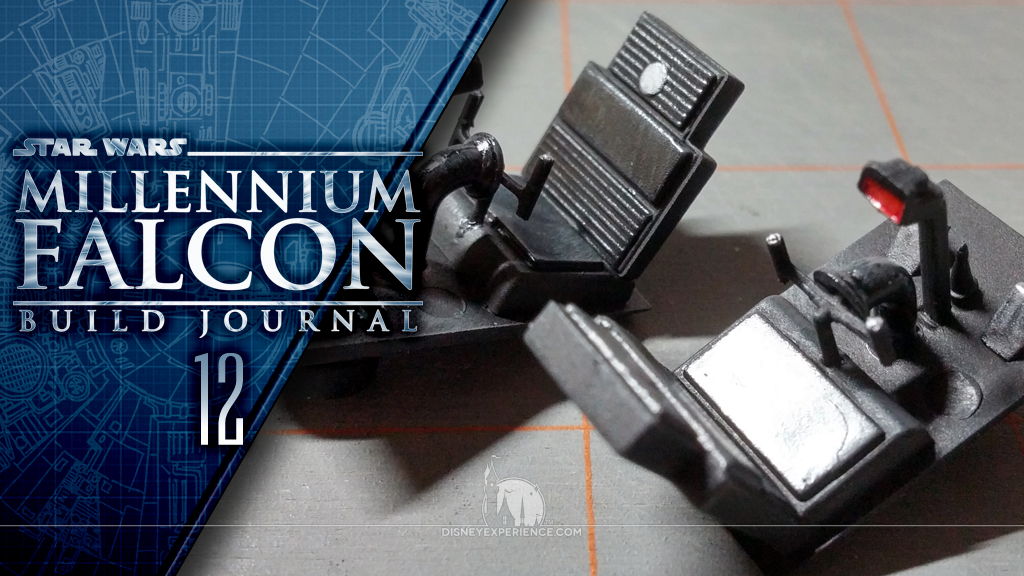
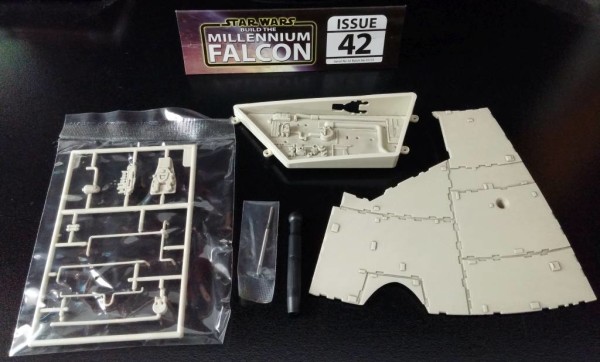
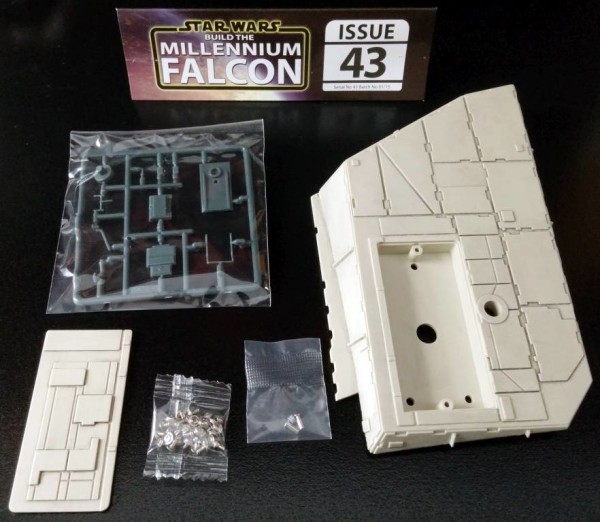
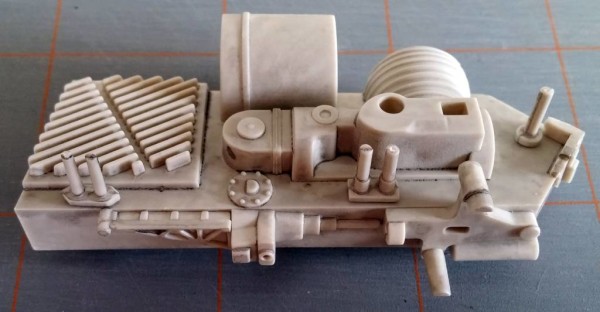
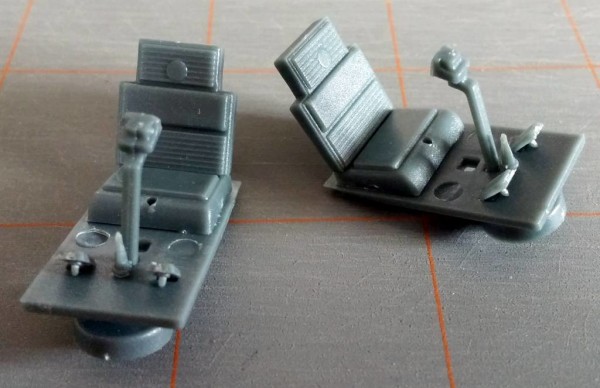
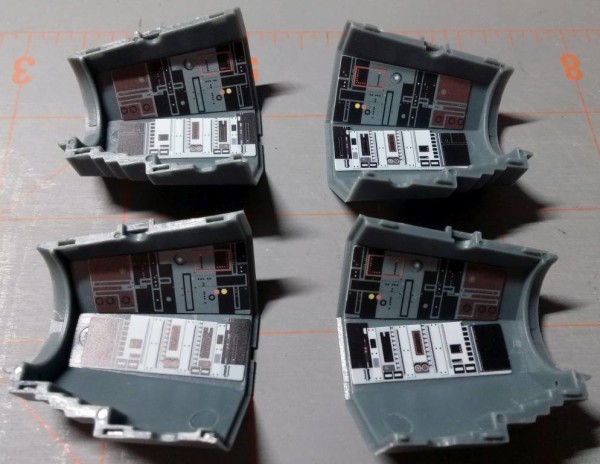
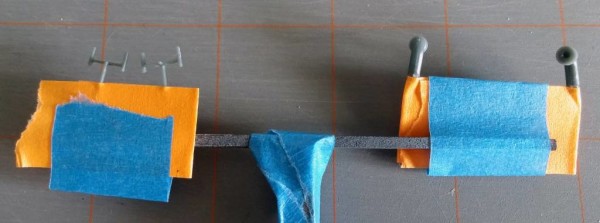
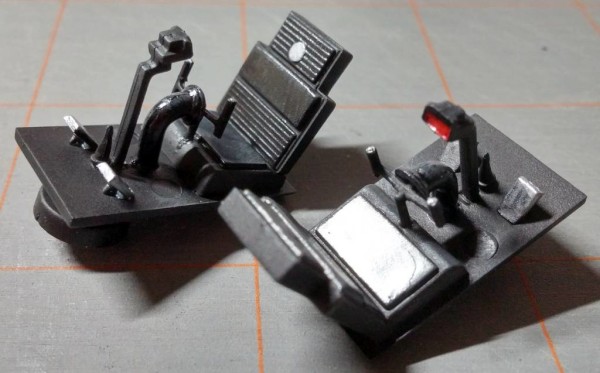
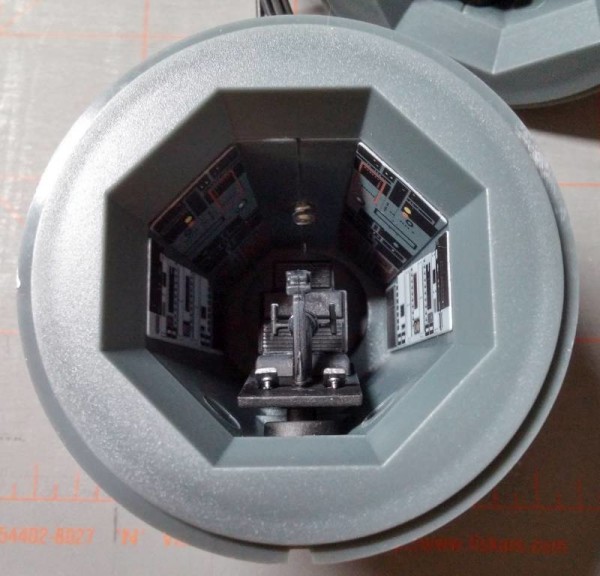
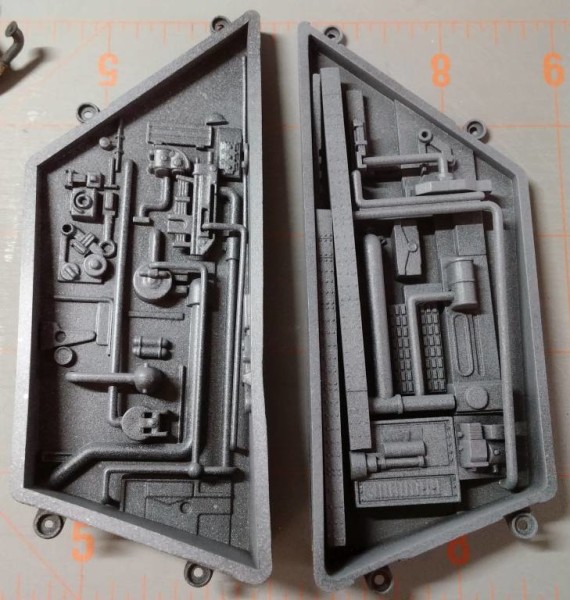
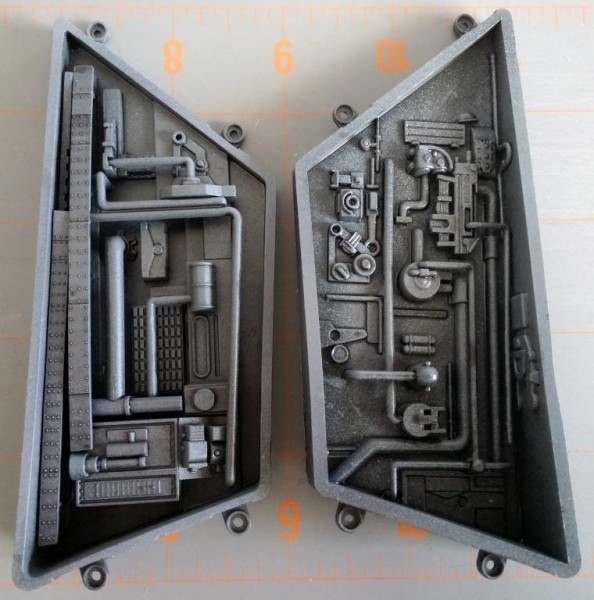
The rear machinery and recessed area were quick and easy. But, the gunner seats were pretty tricky because they are so tiny. I got them assembled and ready for painting except for the seats’ rear supports, grips, and control mounts which were all purposely left off for easier painting.
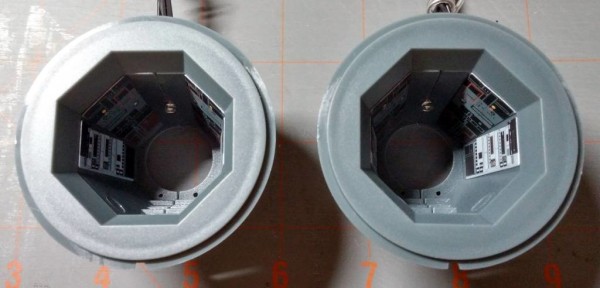
The turret rings each comprised of three parts, four stickers, and a wired LED bulb. The only tricky part here was trying to get the LED to stay in place while the two halves of the turret are assembled.
Painting
The only part of the gunner chairs that were not painted were the rear seat supports. I purposely wanted to keep those gray. The rest of the chair parts were painted with a black primer.
When dry, I added some gray and silver touches, and even painted in the red view screen. I used semi-gloss varnish on the seat cushions, and I used gloss varnish on the control mounts and the view screens.
To glue in the control grips, I used a wire gauge drill bit to clean out the tiny hole in the seats.
Screwing the gunner seats into place was very tricky. The seat assemblies are fragile, and you have to apply a considerable amount of force to keep them in place. It took some time and patience, but they were eventually seated into place. Alternatively, I suppose the seats could have been glued into place.
I also forgot to glue the seat supports to the backs of the chairs. Luckily, they could be glued through the narrow end of the turrets.
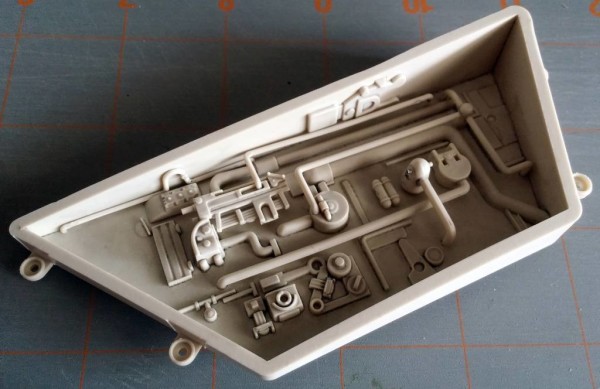
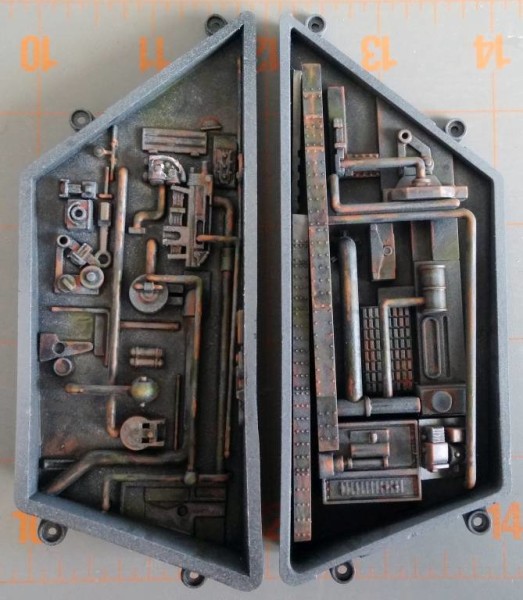
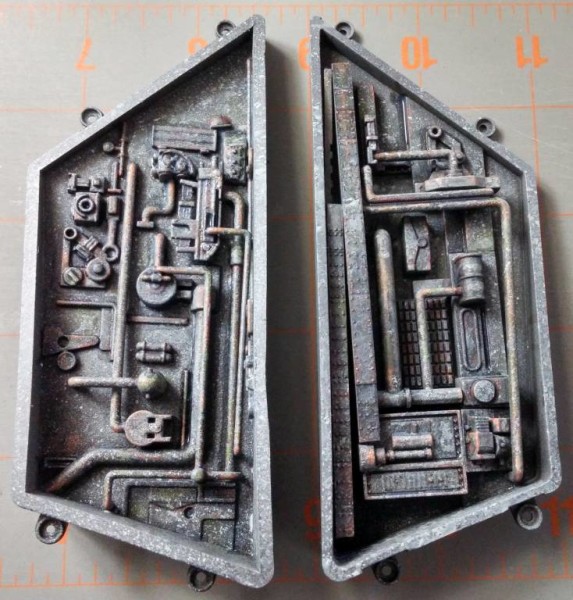
The second recess was painted just like the first. It was painted with a black primer, and then lightly sprayed with a gray primer. With both recesses completed, I could now paint them at the same time.
I added a dark wash to bring out the details, then added rust and oil stains. The recesses came out darker than I liked, so I spattered on some light paint to replicate dirt and muck that would be kicked up from the Falcon’s landings and take-offs. Then, I applied a second dark wash to key locations to bring the details back out and create more oil stains.
I fitted the hull panels into place, and began painting the hull markings. Some parts are easier to paint this way because they can be removed.
Soon, I will begin adding damage to the hull markings.
Prev Journal Entry | Next Journal Entry
Both the post author and this website have not received any compensation for writing this post. Both the post author and this website have no material connection to the third-party brands, products, or services that have been mentioned. Some of the links in the post above are “affiliate links.” This means that if you purchase the item, we will receive a commission. As an Amazon associate, we earn from qualifying products. This is being disclosed in accordance with the Federal Trade Commission’s 16 CFR, Part 255: “Guides Concerning the Use of Endorsements and Testimonials in Advertising.”


Do you have a thought about this post? Why not leave a comment . . .