
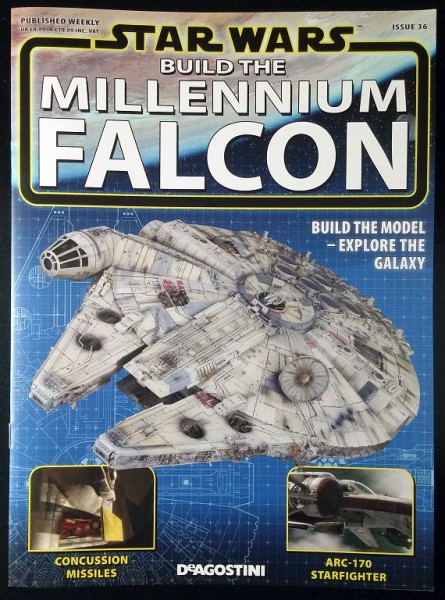
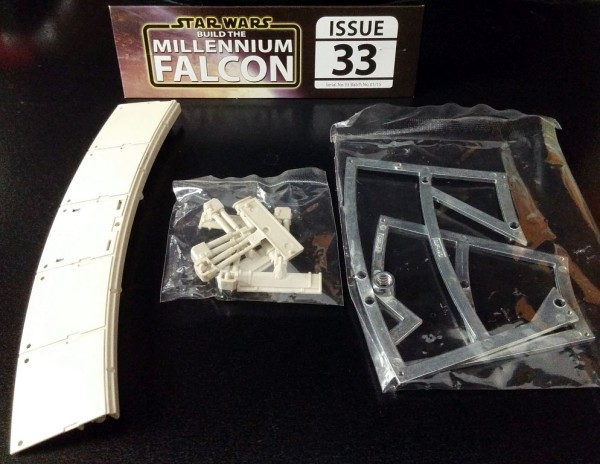
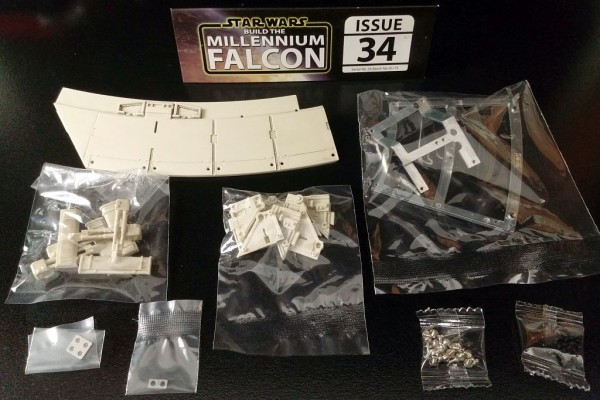
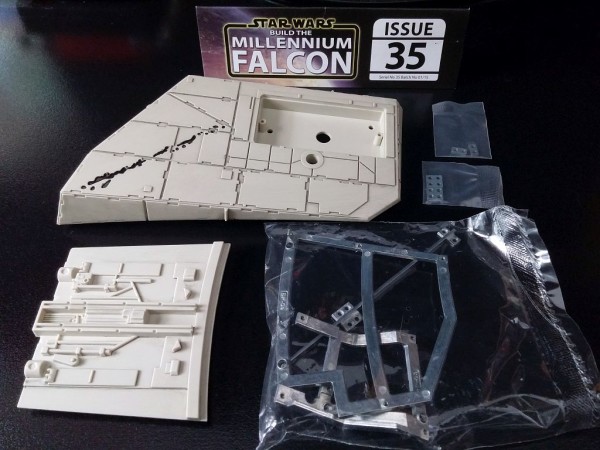
Millennium Falcon Build Journal No. 10: Issues 33-36
The Arrival
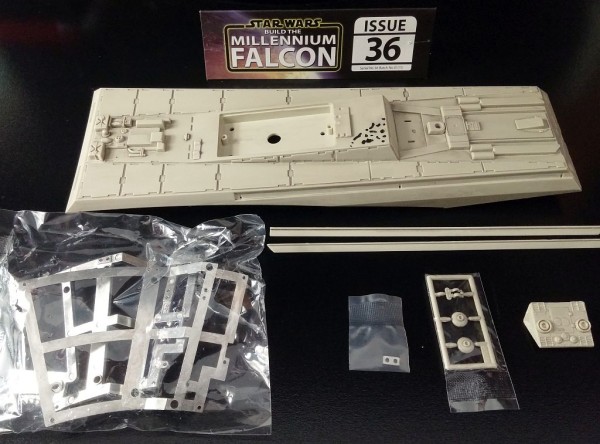
This month’s box arrived uncharacteristically late. I had been expecting it to arrive a couple of days earlier, but the Martin Luther King Jr. holiday delayed the mail. I was expecting a 1-day delay, but not a 2-day delay.
The builds have also been lacking in things to do. They’ve been pretty straight-forward: attach more metal framework and hull plating. But, extra parts are accumulating quickly for future builds that promise to be much more exciting.
I’m really looking forward to next month’s issues that supply the motorized boarding ramp.
Supplies
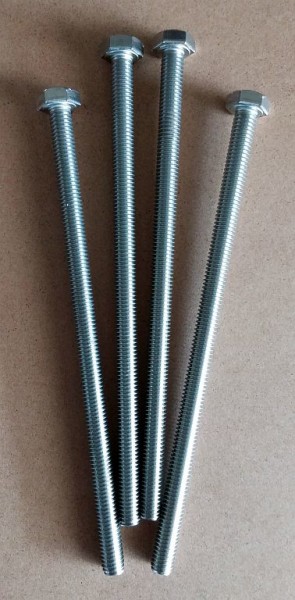
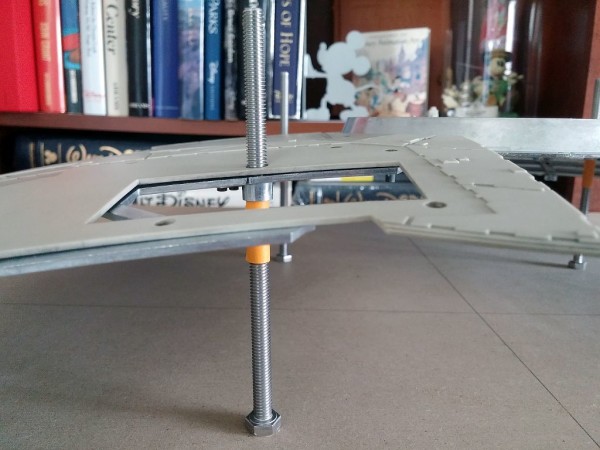
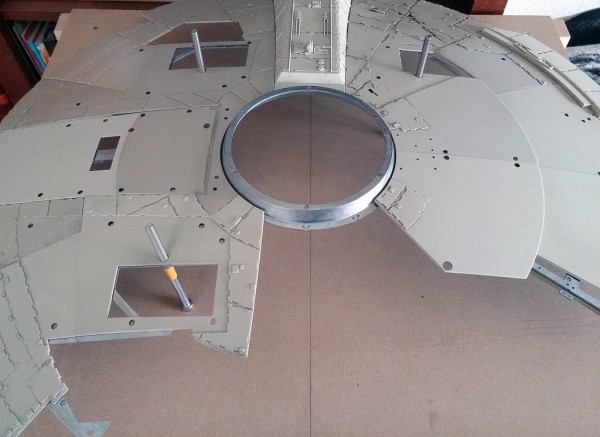
Skipping ahead to Issue 46, DeAgostini recommends using 65mm-long M6 bolts to screw into the mounting holes of the metal framework. Doing so, the hull can be lifted from the plastic assembly jig and flipped over. The bolts support the hull and protects the parts of the motorized ramp. I figured that if I found much longer bolts, they could support both sides of the hull, and I could ditch the assembly jig altogether.
I found 6-inch bolts at Home Depot, only to discover that they didn’t fit. The model is European, so I needed metric bolts (M6). I found 120mm-long M6 bolts on Amazon, and they work perfectly. I untaped the assembly jig and stored it in a plastic bag in case it may be needed in the future.
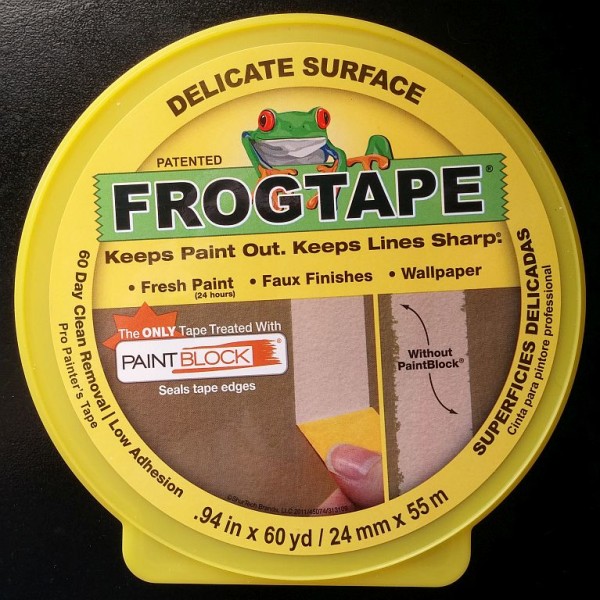
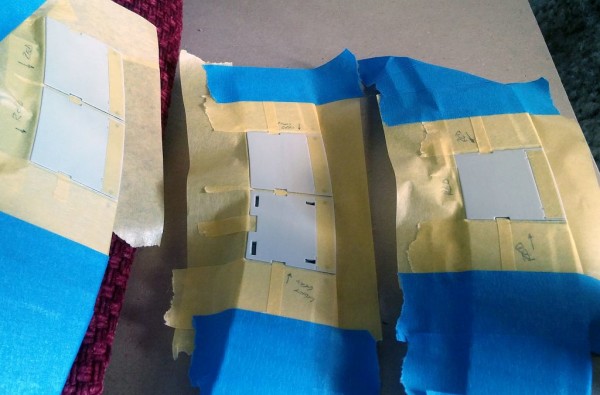
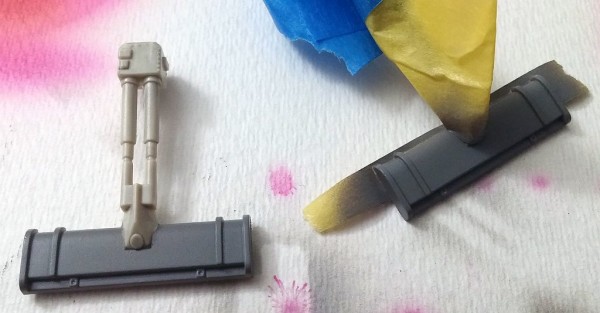
For future painting, I picked up a roll of FrogTape designed for delicate surfaces. I had been test painting, and the painters tape that I was using before keeps ripping paint from the surface. The yellow FrogTape works like a charm, and leaves the sharpest lines I’ve ever seen.
Assembling
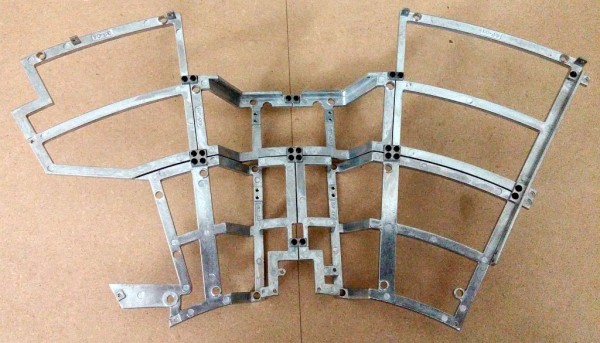
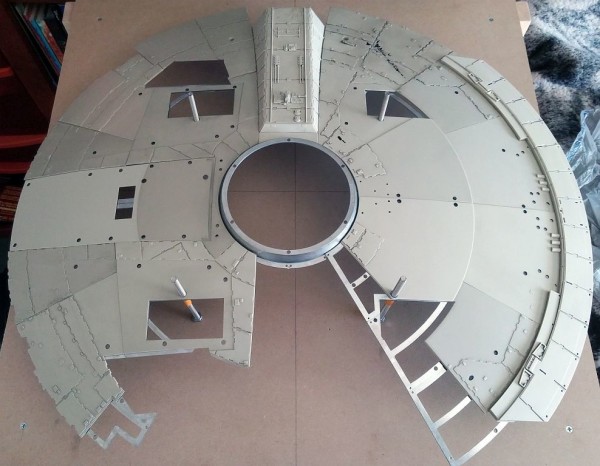
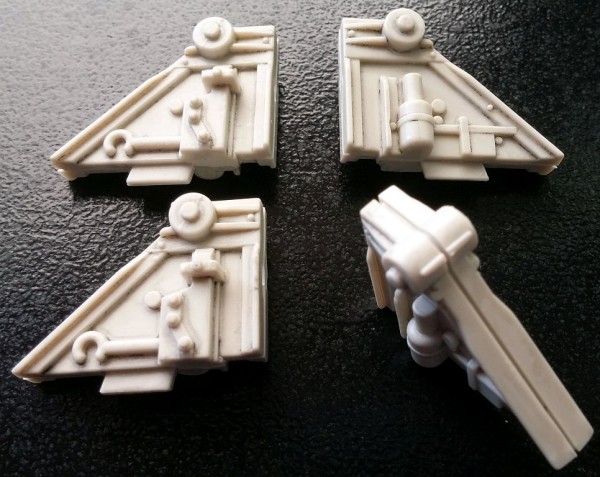
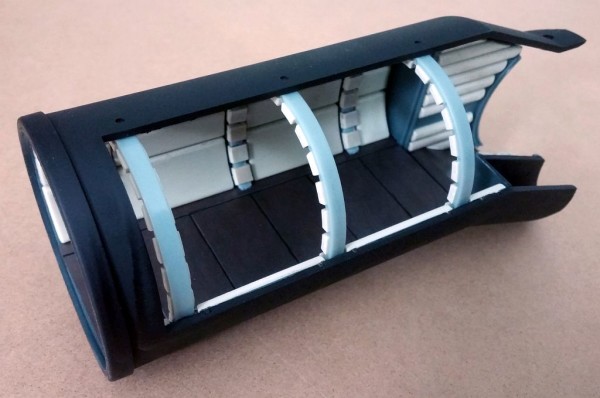
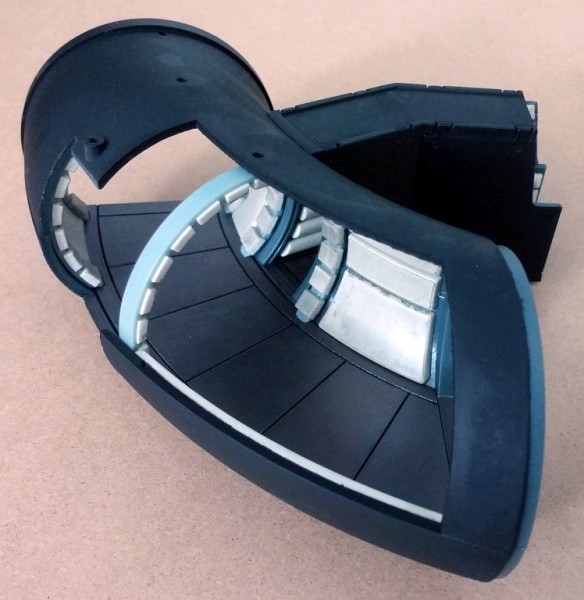
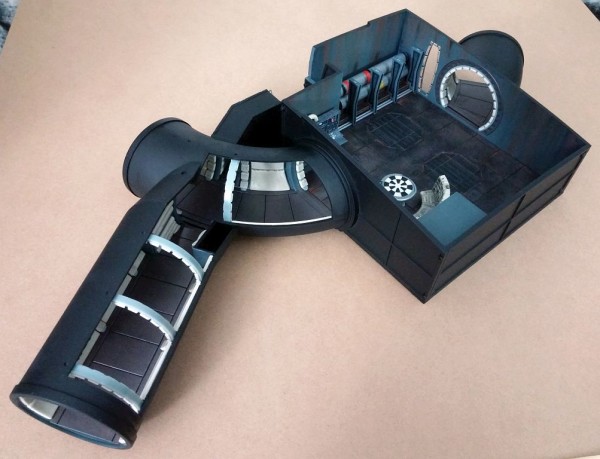
Again, assembly is straight-forward this month. The metal frame grows bigger, and more hull is applied. The only bits that needed to be glued together are the four pressure stabilizers.
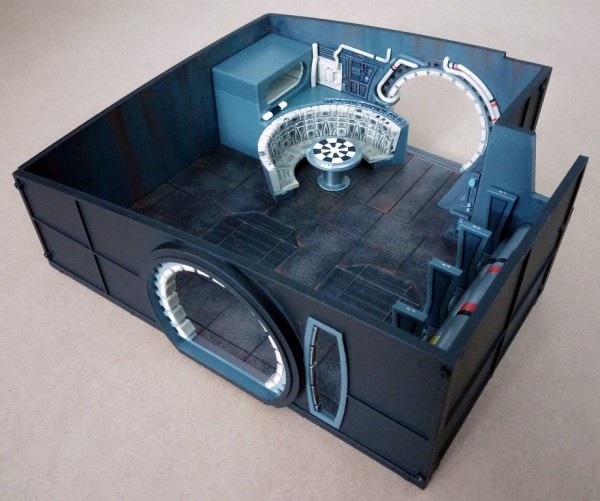
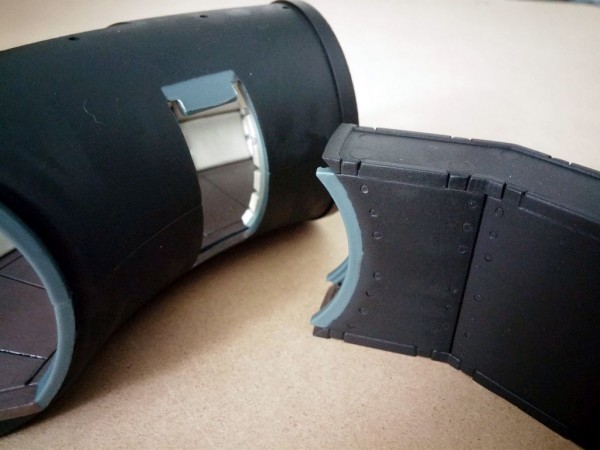
A section of the framework is assembled independently. The boarding ramp and motor will attach to this section, and having it separate from the rest of the hull will make working on it much easier.
Painting
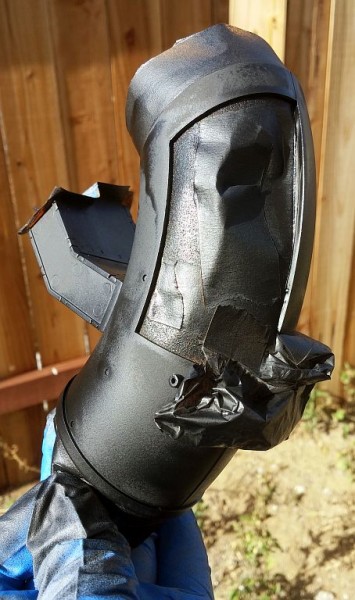
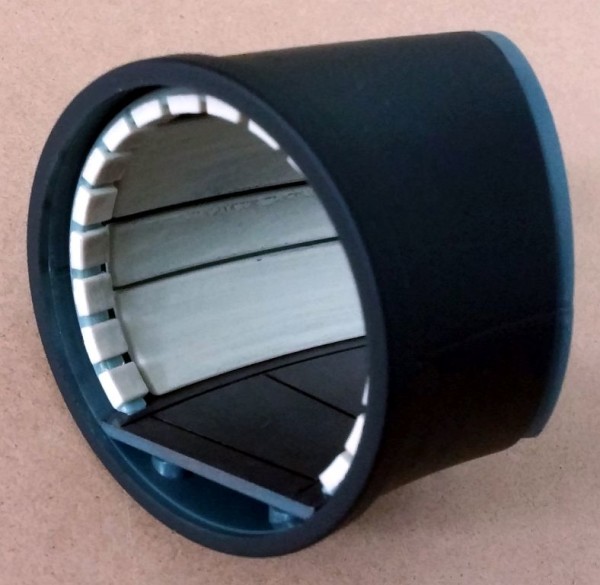
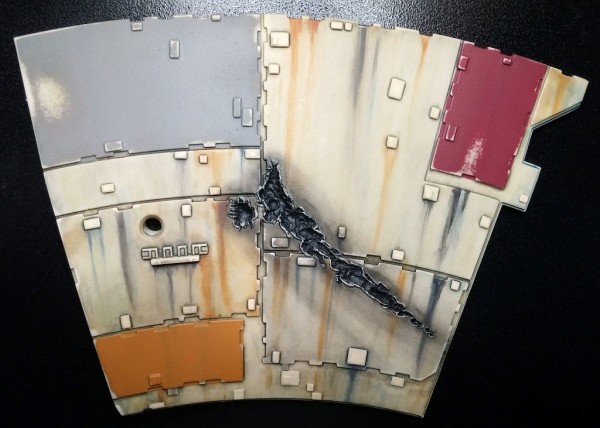
Looking around YouTube for other builders and their customizations, I found one person who painted the interior pieces black. I liked it so much that I decided to do it myself.
Overall, the effect is really nice; I think it will make the interiors pop when they are installed.
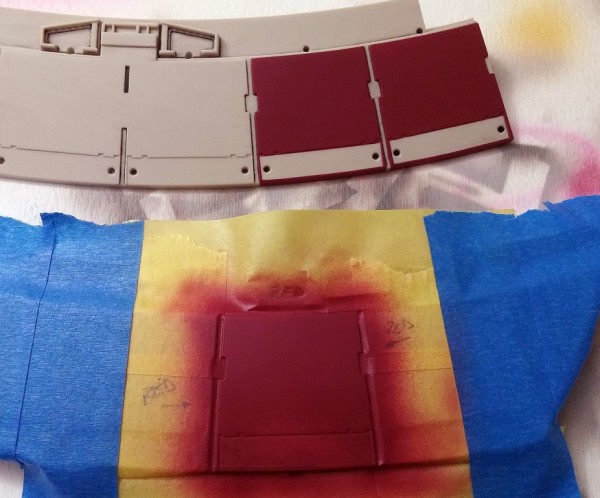
Last month, I fiddled with mixing paint to find the right colors to use. It took a couple of tries, but I found matching colors.
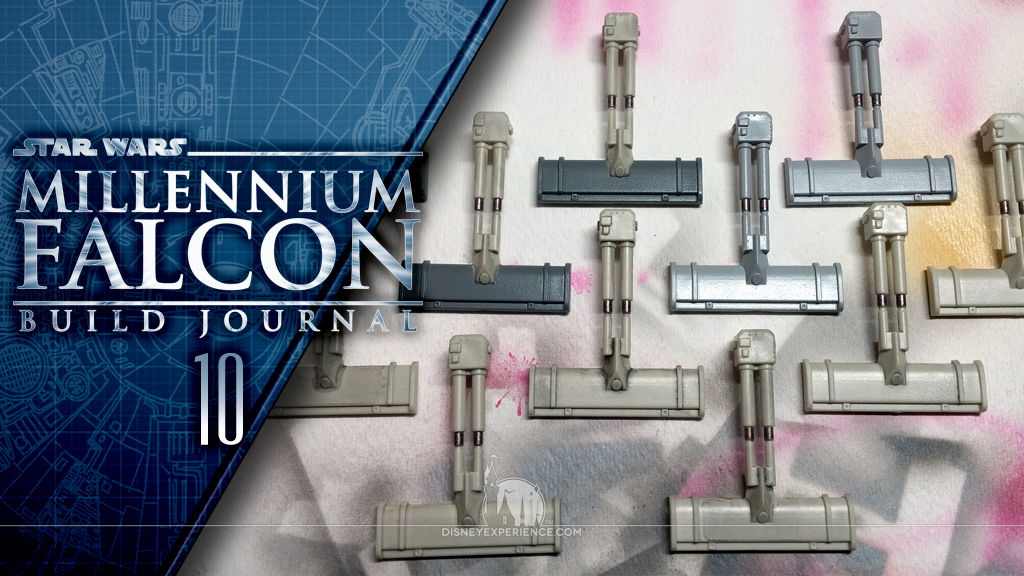
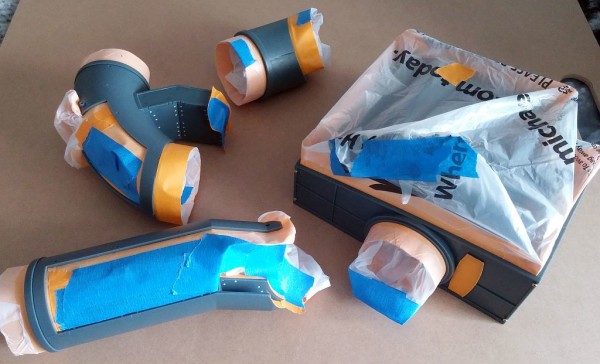
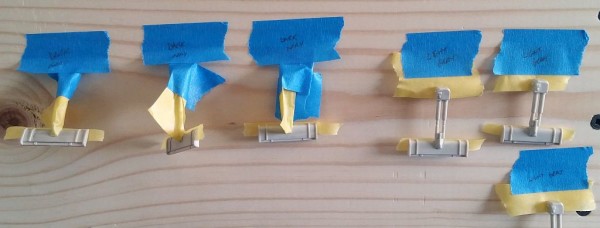
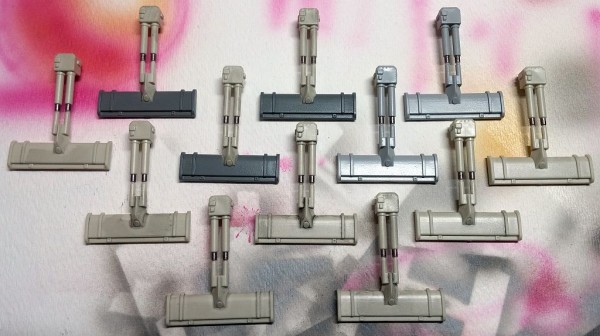
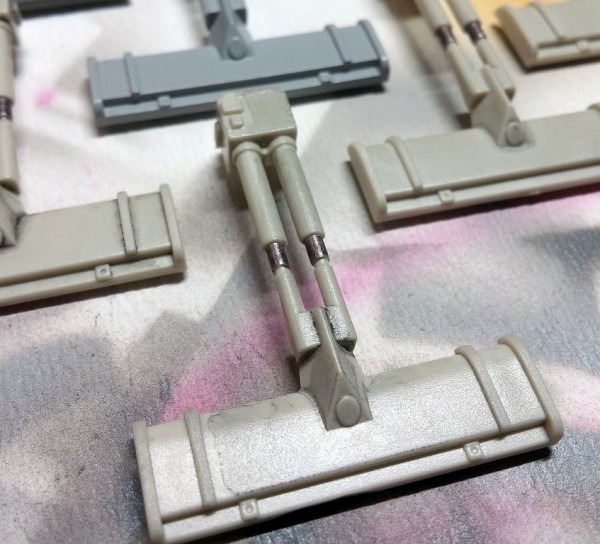
Using the yellow FrogTape, I masked off the thrust vector plates and actuators and airbrushed them using reference photos of the actual studio model.
I test-fitted the actuators and thrust vector plates. They’ll be glued down after the hull is finally secured and painted.
Prev Journal Entry | Next Journal Entry
Both the post author and this website have not received any compensation for writing this post. Both the post author and this website have no material connection to the third-party brands, products, or services that have been mentioned. Some of the links in the post above are “affiliate links.” This means that if you purchase the item, we will receive a commission. As an Amazon associate, we earn from qualifying products. This is being disclosed in accordance with the Federal Trade Commission’s 16 CFR, Part 255: “Guides Concerning the Use of Endorsements and Testimonials in Advertising.”



Do you have a thought about this post? Why not leave a comment . . .