
Millennium Falcon Build Journal No. 08: Issues 25-28
The Arrival
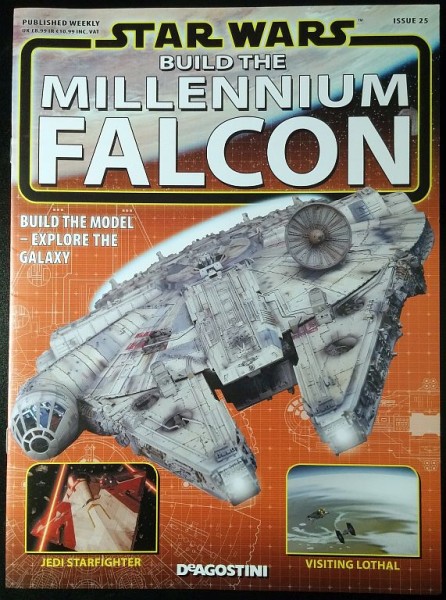
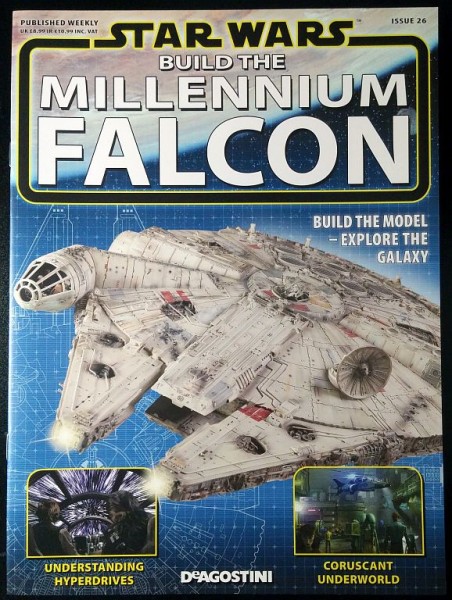
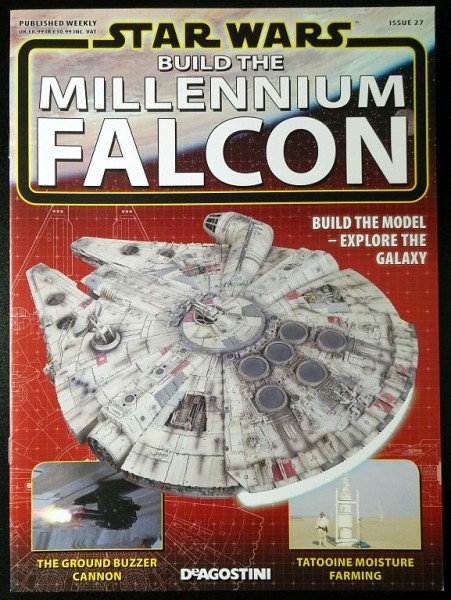
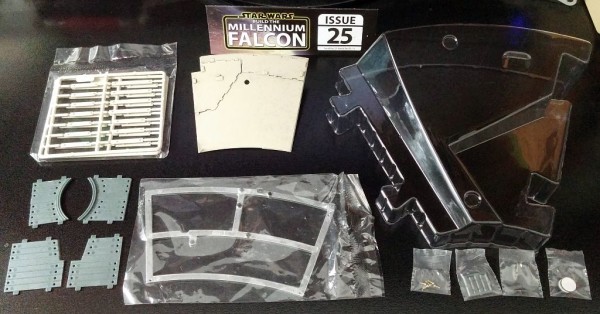
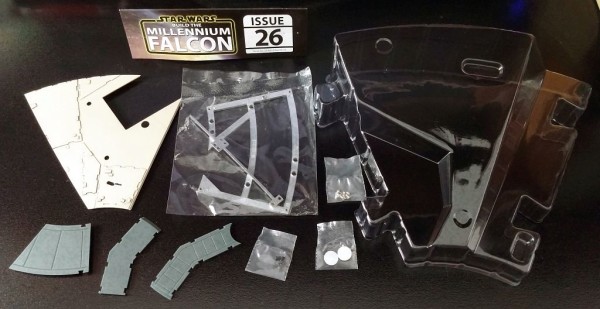
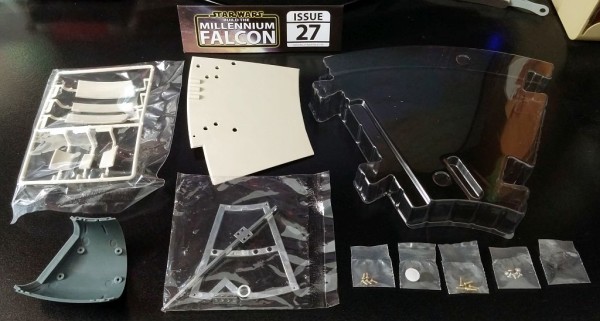
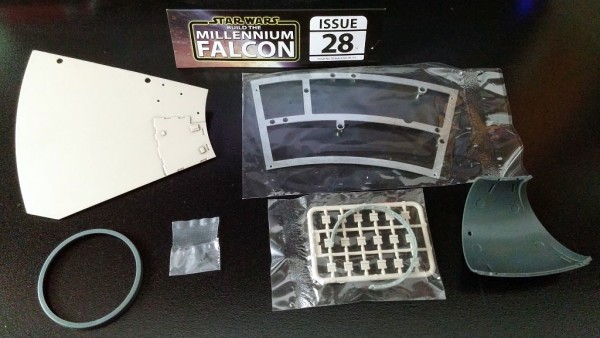
This month’s box marks a milestone. First, it sets itself apart by arriving in pristine condition; there were no crushed corners, open flaps, or torn packing tape.
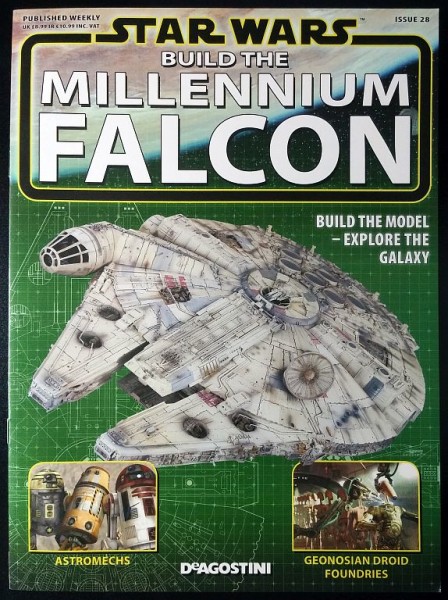
The magazines were even pristine and freshly printed. I did notice that these four issues were printed on slightly heavier paper stock. That could be related to the fact that there are fewer pages in these issues—the instructions are only 2-3 pages long.
Lastly, I finally have the parts to complete the ship’s interior . . . aside from the gunner stations. Those will begin construction in issue 41.
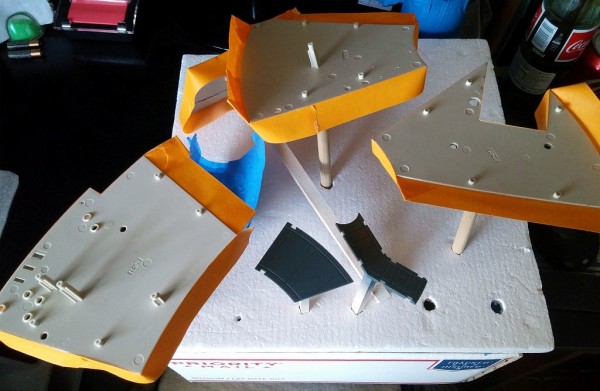
Painting
As part of all pain prep, I always wash the parts to remove oil, dirt, and grime. Just because they can’t be seen or felt doesn’t mean that they are not there.
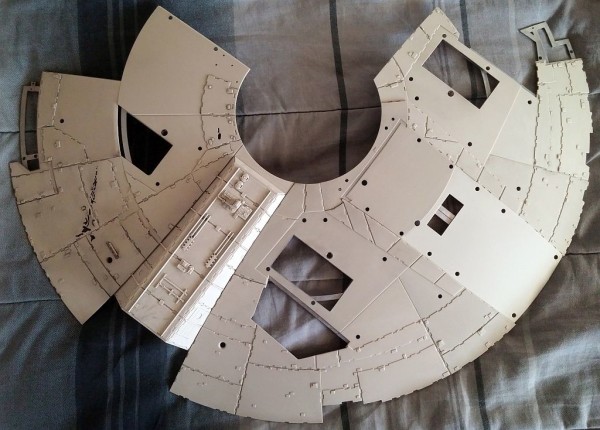
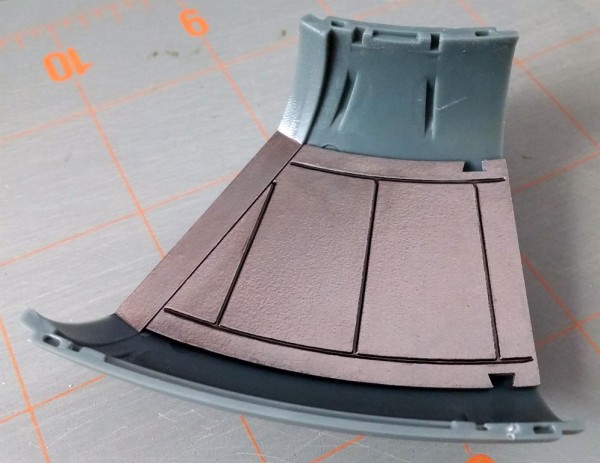
Painting was very simple. I only had a few hull panels to light-block, and three hallway floors to detail.
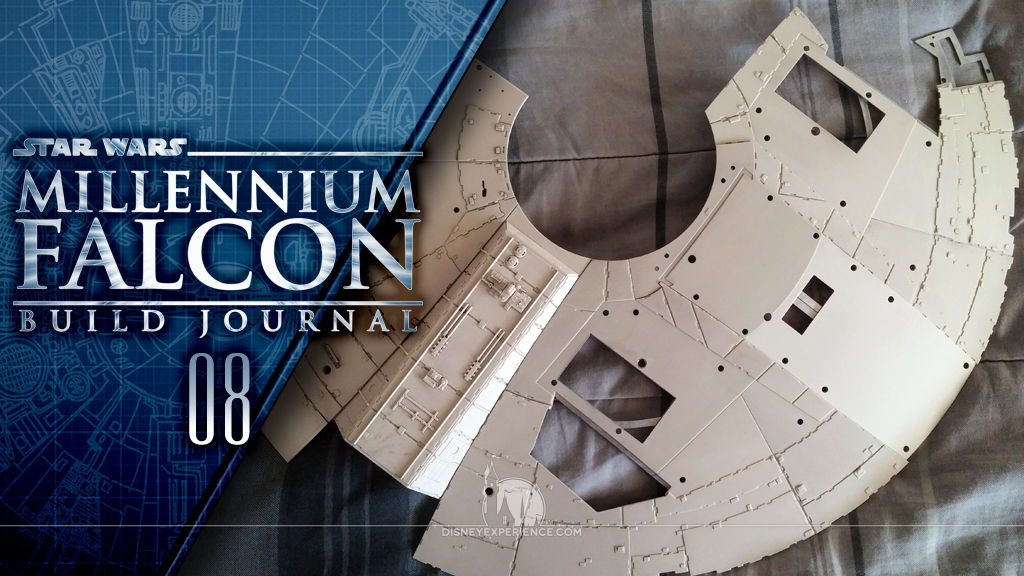
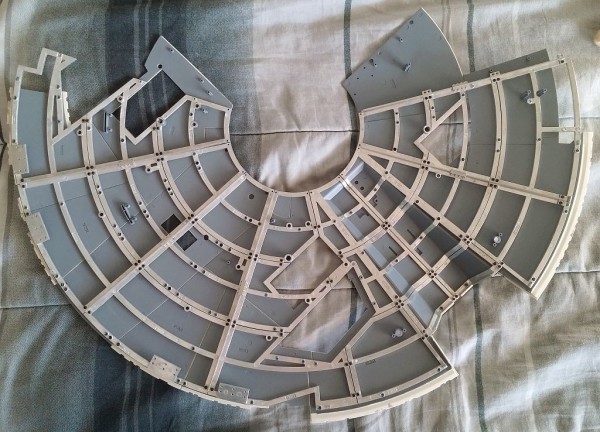
It’s about this time that I began to realize just how heavy the hull and framing are. And, there are still many more parts to be added. If the lower hull weighs this much, I can’t imagine how much the completed model will be. DeAgostini says the completed Millennium Falcon will weigh 24 pounds.
Assembling
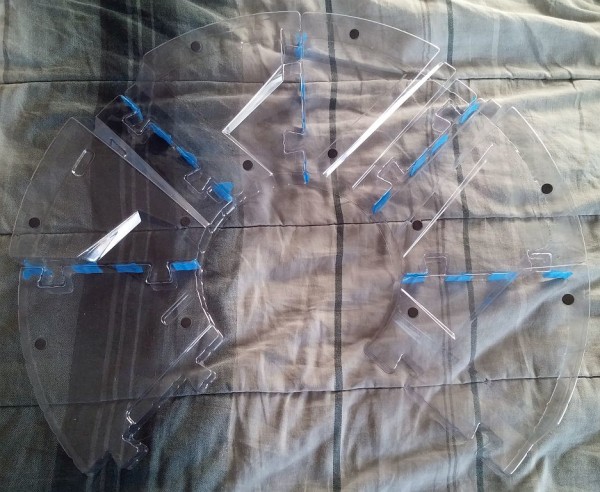
The assembly jig is now 75% completed. The instructions say to attach it to a stiff board that will not bend or warp so that the model will remain steady. This is especially important for transporting the ship between storage and the work area.
Now, I’m pretty limited on storage space, and the instructions say to use a board “no smaller” than 24×32 inches. Why? The assembly jig will fit easily onto a 24×24-inch board, which just so happens to be the size of ready-cut (and VERY inexpensive) MDF that my local Home Depot carries. As far as I can tell, the rest of the board is just waste. One person on the Model Space forum said that the extra board was for the mandibles. But, the mandibles should be attached to the hull, which is supported by the assembly jig. Will there be a separate jig for the mandibles? Who knows.
Right now, I don’t need the board. I keep my hull frame in the closet, hanging from a modified hanger. The whole assembly is carefully sandwiched between clothes that I rarely ever wear.
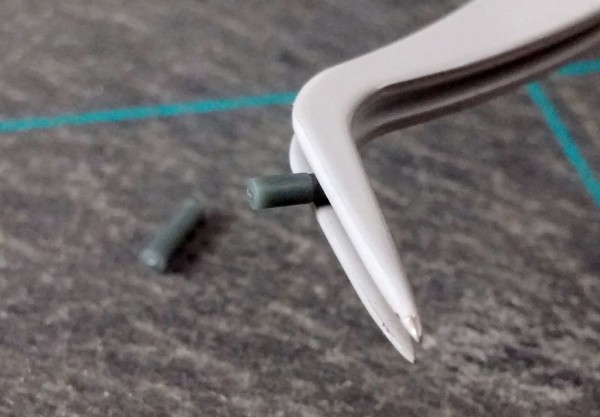
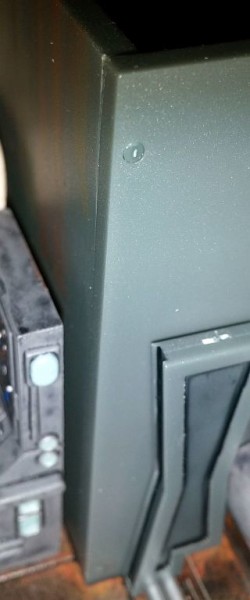
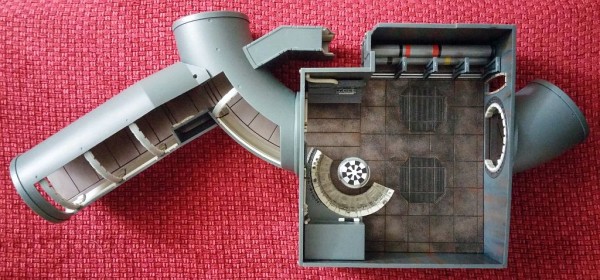
The main hold is finally completed with the addition of two small plugs to fill in the two screw holes. They fit perfectly, and I even cemented the walls together for added measure.
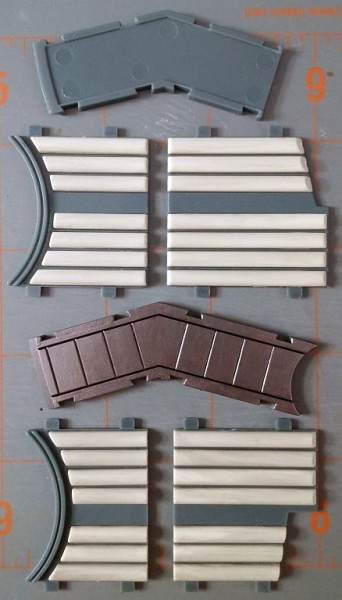
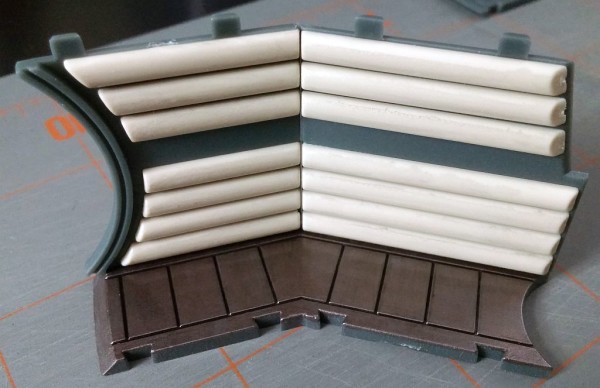
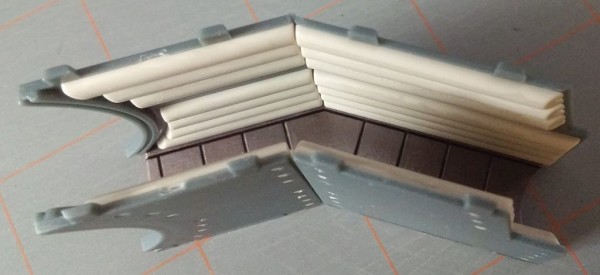
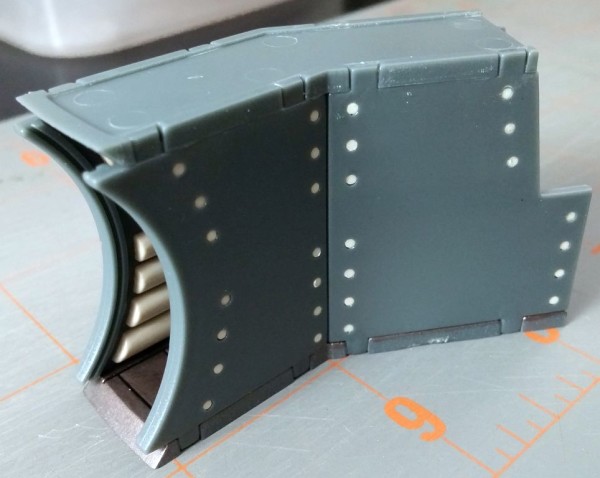
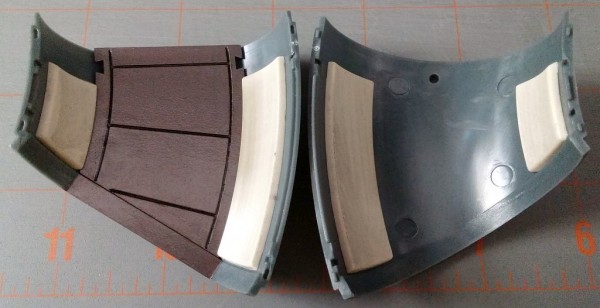
The turret corridor was a little tricky at first; I couldn’t get the walls to line up correctly. Then, I realized that I had one of parts upside-down.
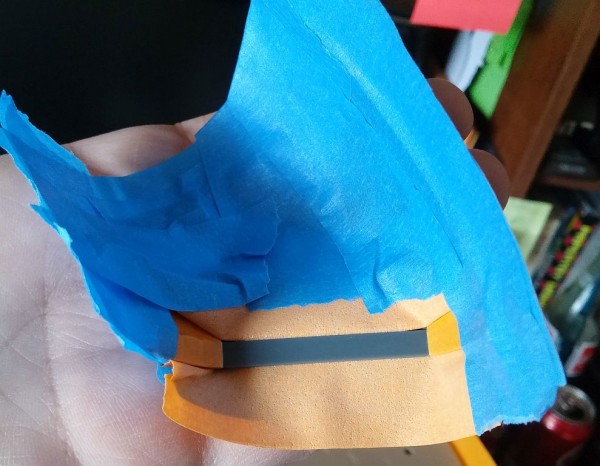
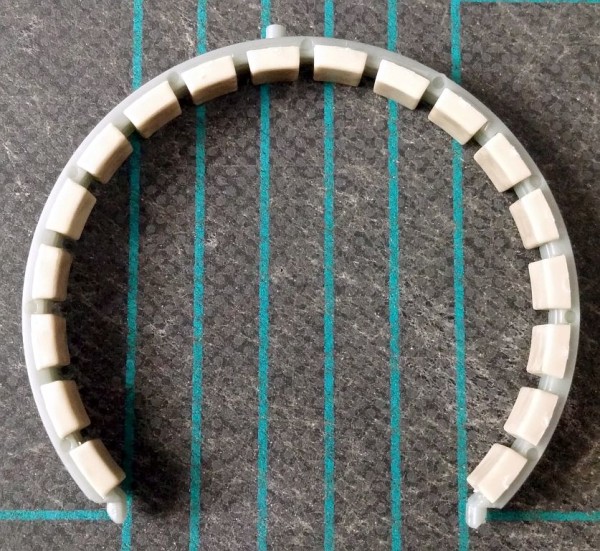
The final padded ring! At least, I hope it is. They’re not hard to build, just tedious and boring.
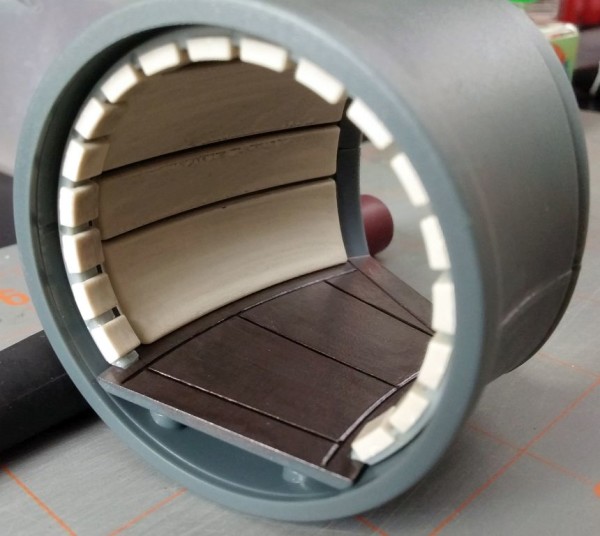
With the final hallway completed, I went back and permanently cemented the hallway sections (not to each other). The instructions don’t say to do this, but I did it anyway. Then, I dry-fitted the parts to get an overall view of the interior.
Prev Journal Entry | Next Journal Entry
Both the post author and this website have not received any compensation for writing this post. Both the post author and this website have no material connection to the third-party brands, products, or services that have been mentioned. Some of the links in the post above are “affiliate links.” This means that if you purchase the item, we will receive a commission. As an Amazon associate, we earn from qualifying products. This is being disclosed in accordance with the Federal Trade Commission’s 16 CFR, Part 255: “Guides Concerning the Use of Endorsements and Testimonials in Advertising.”


Do you have a thought about this post? Why not leave a comment . . .