
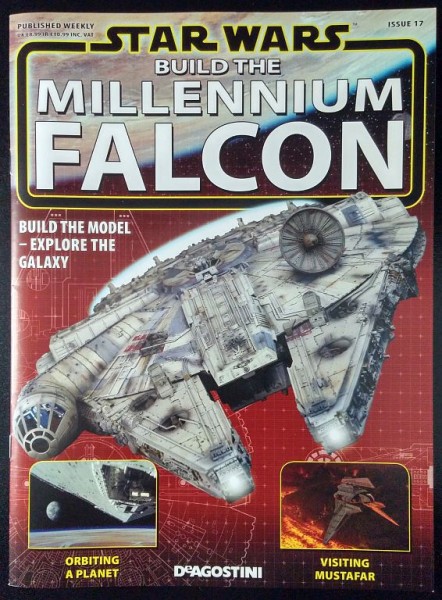
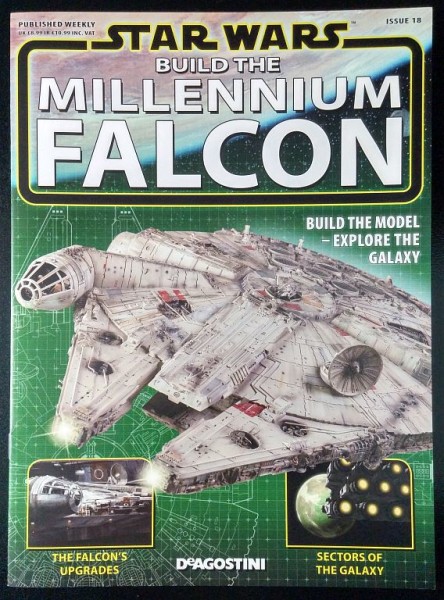
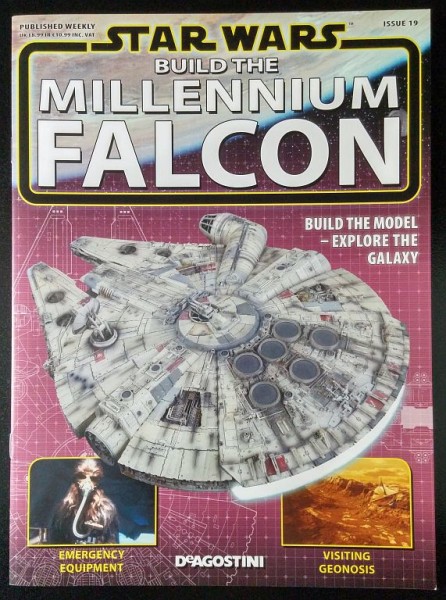
Millennium Falcon Build Journal No. 06: Issues 17-20
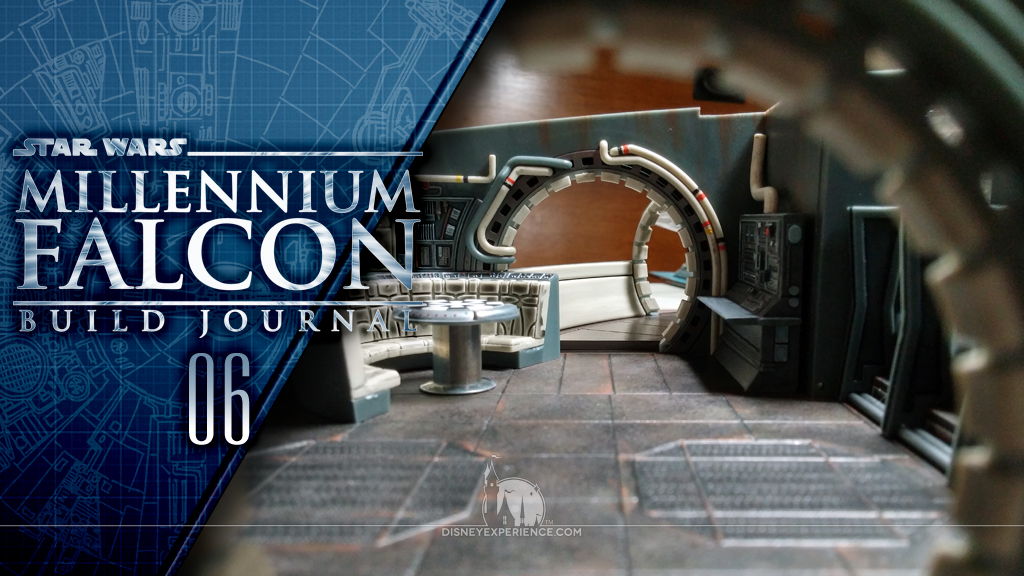
The Arrival
This month’s box arrived with one of the bottom box flaps open. It looks like the packing tape rolled off during shipping. The USPS can be rough with packages. Thankfully, nothing inside the box fell out; the magazines, which are always at the bottom of the box, blocked the large gaping hole. Whew!
Supplies
For part of the Falcon, I needed black primer/paint.
Painting
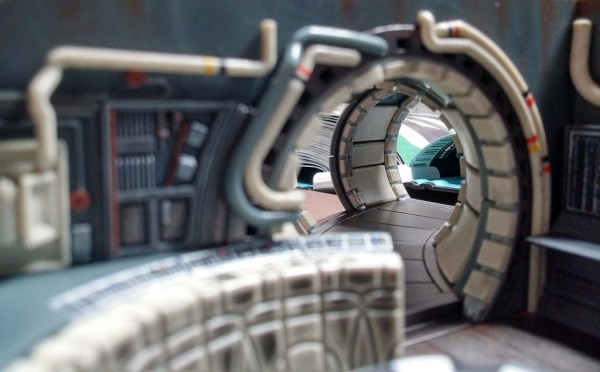
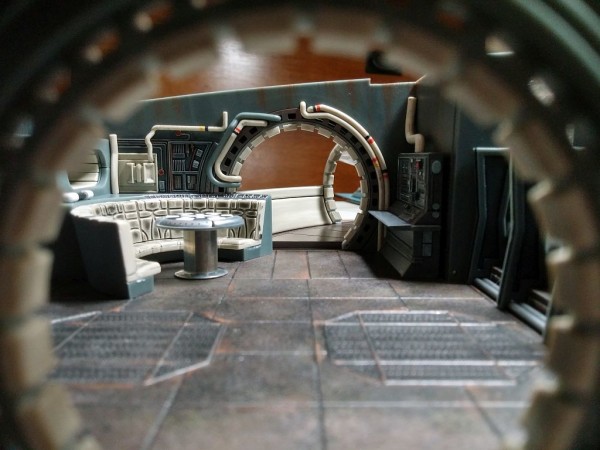
Before moving on to issues 17-20, I had a few missed details from the previous issues. Now that I know how the parts fit together, I could see that the steps leading from the main hold to the hallways needed to be primed and painted.
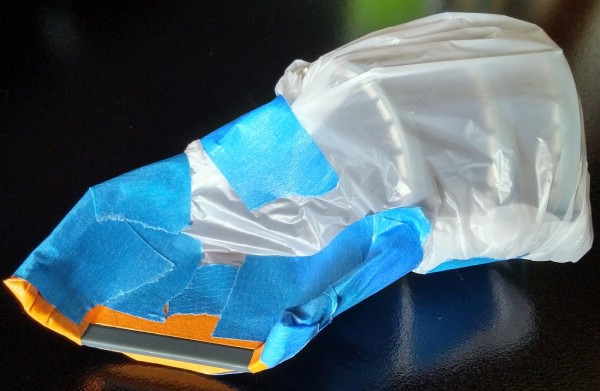
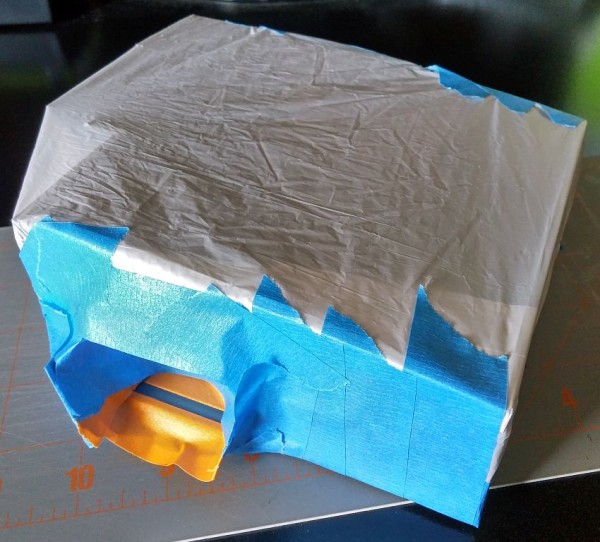
Masking was tricky, but I was able to get everything protected, primed, painted, and varnished. It was a simple one-color paint scheme, and I even fixed some tiny details that didn’t quite jive with me.
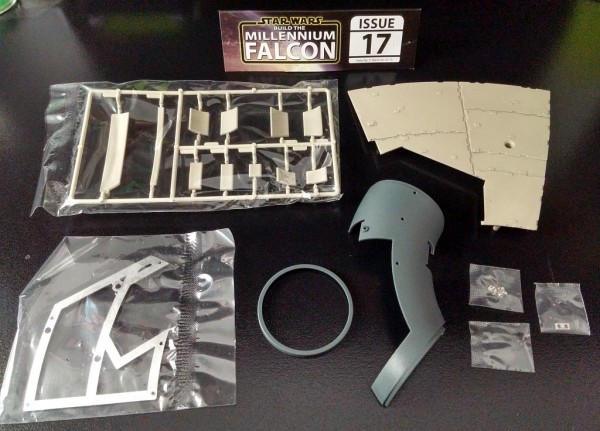
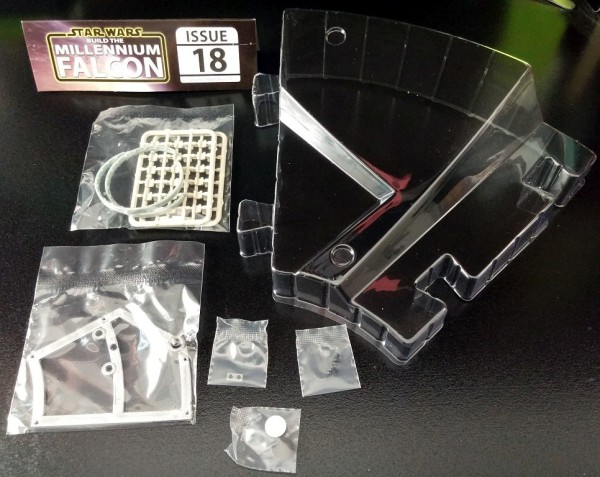
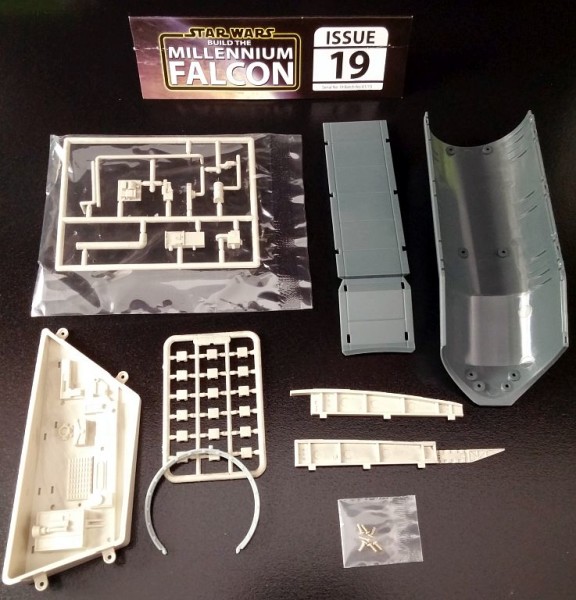
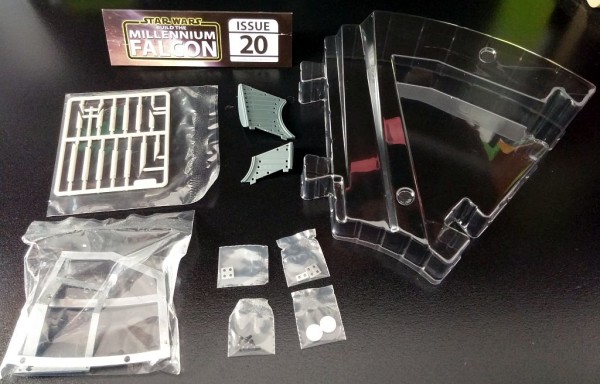
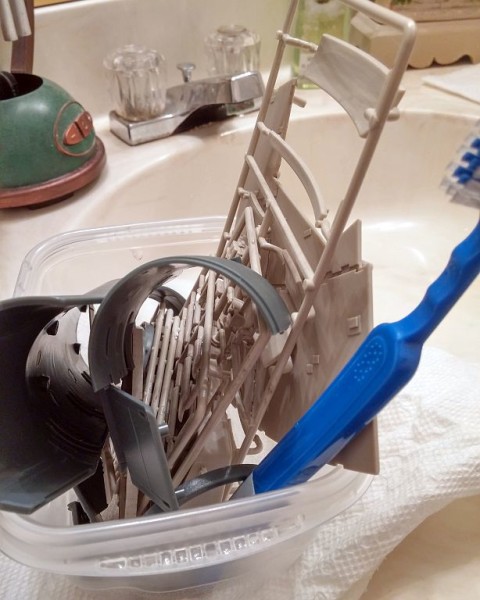
There were a lot of parts to clean this month.
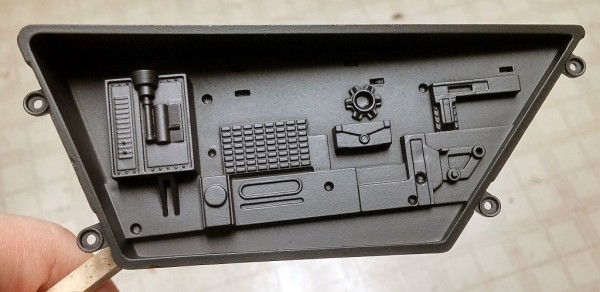
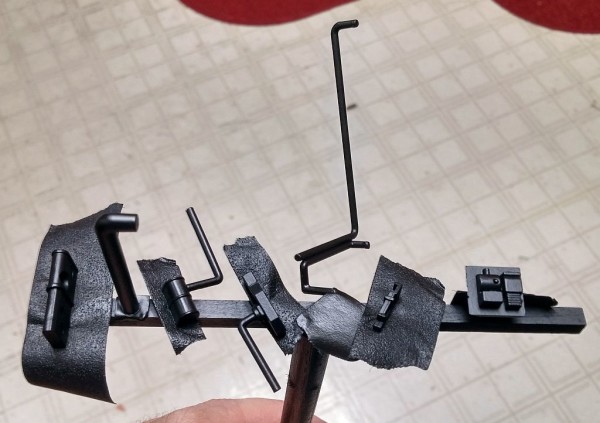
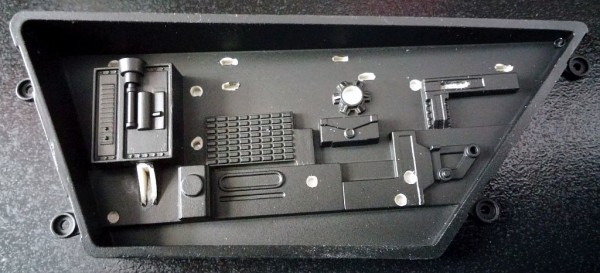
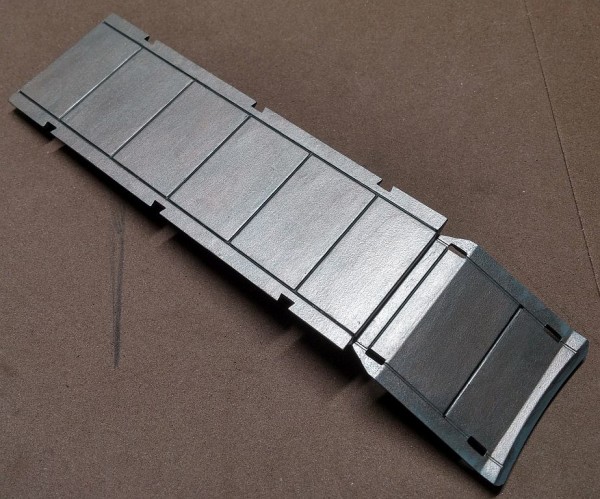
The hallway ramp and hull plating were primed with the typical gray primer, but the parts that make up the Falcon’s recess needed to be based in black. Furthermore, the recess is so detailed that I decided that it would be best to spray each piece individually; the instructions say to assemble the recess, then paint it.
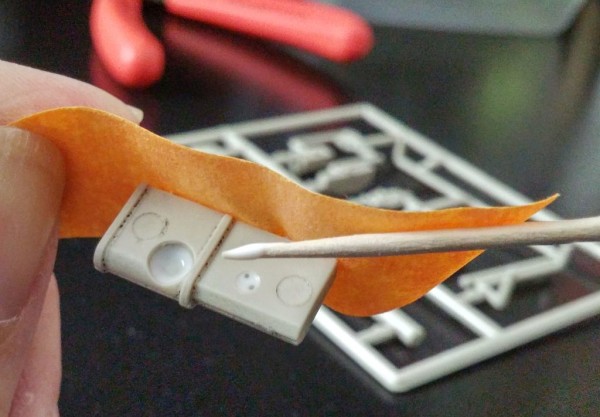
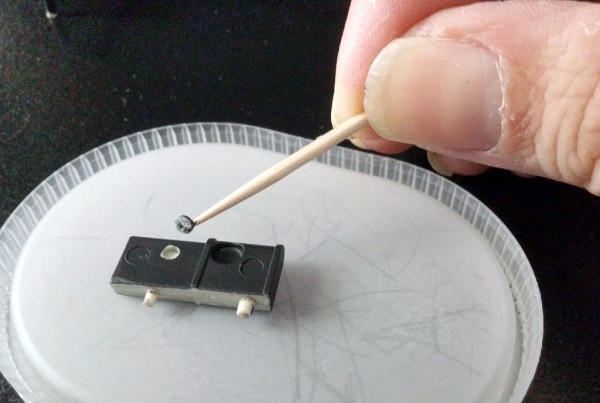
For the glue joints on the recess, I used Elmer’s Glue-All as a masking agent. It worked very well, and I even had to do some serious digging with a sharp object to get the glue to pry loose. There were a couple of spots that I missed, but a cotton swab soaked in 100% acetone (nail polish remover) removed the paint easily.
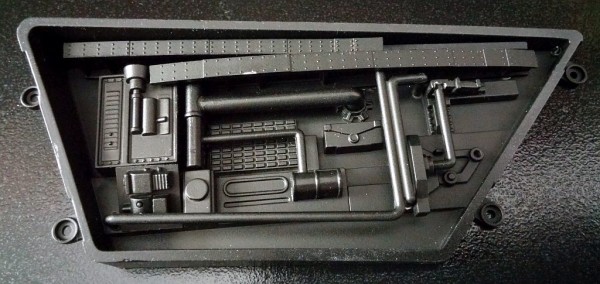
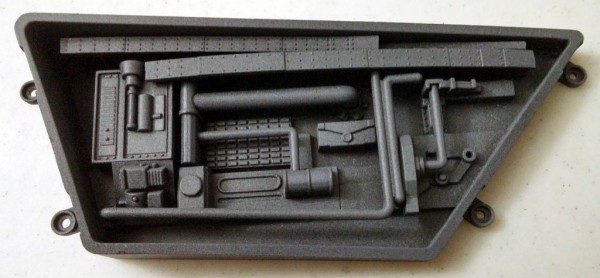
After assembling the recess, I applied a light spray of gray primer. I will be adding color and effects to the recess after the matching recess is assembled in a future build.
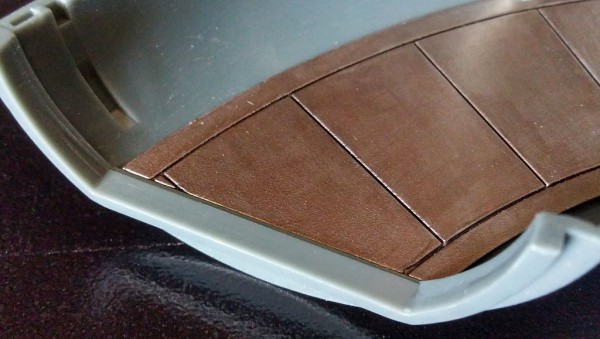
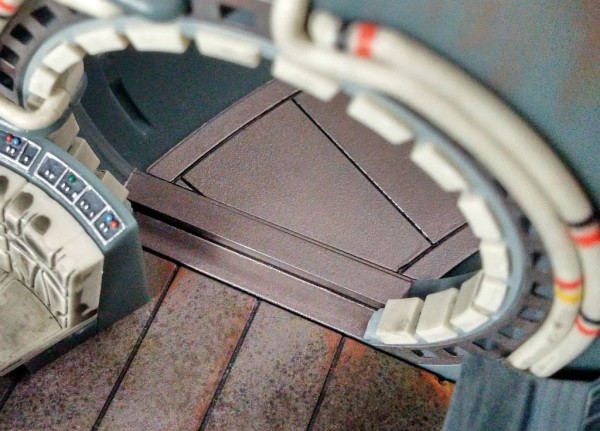
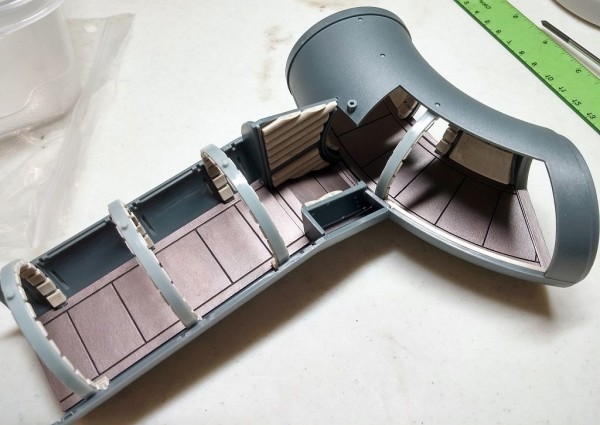
The last item to paint was the floor of the new hallway. There wasn’t much to paint (by hand, at least) in these issues.
Assembling
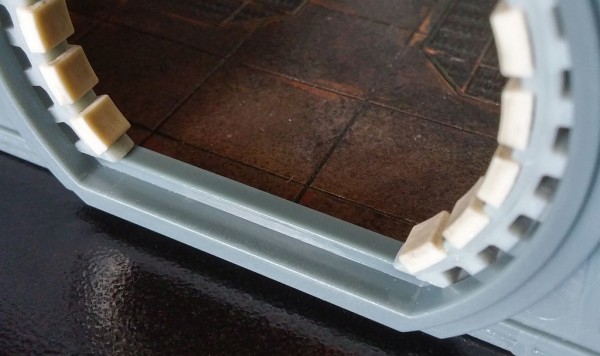
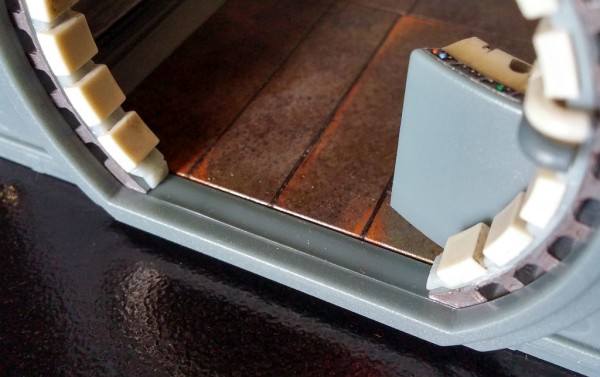
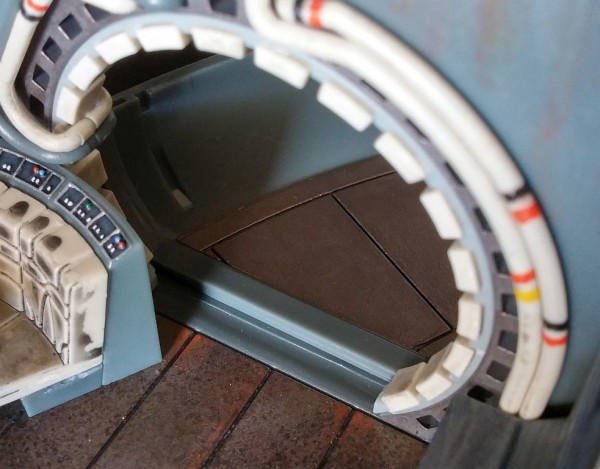
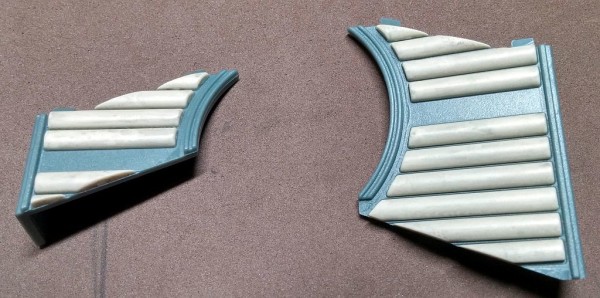
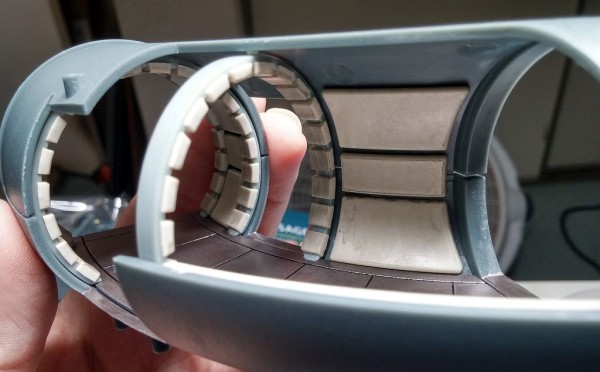
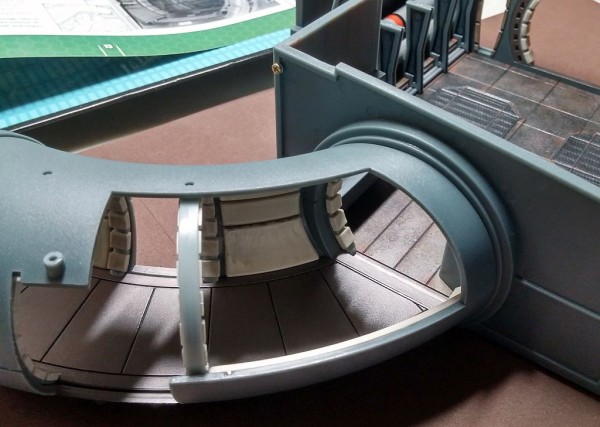
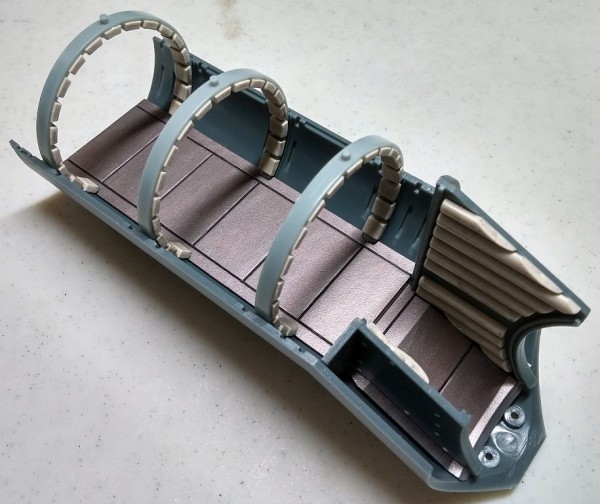
As the paint and varnish dried, I assembled the hallway padding. By watching other builders online, I approached the padding differently. The main problem builders keep having is that the spacing between the pads comes out uneven.
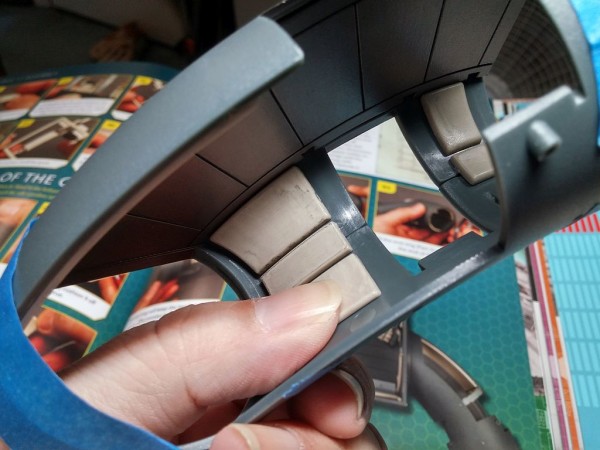
I began by placing the bottom pads to the bottom half of the hallway, followed by the middle pads as the official instructions say. Here, the instructions say to attach the upper pads to the upper half of the hallway. But, when the two hallway halves are put together, the spacing between the upper, lower, and middle pads are usually uneven; one space is larger/smaller than the other.
Instead, I attached the two hallway halves first, making sure the fit was tight, and taping the pieces together. Then, I glued in the upper pads, adjusting them so that the spacing was even. This resulted in a much better visual.
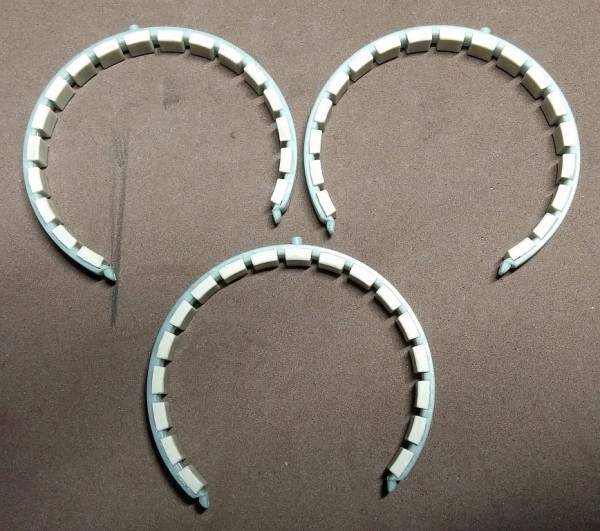
I removed the tape, placed the padded rings into the hallway, and temporarily fitted everything together.
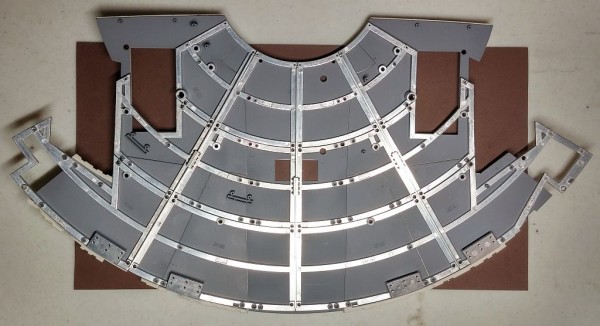
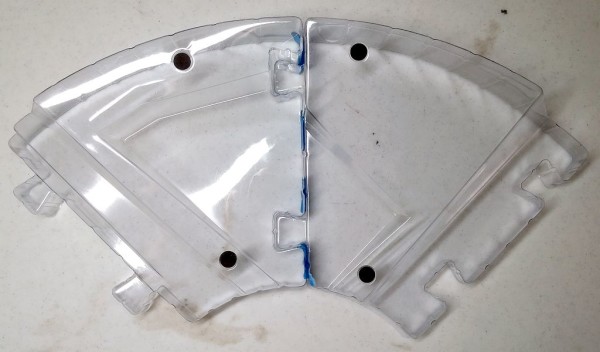
All that was left to do was to assemble the hull framing and plastic jig pieces. I wanted to staple the pieces together, but all I have is a full-size stapler that would not reach far enough. So, I opted for tape instead . . . for now.
Prev Journal Entry | Next Journal Entry
Both the post author and this website have not received any compensation for writing this post. Both the post author and this website have no material connection to the third-party brands, products, or services that have been mentioned. Some of the links in the post above are “affiliate links.” This means that if you purchase the item, we will receive a commission. As an Amazon associate, we earn from qualifying products. This is being disclosed in accordance with the Federal Trade Commission’s 16 CFR, Part 255: “Guides Concerning the Use of Endorsements and Testimonials in Advertising.”



Do you have a thought about this post? Why not leave a comment . . .