
Millennium Falcon Build Journal No. 04: Issues 9-12
The Arrival
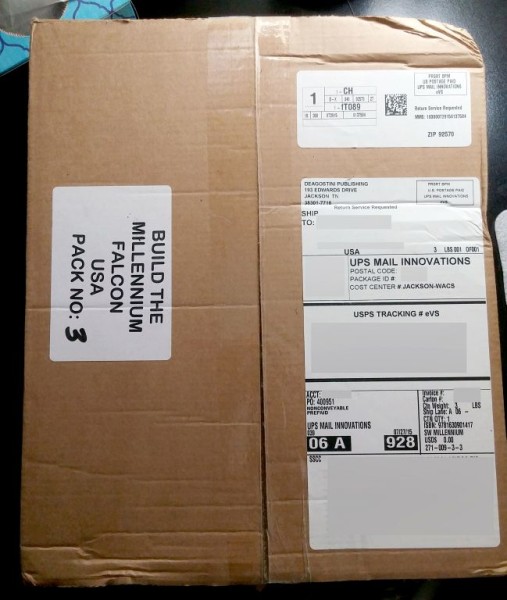
With the intense heat of the California summer in full swing, I wanted to track my package so that I could get it inside quickly. The last thing I want are bits of melted plastic model parts. I contacted customer service to get the tracking number, but they said that they don’t have tracking numbers . . . despite the blatantly obvious UPS tracking number on the box’s mailing label.
This is a problem/request that many people have been complaining about. The tracking numbers are clearly on the boxes, but DeAgostini doesn’t provide customers with those numbers when packages ship. I don’t know who ships these packages, but with the time, effort, and money that we builders have been putting into these models, you’d think we could get tracking numbers. That said, this month’s package arrived only three days after shipping. It normally takes six days.
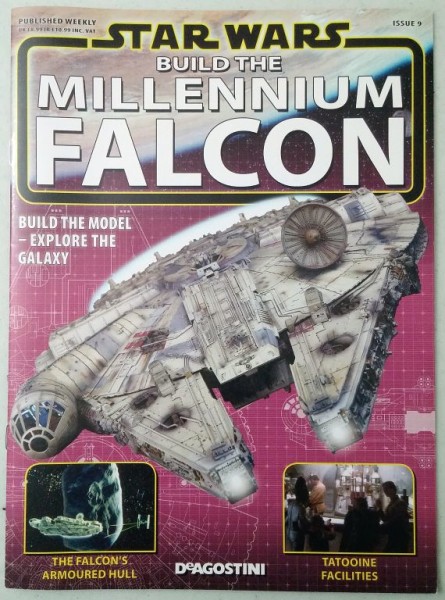
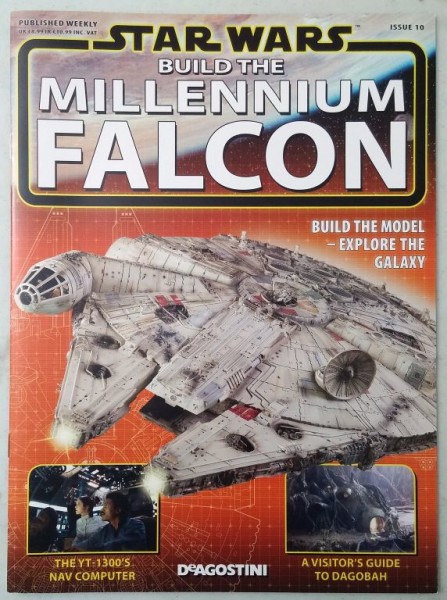
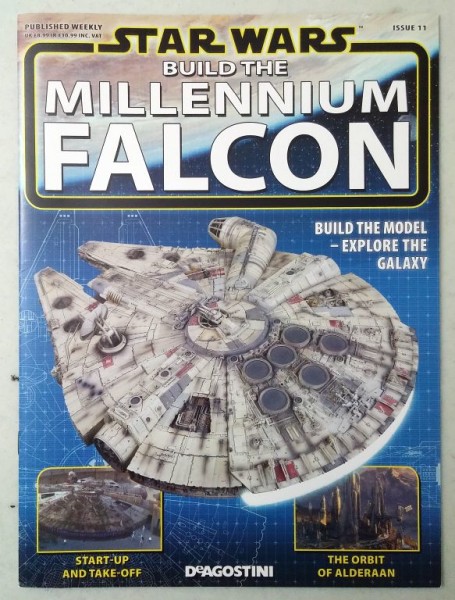
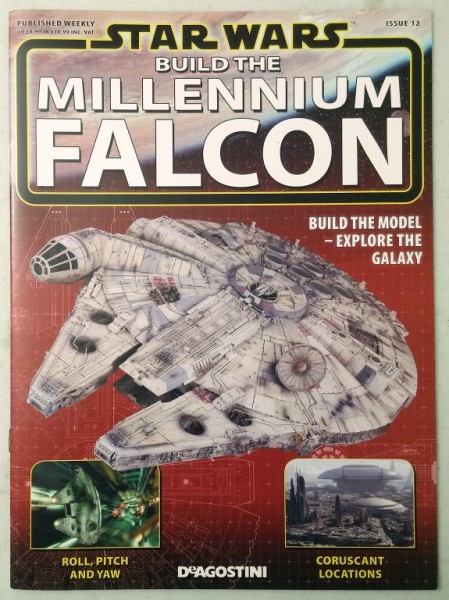
Inside the box, there was absolutely no packing material. Fortunately, there were no thin parts that could have broken during shipping. The best part, though, is that the magazines were all brand new. They even had that freshly printed smell.
At this point, it may seem like I’m nitpicking; trying to find every tiny thing wrong with DeAgostini and their model. But, I’m really making observations and expressing my opinions. It just so happens that I have more opinions about the mistakes and flaws than I do about all of the good things.
I don’t want to discourage anyone from subscribing to the model. But I do want them to be informed.
In all, I am having a blast putting the Millennium Falcon together! I find myself not only looking forward to my monthly packages (which can’t come soon enough), but also looking forward to paying for the next package. How weird is that?
I also scour YouTube (almost daily) for build videos so that I can get a sneak peek at the parts that are coming in future issues. At the time of this writing, I think the farthest anyone has gotten is issue 29.
Supplies
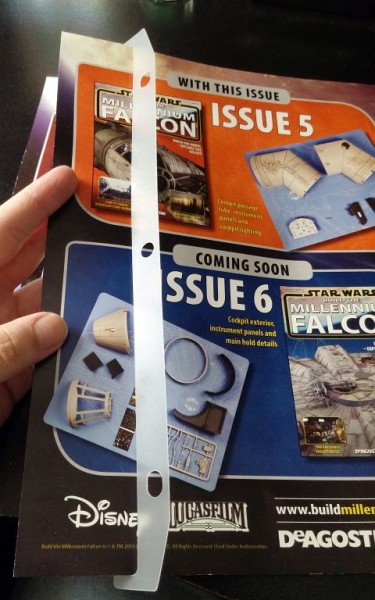
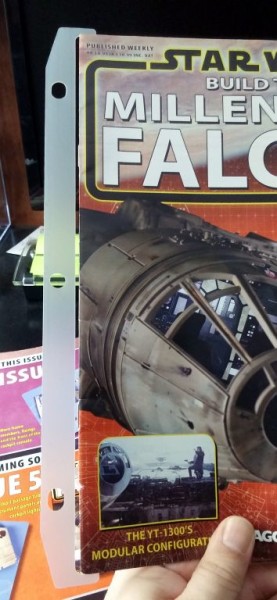
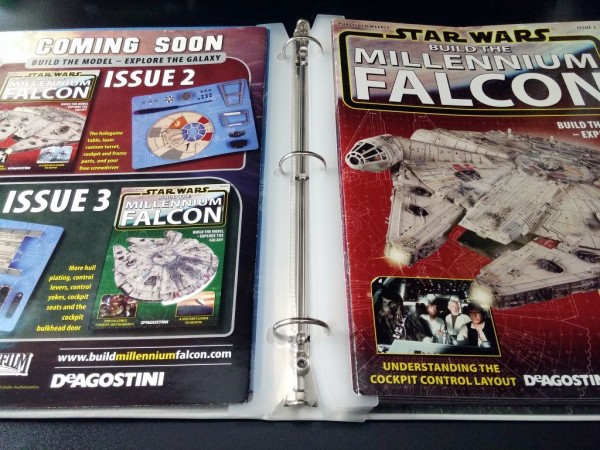
The DeAgostini magazine binders are way too thick for only holding 20 magazines, so I decided to try out a set of Rubbermaid magazine holders. They come in packs of 12, and are thin plastic holders that fit within any standard 3-ring binder. They just barely fit the magazines, and really free up a lot of space that the DeAgostini binder wastes.
In the DeAgostini binder, the first 8 magazine issues take up 7/8 of an inch. Using the Rubbermaid magazine holders in a standard 3-ring binder, the same magazines only take up 9/16 of an inch. That’s a big reduction! I estimate that all 100 issues will be nearly 8 inches at its thickest point using the Rubbermaid magazine holders.
Using a DeAgostini binder, the magazines work together to create a nearly seamless book. That makes it hard to find specific issues. Using a 3-ring binder and the magazine holders, I can quickly flip through the individual issues to pinpoint the articles/instructions that I want to review.
Assembling
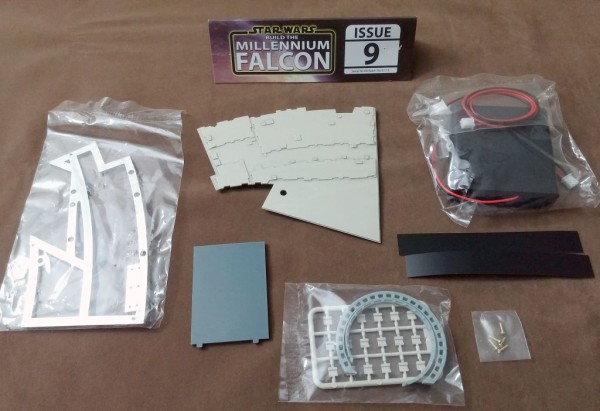
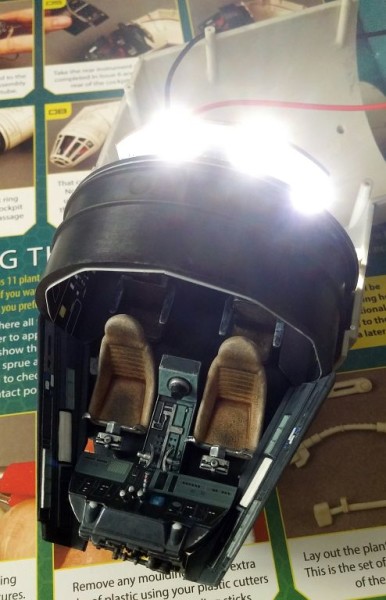
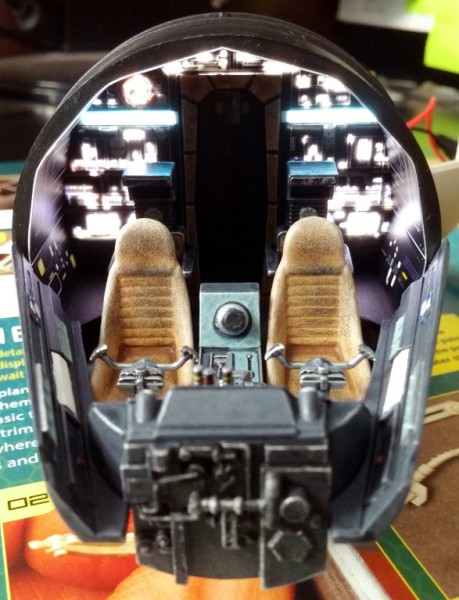
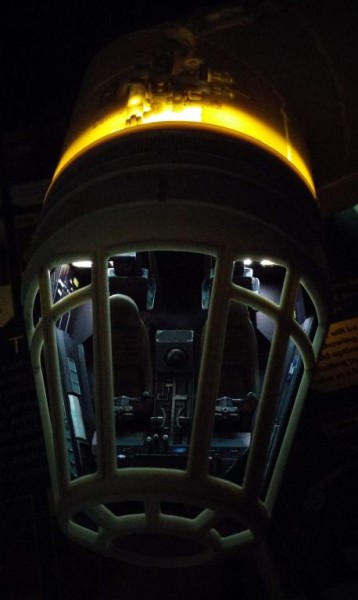
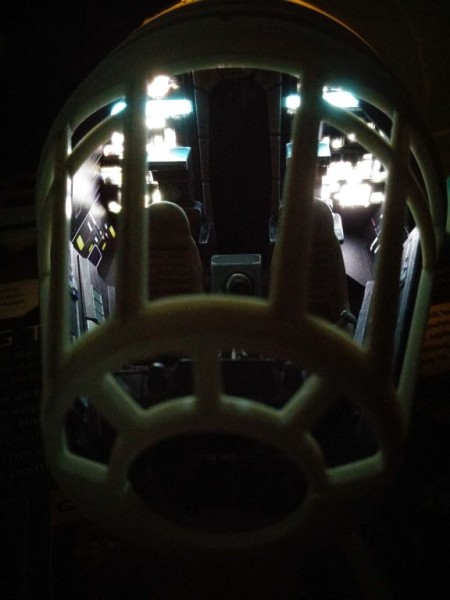
Right off of the bat, I grabbed four AA batteries and plugged the battery compartment into the cockpit lights for testing. Boy howdy, those tiny LEDs are bright!
The only problem is that there are a lot of light leaks. The light shines through the corridor walls, and between the part seams. DeAgostini tries to remedy this by supplying two black strips of adhesive. Unfortunately, they do not block all of the light, as I have learned from other people’s builds. I will most likely spray paint the interior. To block the light coming through the seams, I may glue styrene strips along the inside edge. But, I won’t know exactly what modifications I will have to make until I get close to actually fitting the cockpit tunnel to the ship’s body.
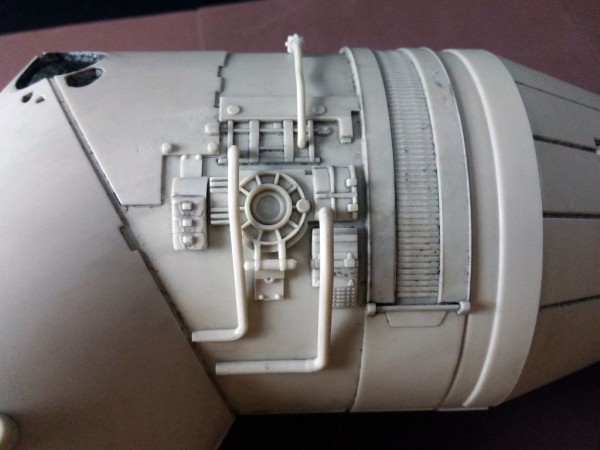
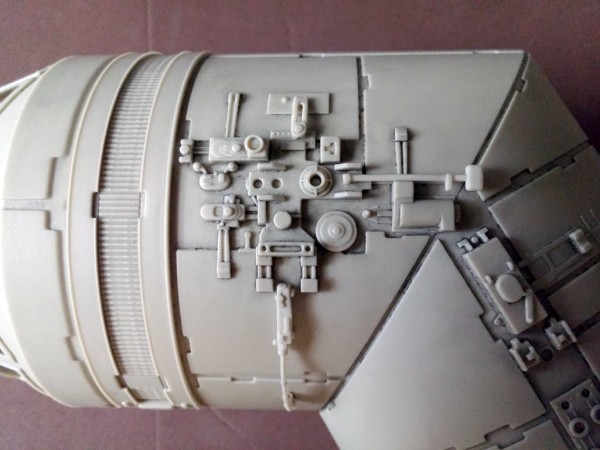
Placing the fiddly-bits onto the outside of the cockpit access tube was the first time that I got to see the Tamiya extra thin cement do its magic on this model. I previously used the cement on the cockpit parts, but I had to have faith that it did its job.
The cement wicked away from the brush and into the crevices of the model in the blink of an eye. I waited a few seconds for the plastic to soften, then applied a little bit of pressure to fuse the plastic together permanently. The cement does leave a semigloss finish on affected areas, so I have to be careful not to get it onto highly visible areas.
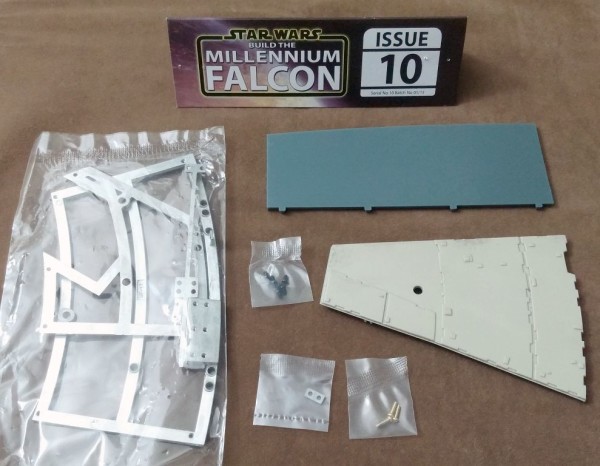
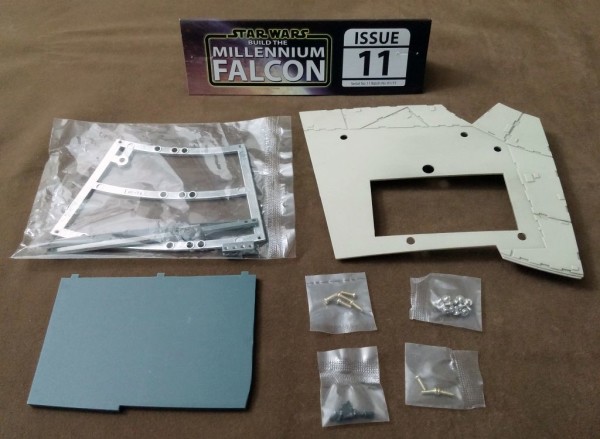
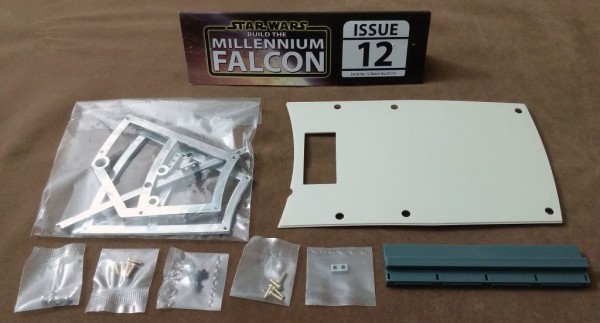
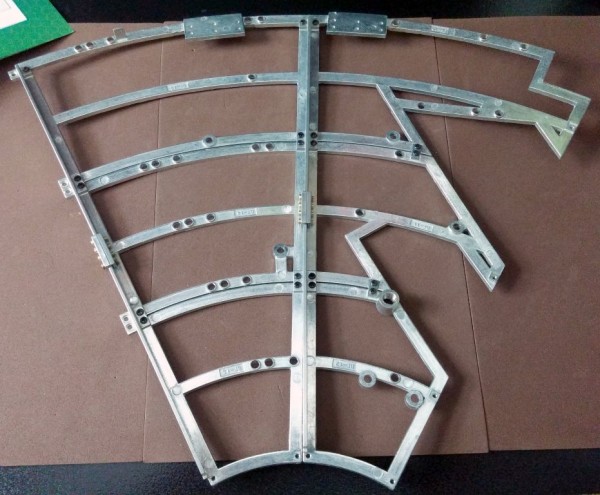
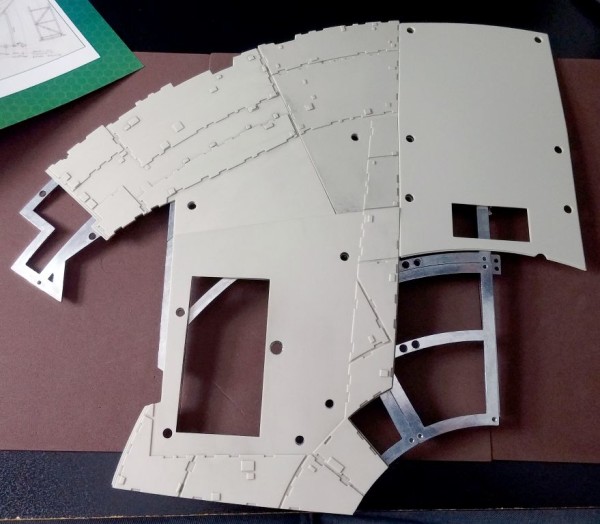
Putting the framework together is my favorite part of the build. It’s simple, it’s calming, it’s quick, and you see results right away. Best of all, the parts fit so well together. It’s very satisfying. Even the hull plating has a nice snug fit.
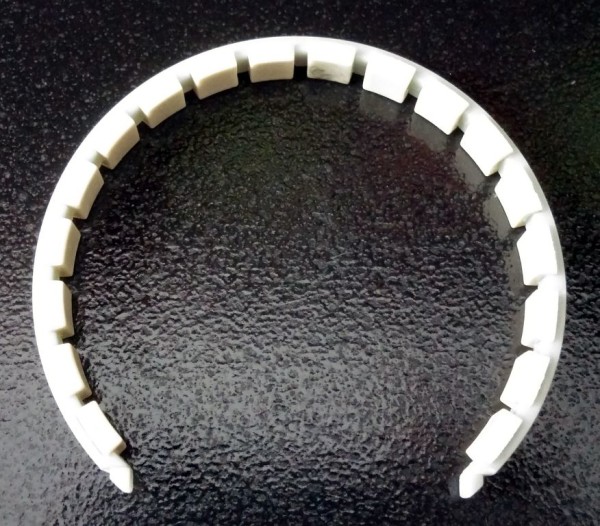
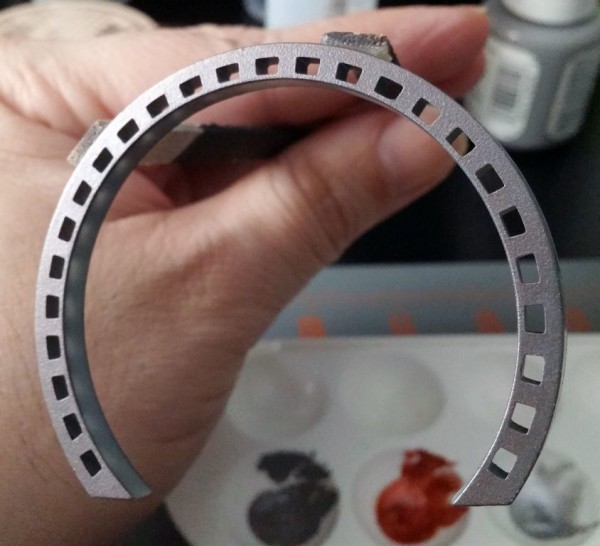
Assembling the padded ring was a breeze. I recommend not worrying about cleaning up the individual pads right away. It’s a time waster. Instead, glue them to the ring first; it will make holding them a lot easier for cleanup. Then, use sandpaper to take away the rough bits of the pads.
Painting
The YouTube video series that I was watching and basing my paint scheme on hasn’t made a new video in many months. I’m far beyond the video series, so I am taking my own approach to the interior’s paint scheme.
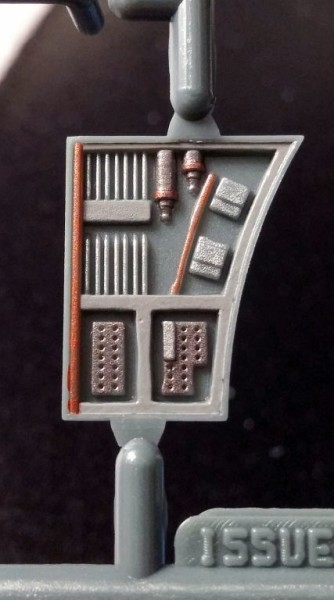
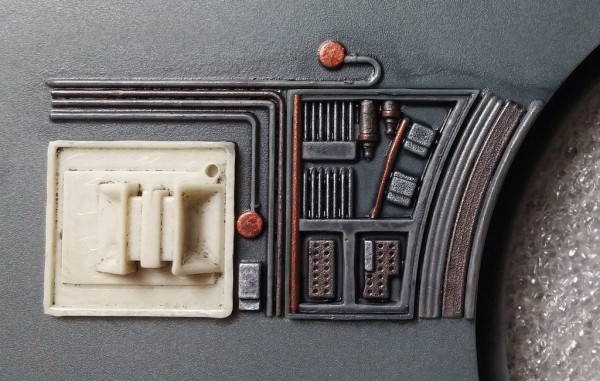
There was little to paint/customize this month: a panel, some pipes, and a small section of wall.
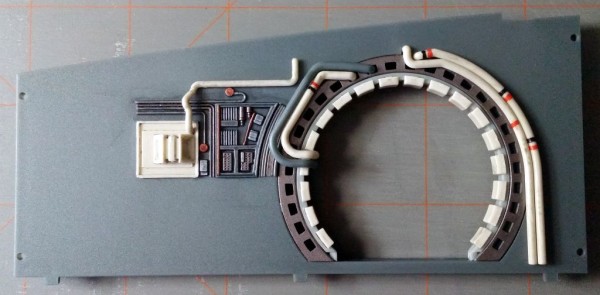
The main piece that had to be painted was an exposed wall panel on which I used silver, copper, and a custom bronze color. I used the same colors to paint some the extra pipes and wires that are on the wall.
After cementing the panel to the wall, I applied a dark wash over that area of the wall to make all of the circuitry stand out.
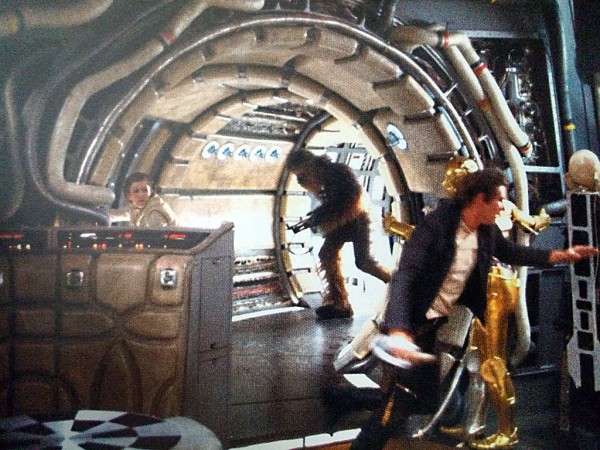
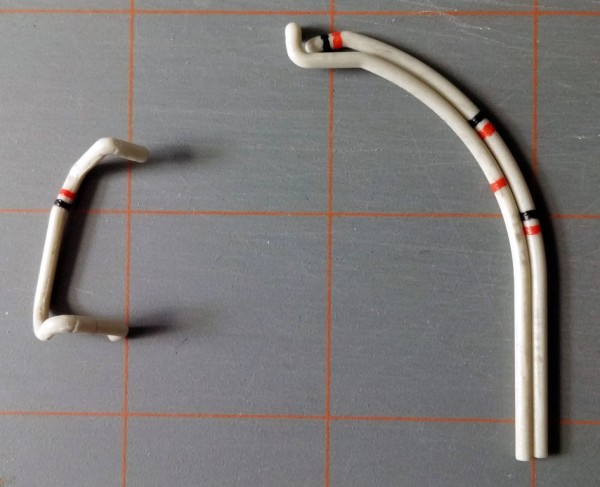
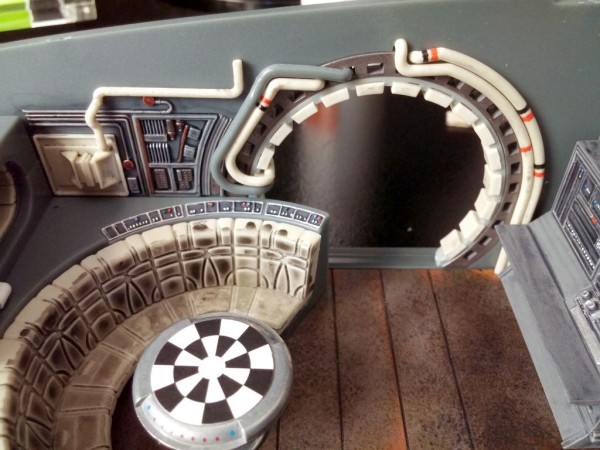
In a film photo of the main hold, I noticed that the white pipes that fit around the archway has black and orange stripes. That is a detail that I haven’t seen anyone else catch and apply to their own models. So, I free-handed the stripes, estimating their proper placement since the model’s pipes are not exact replicas of the ones in the movies.
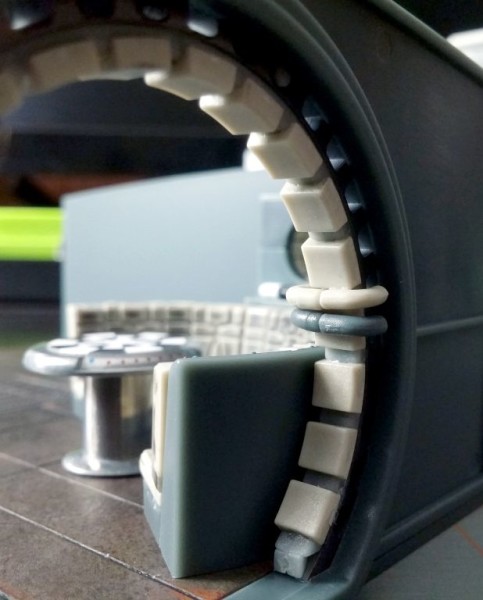
Lastly, I painted the main hold’s archway the same bronze color that I used for the floor and glued the rings into the entryway, followed by the pipes.
Month four can’t get here soon enough.
Test Fitting
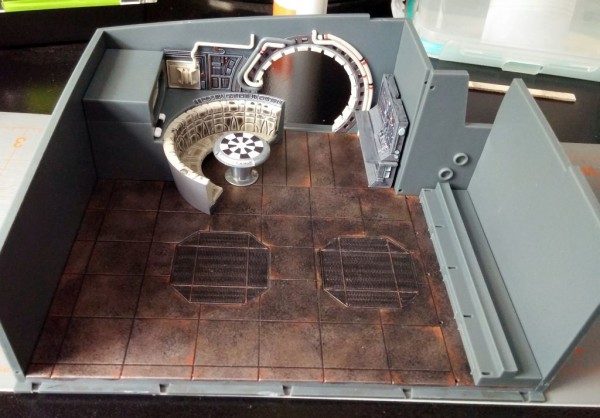
I test-fitted the main hold parts to get an idea of its progress. It’s funny how a little bit of paint can really improve a scene. I think the wall would look a little bare if I hadn’t added the black and orange stripes to the pipes.
Prev Journal Entry | Next Journal Entry
Both the post author and this website have not received any compensation for writing this post. Both the post author and this website have no material connection to the third-party brands, products, or services that have been mentioned. Some of the links in the post above are “affiliate links.” This means that if you purchase the item, we will receive a commission. As an Amazon associate, we earn from qualifying products. This is being disclosed in accordance with the Federal Trade Commission’s 16 CFR, Part 255: “Guides Concerning the Use of Endorsements and Testimonials in Advertising.”



Do you have a thought about this post? Why not leave a comment . . .