How to Customize Your Disney MagicBand

Spring break will be arriving shortly, and that means taking the family on a Disney vacation. To enhance the excitement of the upcoming trip, why not learn how to customize your Disney MagicBand?
1. Waterslide Decals
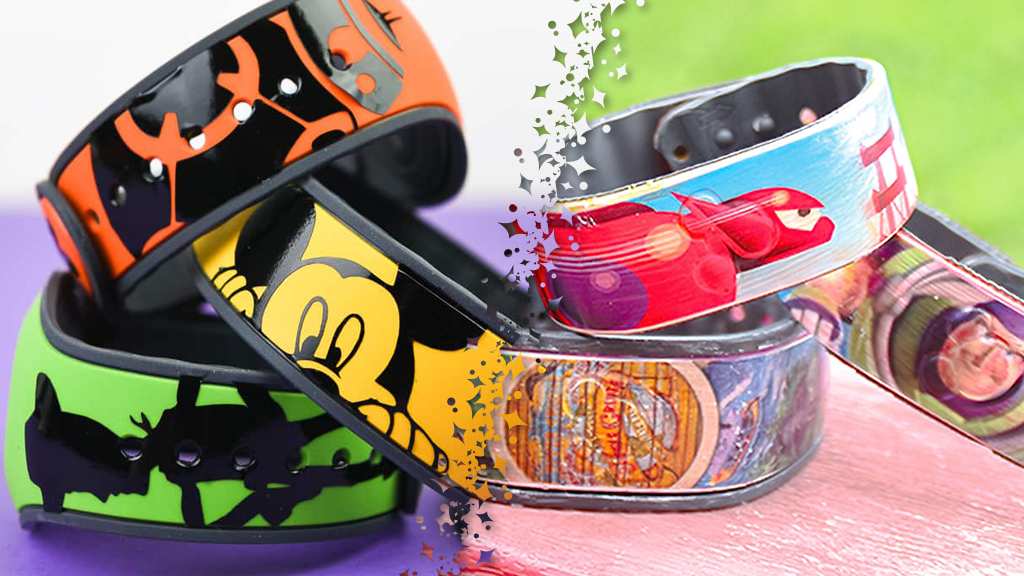
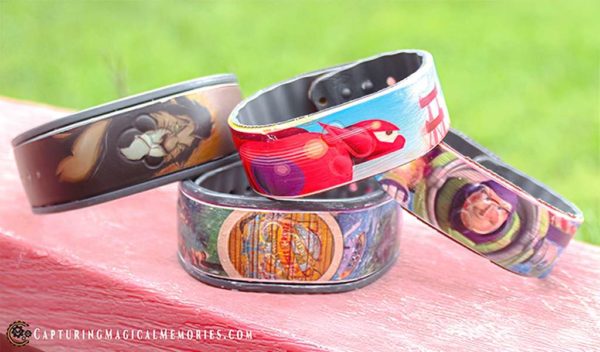
Waterslide decals allow you to print your own full-color designs and apply them with water. It’s the same material that comes with many plastic model kits—you know, those little decals that you soak in water to apply to the model. Only, you can print on this stuff (pretty handy for hobbyists). The inkjet-compatible paper comes in clear and white, and unless it specifically says that it’s waterproof, you should spray it with a coat of clear acrylic spray to keep the ink from running. The laser-compatible paper only comes in white.
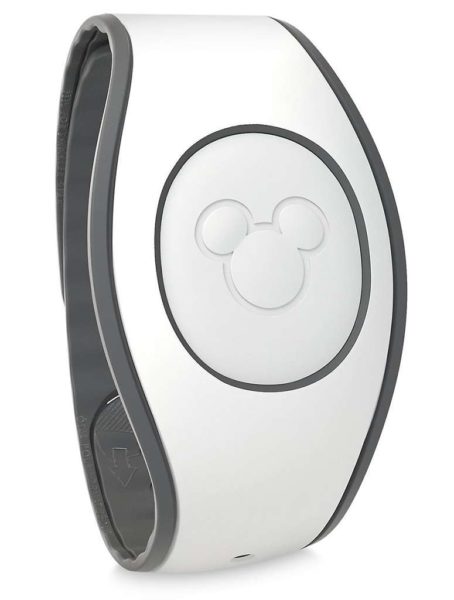
One thing to keep in mind when using the clear waterslide decals is that the color of your MagicBand is going to show through, possibly ruining your image. In this case, a white MagicBand is probably going to be your best friend. There is also the possibility of the waterslide cracking. Capturing Magical Memories has a nice tutorial along with some tips and a template for the Disney MagicBand 1.
2. Printable Vinyl
Printable vinyl is going to allow you to print your own full-color designs, too. But, it gets applied more like a sticker. Again, you will need to spray it with clear acrylic spray to set and protect the ink. And, you will want to clean the MagicBand with isopropyl alcohol to remove any dirt and oils that could prevent the vinyl from sticking properly.
The downside is that the vinyl can bunch up and wrinkle, or possibly begin to peel away. The upside is that the design is removable, giving you the freedom to create a brand-new custom MagicBand. Again, Capturing Magical Memories has a nice tutorial along with some tips and a template for the Disney MagicBand 1.
3. Solid-color Vinyl
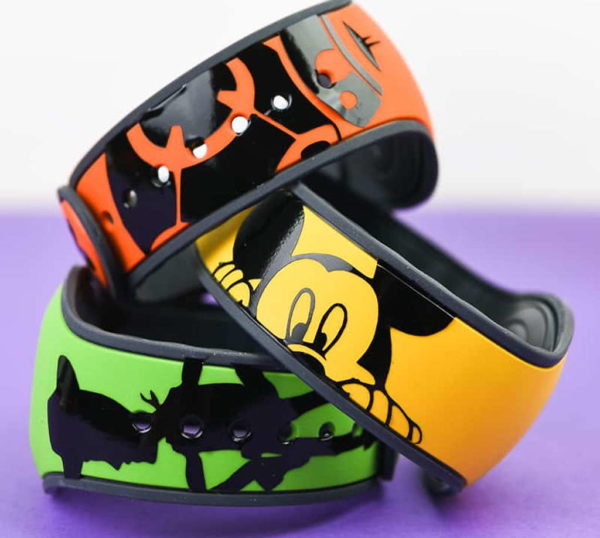
Solid-color vinyl has the same upsides and downsides of printable vinyl, except that you’re limited to a single, solid color. There’s no printing on this stuff. The trick here is to use a cutting machine, such as a Silhouette or a Cricut, to cut out custom designs. Those designs are then applied to the MagicBand using vinyl transfer tape.
The whole process requires more supplies and more steps, but the vinyl can be applied to any color MagicBand. Simply Made Fun has a tutorial as well as a template for the Disney MagicBand 2.
Both the post author and this website have not received any compensation for writing this post. Both the post author and this website have no material connection to the third-party brands, products, or services that have been mentioned. Some of the links in the post above are “affiliate links.” This means that if you purchase the item, we will receive a commission. As an Amazon associate, we earn from qualifying products. This is being disclosed in accordance with the Federal Trade Commission’s 16 CFR, Part 255: “Guides Concerning the Use of Endorsements and Testimonials in Advertising.”


Do you have a thought about this post? Why not leave a comment . . .