
Crafting the Pirates of the Caribbean Talking Skull
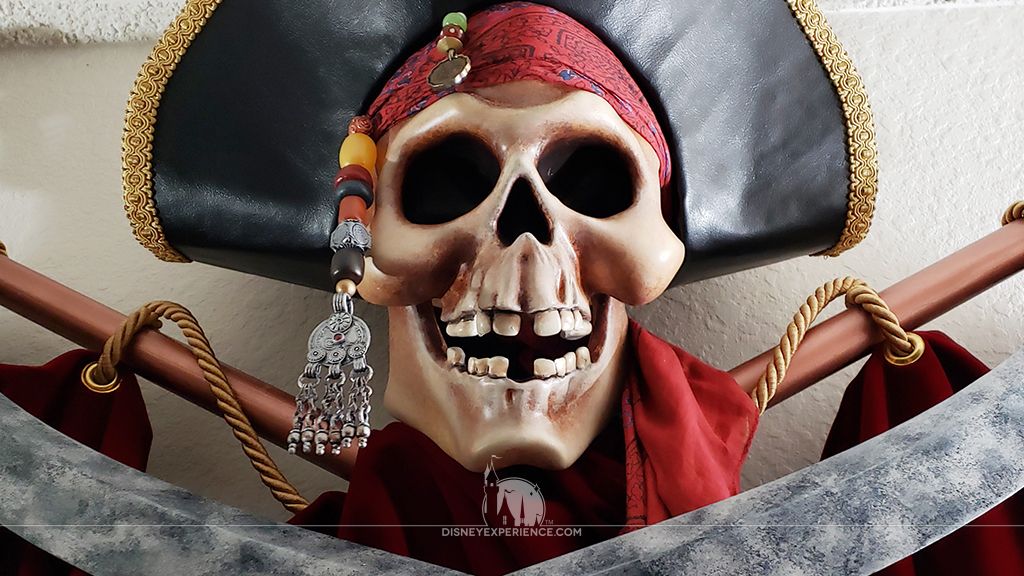
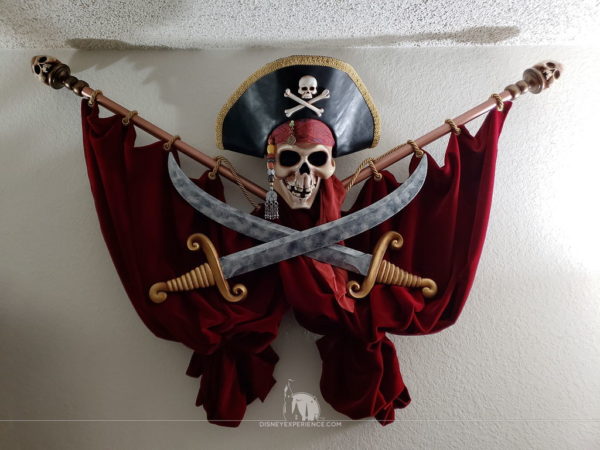
It has taken me a little over a month—working every day—but I finally finished crafting my replica of the Disneyland Pirates of the Caribbean talking skull!
Some 3D-print links are by Nava Designs. These are my personal items for sale on Etsy.
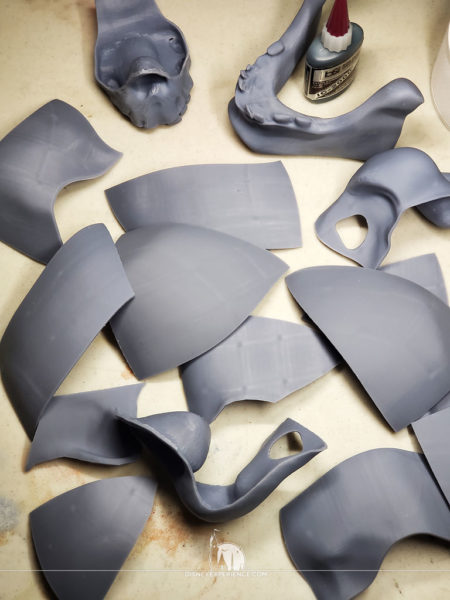
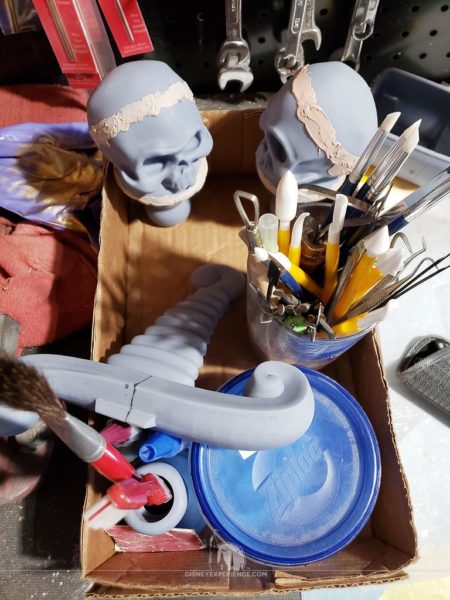
This personal project wouldn’t have been possible without my 3D printer. I started by using the free files provided by twconstantine on Thingiverse. The skull & crossbones on the hat were not included, so I had to model those myself. Ultimately, I decided to redesign everything except for the main skull and the smaller skulls on the finials (all are the same skull model). While I waited for the many skull pieces to print, I worked on making the pirate hat.
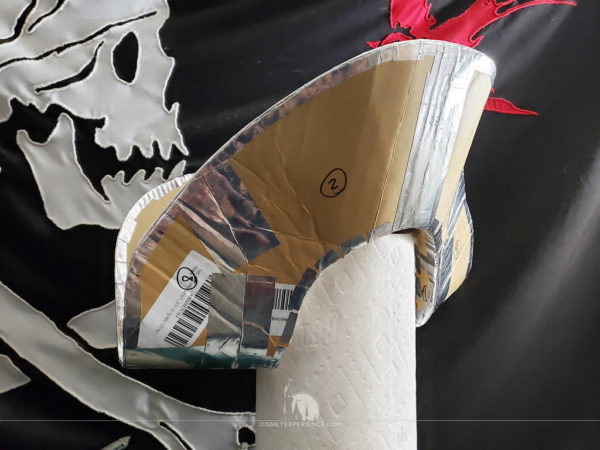
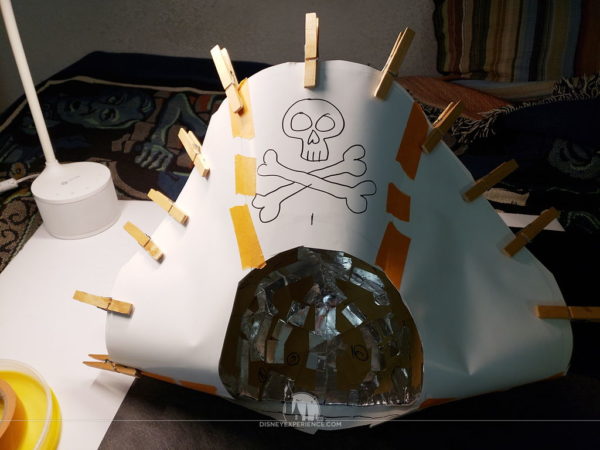
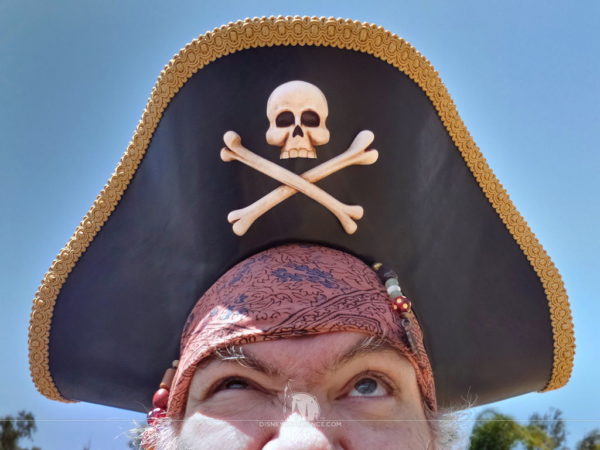
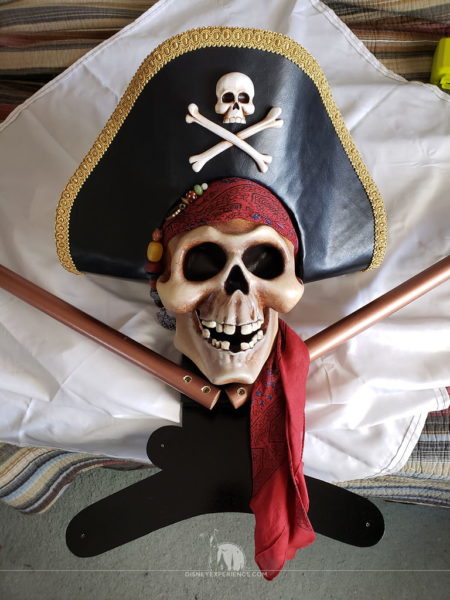
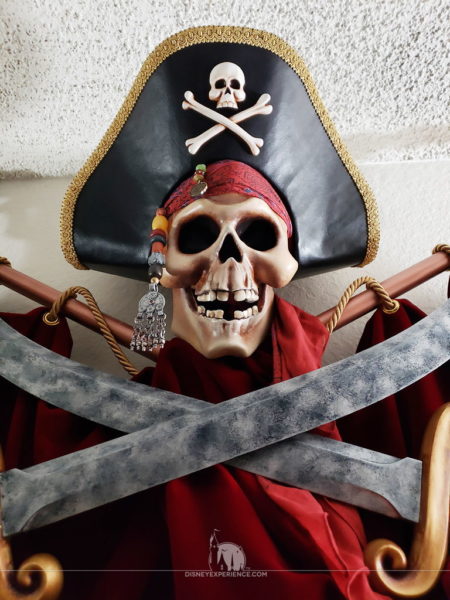
The core of the hat is thin, corrugated cardboard. The rim has heavy-gauge wire embedded along the edge so that the hat can keep its shape. The outside is wrapped with a faux-leather fabric, outlined with gold-colored trim, and finished with the 3D-printed skull & crossbones.
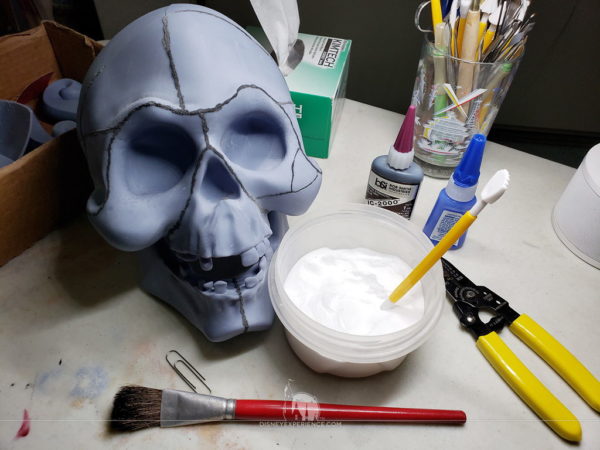
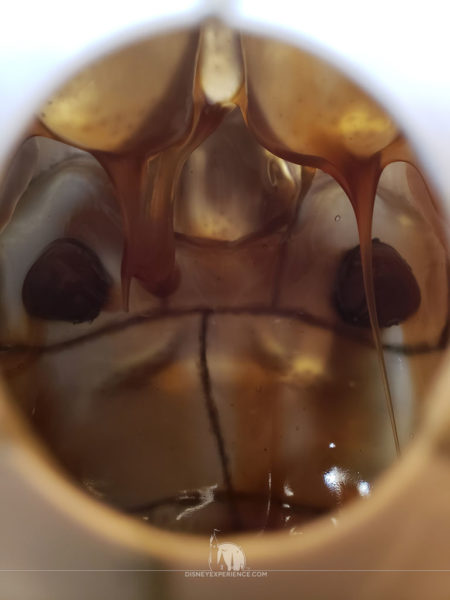
The skull was made of 17 individual parts, painstakingly glued. The seams were filled with rubber-toughened cyanoacrylate glue & baking soda, and sanded smooth. Since the skull was only 2mm thick, I coated the inside with Bondo fiberglass resin for added strength. I also let the resin pool into the back of the skull to give the mounting screws something thick to grab.
It’s a good thing that I provided that resin coating; I dropped the skull onto the carpeted floor, and the jaw broke off. Luckily, it was a clean break and easily fixed.
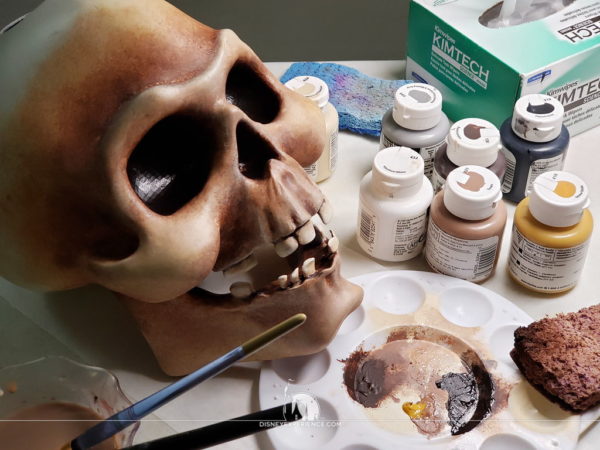
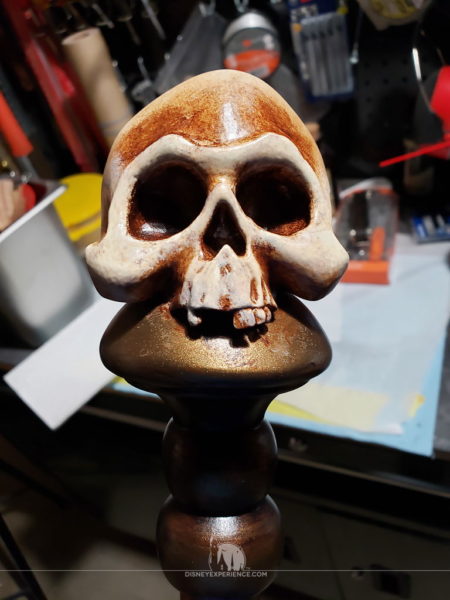
Painting the skull was fun. I used several different Liquitex paints, applied primarily with a sponge.
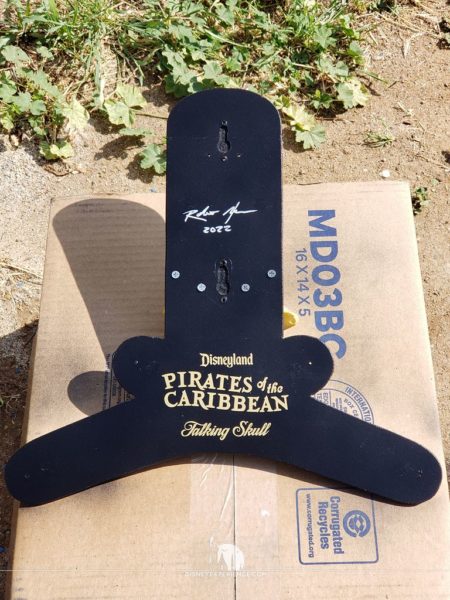
Combining the skull, hat, bandana, 3D-printed “piece of eight” strand, and 3D-printed Kuchi coin strand, the skull was finished and attached to a custom display mount.
The final pieces to be printed were the skull finials and the swords. Again, these had to be pieced together, filled, and sanded. I love my printer, but I wish it had a larger print area. The finials and swords had really large gaps to fill, so I used Bondo body filler.
The drapes were a tad too long, but they were easily folded before being gathered; I didn’t want to cut off the excess fabric in case I needed to make adjustments later on. The posts, holding up the swords, run through button holes in the fabric.
The skull is angled downward, which is not where it is supposed to be, but it works since the piece is mounted so high up to the ceiling. It’s an unintentional interactive element that makes it seem as if the skull is actively looking down at you, not staring off into space.
This project was fun, but SO time consuming! I’m glad that it’s finally finished; I can take a well-deserved break . . . until the next project.
Both the post author and this website have not received any compensation for writing this post. Both the post author and this website have no material connection to the third-party brands, products, or services that have been mentioned unless otherwise explicitly stated. Some of the links in the post above are “affiliate links.” This means that if you purchase the item, we will receive a commission. As an Amazon associate, we earn from qualifying products. This is being disclosed in accordance with the Federal Trade Commission’s 16 CFR, Part 255: “Guides Concerning the Use of Endorsements and Testimonials in Advertising.”


This looks amazing! Where can i find the STL files for the main skull?
Hello my Frind would you produce a model for me?
Really cool! Congratulations! It’s a beautiful job!